In this article, we want to illustrate how to use decals to perfect the details of your rendering. In D5 Asset Library, there are hundreds of decals that can be applied to any model surface with ease. You can shape them into any look you like as well. When used properly, they can kick your renderings up a notch.
What’s decal and how to make a custom one
A decal is just like a sticker that can be attached to a model surface following the direction of normal vector. You can adjust its position and size by the coordinates. To adjust its length, width or height alone, you can unlock the equal scaling and input the size you need.
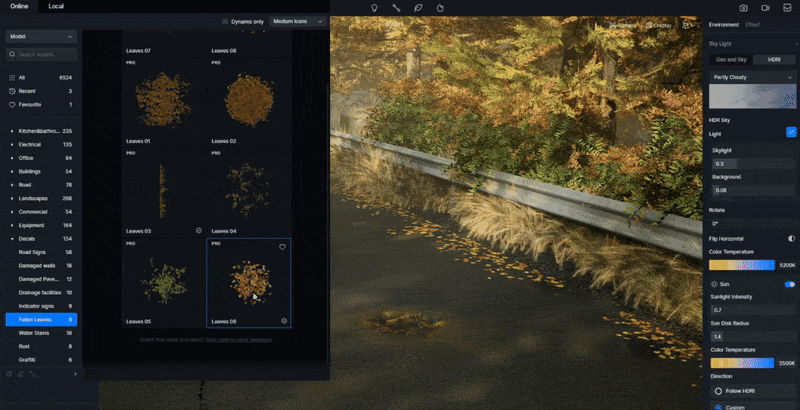
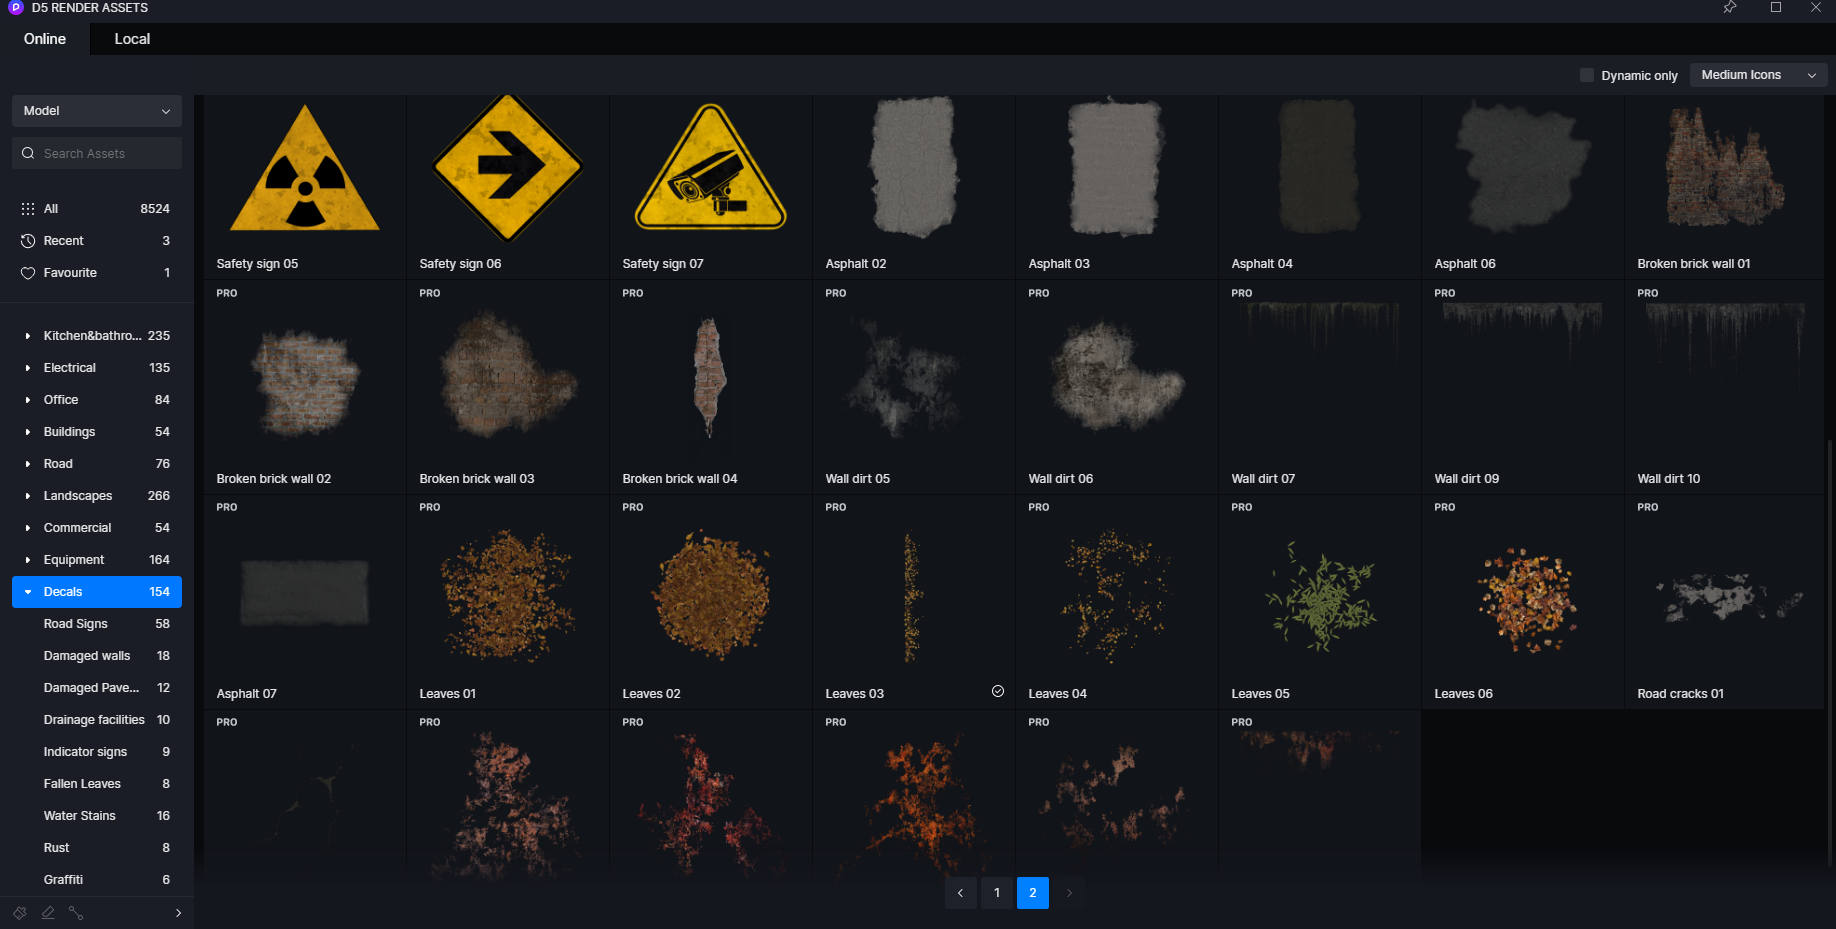
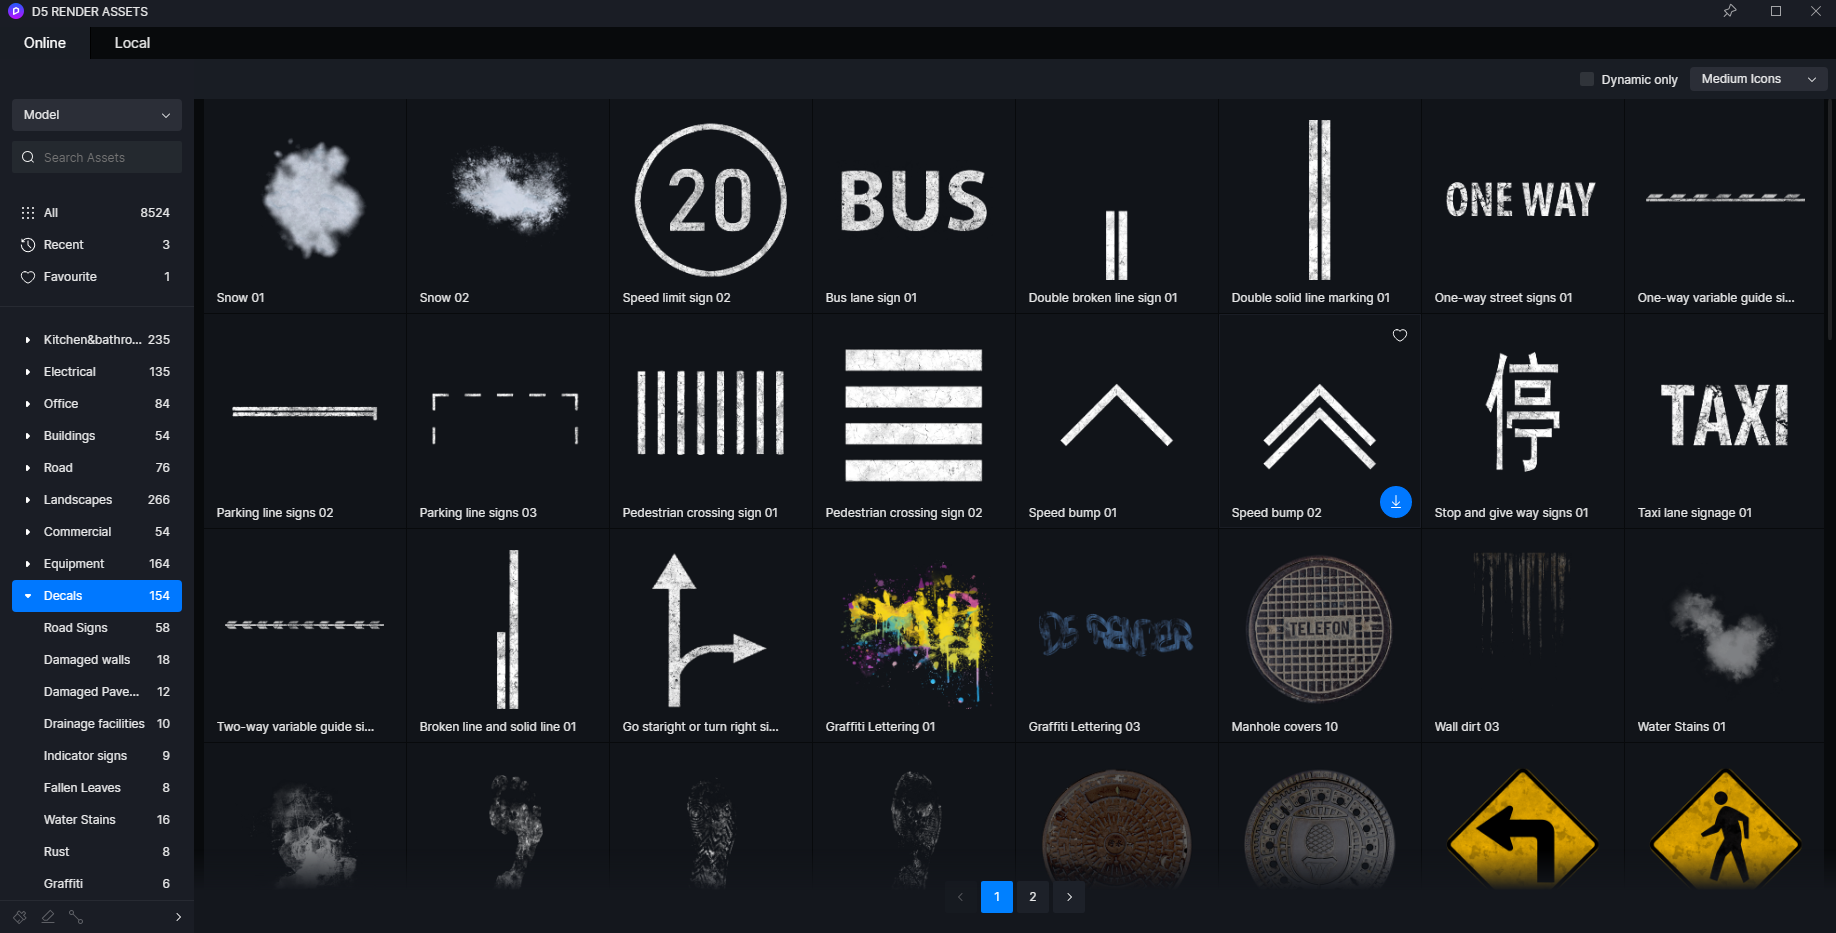
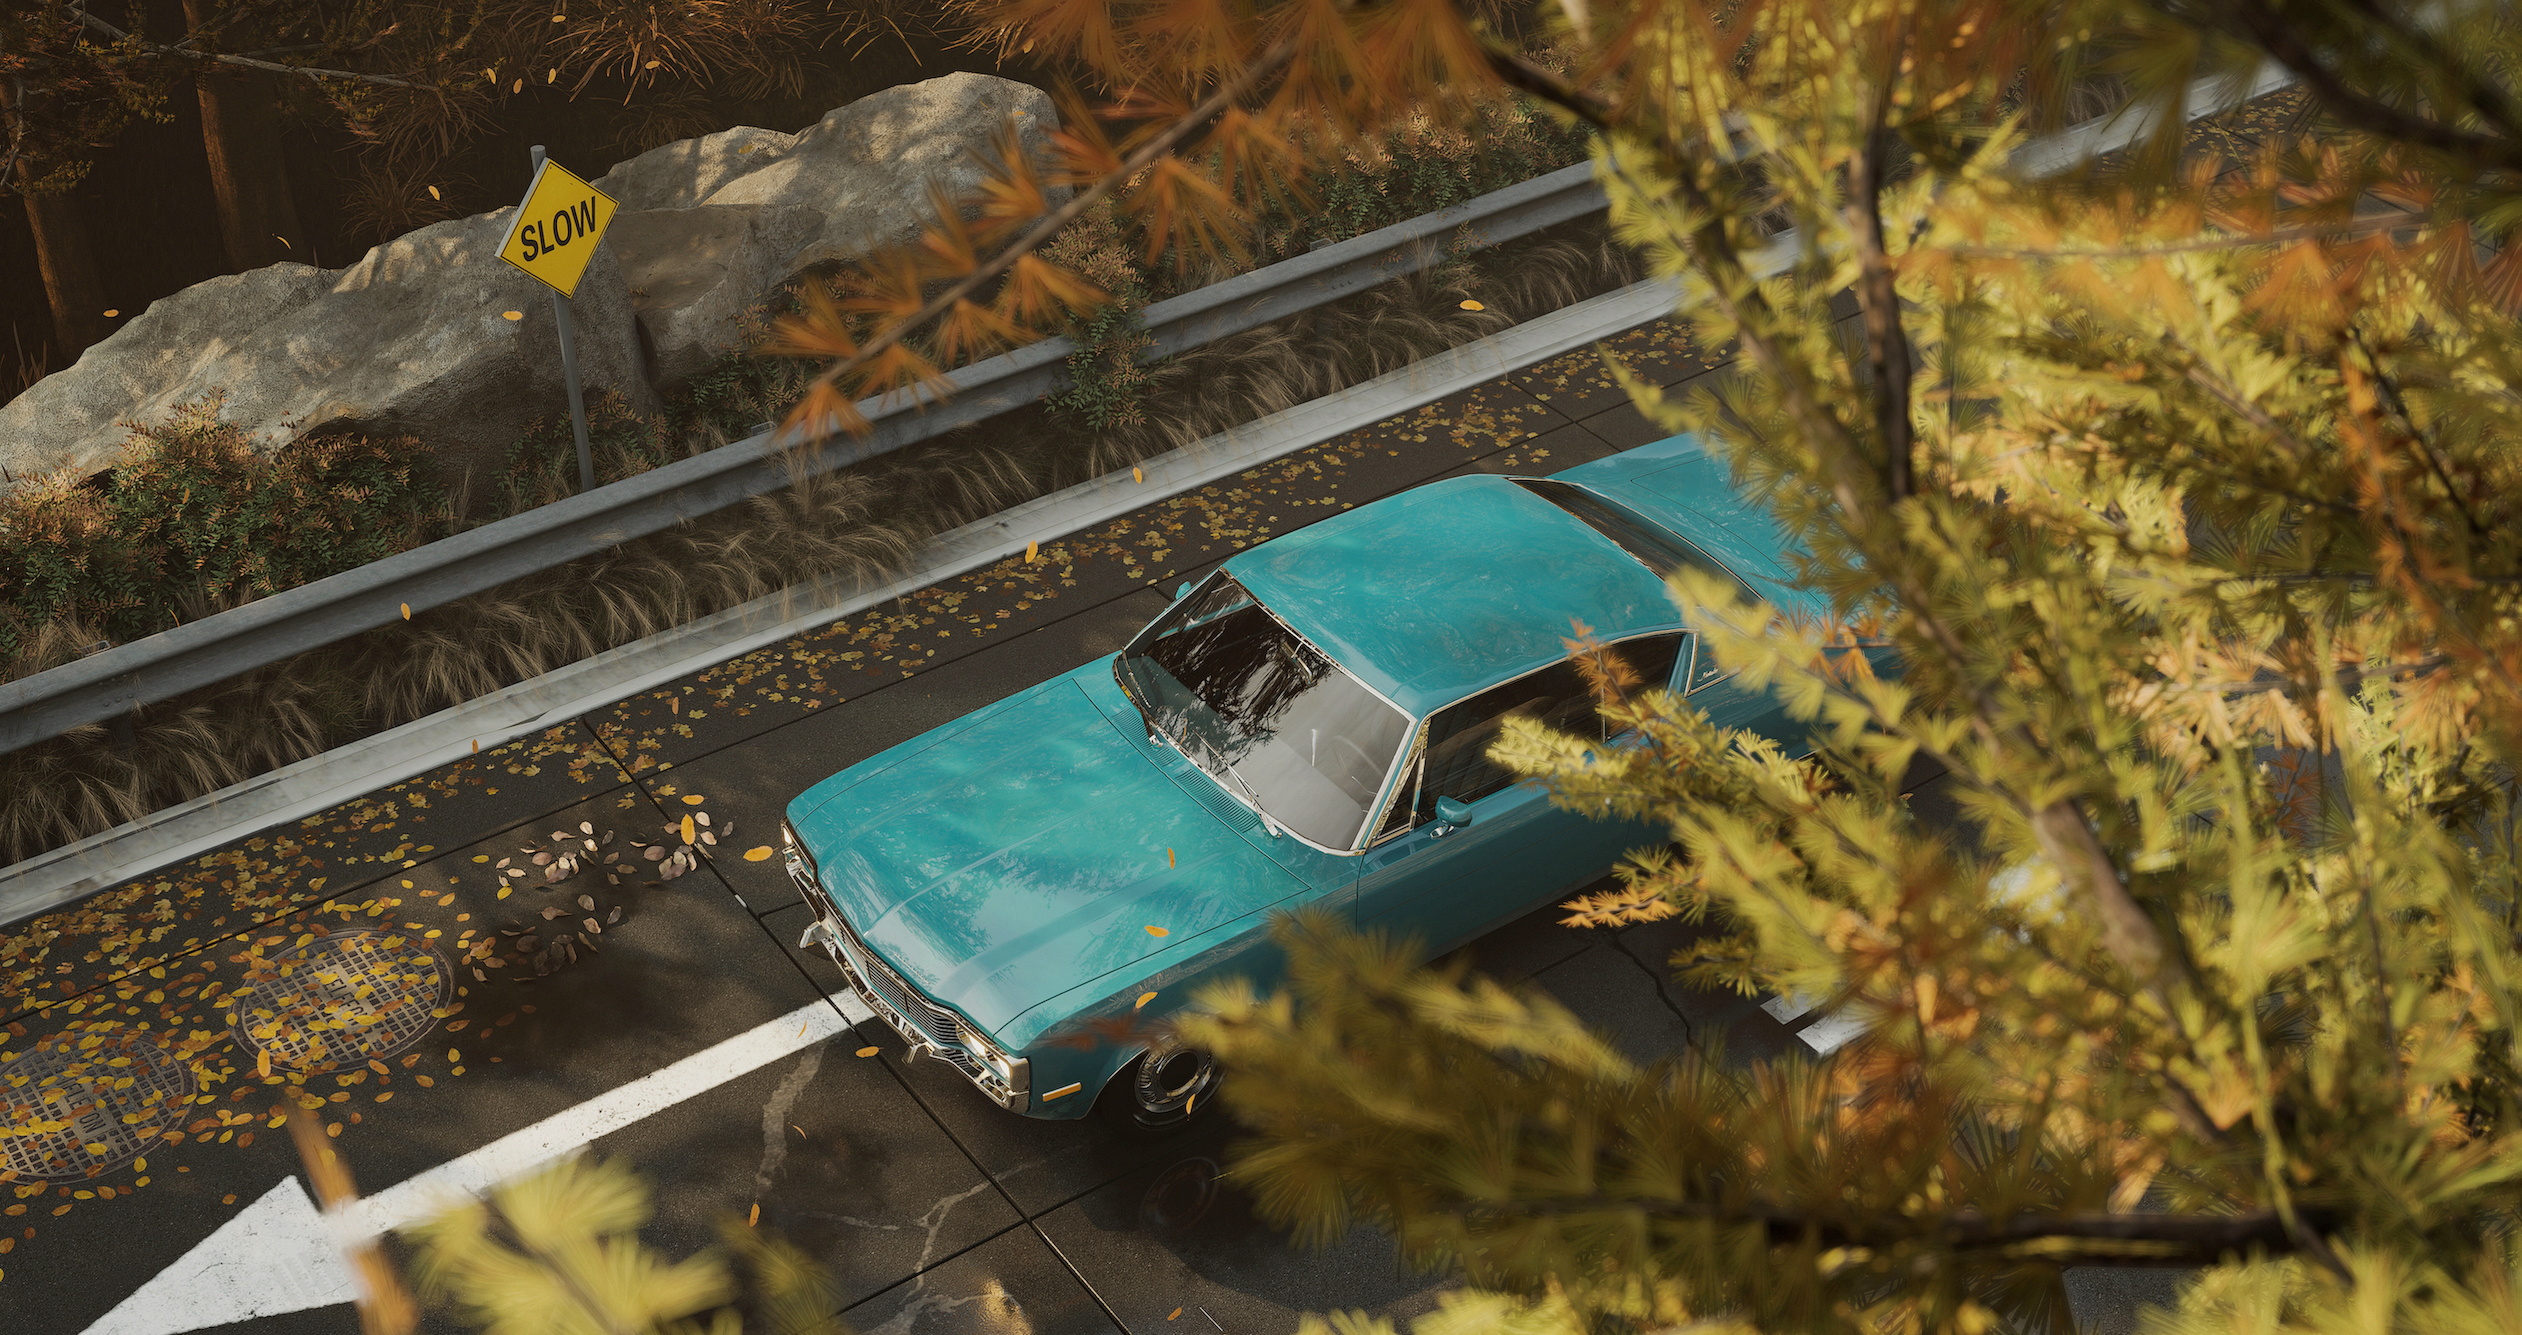
Common decals are water stains, footprints and traffic signs. Yet D5 Asset Library has a lot more than that. You can put fallen leaves along the path to create an autumn vibe, or add some asphalt onto the road making it look more realistic. Others like graffiti, manhole covers, broken walls and much more will surely meet your demands of architectural, interior or landscape design.
How to customize a decal
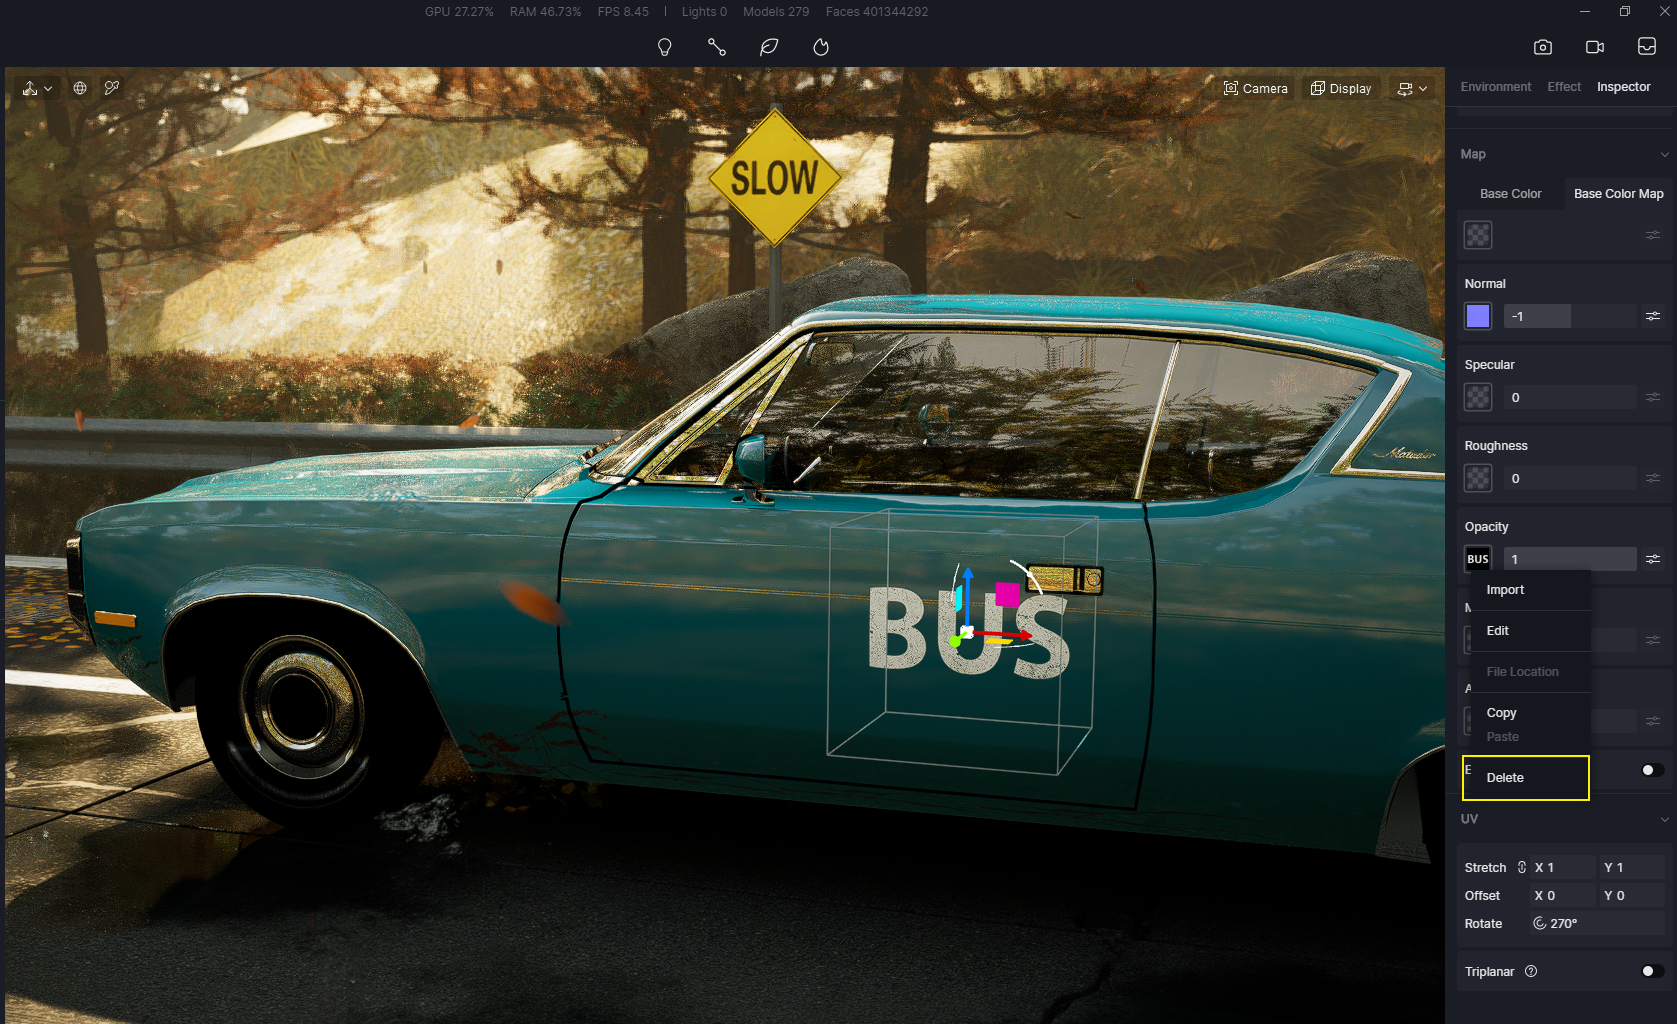
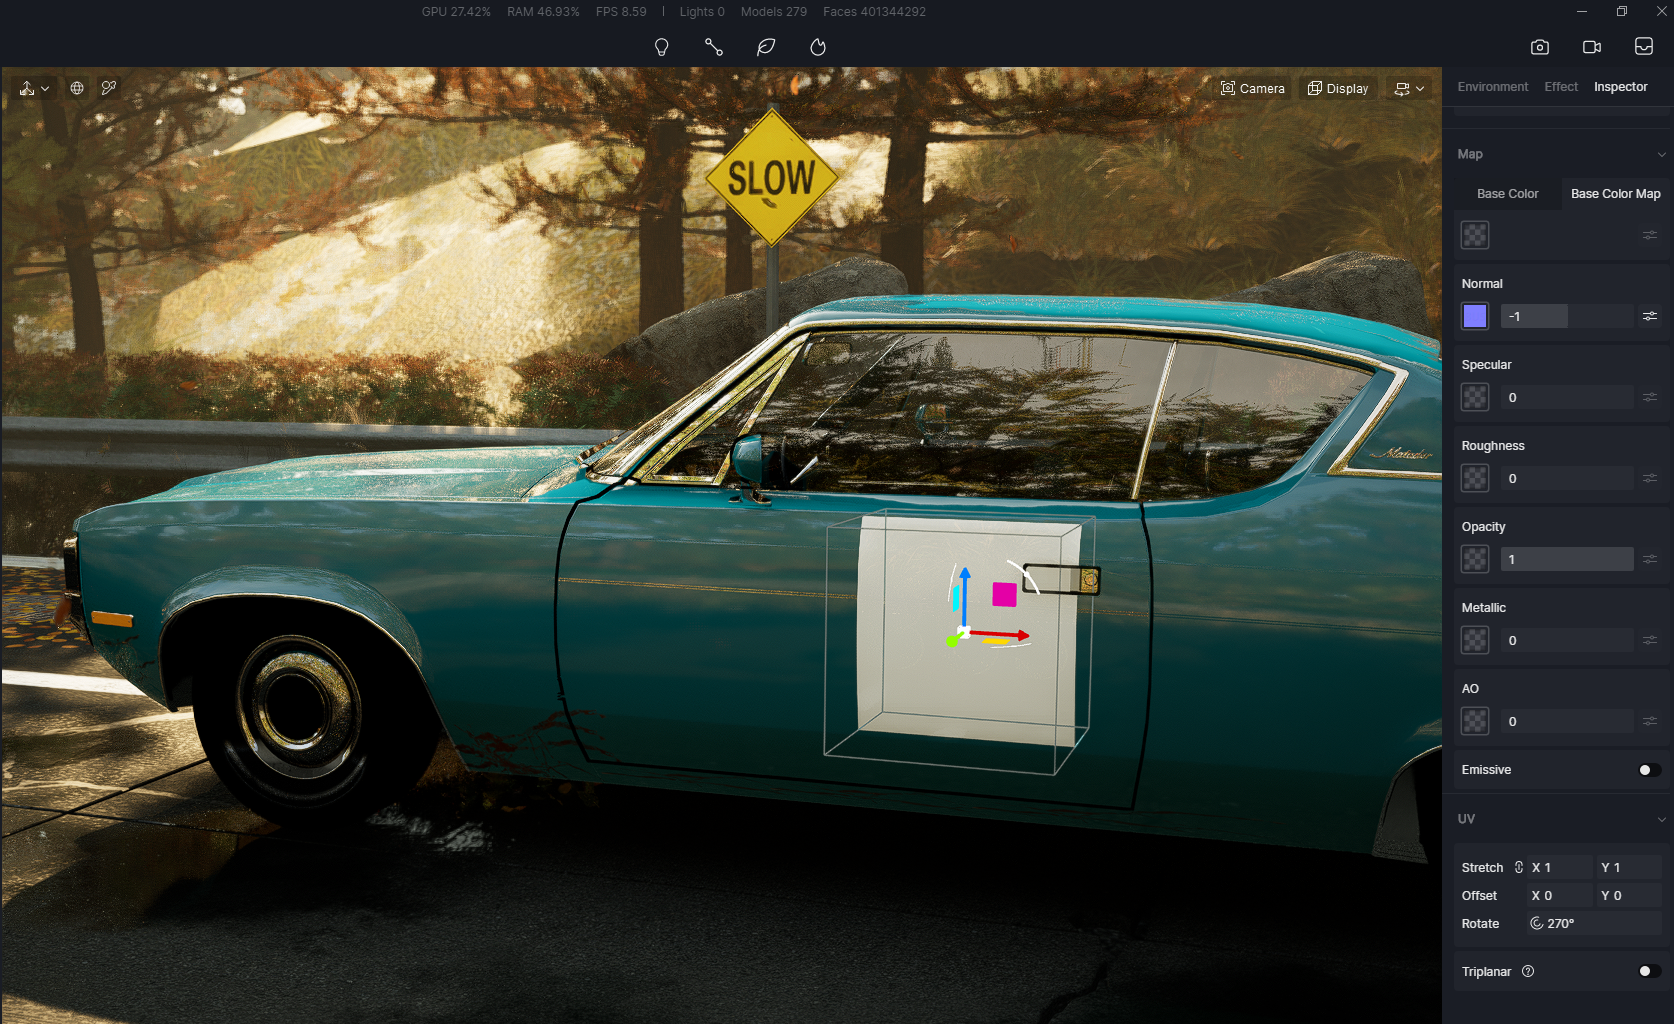
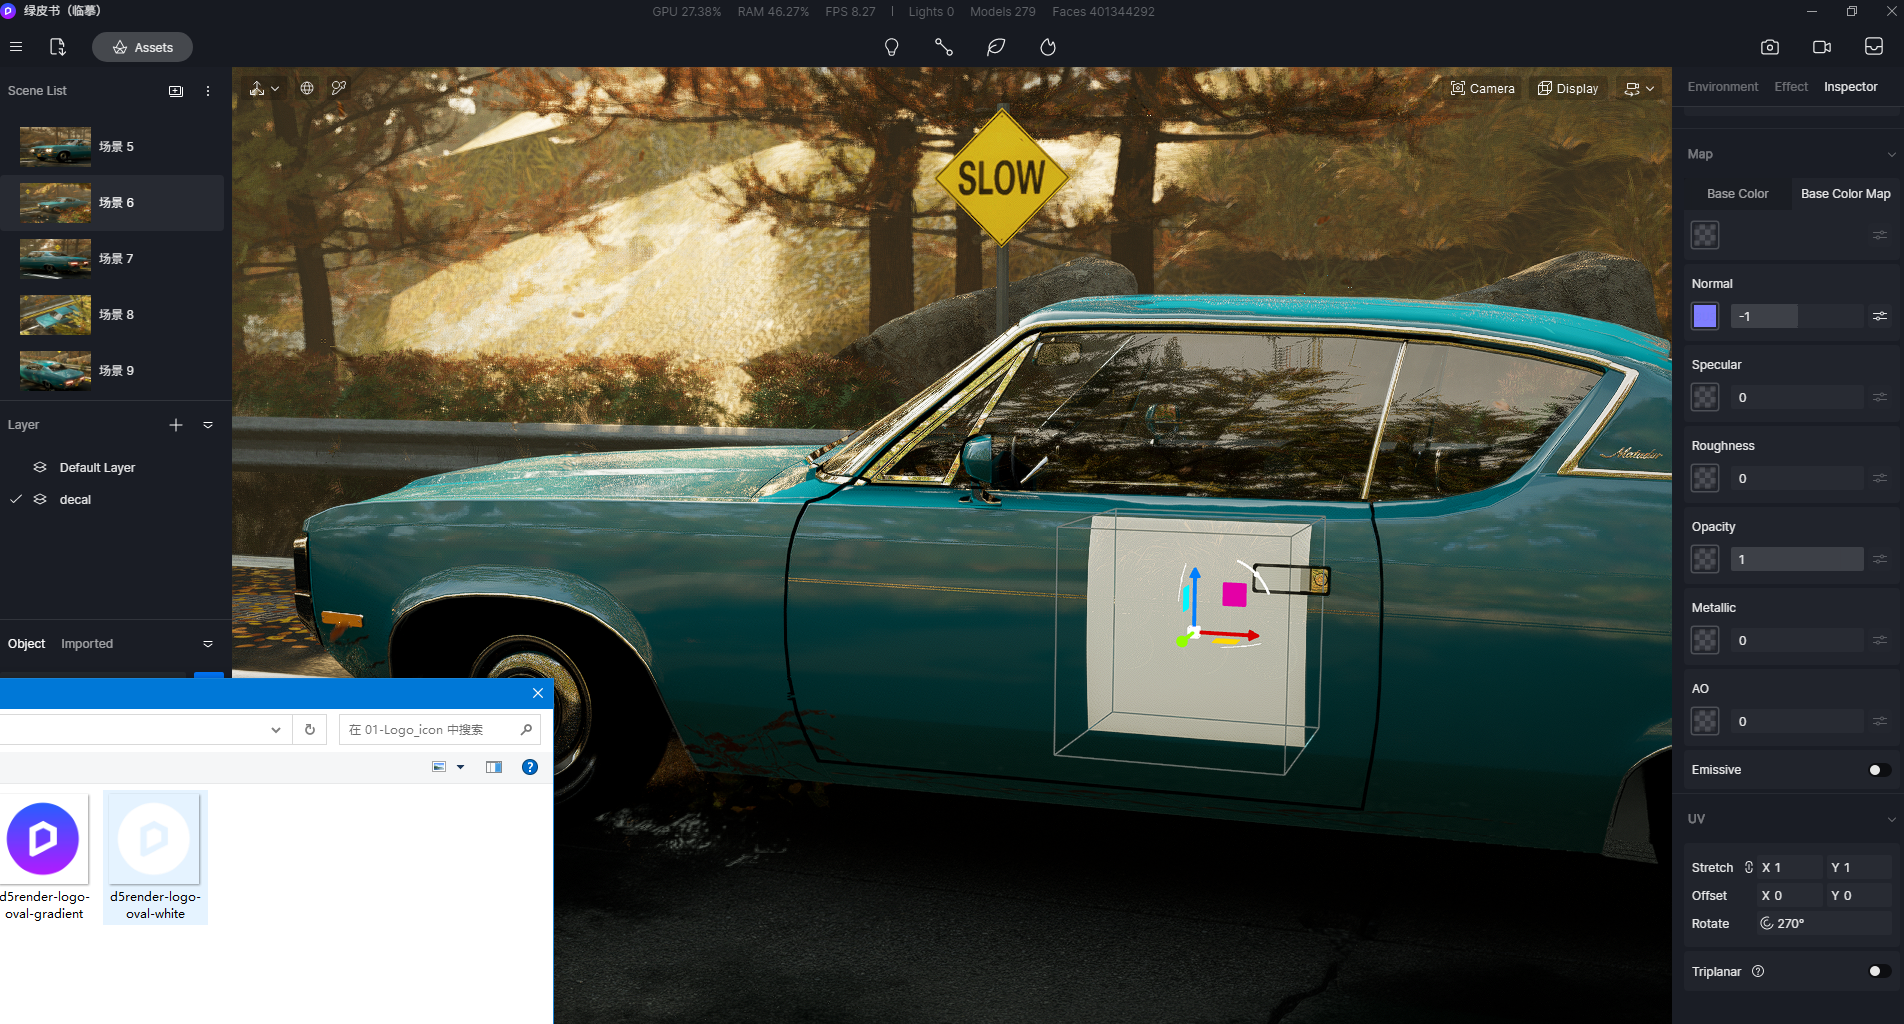
Decals in D5 Asset Library are not only out-of-the-box tools, but can also be easily made into any look you want. For example, if we want to put a D5 logo on this car, we can first select a “BUS” sign. Delete its opacity and you can see that it turns into a white squre. Then insert an image of D5 logo into Opacity. Done! That’s all you need to do to create a tailored decal.
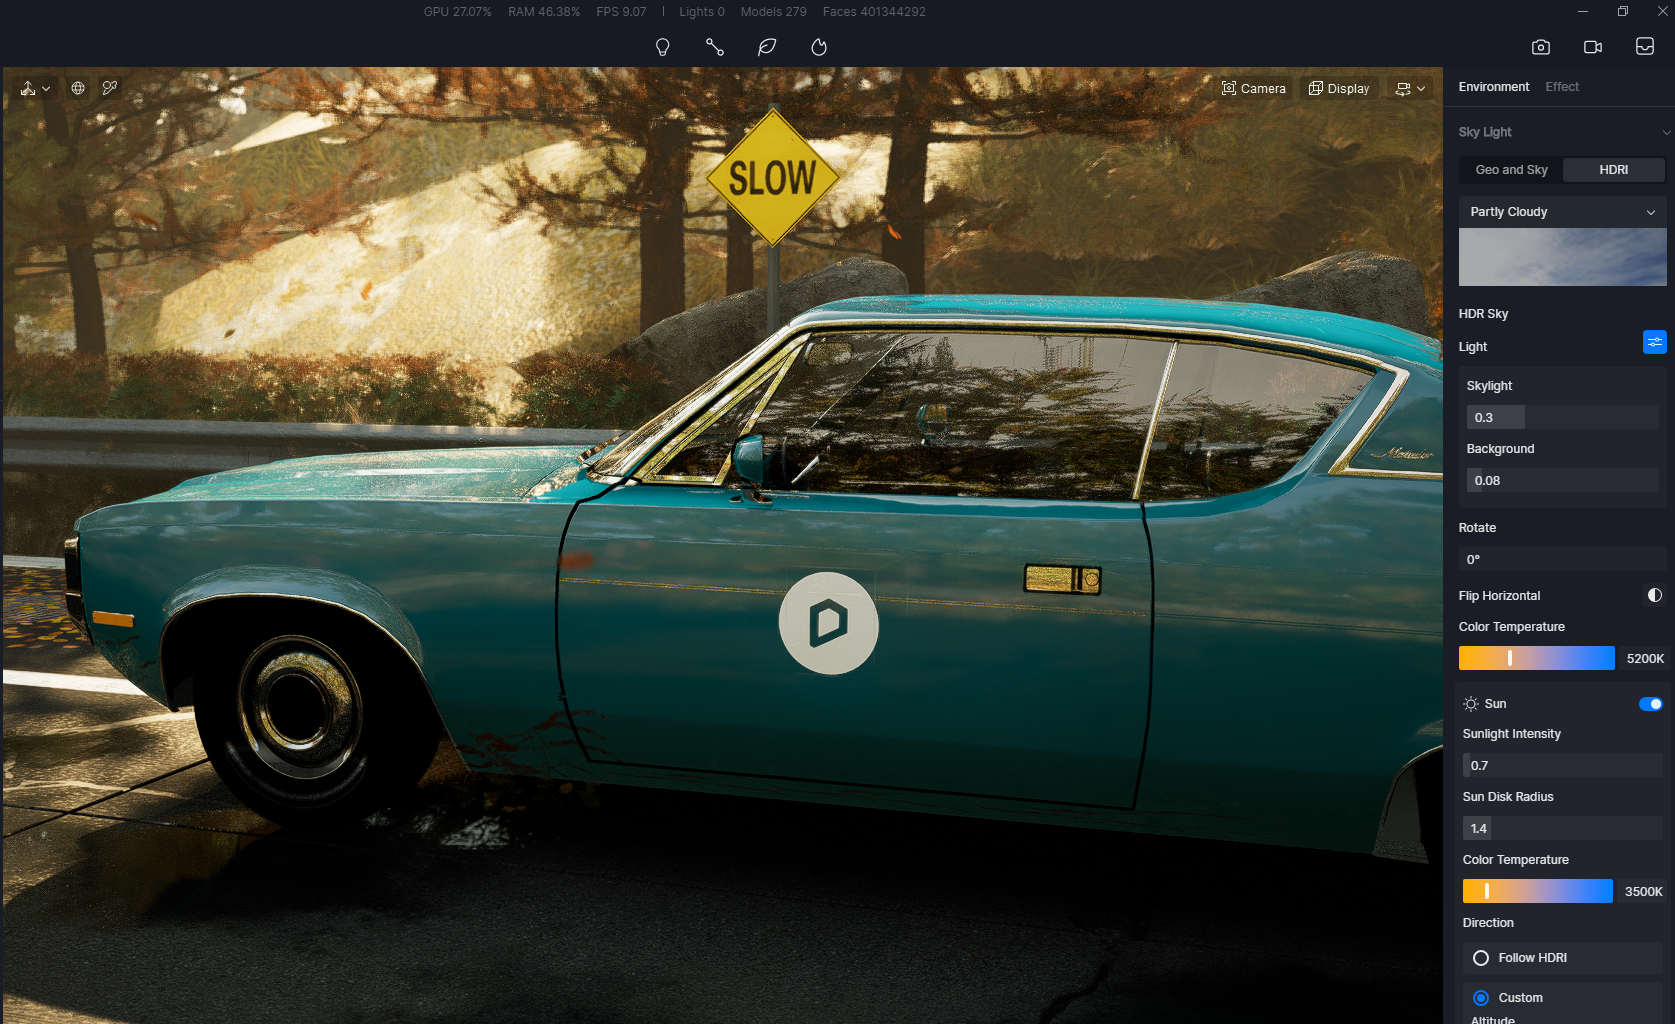
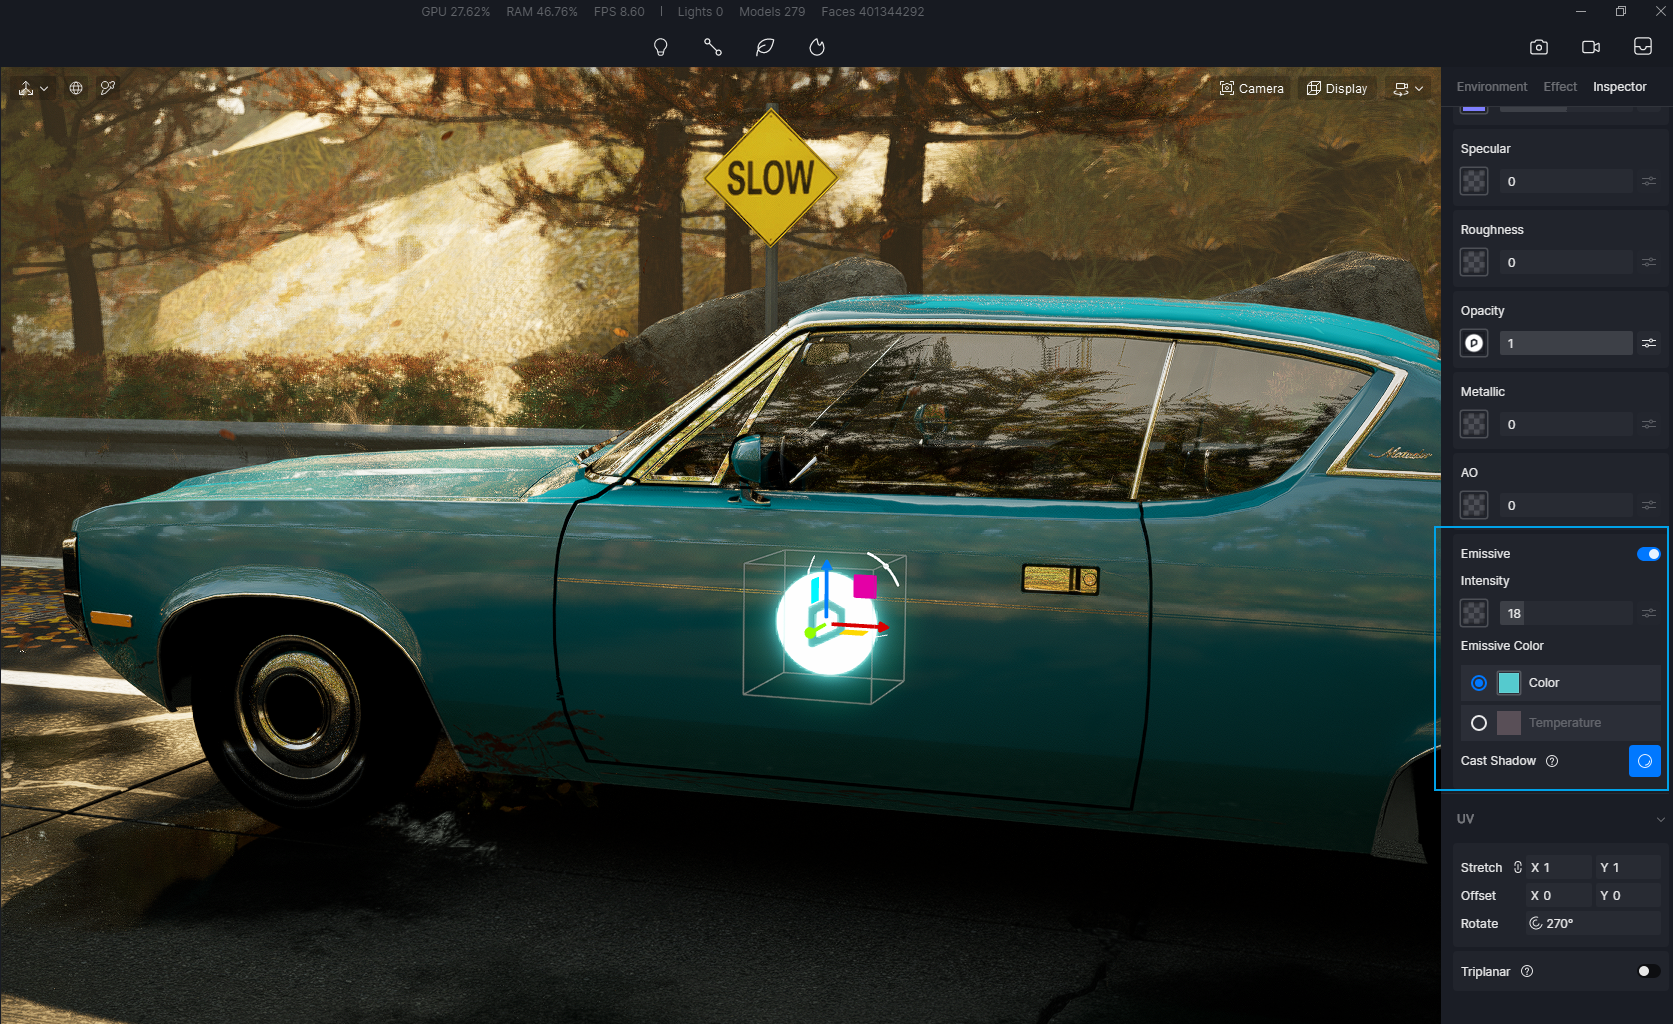
Since decal is also a kind of material, you can adjust its color, hue, saturation, or even make it emissive just like this:
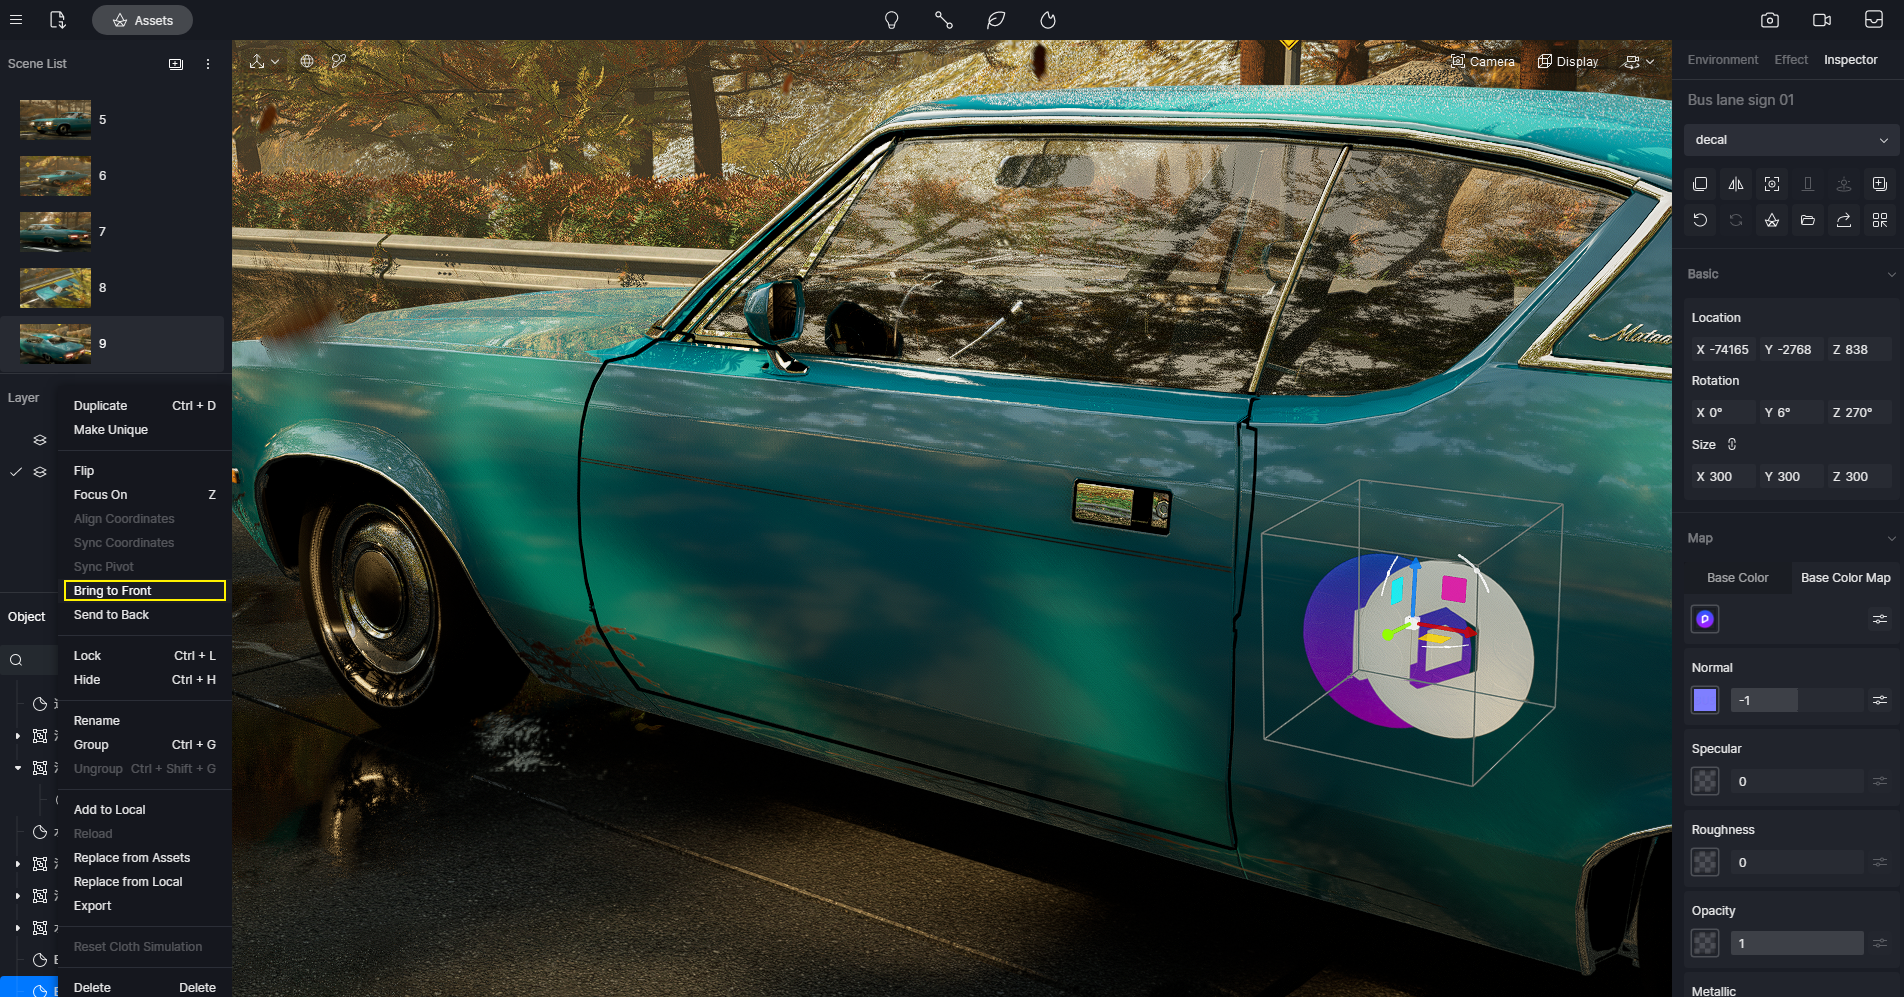
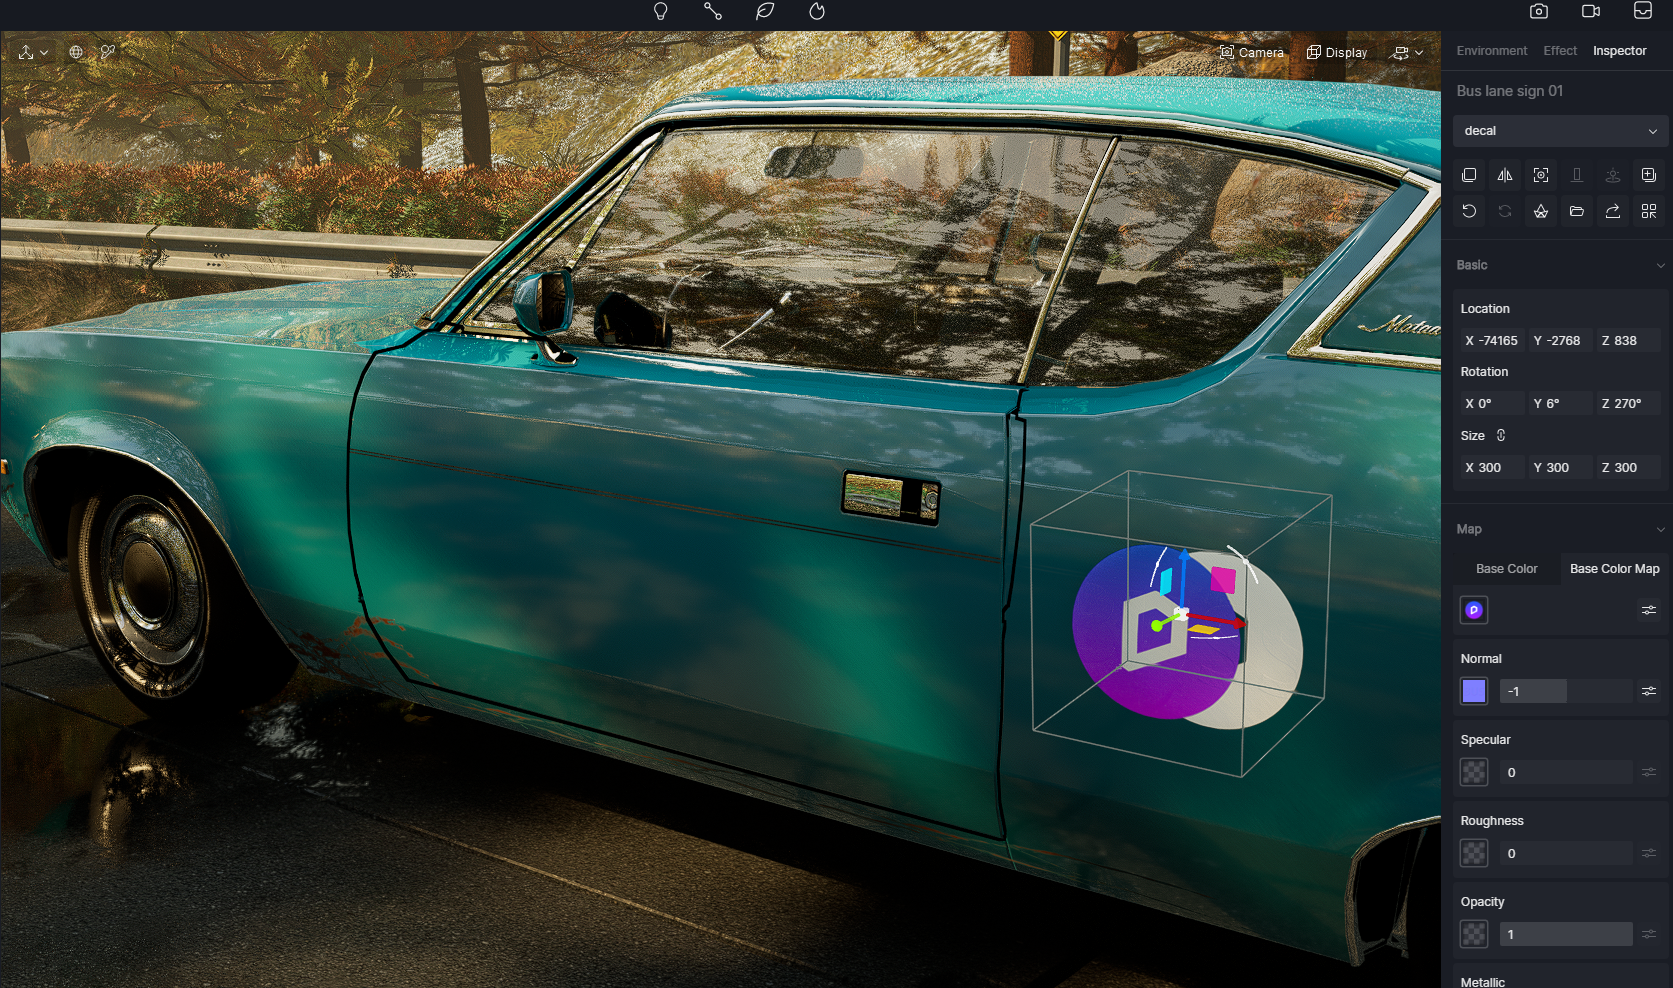
When you need to put one decal onto another, select “Bring to Front” in the pop-up menu. Now the purple D5 logo is on top of the white one.
How to use decals to decorate your scene
Create a wall or road after rain
Drag and drop the “Wall Dirt” from D5 Asset Library onto the facade. Scale it properly and adjust its color to grey. Now it looks more like a street after rain.

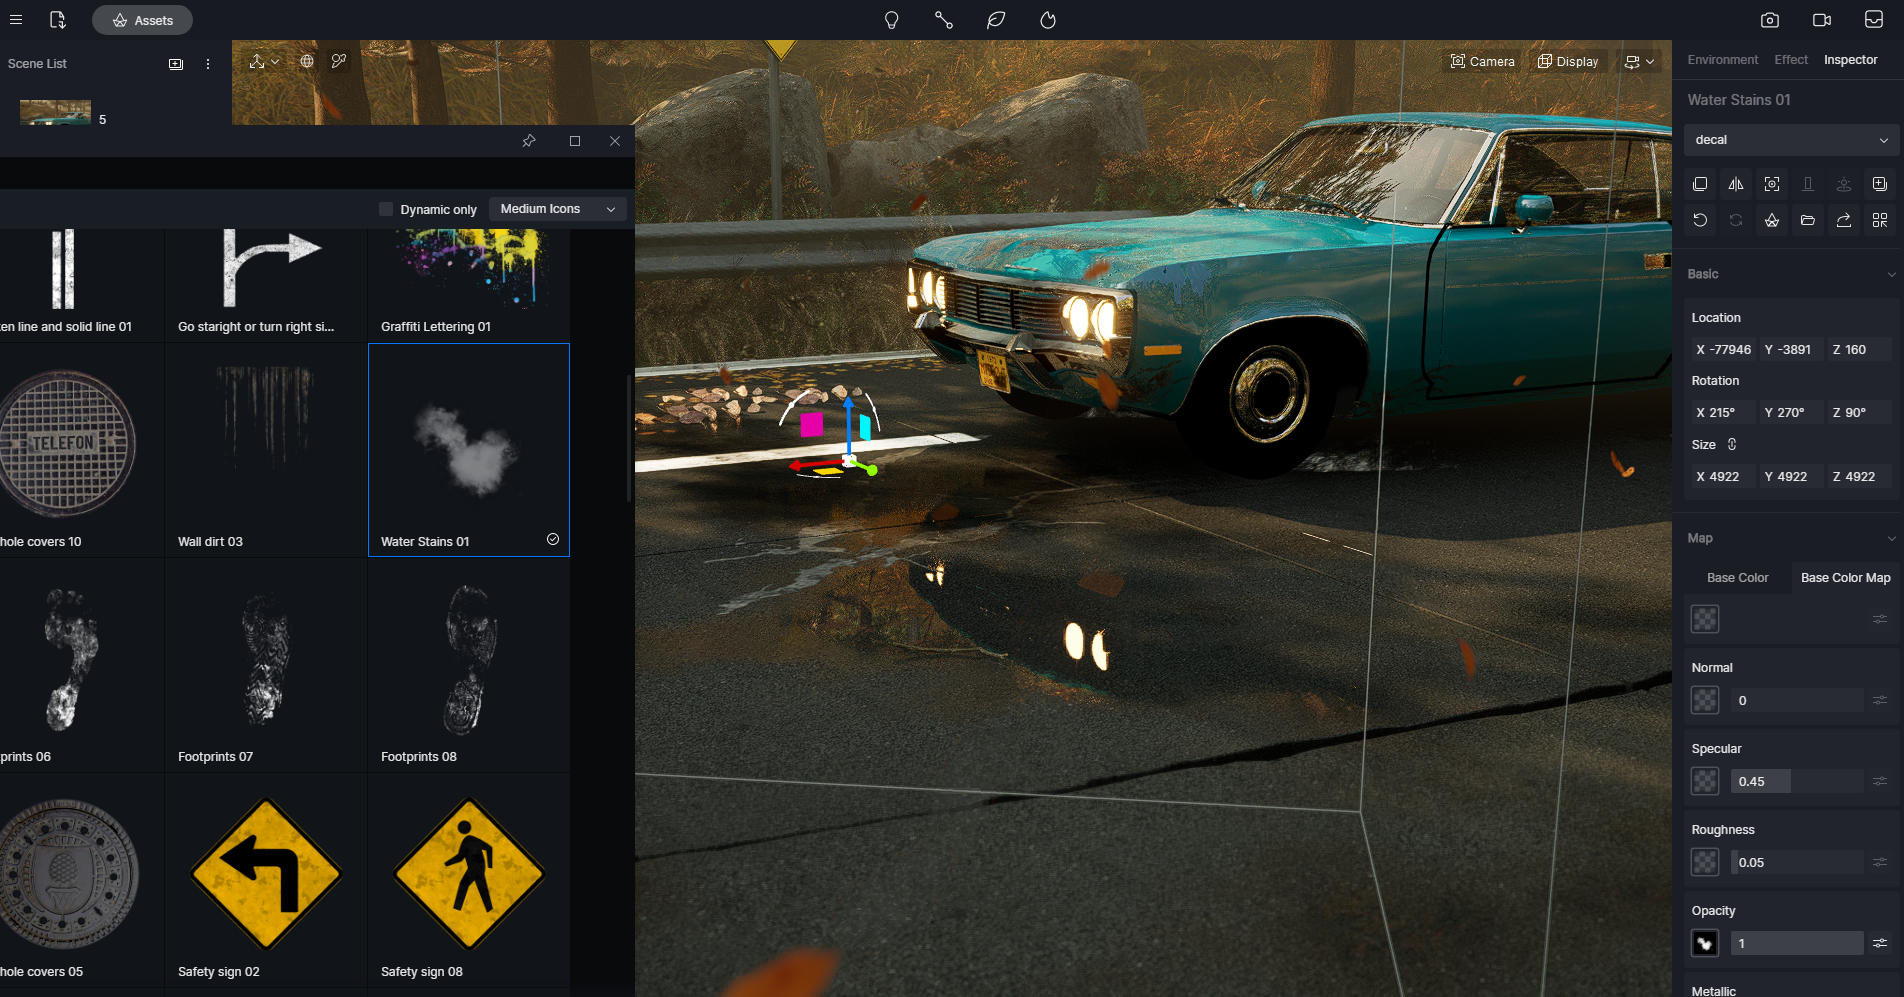
You can also place a “Water Stain” on the road. It works quite well with the puddle that is created when you turn on “Rain” with no intensity in the weather system.
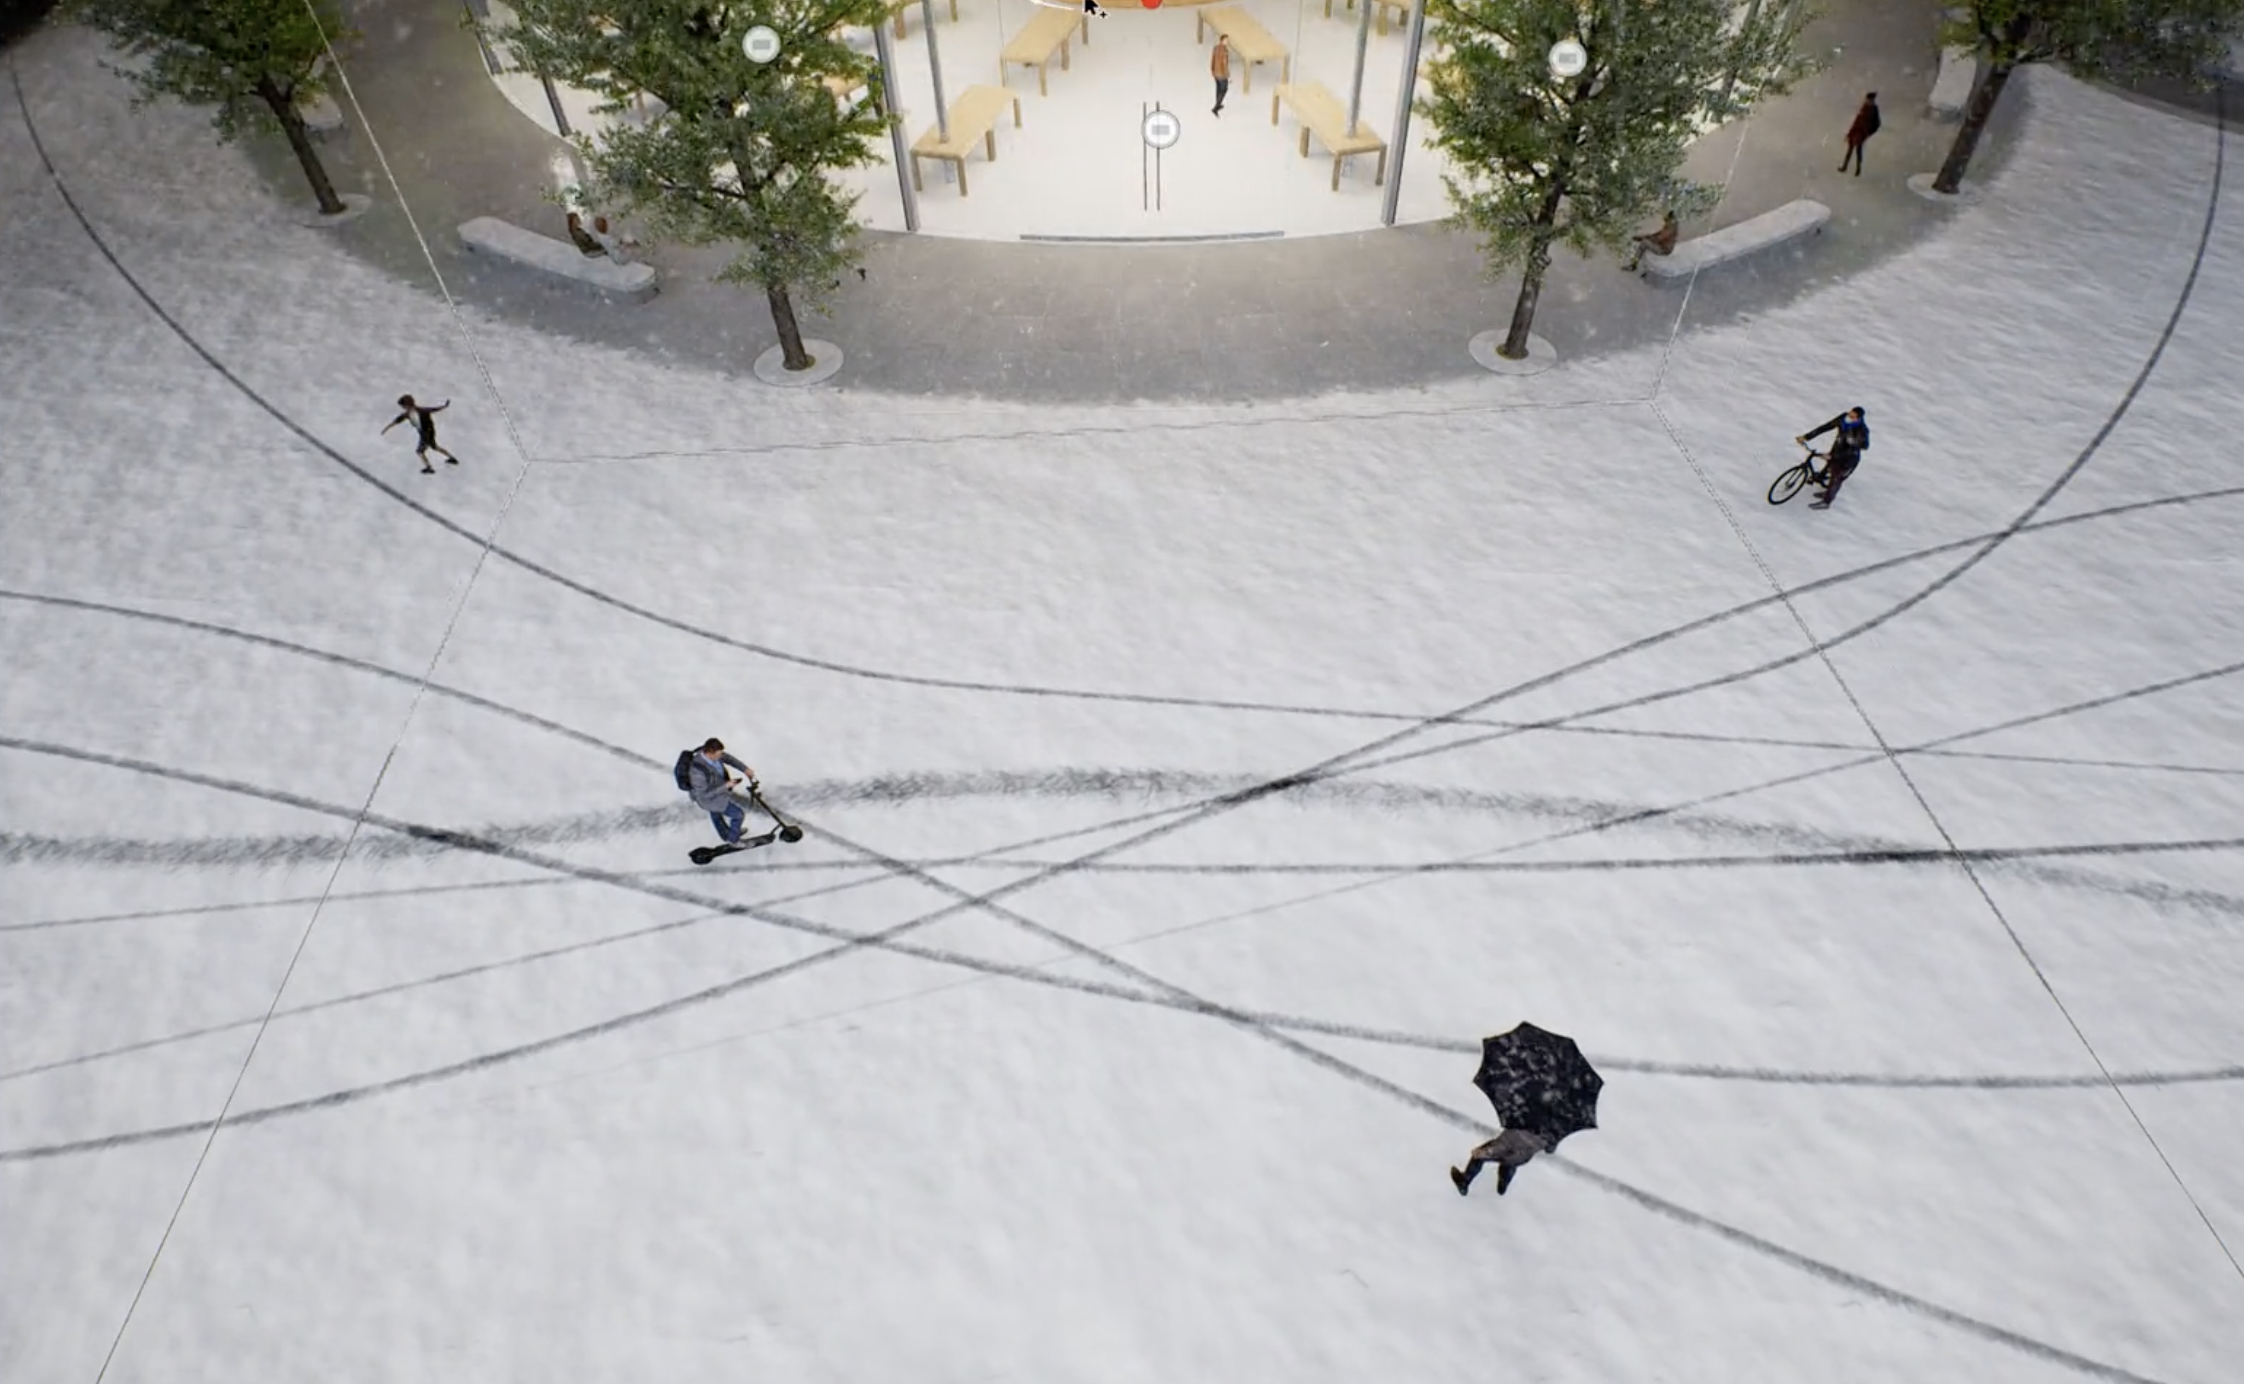
Create a beautiful rainscape or snowscape
When Rain or Snow is switched on, you can put onto the road some footprints or tyre marks which will collaborate with the weather to improve the detail and quality of the scene.
To learn more about how to create a beautiful snow mountain with decals in D5 Asset Library, you can read this article: How to render a snow scene in D5 Render.