Nowadays, more and more architects use animations to illustrate their ideas and display the final design result. Why has animation become more and more attractive? Think about the real world: rain falling from the sky; people taking a walk in leisure time; breeze blowing through the trees…. These all add a tint of vitality to your works. The camera language of animation also helps to make the rendering more story-telling. Thus, you can try animations to deliver more ideas to your clients or teammates.
Luckily, with D5 Render, you can create an impressive animation with ease and pleasure.
What’s keyframe and how to use it?
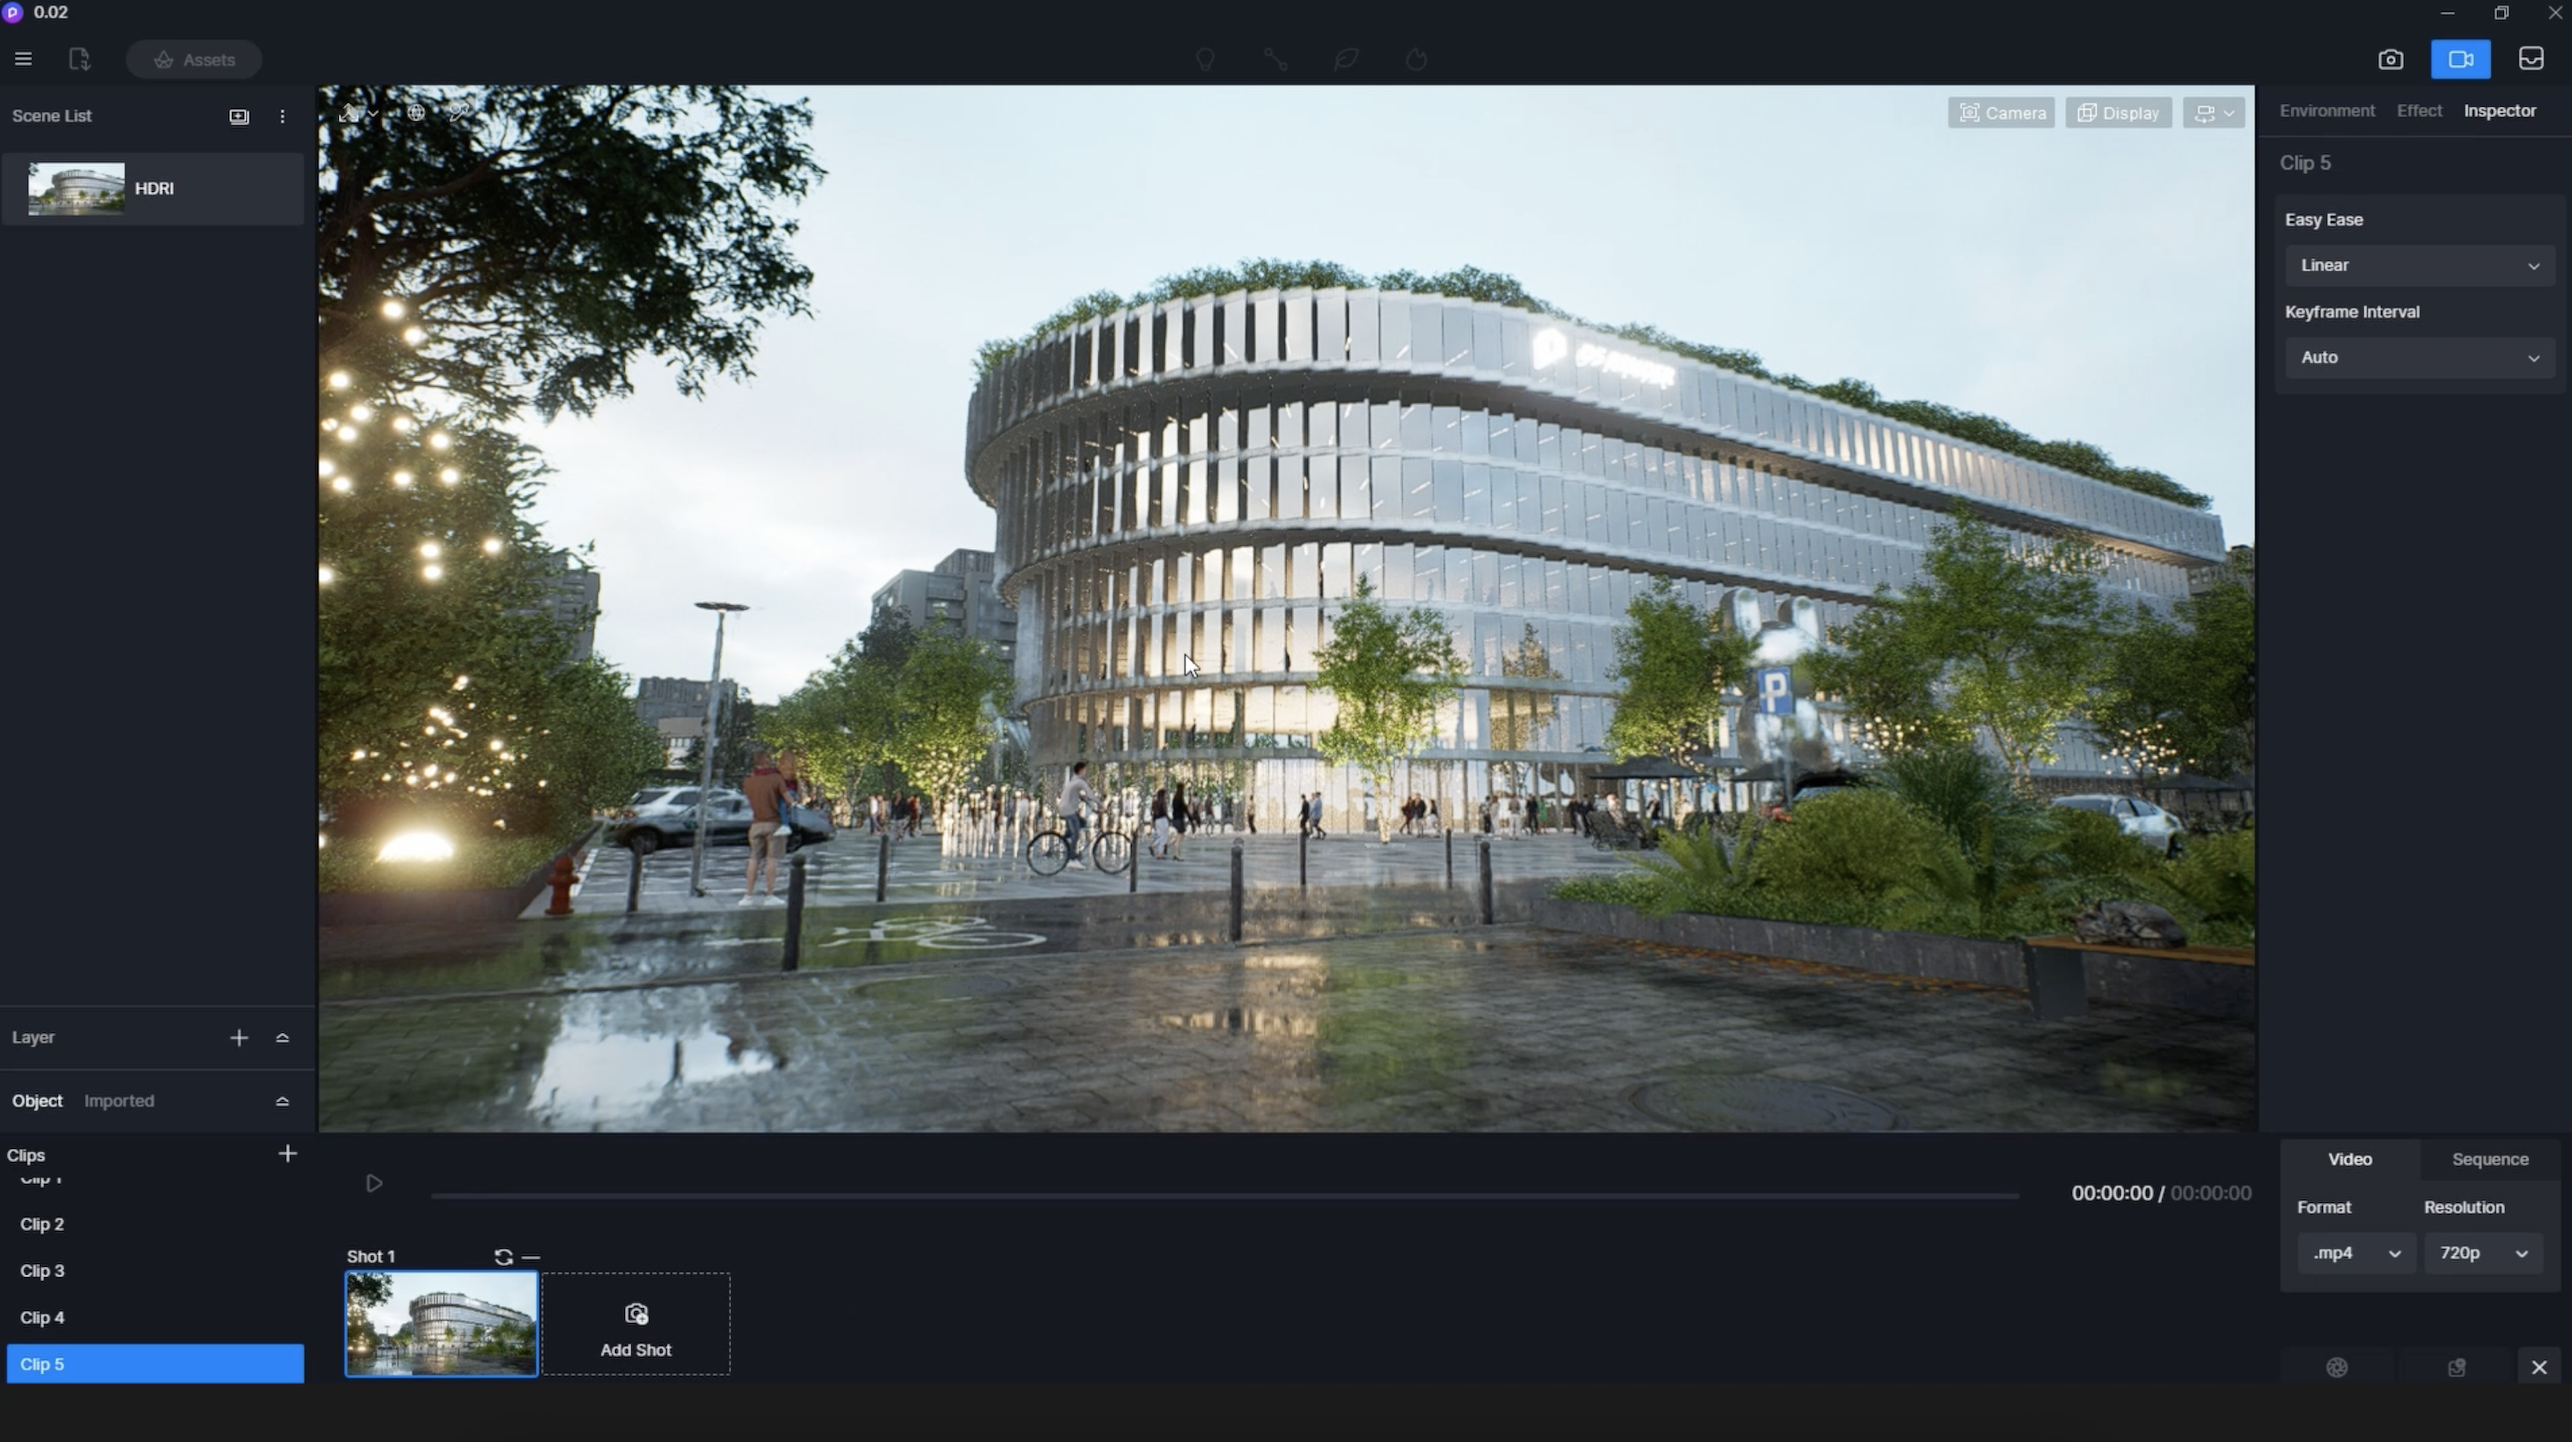
An animation clip consists of frames that are played continuously. Keyframes are the 2 or 3 frames that determine the start and end states of the action. In D5 Render, you can use keyframes to easily make an animation, especially for dynamic models.
After adding the start and end shot to the timeline, you can set Easy Ease and Keyframe Interval as you like.
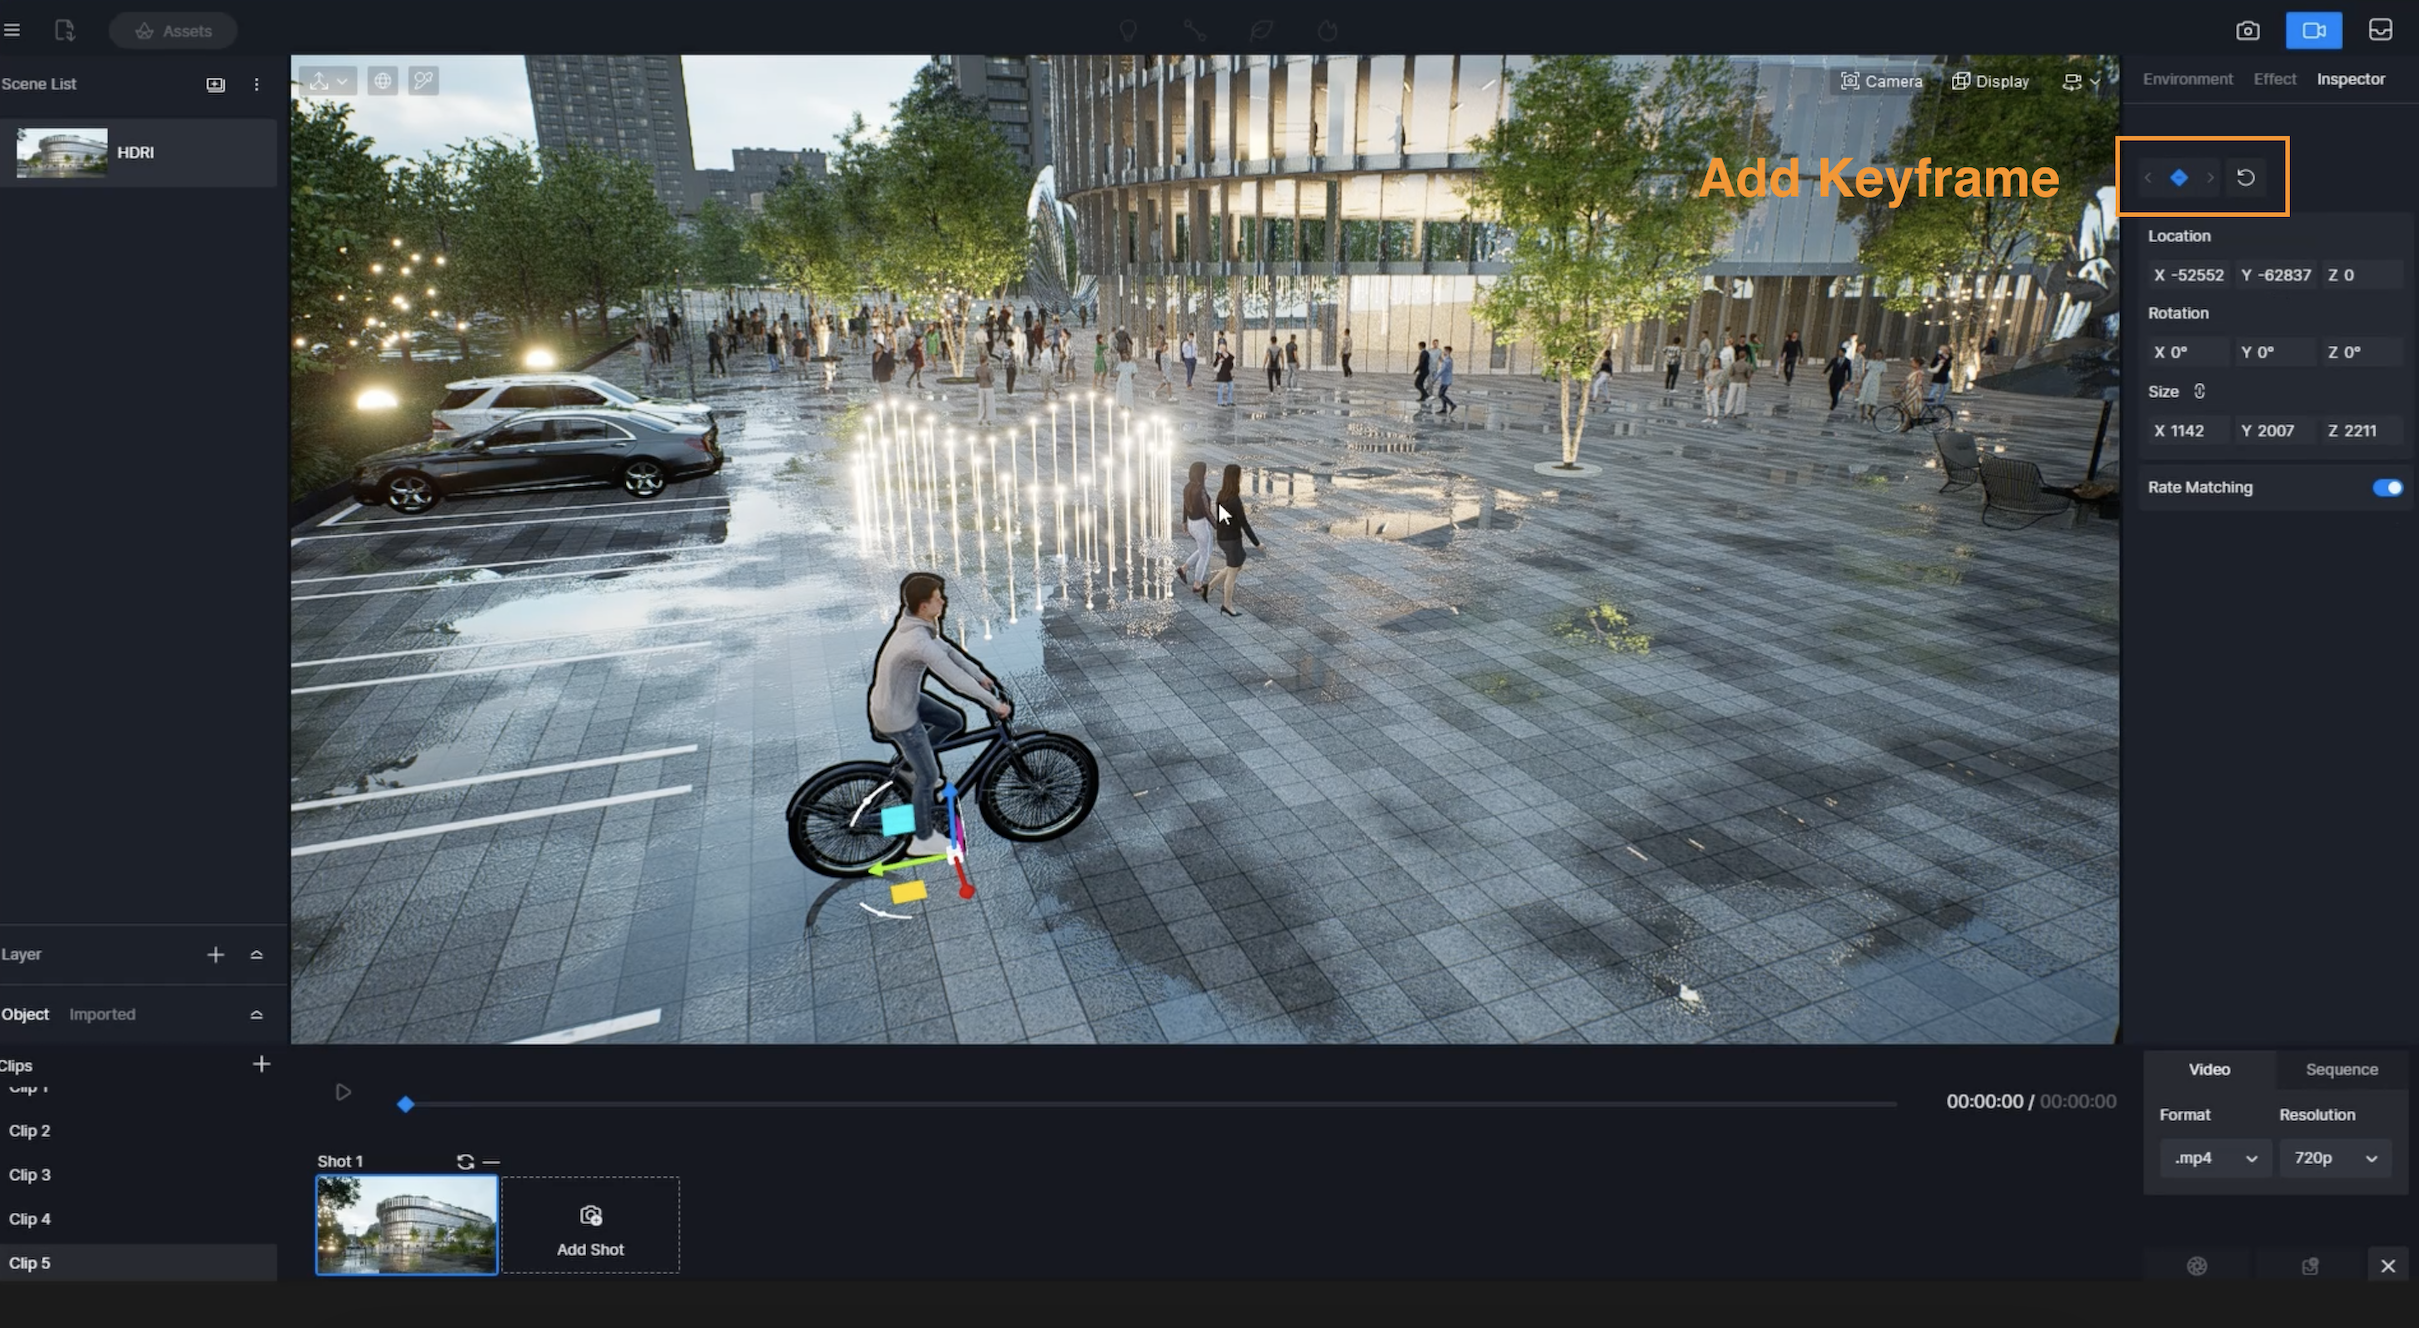
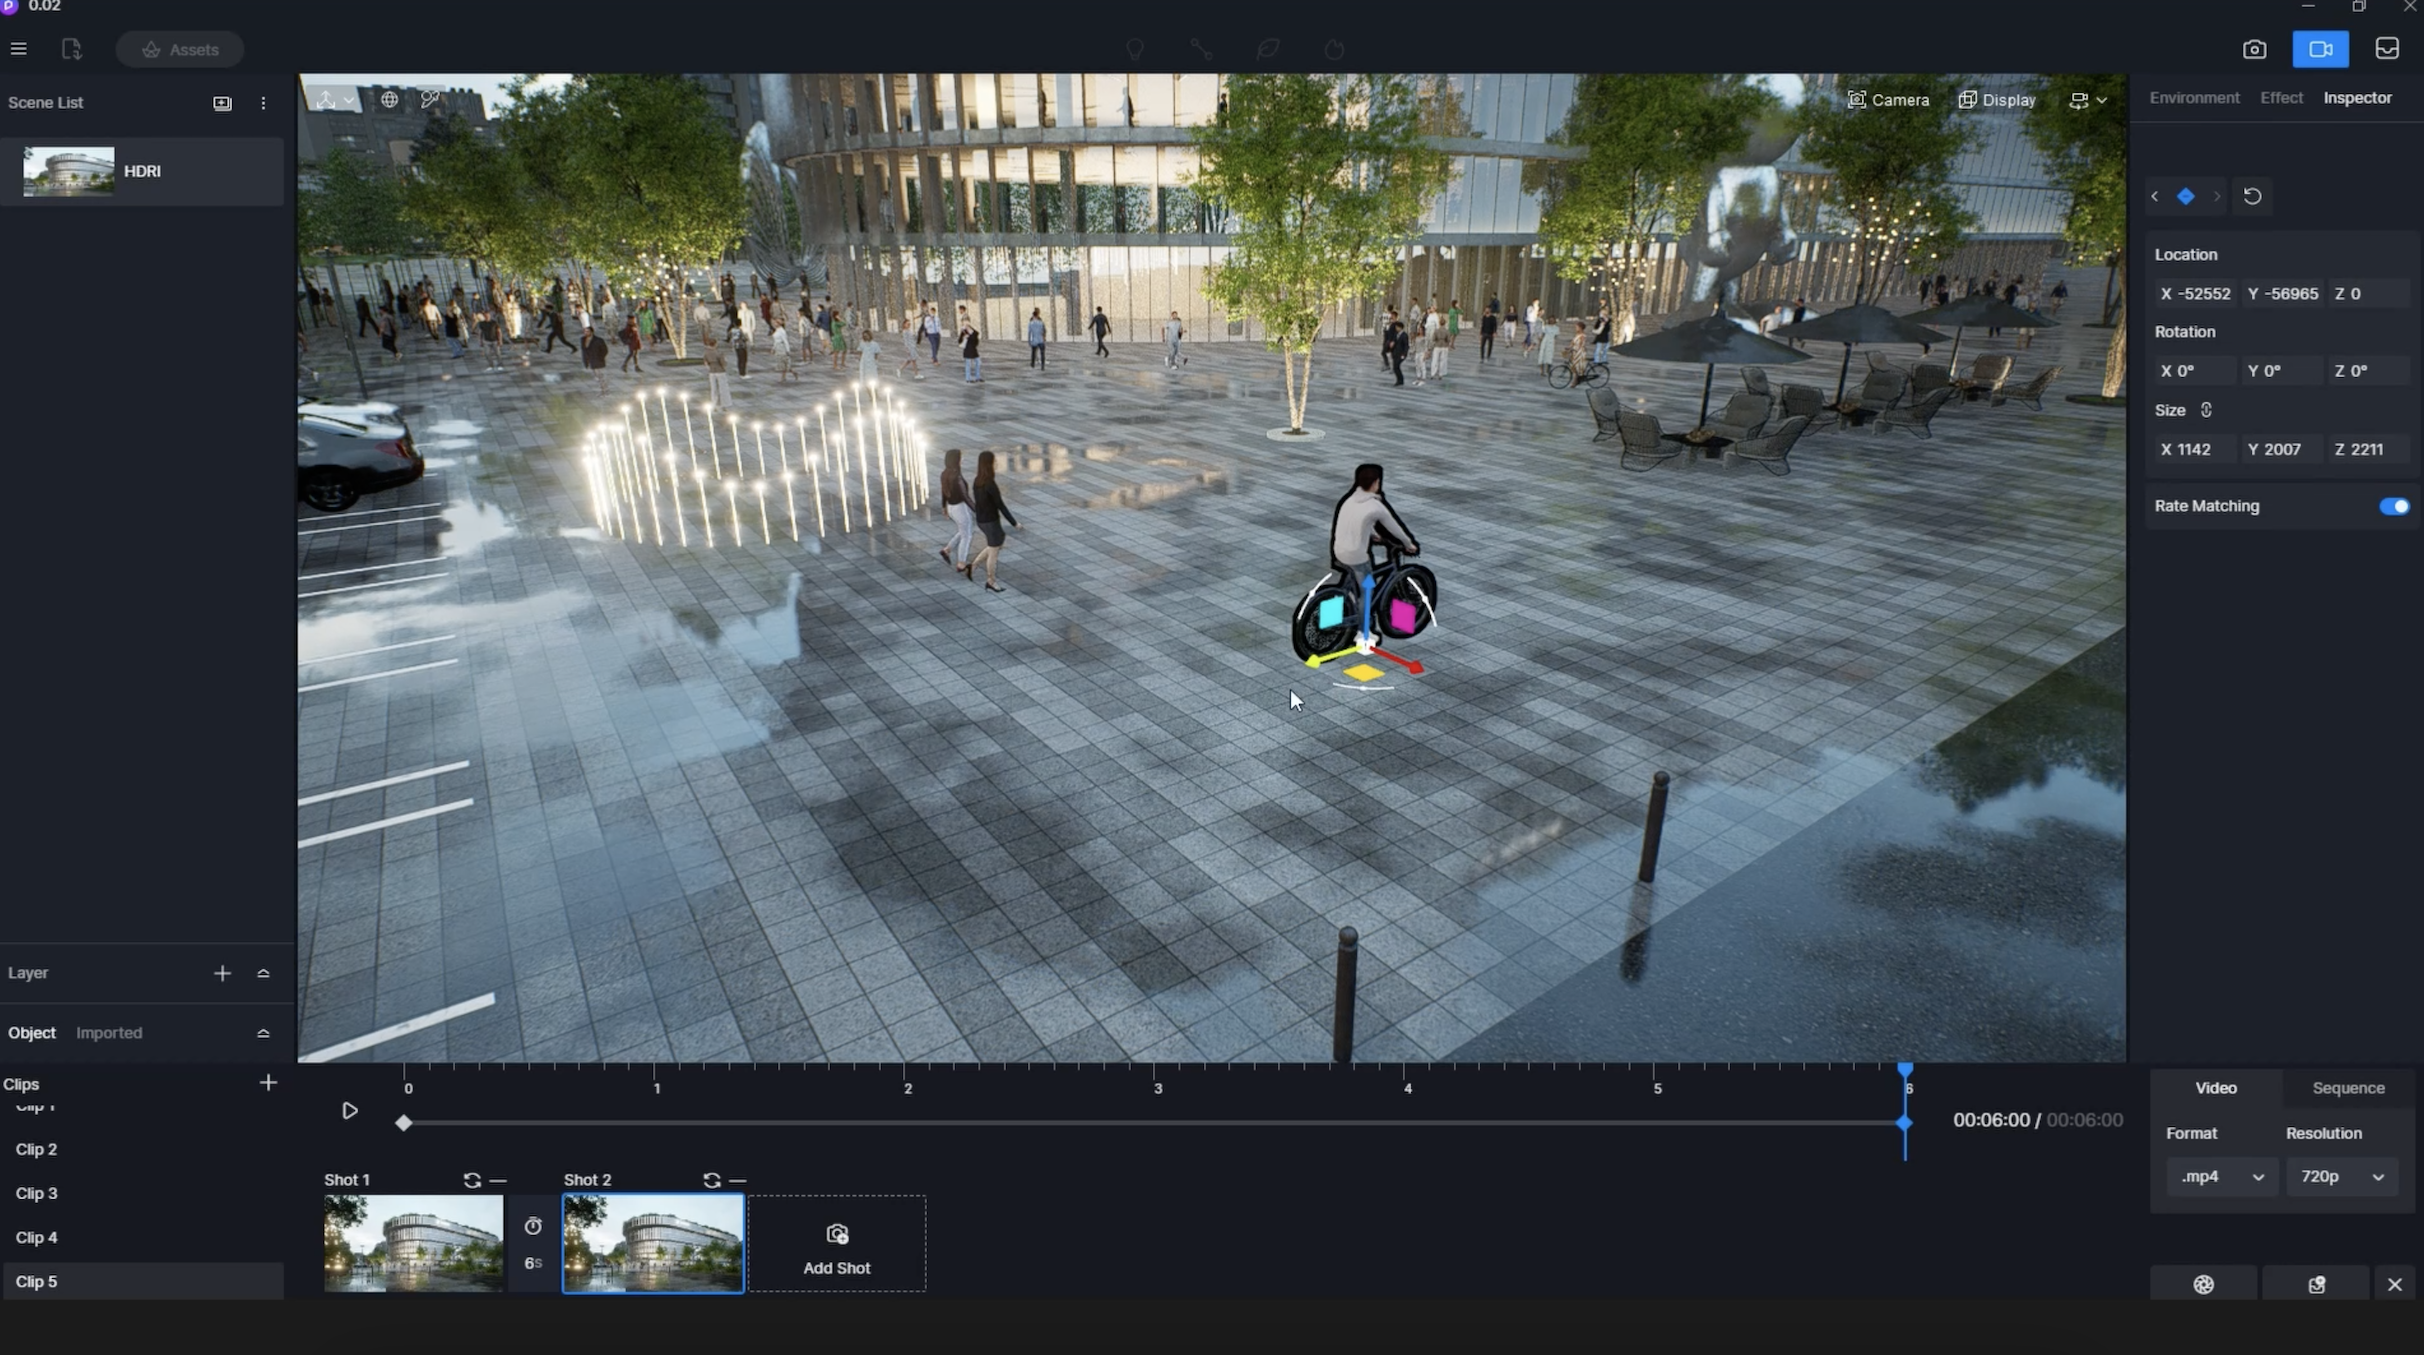
Observe the animated character you want to create and set a keyframe. Move it forward and set another keyframe. Now click the Play button and you will see the character begins to ride bicycle. That’s all you need to do.
Remember to turn on the Rate Matching so that the character’s movement rate will keep pace with the keyframe movement rate.
How to create animations of door opening/closing
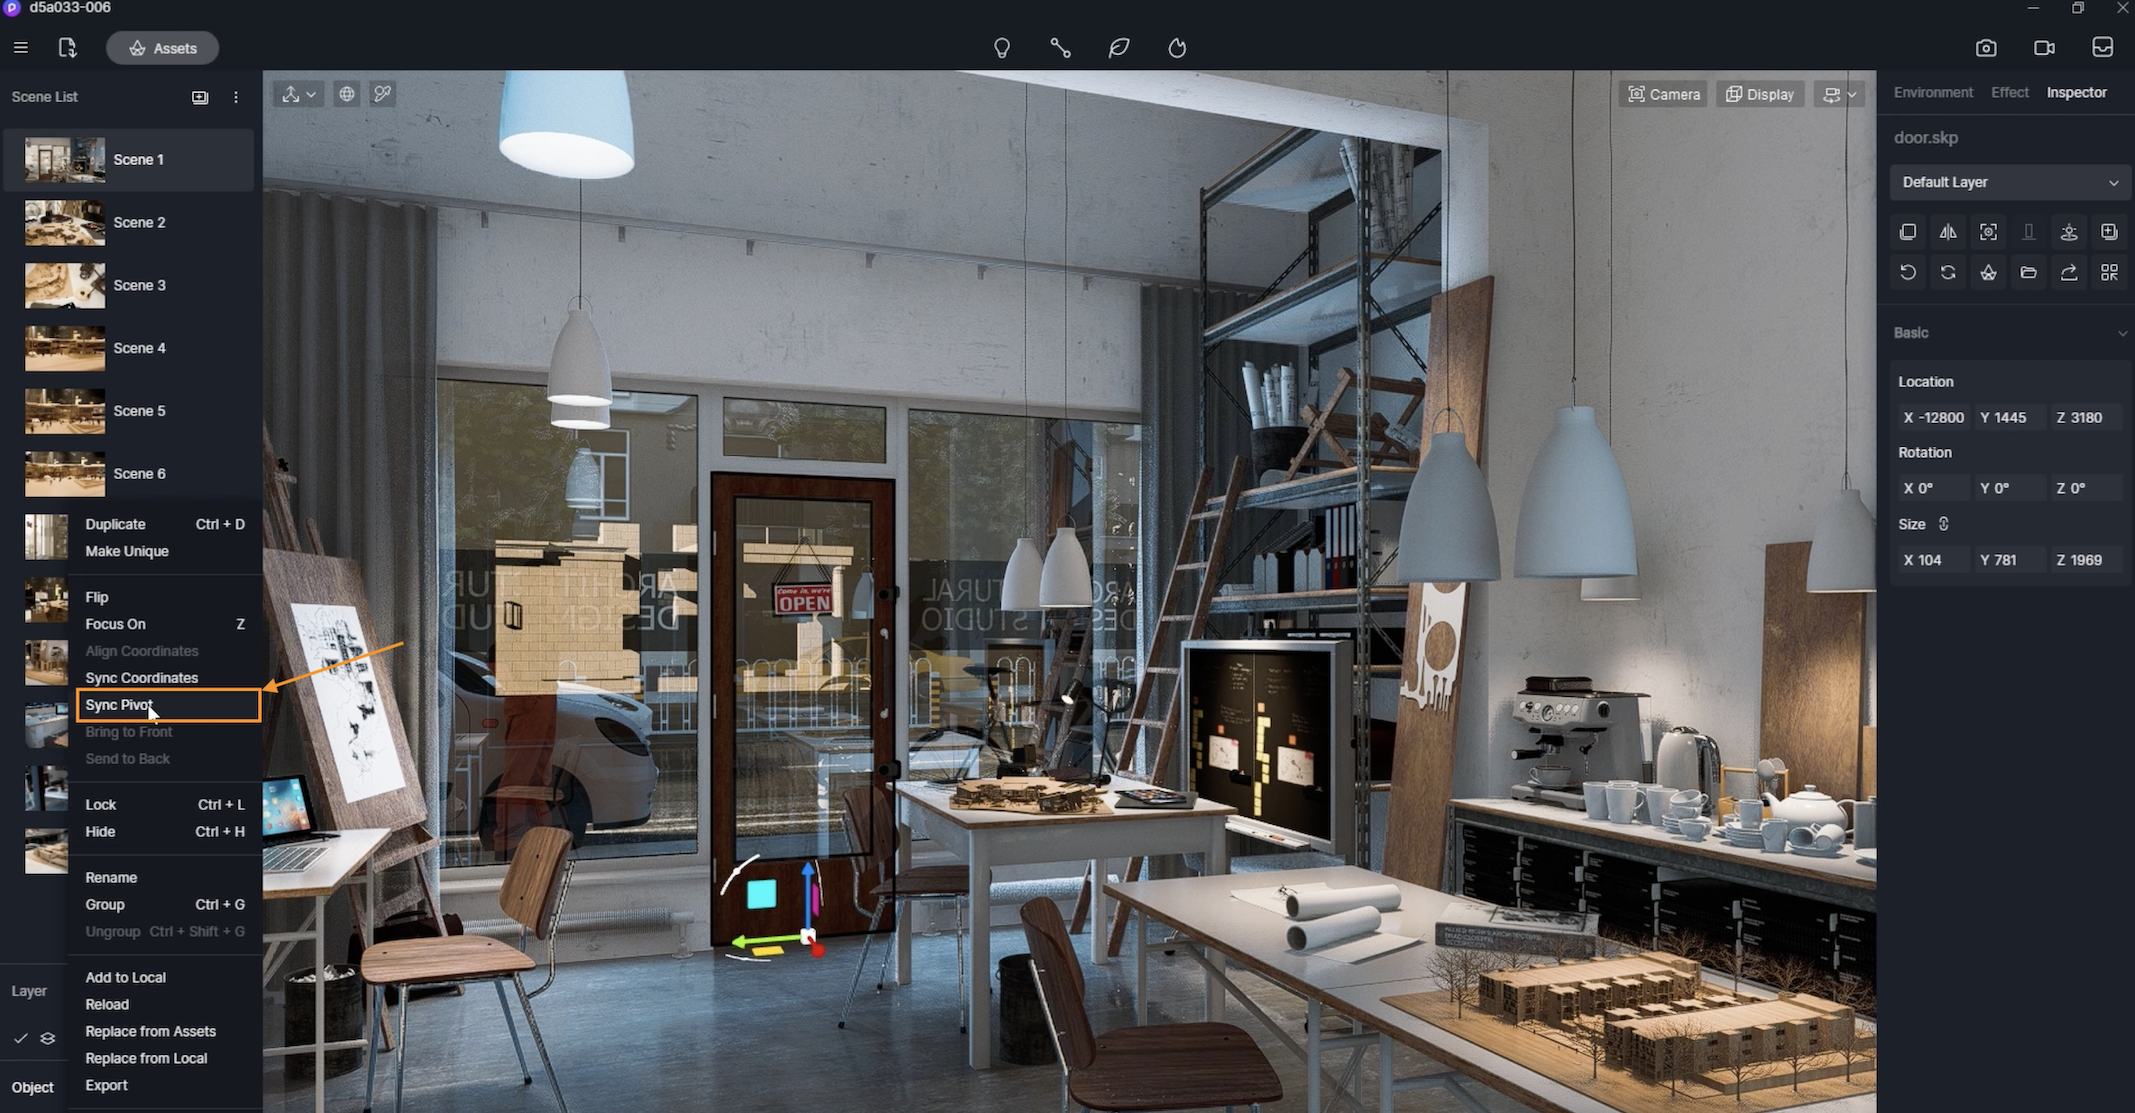
In D5 Render 2.3, a new feature “Sync Pivot” was added. With this feature, models in D5 can retain its (0,0,0) point from modeling software. In this case, we can replace or update a model with no need to change its position in D5. This is especially helpful in creating door opening/closing animation.
Select the door’s model and right click to choose “Sync Pivot”. Then you can find that the pivot of the door is synchronized.
Now go to video rendering. Select the door and add a keyframe. Rotate the door around the Z axis in the next shot, and finally adjust the easy ease and interval between keyframes.
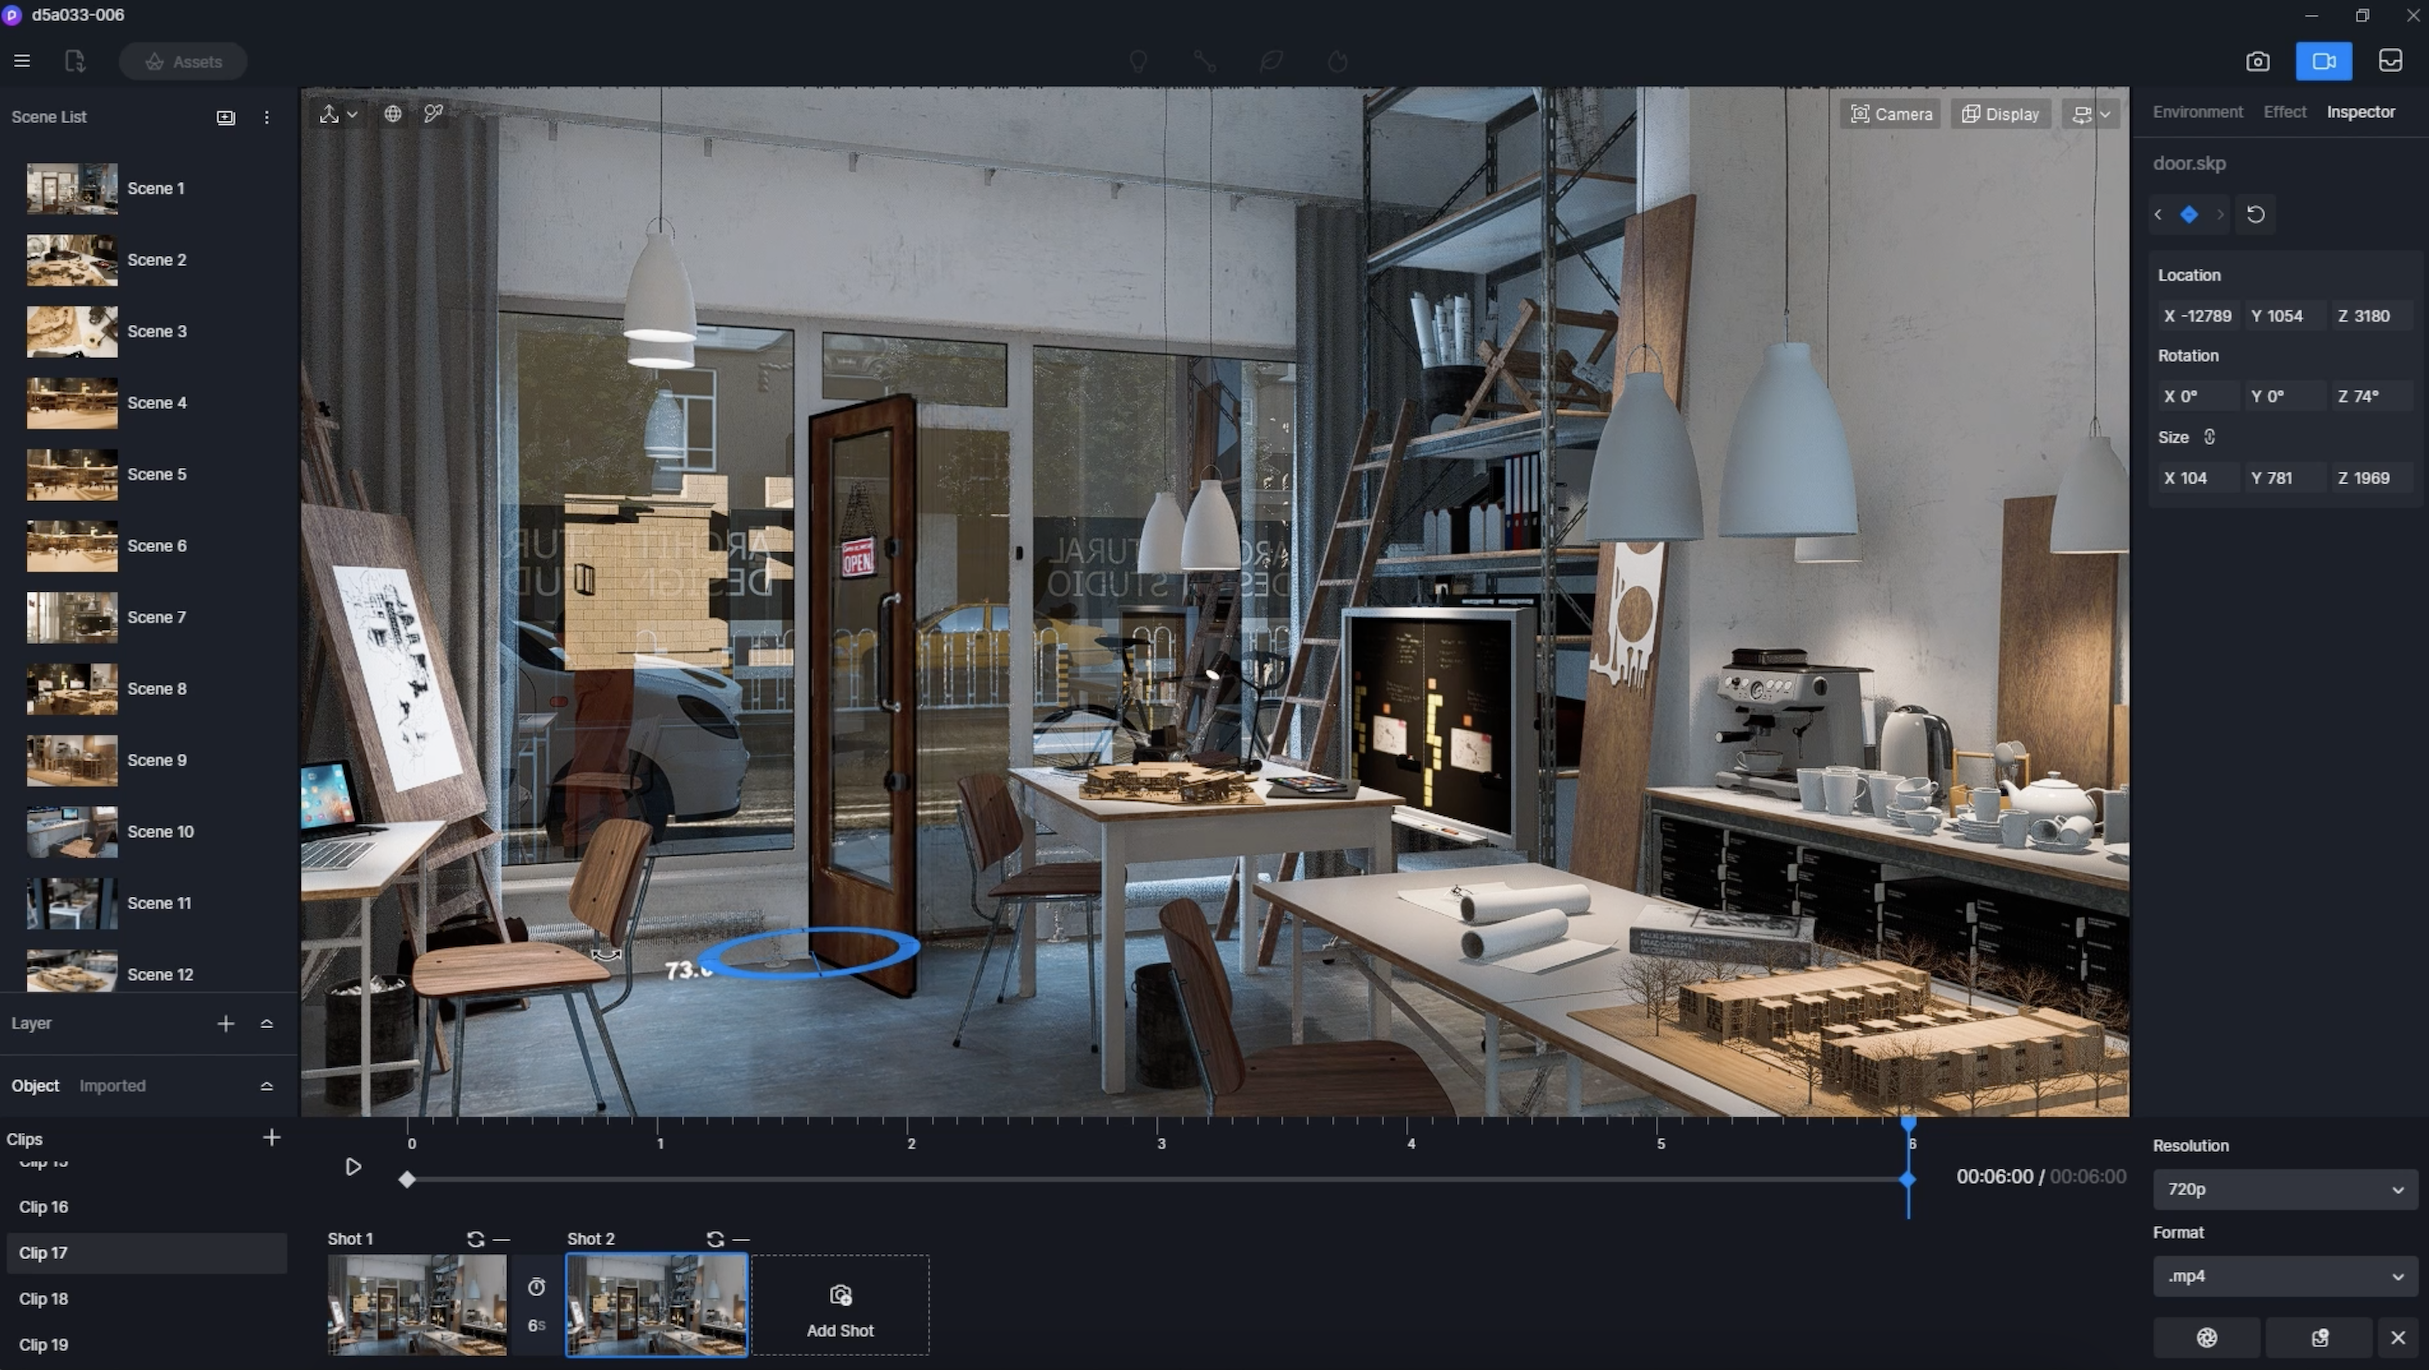
Done! This is how you make door animation using the “Sync Pivot” in D5.
How to make animated Ferris Wheel/clock hand
Before making animations of Ferris Wheel, first switch to Local Coordinate System(LCS) with the shortcut keys Alt + `. Local coordinate is an independent coordinate system of the model itself which makes the creation of spinning circles much easier as it doesn’t have restrictions on rotation angle as world coordinate does.
After setting the start keyframe of the Ferris Wheel in the first shot, rotate it and save another shot. Click the Play button and you’ll get the animation done.