
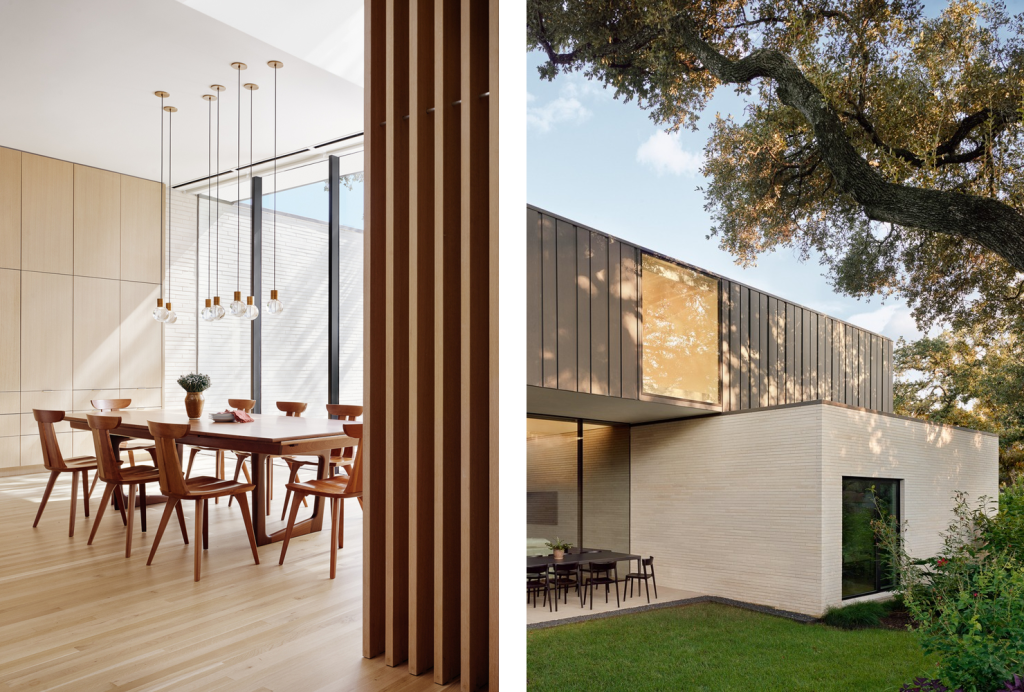
Architectural visualization demands different rendering strategies when shifting between architecture and interior design. In D5 Render, mastering the distinct tools and workflows for each scenario is essential to achieve photorealistic results efficiently. This article explores the key differences in techniques, camera settings, and D5 Render features—helping professionals deliver stunning visuals for both outdoor exteriors and detailed interiors.

1. Lighting Strategies: Sun vs. Artificial Control
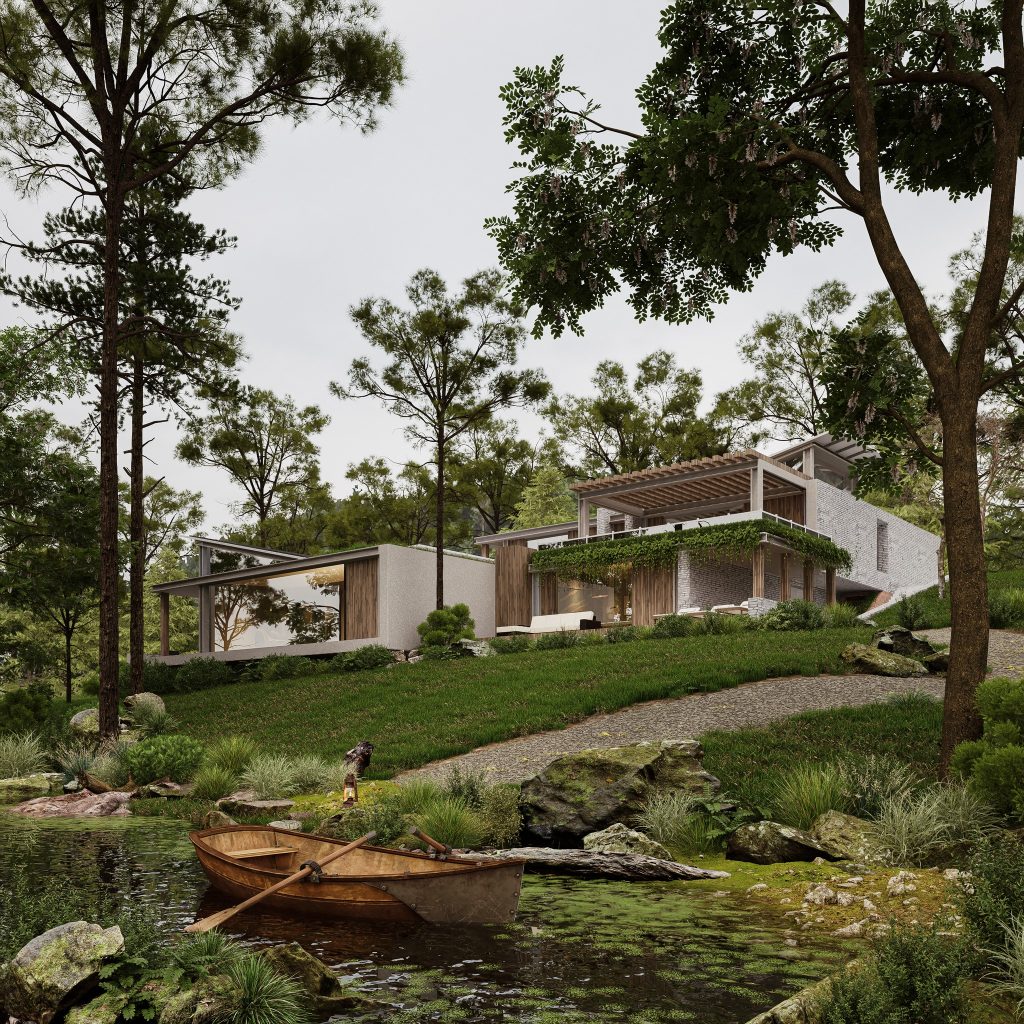
Exterior Rendering: Natural Lighting Dominates
- Primary Source: Sunlight and HDRI environments.
- Key Technique: Utilize Custom Sun + HDRI Split in D5. This separates sun rotation from the sky background, offering flexibility in controlling light angles without affecting sky visuals.
For exterior renders, always adjust the sun’s position to create dynamic shadows that add depth and realism to your scene.
- AI Atmosphere Match: Ideal for matching HDRI environment lighting with sun direction automatically, boosting realism and workflow speed.
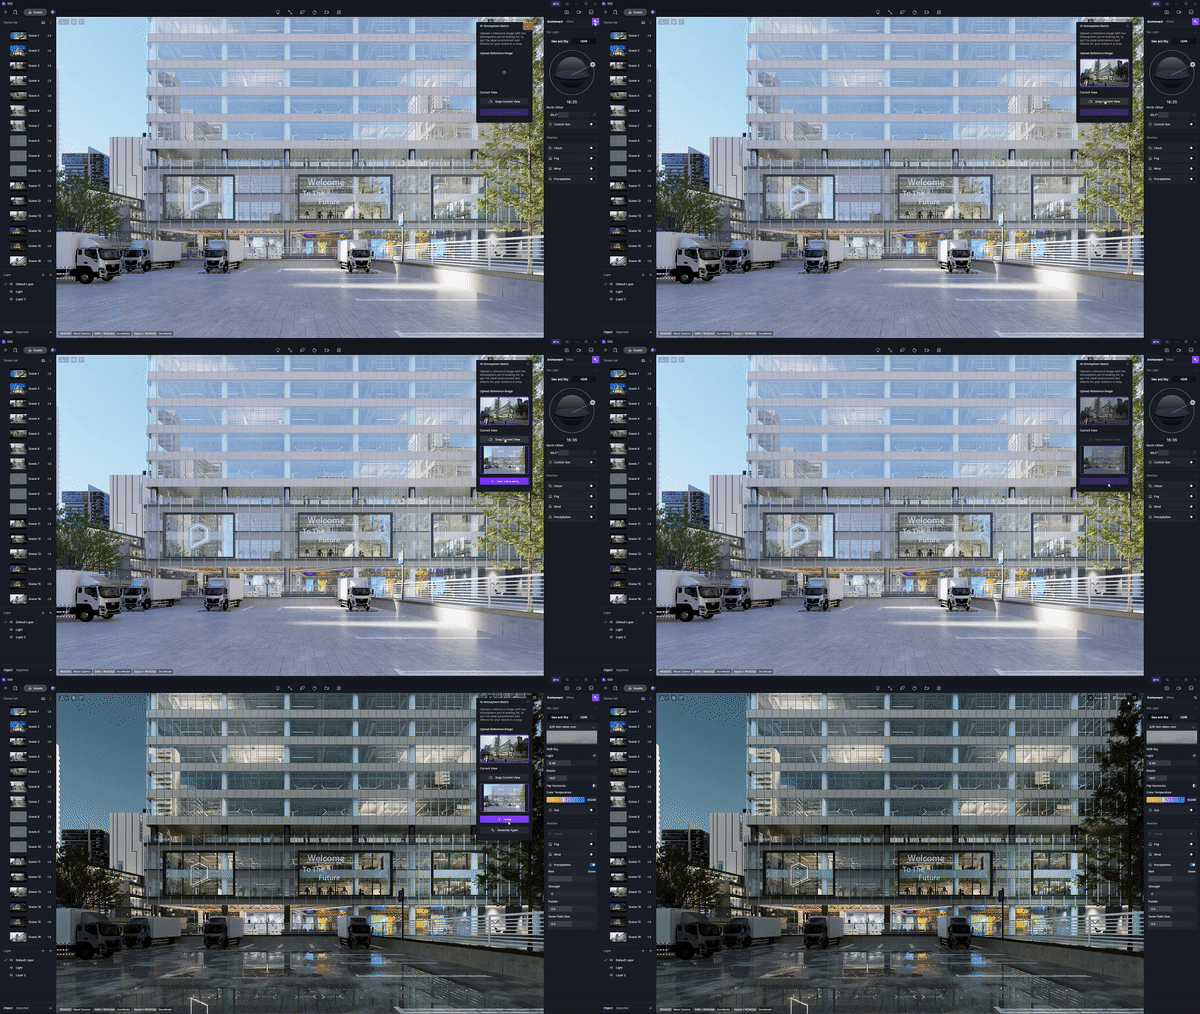
- Color Bleed Control: Enable “Limit Color Bleeding” to prevent excessive color bounce from grass or red bricks—avoiding unnatural tints.
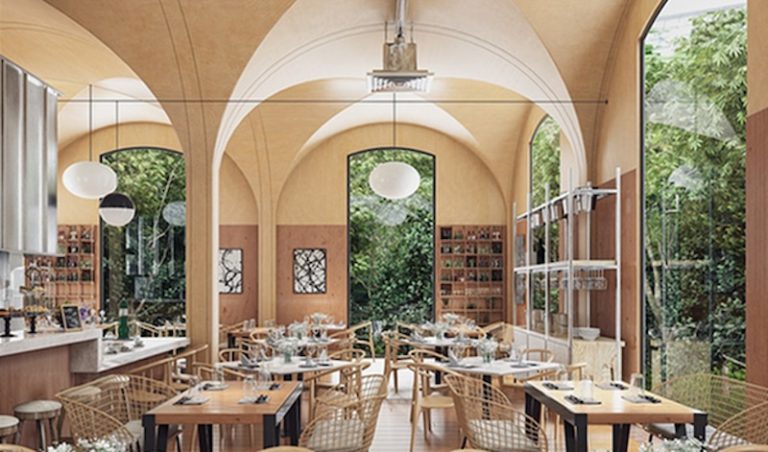
Interior Rendering: Balanced Natural and Artificial Lighting
- Challenges: Natural sunlight may not reach deep interior zones.
- Solution: Add Rectangular Lights or Spotlights in key areas (e.g., large windows, kitchen counters) to balance exposure.
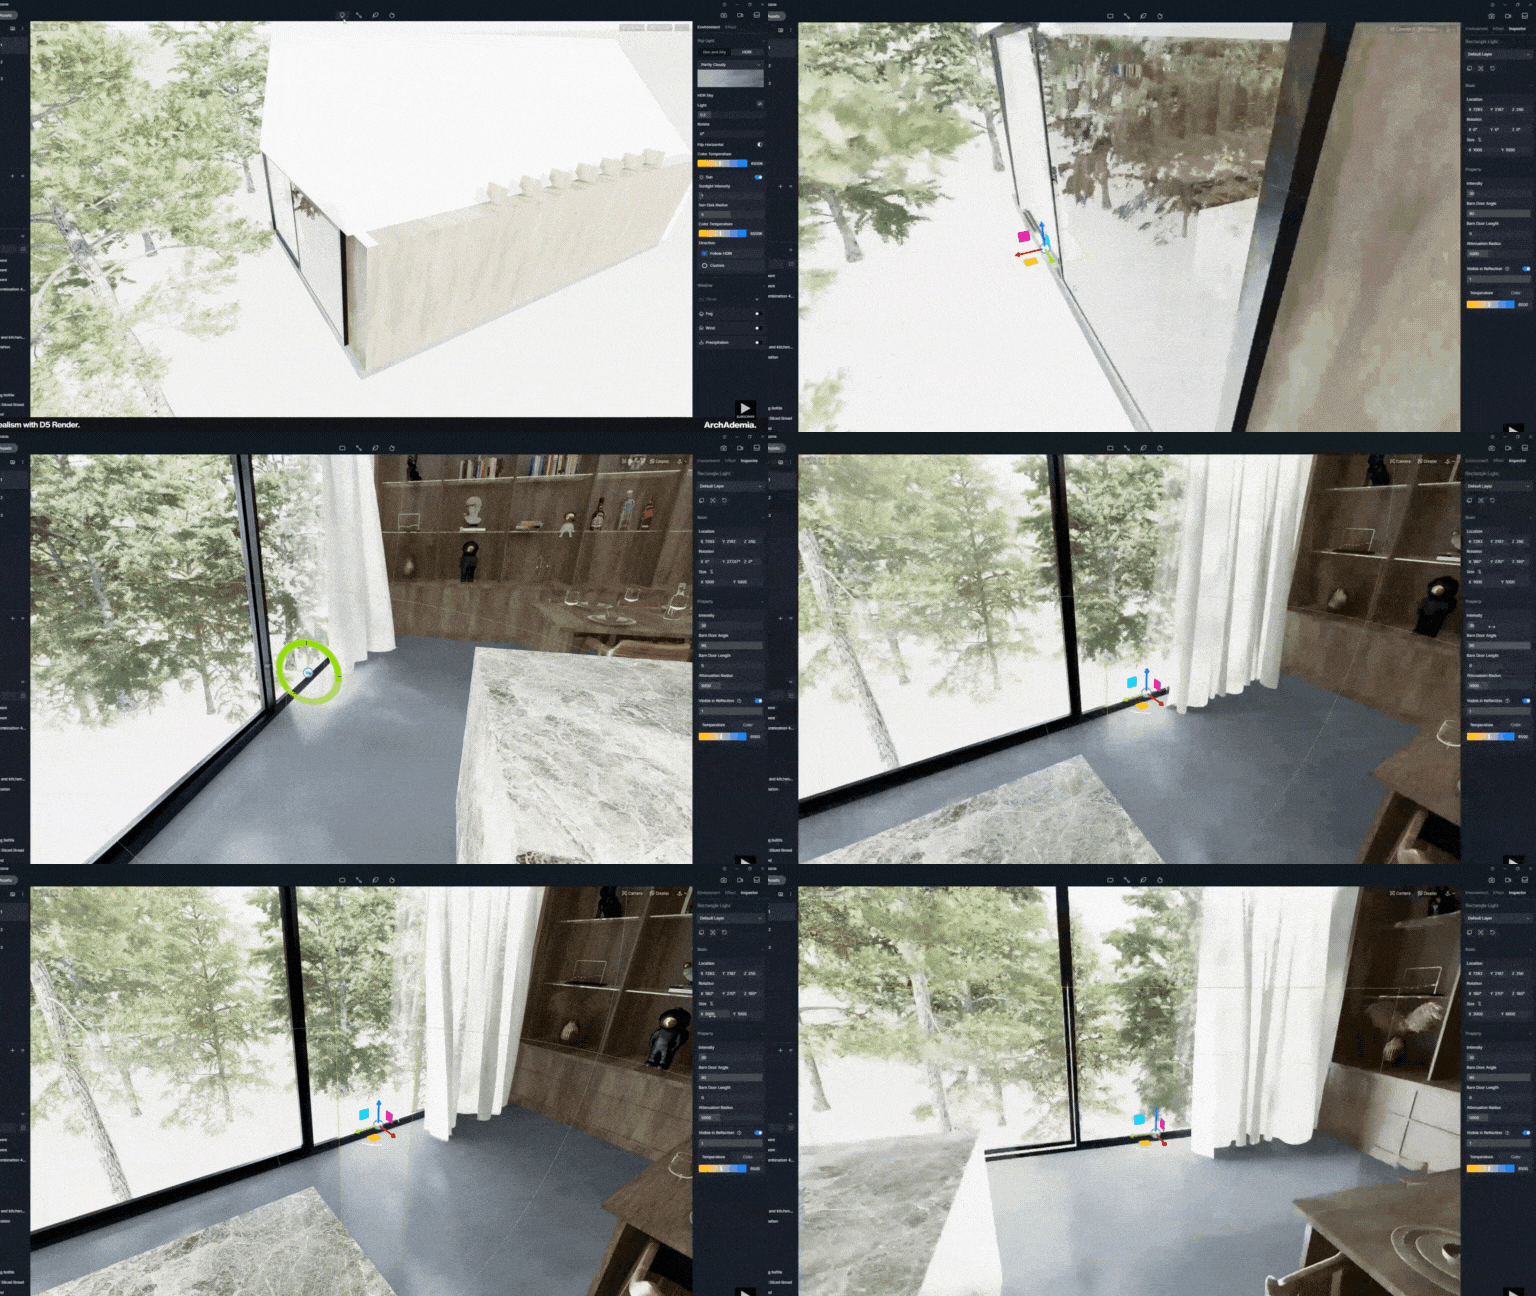
- Manual Exposure: Disable Auto-Exposure. Manually adjust exposure for precise control, preventing brightness shifts across rooms.
In interiors, strategically place artificial lights to mimic real-world lighting scenarios, enhancing the mood and depth of the space.
2. Material and Texture Handling
Exterior Focus: UV Scaling, Randomization, and Scatter
- Large Surface Materials: Apply UV Randomizer and Triplanar to bricks, siding, and gravel to prevent repetitive patterns.
- Scatter Tool: Preferred over material grass for detailed landscapes. Offers density, species, and scale control.
Use the Scatter tool and Random Placement to add natural variation to your landscapes, making them appear more lifelike and less uniform.
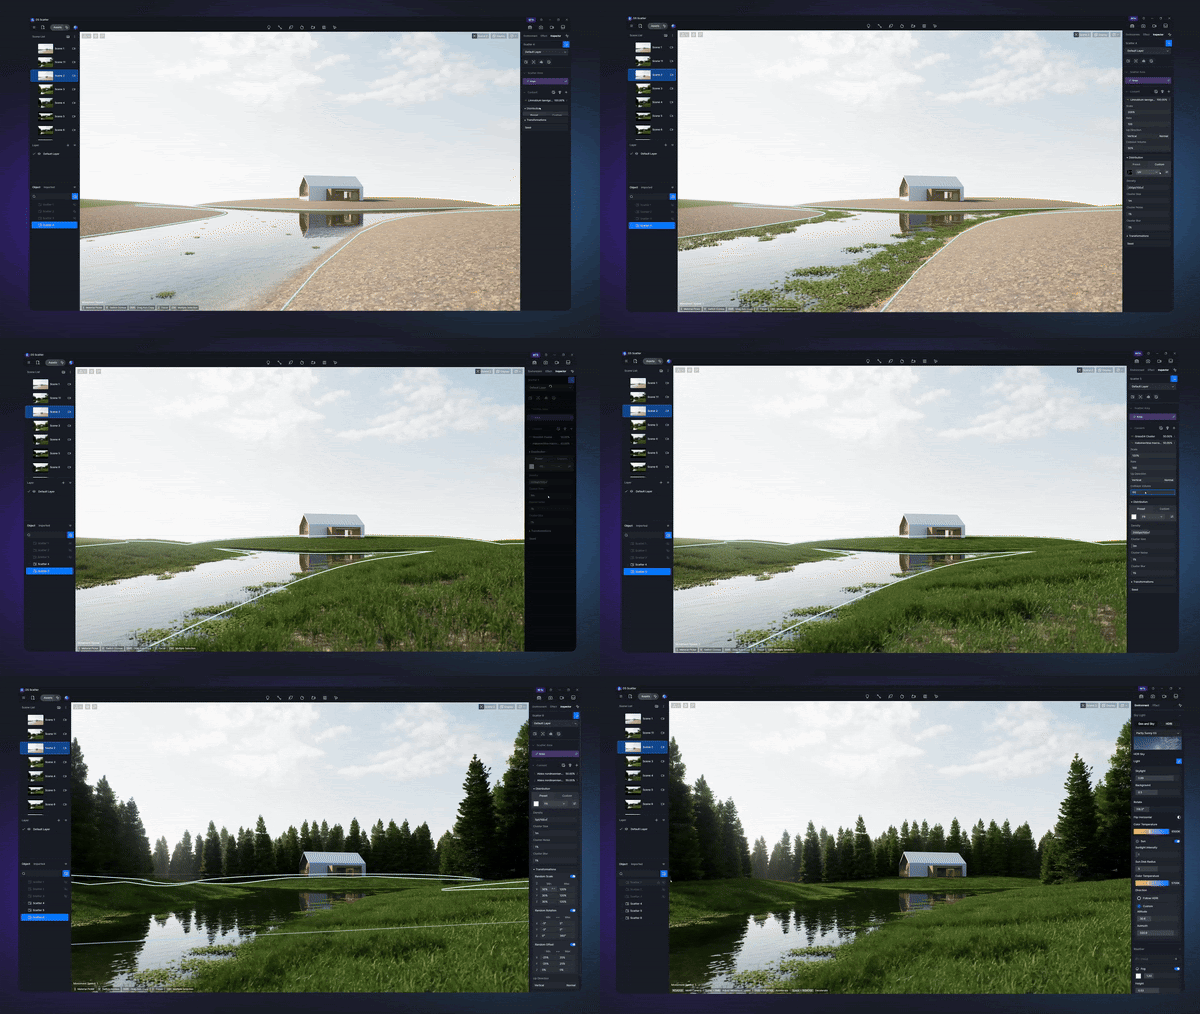
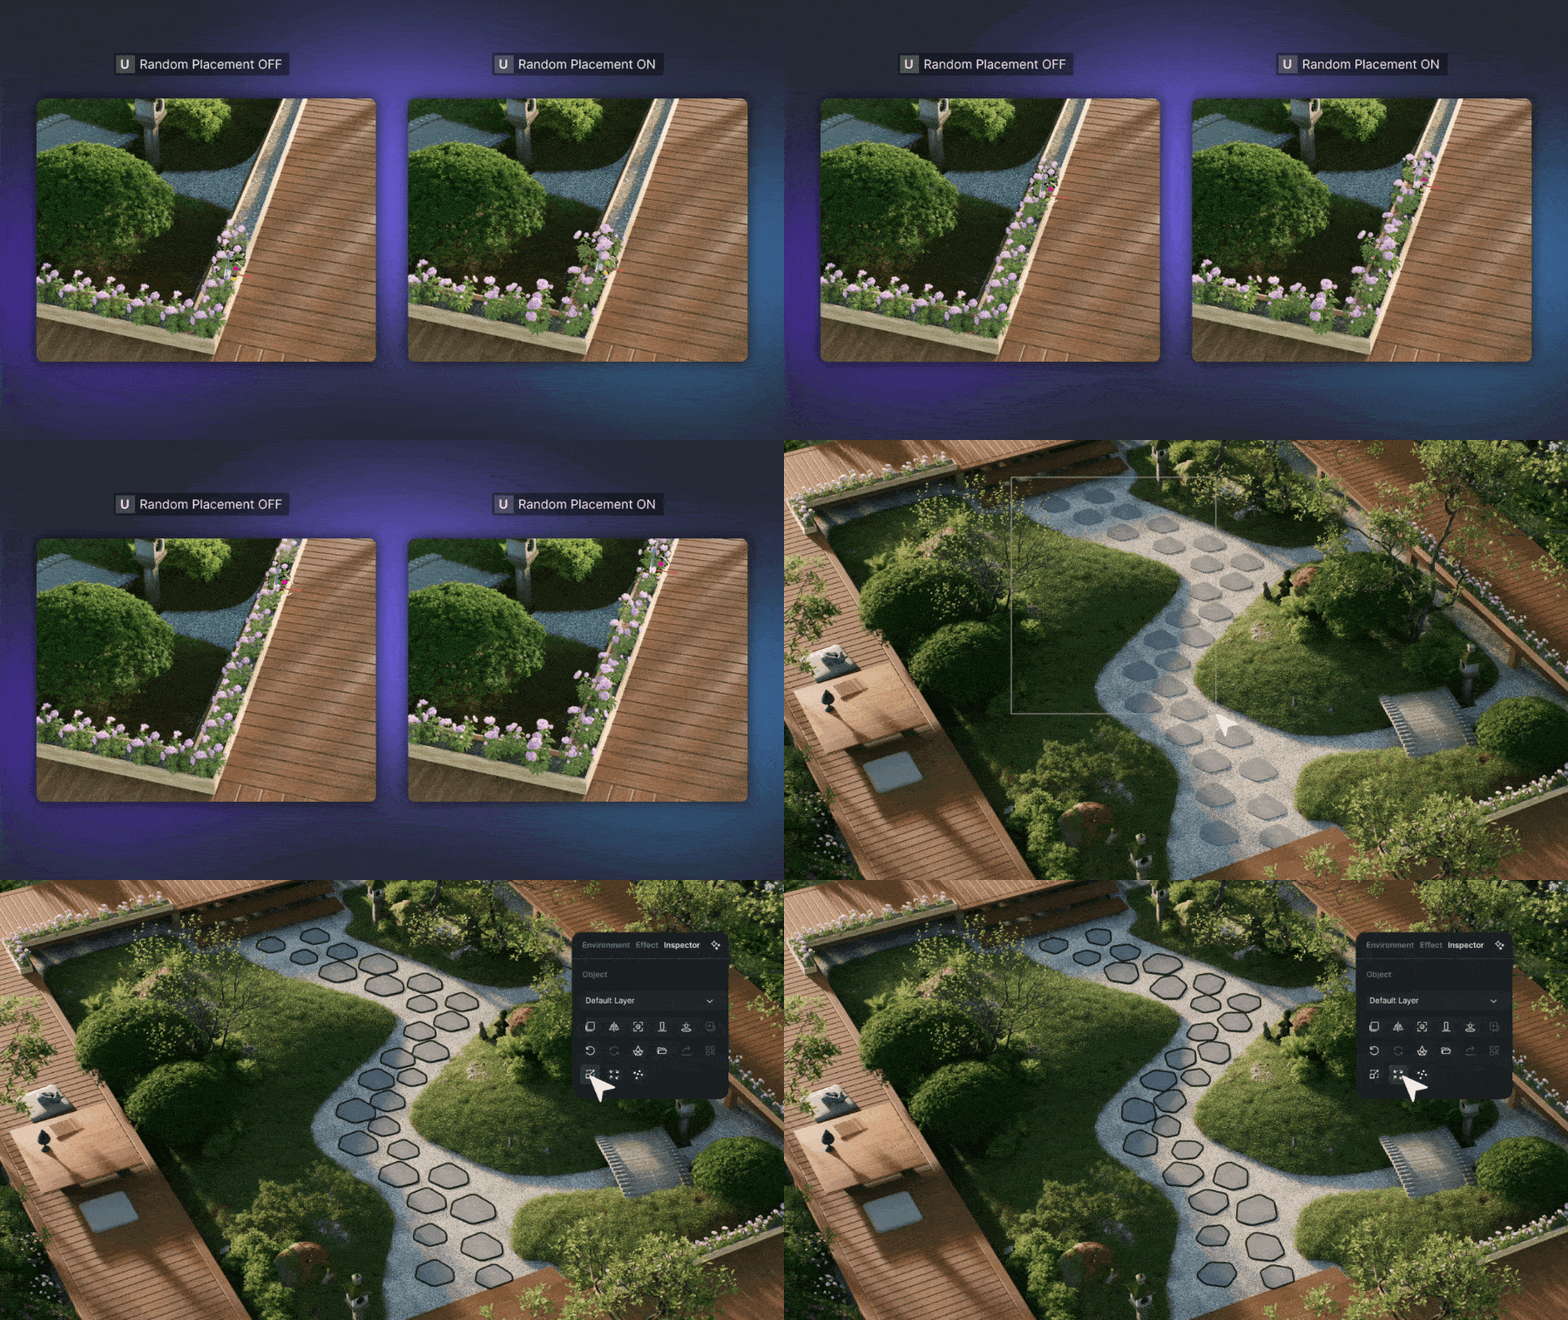
- Real Plant Species Matching: Use lifelike vegetation from D5 to accurately represent real-world plant species, ensuring botanical precision (e.g., Acer Palmatum or Sapium Sebiferum).
Interior Focus: Reflection and Roughness Tuning
- Materials: Prioritize reflection, specular, and roughness adjustments on wood floors, metals, countertops.
- Round Corners: Essential for cabinetry, counters, and furniture to eliminate unrealistic sharp edges.
- AI-generated Texture Maps: To enhance low-res imported textures with normal, roughness and height channel maps.
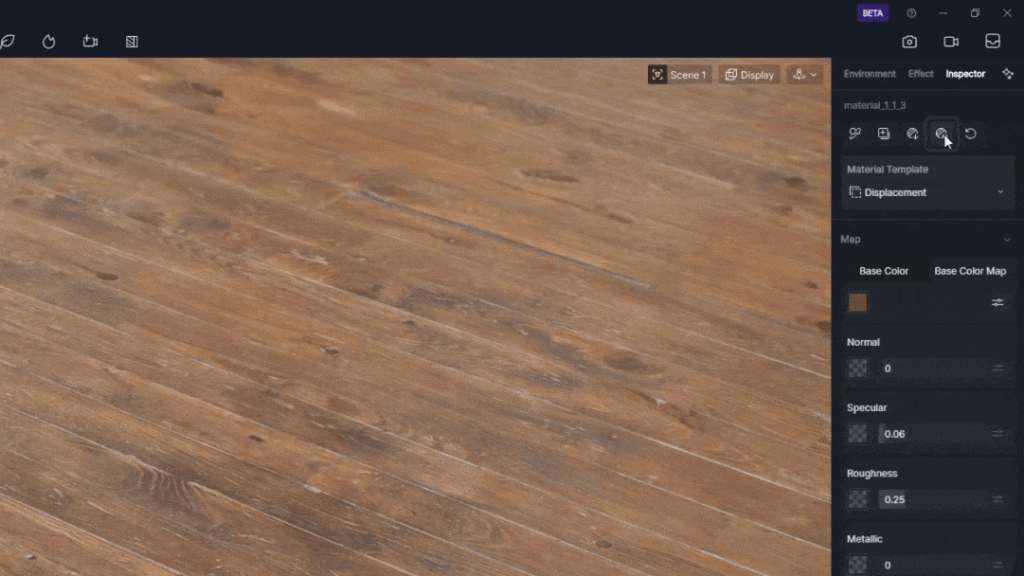
Fine-tuning material reflections and roughness is key to achieving realistic interiors; don’t overlook the subtle details.
3. Camera and Composition Techniques
| Setting | Exterior Rendering | Interior Rendering |
|---|---|---|
| Projection Mode | 2-Point Perspective | 2-Point Perspective (essential for interiors) |
| Focal Length | 25–35mm for drama | 35–50mm for realistic proportions |
| Aspect Ratio | Matches site/reference (3:2 or 4:3) | 9:16 Portrait framing preferred |
| Depth of Field (DOF) | Optional | Critical—directs viewer focus (kitchen island, window view) |
| Clipping Plane | Rarely needed | Useful for tight interior spaces |
| Saved Camera Views | Multiple views for site angles | Per room/zone for iterative refinements |
Adjusting the focal length appropriately can dramatically change the perception of space in your renders; experiment to find the best fit.
Check out this video to understand it better.
4. Rendering Mode and Performance Balancing
Exterior Rendering (Speed Priority)
- Render Mode: Standard Real-Time Rendering.
- Why: Handles vegetation-heavy scenes and wide angles efficiently.
- Typical Use: Quick iterations, client reviews, large landscapes.
For large exterior scenes, optimize your render settings to balance quality and performance, ensuring timely deliveries.
Interior Rendering (Quality Priority)
- Render Mode: Path Tracing for final shots.
Path Tracing is essential for interiors to capture the nuances of light interactions within confined spaces.
- Why: Accurately renders glass, metal, and light reflections. Supports complex lighting scenarios like night scenes or mixed sources.
- Pro Settings: Ray Depth 3, Samples 100 (balanced quality vs. time).
Read more about D5’s Real-time Path Tracing here.
5. Post-Processing and AI Integration
Exterior Post-Processing
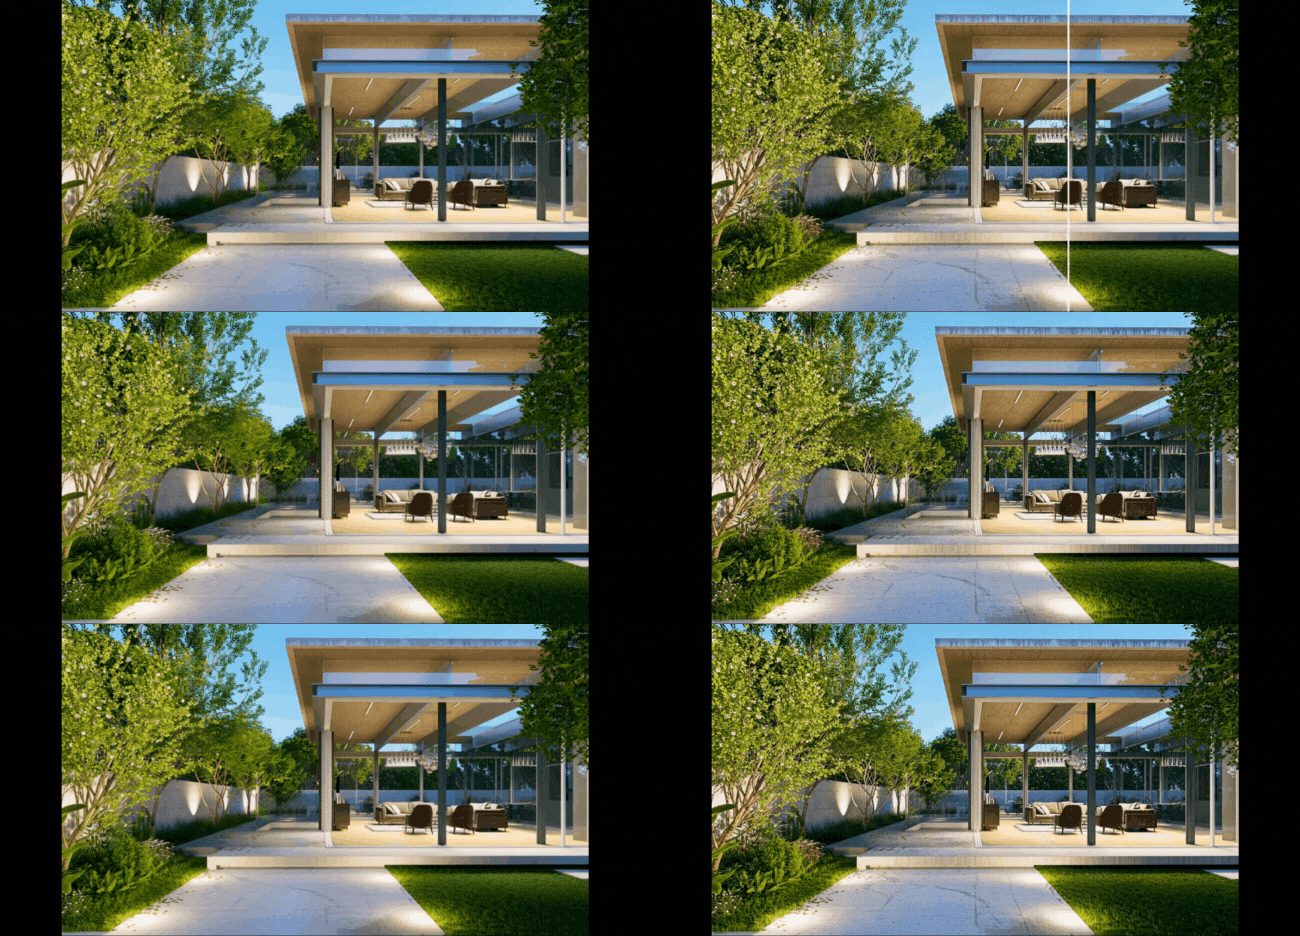
- AI Enhancer: Target grass, sky, and characters for subtle detail boosts.
Use post-processing sparingly on exteriors to maintain natural lighting and avoid over-saturation.
Interior Post-Processing
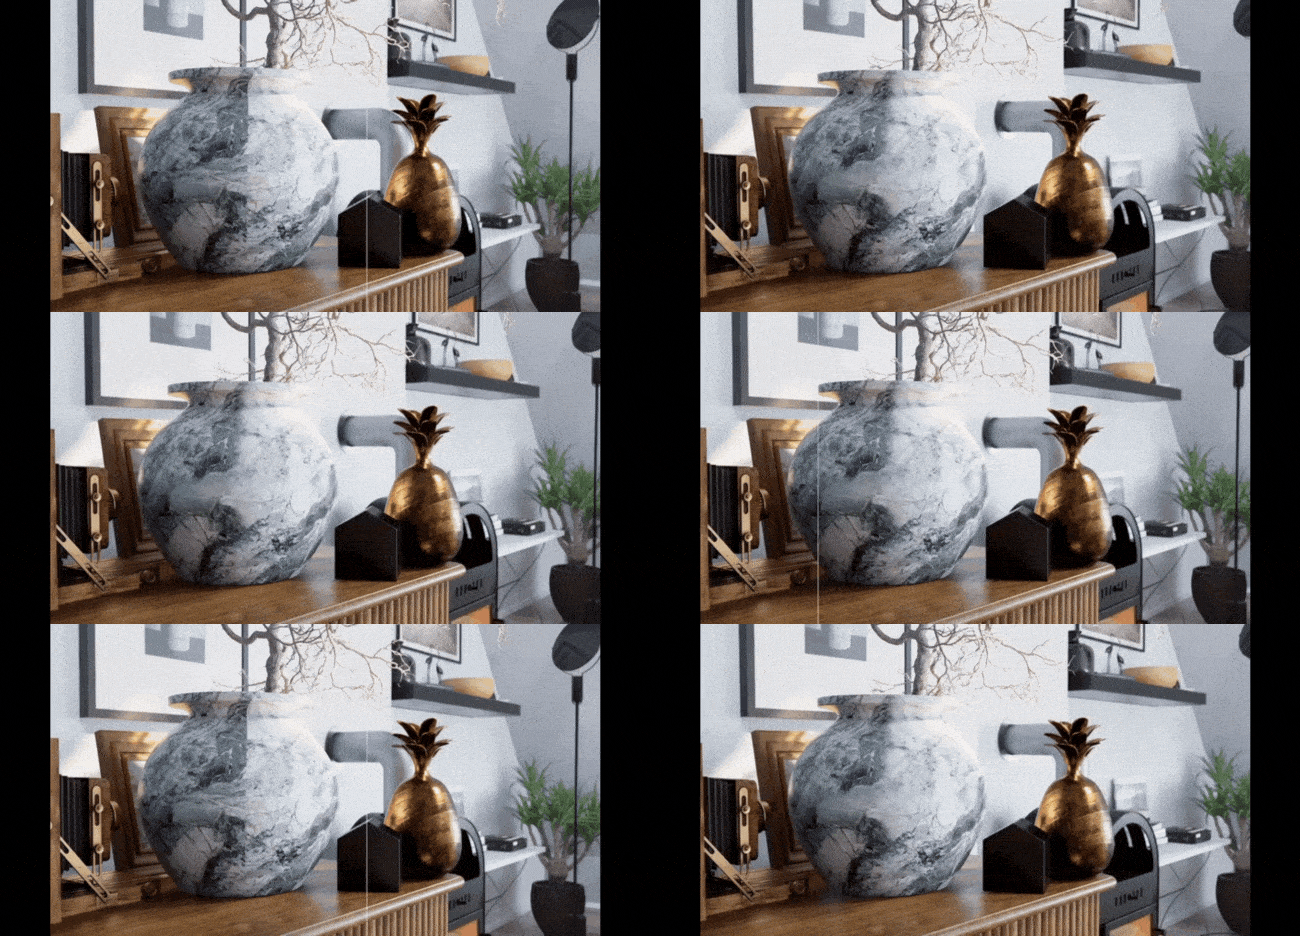
- AI Enhancer: Apply carefully—focus on window views, metallic details without overshooting highlights.
- AI Make Seamless: Remove seams between base color map textures for a consistent and natural effect.
- Minimal Photoshop: Aim for complete rendering within D5 to streamline client revision cycles.
In interior post-processing, focus on enhancing textures and materials to bring out the richness of the scene.
Conclusion: Tailor Techniques for Scene Type
Exterior and interior architectural rendering in D5 requires distinct approaches:
| Exterior Focus | Interior Focus |
|---|---|
| Sun/HDRI control | Balanced lighting (Sun + Artificial) |
| UV randomizing | Specular, roughness precision |
| Scatter-based landscaping | Round cornering edges |
| Color bleed management | Emphasis on DOF & focus control |
| Standard render for speed | Path tracing for realism |
Leveraging D5 Render’s robust toolset—like AI Post-Processing, Scatter Tool, and Path Tracing—allows architects and designers to switch seamlessly between scenes while maximizing realism and efficiency.
Ready to enhance your visualization workflows?
Download D5 Render now and experience optimized rendering tailored for both exterior landscapes and immersive interior spaces.
 English
 Español
 Français
 한국어
한국어 日本語
日本語