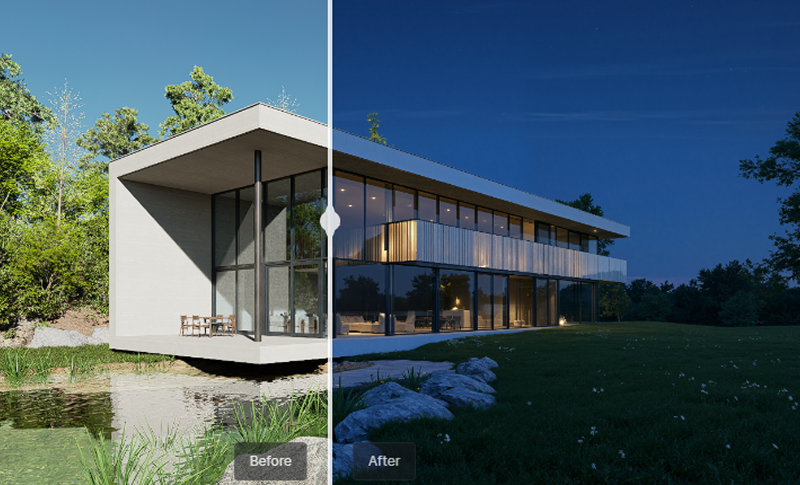
Creating realistic night scenes has long been a challenge for many 3D artists. Between managing artificial and natural lighting, balancing exposure, and ensuring the scene feels alive after sunset, night renderings can easily become time-consuming and technically frustrating.
But here's the good news: with D5 Render's intuitive lighting tools and AI-powered features, creating realistic night scenes is quicker and easier than ever—even for those new to the process. In this post, we'll break down a simple, effective approach to producing breathtaking night scenes in D5 Render, based on an experienced artist—Andy Christoforou's real workflow.
Key Takeaways on Creating Stunning Night Renders in D5 Render
- Leverage D5 Render's HDRI & AI Atmosphere Match to quickly set up realistic night scenes with subtle ambient light.
- Boost artificial lighting to highlight key elements like windows and signage, maintaining scene depth.
- Use D5 Render's Interior Parallax to add dynamic depth and eliminate dark areas in large façades.
- Fine-tune with AI Post-Processing for cinematic color grading and a polished final render.
- D5 Render's seamless workflow streamlines the entire process, saving time while delivering stunning night scenes.

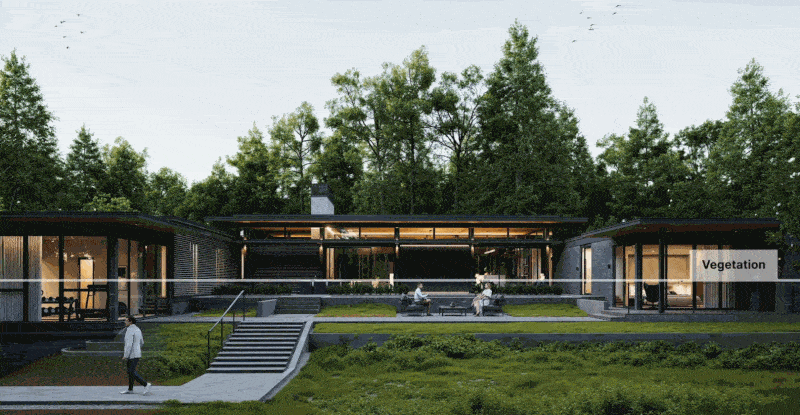
1. Speed Up Night Scene Setup with Natural Light
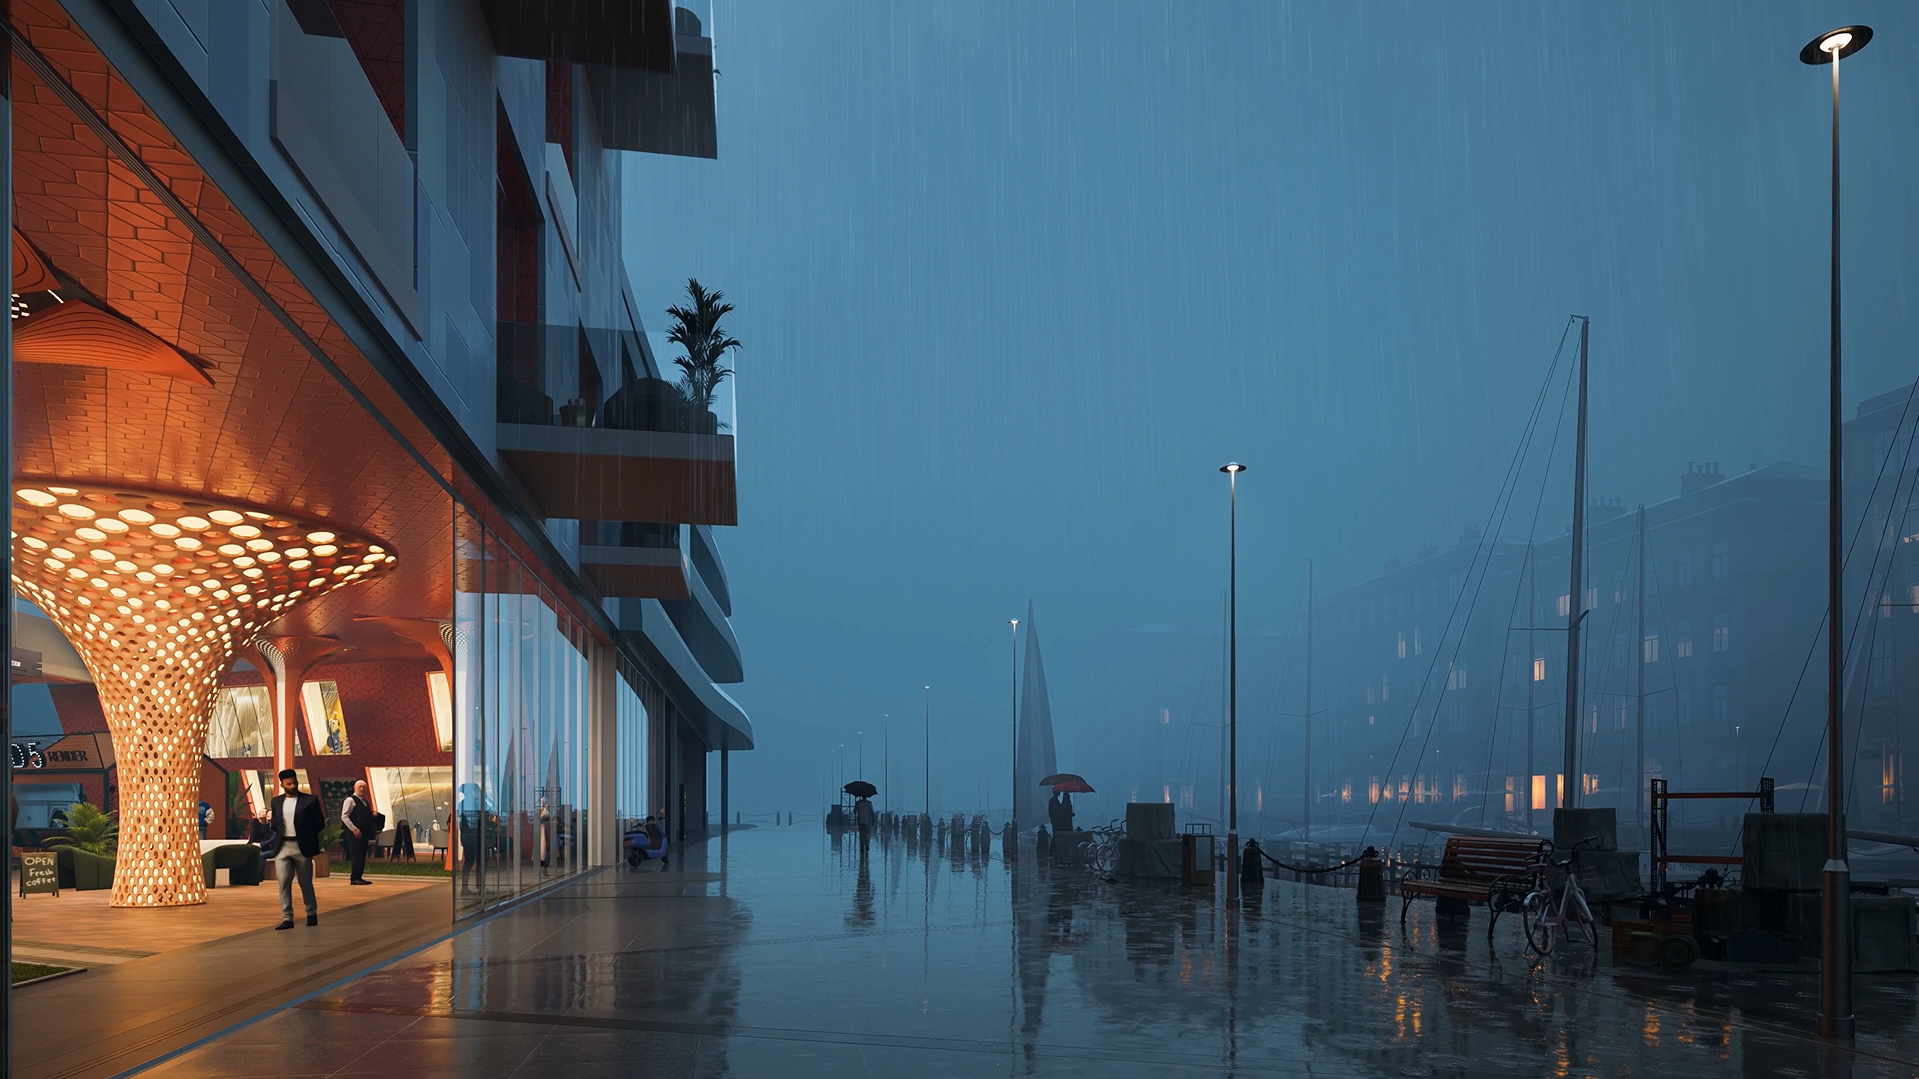
Natural light provides the essential ambient glow—whether from the moon or an HDRI—gently illuminating shadows and maintaining the scene's depth without letting it fall into darkness.
You don't need a bright sky; just a subtle amount of light to maintain depth and bring out those delicate hues. This is where D5 Render really excels, with its integrated HDRI and Geo Sky systems that make achieving this perfect balance both intuitive and quick.

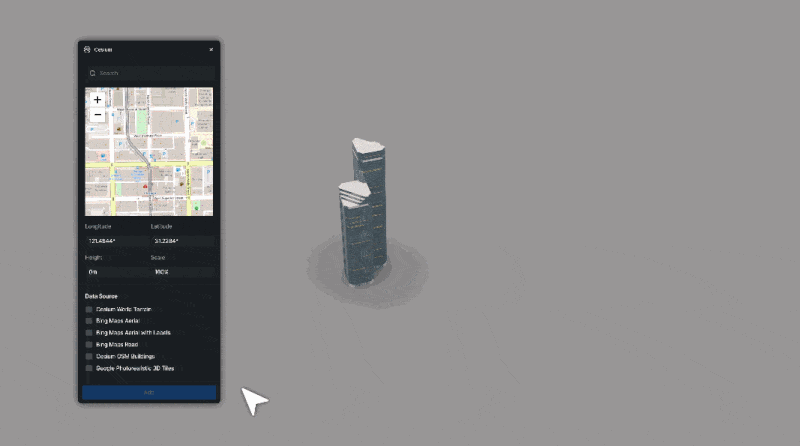
And for an even quicker and smoother setup, simply anchor your scene's ambiance with an HDRI, and let D5 Render's AI Atmosphere Match do the heavy lifting for you:
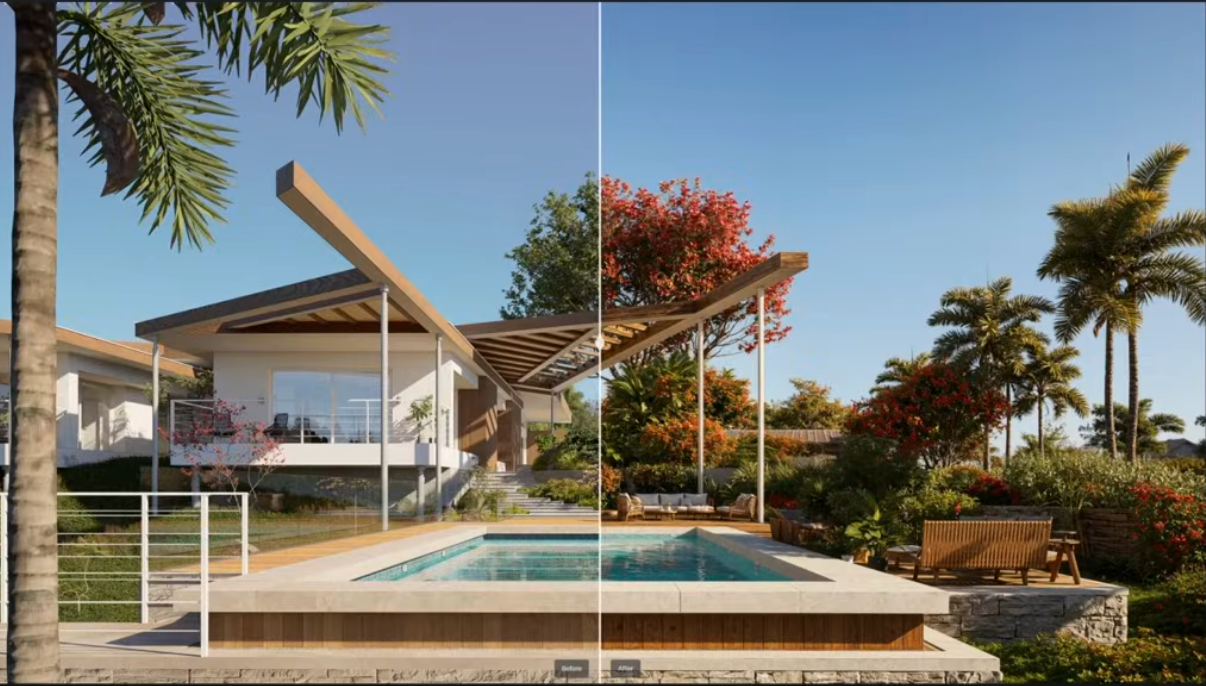
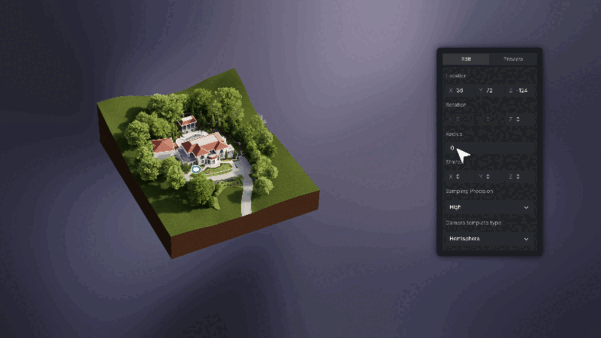
1. Set your environment to an HDRI base. Avoid a pitch-black dome; pushing to a 70–80% "night" feel leaves you room for contrast later.
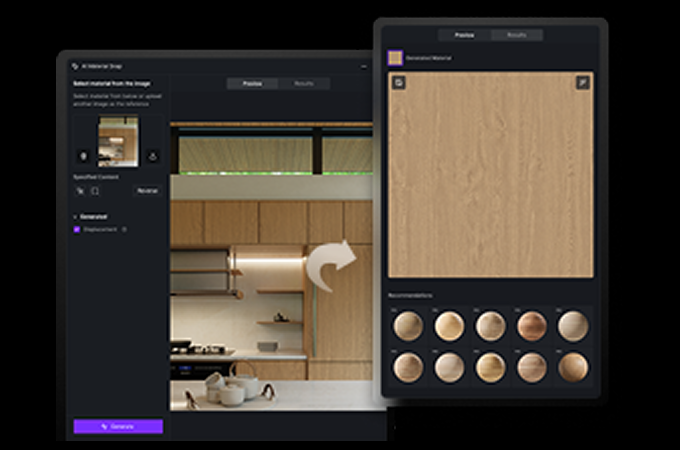
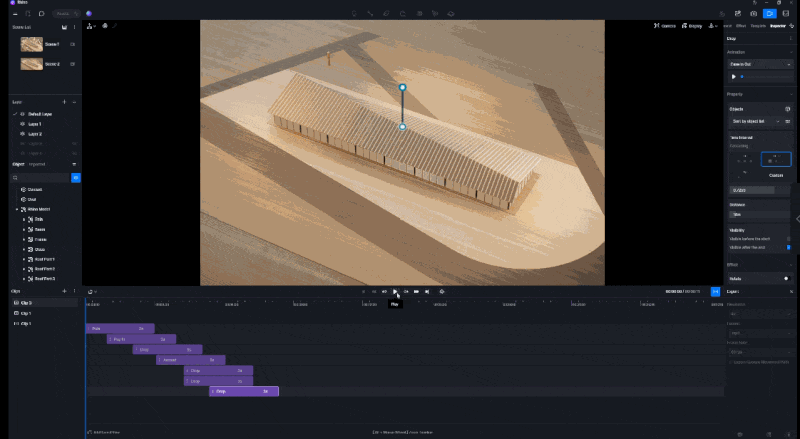
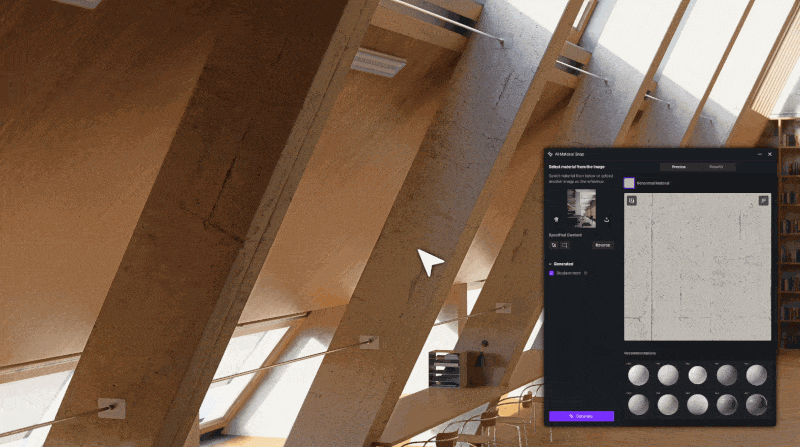
2. Open D5 Render's AI Atmosphere Match and upload a night photo—any convincing image works (you can even use an AI-generated reference). D5 analyzes it, extracts the mood, and maps lighting/colors to your scene.
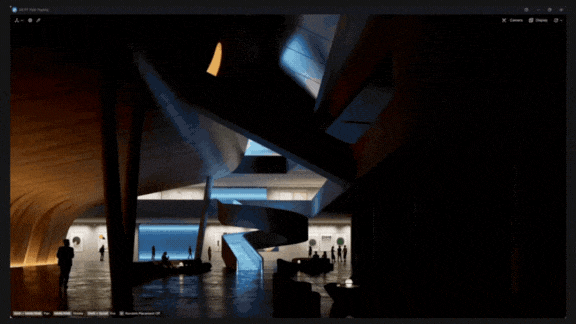
.gif)
3. Increase the strength until the sky tint and overall ambience feel cohesive with your artificial lights.
This step is a huge time-saver. You get the cinematic “glue” of a real night photograph—subtle sky luminance, believable color cast—without manually juggling numerous environment parameters.
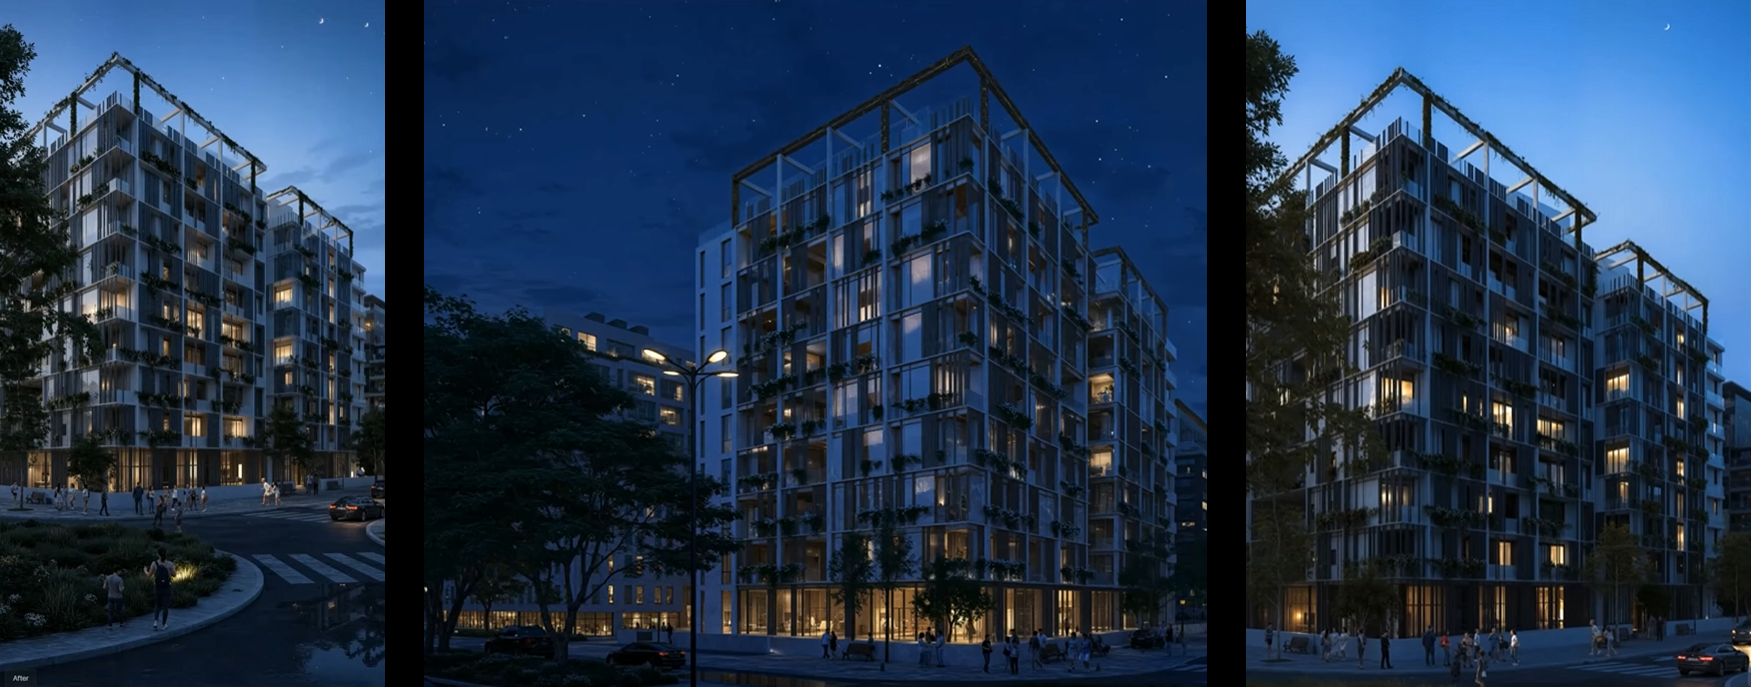
2. Tune Artificial Lighting for Impactful Night Renders
With your ambient night sky in place, let's bring the artificial lights to center stage to continue narrate the scene.
As the primary storyteller of the night, these lights encompass everything from fixed fixtures and emissive materials to vehicle headlights and inviting storefronts.
Here's how you can set them up effectively:
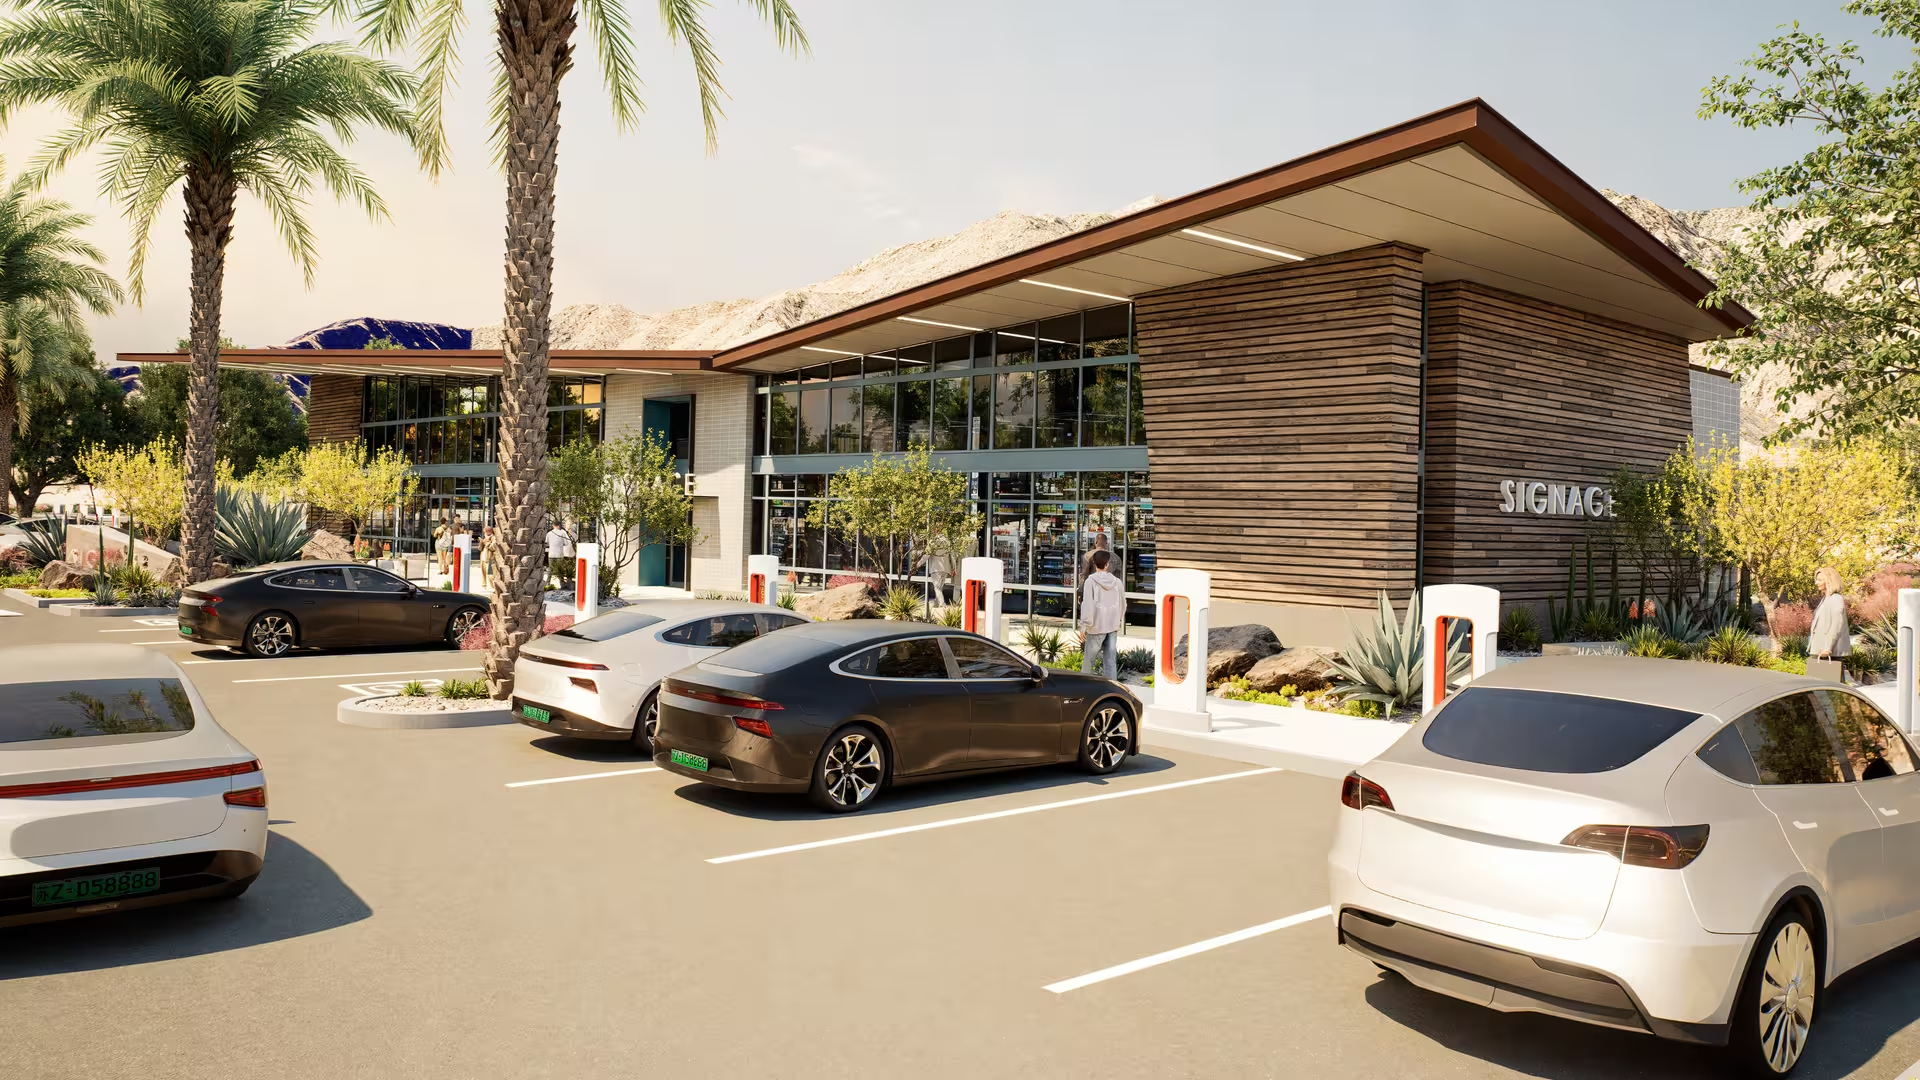
1. Start with Overall Intensity: Gently boost the "Overall Lighting" intensity to universally elevate emissive materials and light fixtures. This makes windows, signage, and pathways glow with life while preserving the depth of the night sky.
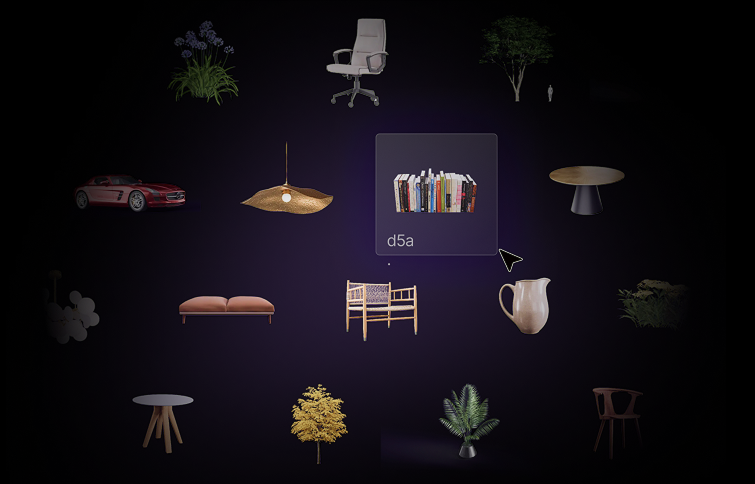
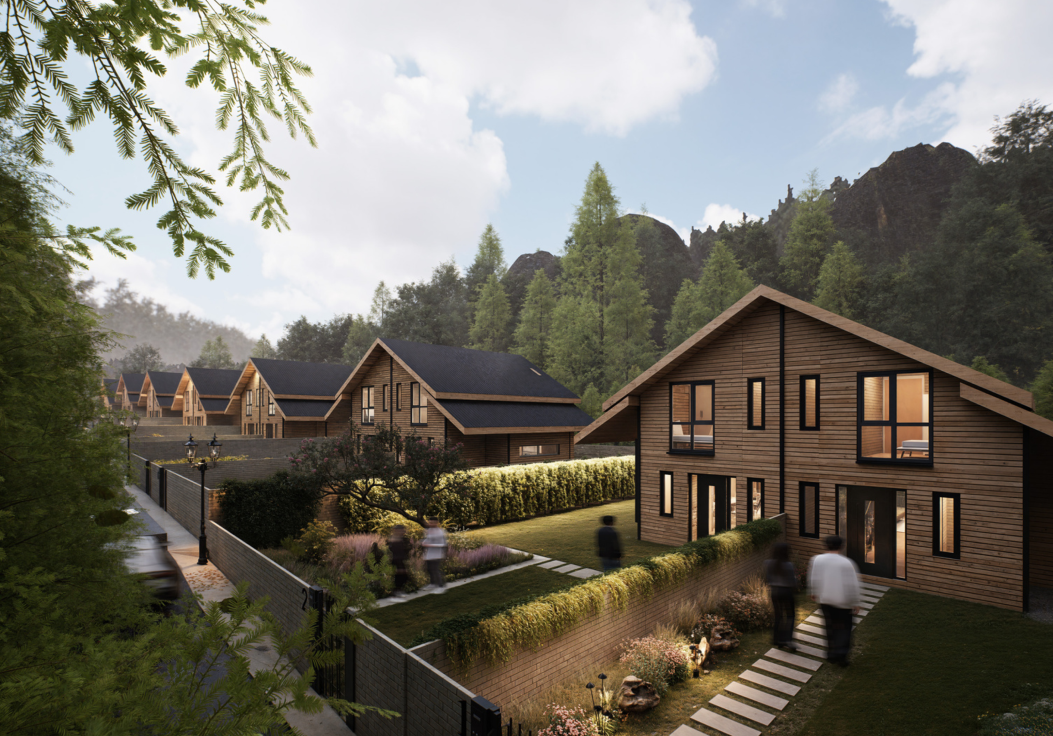
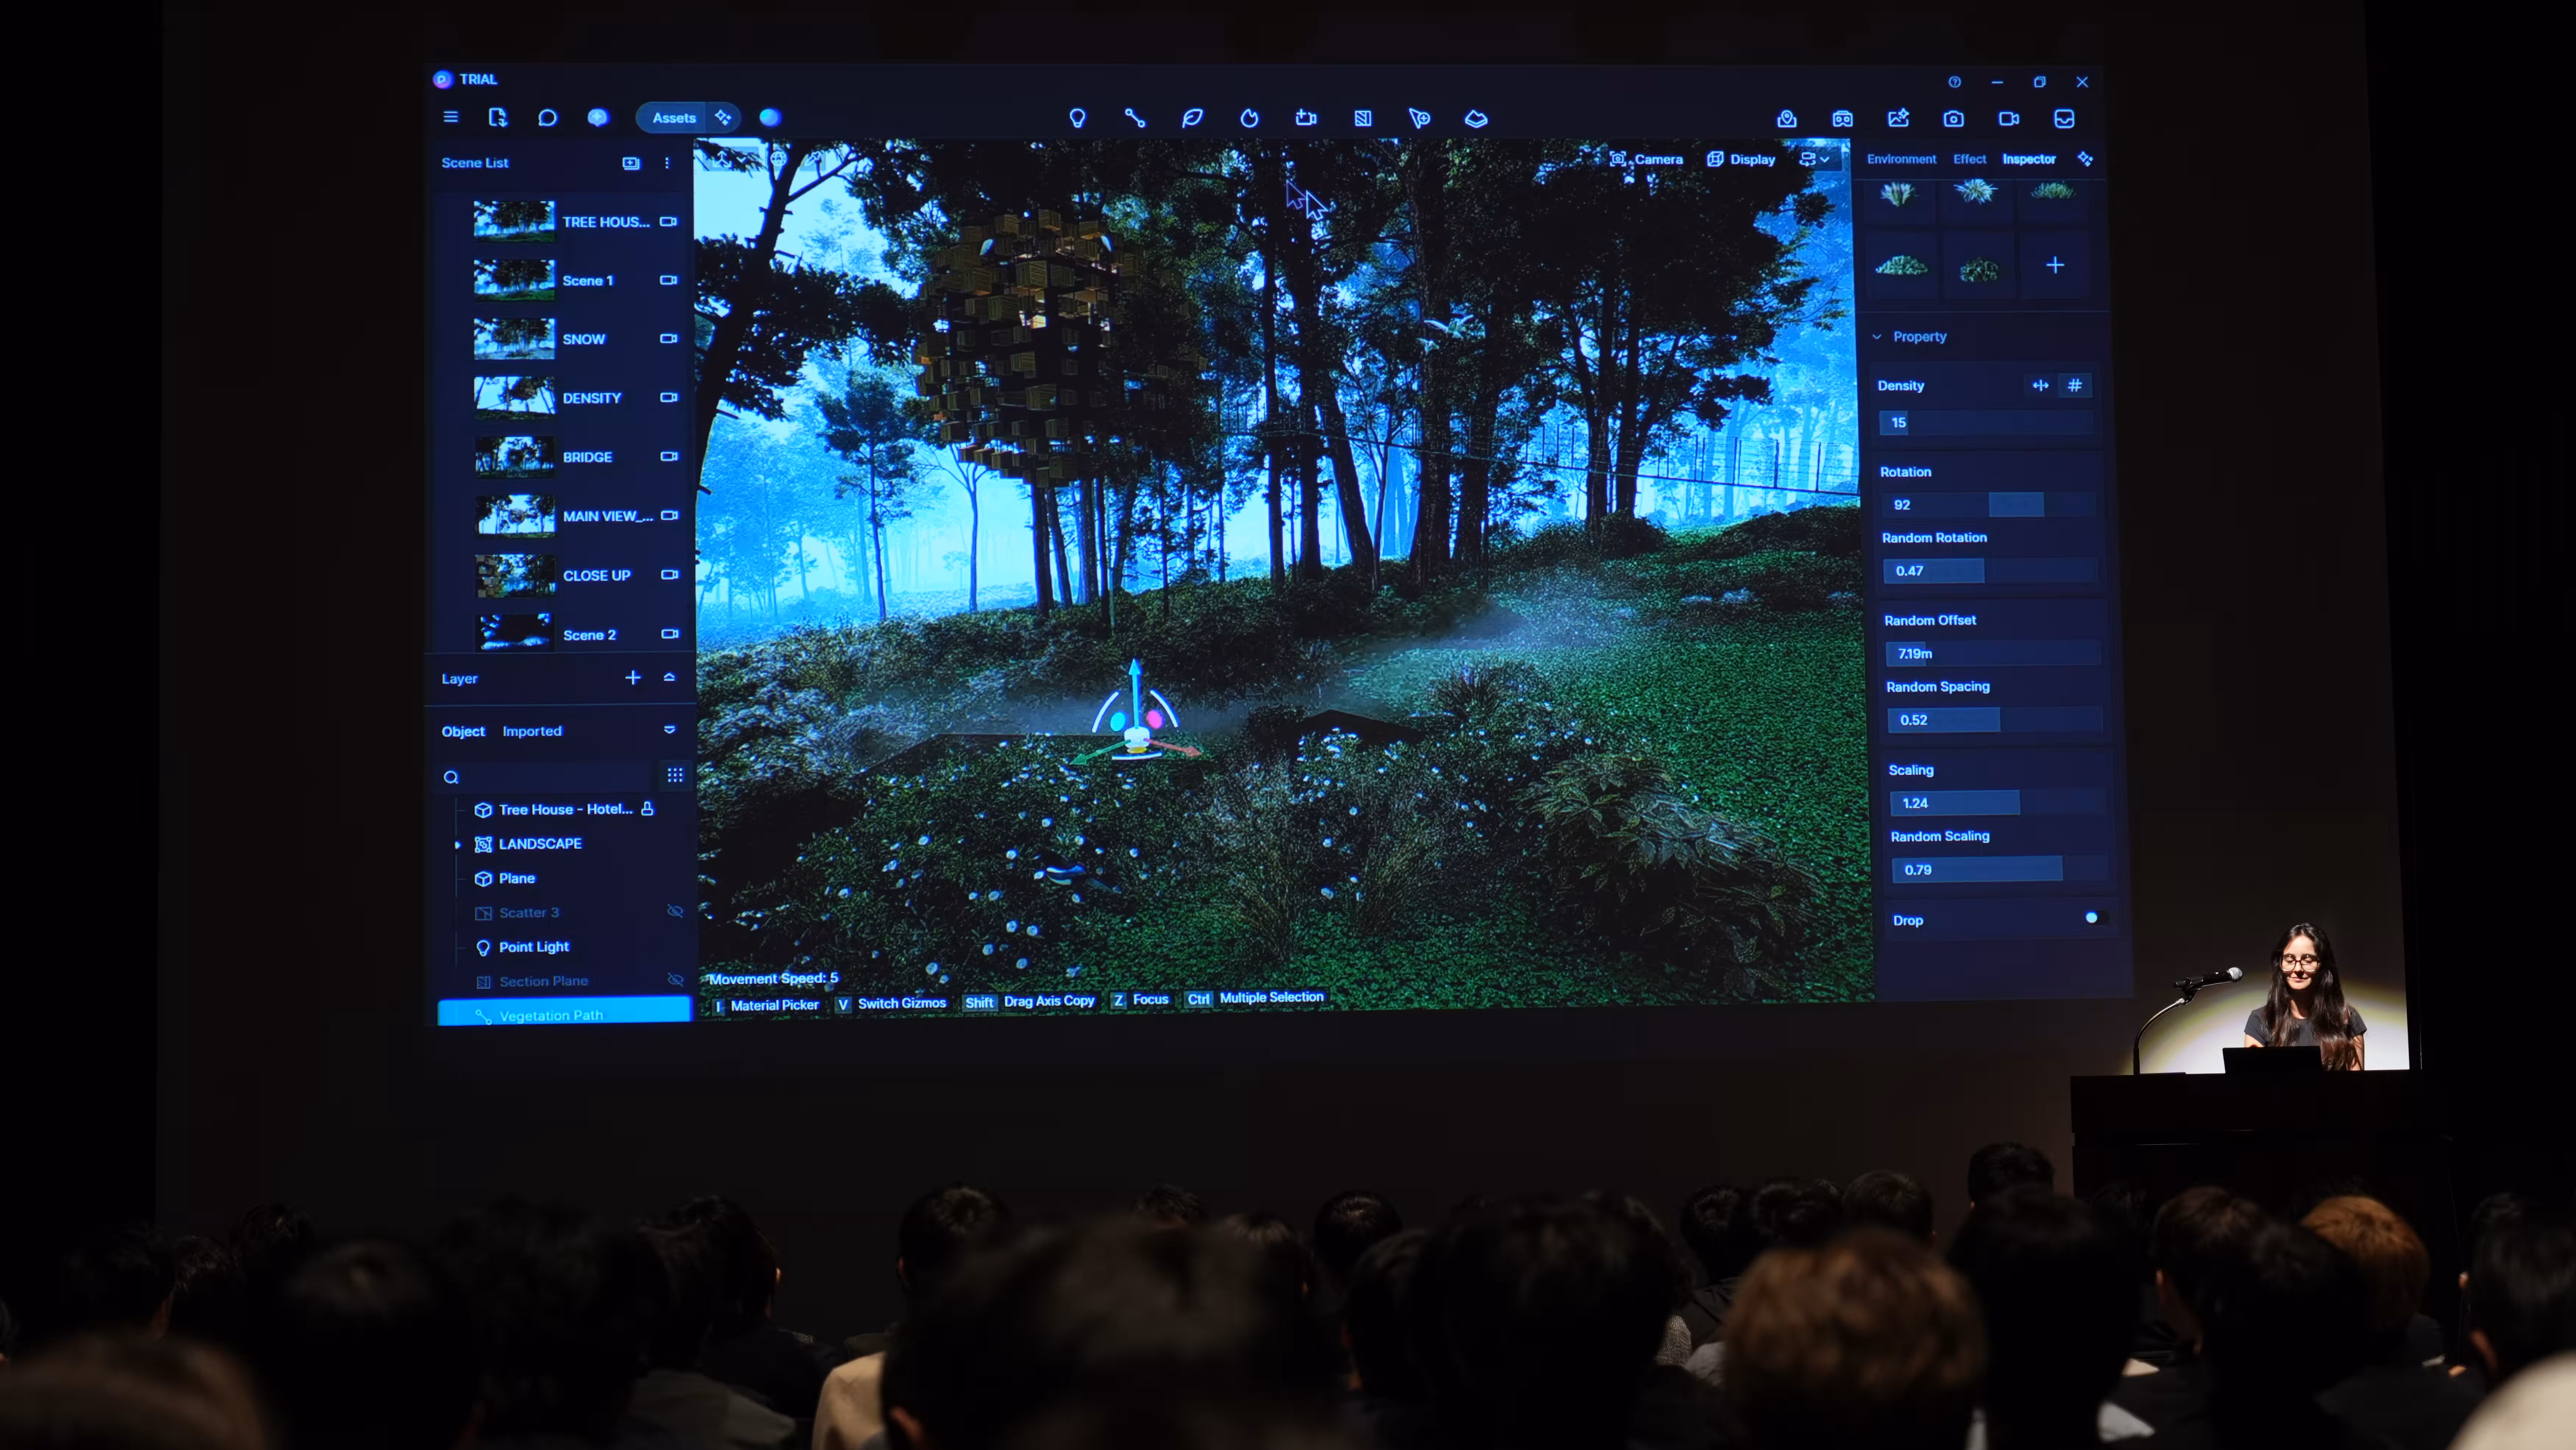
2. Utilize D5's Interior Parallax: Access D5 Render's "Assets → Model → Interior Parallax" to place smart assets that create the illusion of deep, fully modeled rooms dynamically tracking with your camera. Adjust their brightness based on the camera's viewpoint to set the perfect mood for each shot.

3. Eliminate Areas That Are Too Dark: Add more light sources as needed to remove dark, lifeless areas, especially across large façades. Use Interior Parallax and emissive elements to maintain visual interest and realism.

4. Establish Visual Hierarchy: Designate a few key elements—such as a welcoming entrance canopy or a brightly lit lobby—as primary anchors. Keep secondary lights subtle and supportive to ensure the main building remains the undeniable hero of the shot.
Through this combination of intuitive tools and real‑time visual feedback, D5 Render enables you to build complex, believable nightscapes with incredible speed and control, guiding the viewer's gaze without stealing the show.
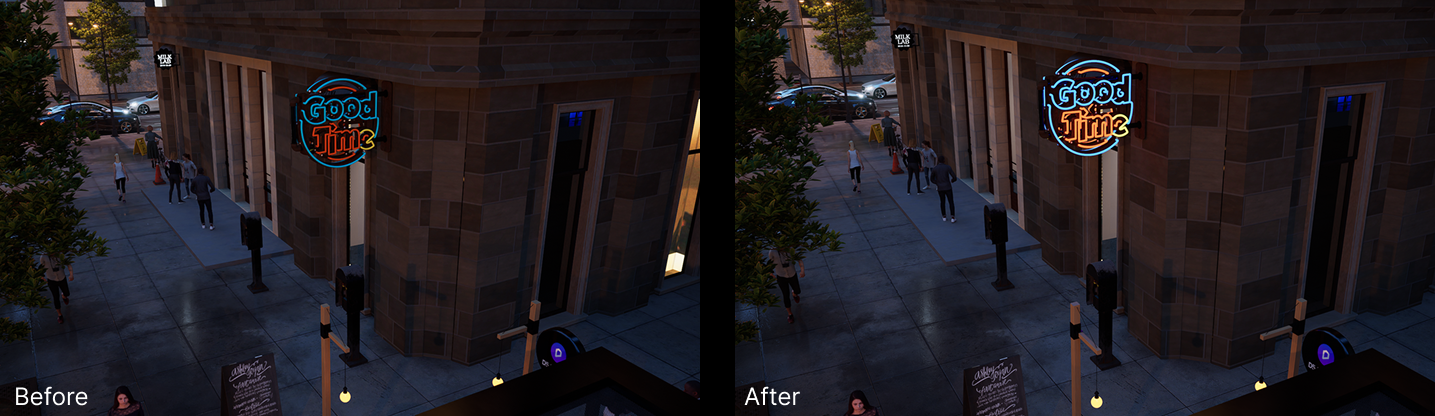
3. Polish Your Render with D5's AI Post-Processing
Once your lighting looks just right, render a clean base image.
Then, give it the final touch with D5 Render's AI Post-Processing — a quick yet powerful pass that adds polished, cinematic color grading.
Here's a reliable recipe to follow:
1. Using D5's AI Style Transfer: Reuse the same inspirational night image from the AI Atmosphere Match. Keep the Style Weight low (around 0.2-0.3) to subtly adopt its color and mood without losing your render's sharp details.
2. Structure Matching = 1: This ensures your beautiful architecture and composition remain perfectly intact.
This seamless integration of AI tools is what sets D5 Render apart. You can create a cohesive visual story from start to finish within one fluid workflow, dramatically reducing post-production time while achieving stunning, professional results.
Conclusion: Time to Bring Your Night Scenes to Life!
Creating stunning night renders doesn't have to be complicated. By combining D5 Render's smart lighting tools with the AI-powered workflow, you can transform any scene into a captivating nighttime masterpiece. These techniques will help you work smarter, not harder.
Ready to give it a try? Fire up D5 Render and watch your night scenes shine - we can't wait to see what you create!
Continue Reading for More Architectural Rendering Tips
How to Create Realistic Rain Backgrounds in D5 Render?
5 Secrets to Photorealistic Rendering with D5 Render in 2025
Want to Win Clients with Visual Presentations? Try These 4 D5 Render Pro Tips
The Best Free SketchUp Rendering Tool: D5 Render
AI Enhancer for Architects: Elevating Render Quality with AI-Powered Precision
The 100% ready-to-use crack of D5 Render
FAQ: How to Create Stunning Night Renders
Q: How can I quickly create realistic night renders without spending too much time on lighting adjustments?
Achieving realistic night renders can be time-consuming, especially with complex lighting setups. A quick way is to use D5 Render's AI-powered Atmosphere Match, which automatically adjusts your scene's lighting and colors based on a reference image. This saves hours of tweaking and gives you cinematic results instantly.
Q: What's the best way to set up the lighting for night scenes in 3D renders?
For night scenes, balancing ambient light and artificial lighting is key. In D5 Render, start with HDRI or Geo Sky for a natural light base. Then, use D5's intuitive lighting tools to adjust artificial lights like fixtures and vehicle headlights. D5's easy-to-use interface helps you fine-tune these settings quickly and accurately.
Q: How do I avoid dark, flat areas in my night renders?
To prevent your night scene from looking lifeless, add more light sources and use D5 Render's Interior Parallax. These smart assets create the illusion of fully modeled rooms and can be adjusted based on the camera's angle, helping fill in dark spots and add depth to large spaces.
Q: Can I achieve realistic moonlight in my night renders?
Yes, by using D5 Render's HDRI system, you can simulate subtle moonlight to illuminate shadows without overwhelming the scene. Simply set your environment to a 70-80% night feel and let D5's AI Atmosphere Match fine-tune the lighting, ensuring a realistic night ambiance with minimal effort.
Q: How can I make my night render look more cinematic?
To create cinematic night scenes, start by setting up your base lighting, then use D5 Render's AI Post-Processing to apply color grading. This tool allows you to easily adjust the mood and tone of your render with style transfer, giving your scene a polished, professional look.
Q: How can I improve the depth and realism of my night scene?
Achieving depth in night scenes requires careful lighting. D5's HDRI and Interior Parallax offer a quick solution for adding ambient light and filling in dark areas. Plus, adjusting your artificial lighting ensures your subject stands out while maintaining a cohesive, realistic night atmosphere.


.png)


.png)
1%20(2).png)


%20(1).png)
.png)
.png)


.png)