Cover image credit: Filip Lekawski
Z-depth is important to rendering images because it provides a way to calculate depth and distance in a scene, which is crucial for creating realistic lighting and shadow effects. Without z-depth, 3D graphics would appear flat and unrealistic. In addition, z-depth is used to create depth-of-field effects, which can make images look more natural and cinematic. Overall, z-depth is an essential component of the rendering process and plays a key role in creating stunning graphics.
Luckily, D5 Render includes the z-depth channel feature to help designers achieve better visual effects.
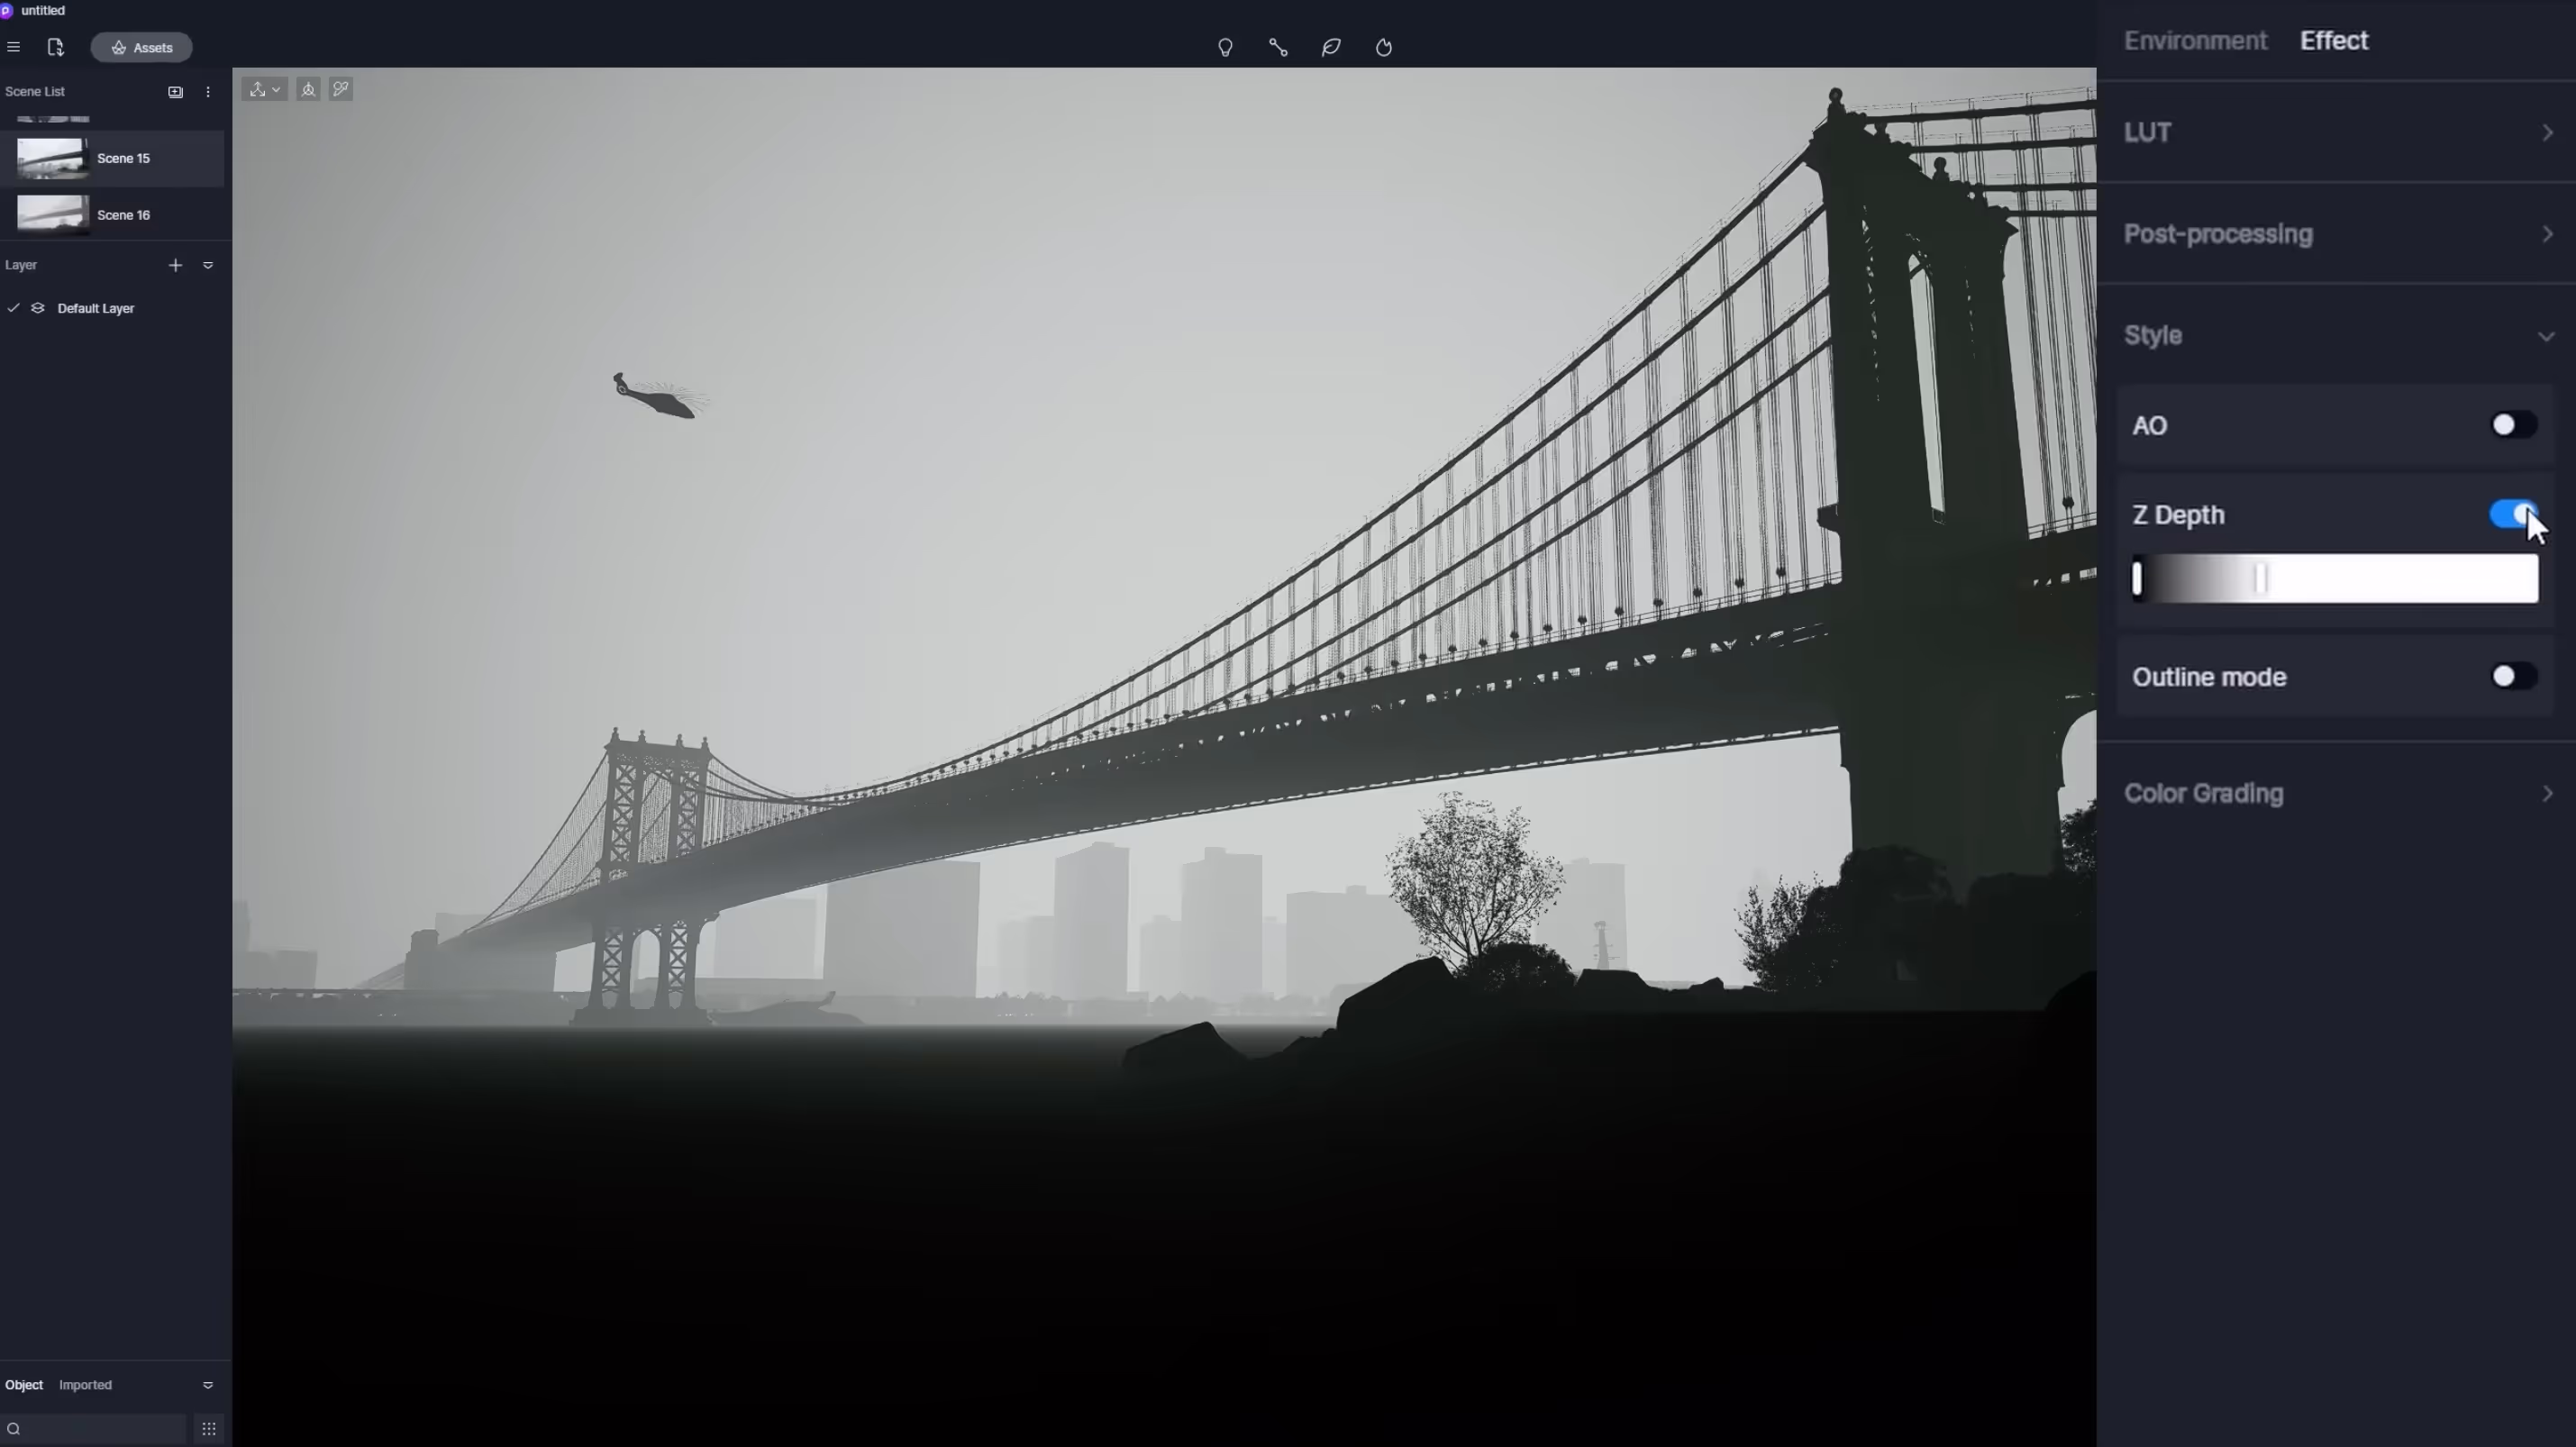
What’s Z-Depth
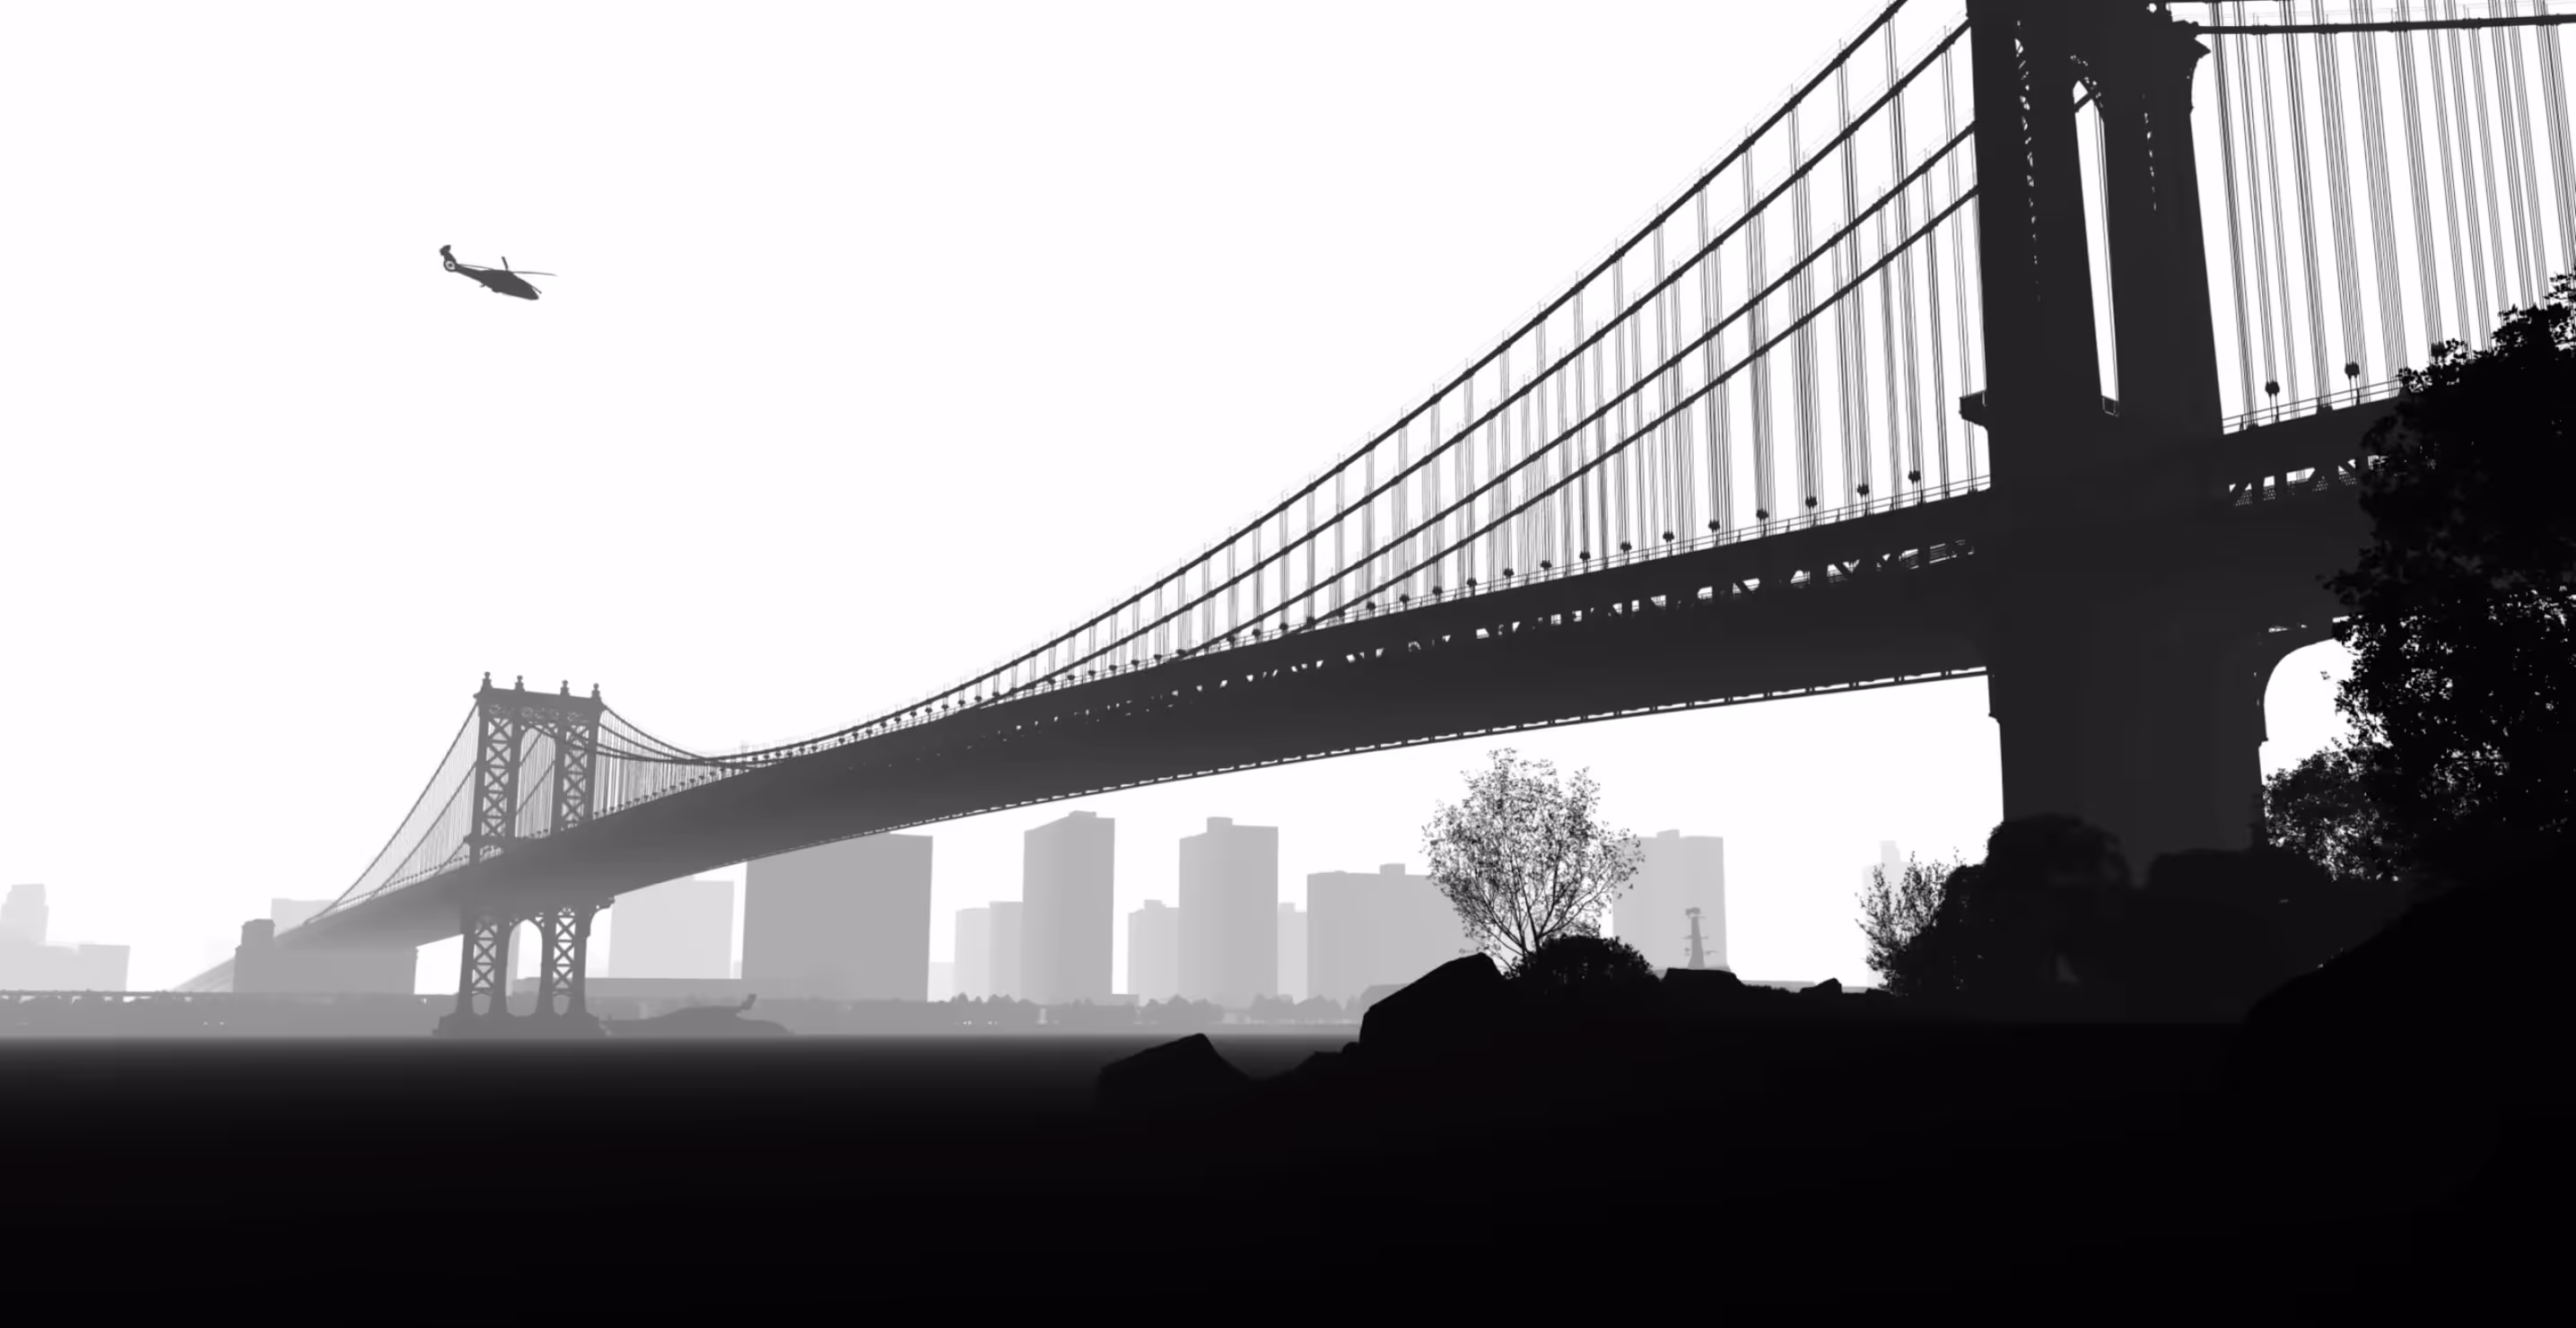
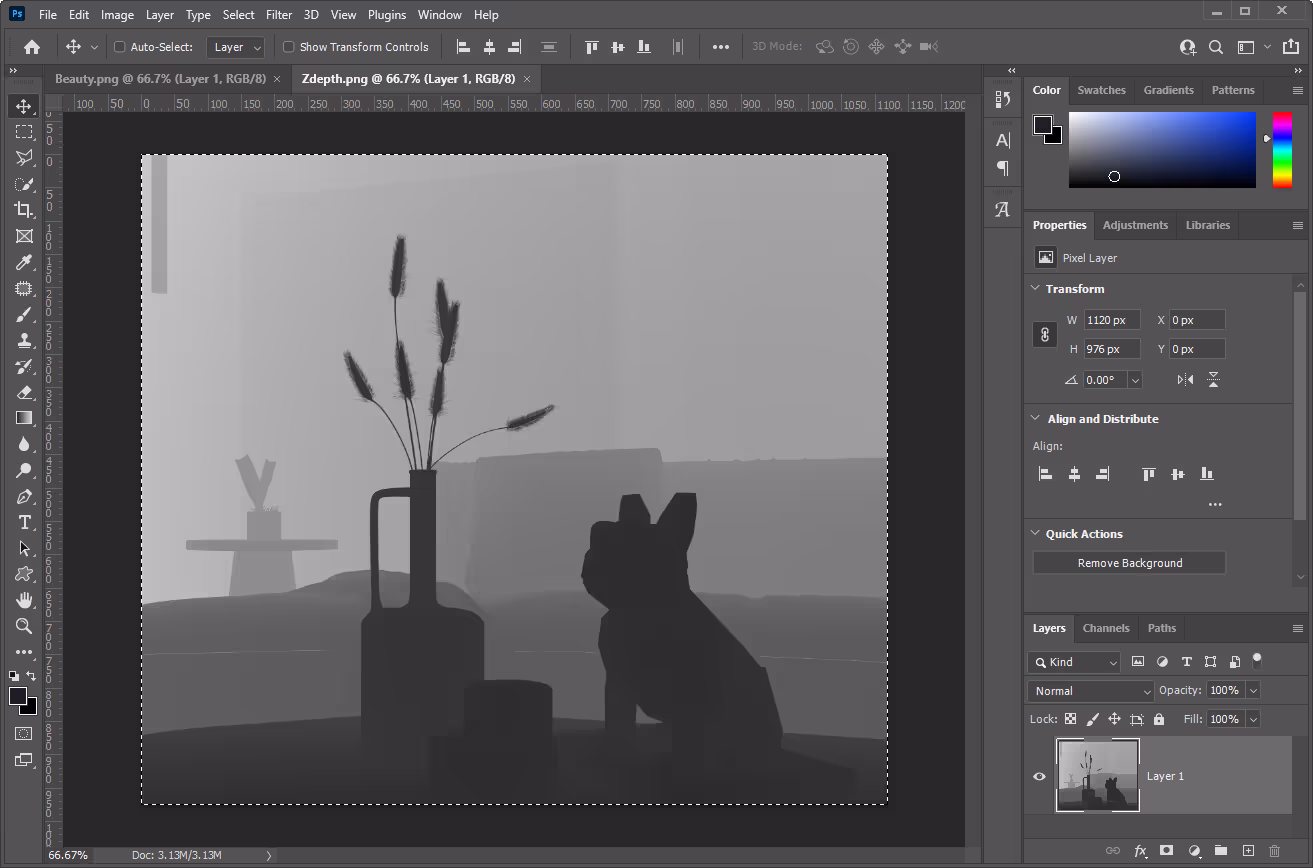
Z-depth works on a grayscale value range, and the colors of points range from black to white based on their distance from the camera, with black being closest to the camera, white in the background, and gray in between.
In D5 Render, Z Depth is supported as a rendering effect for images or videos, and also as channel export. It’s often used to add depth of field effect or to simulate fog.
How to use z-depth in D5 Render
1. As a rendering effect, Z Depth mode is available in Effect > Style.
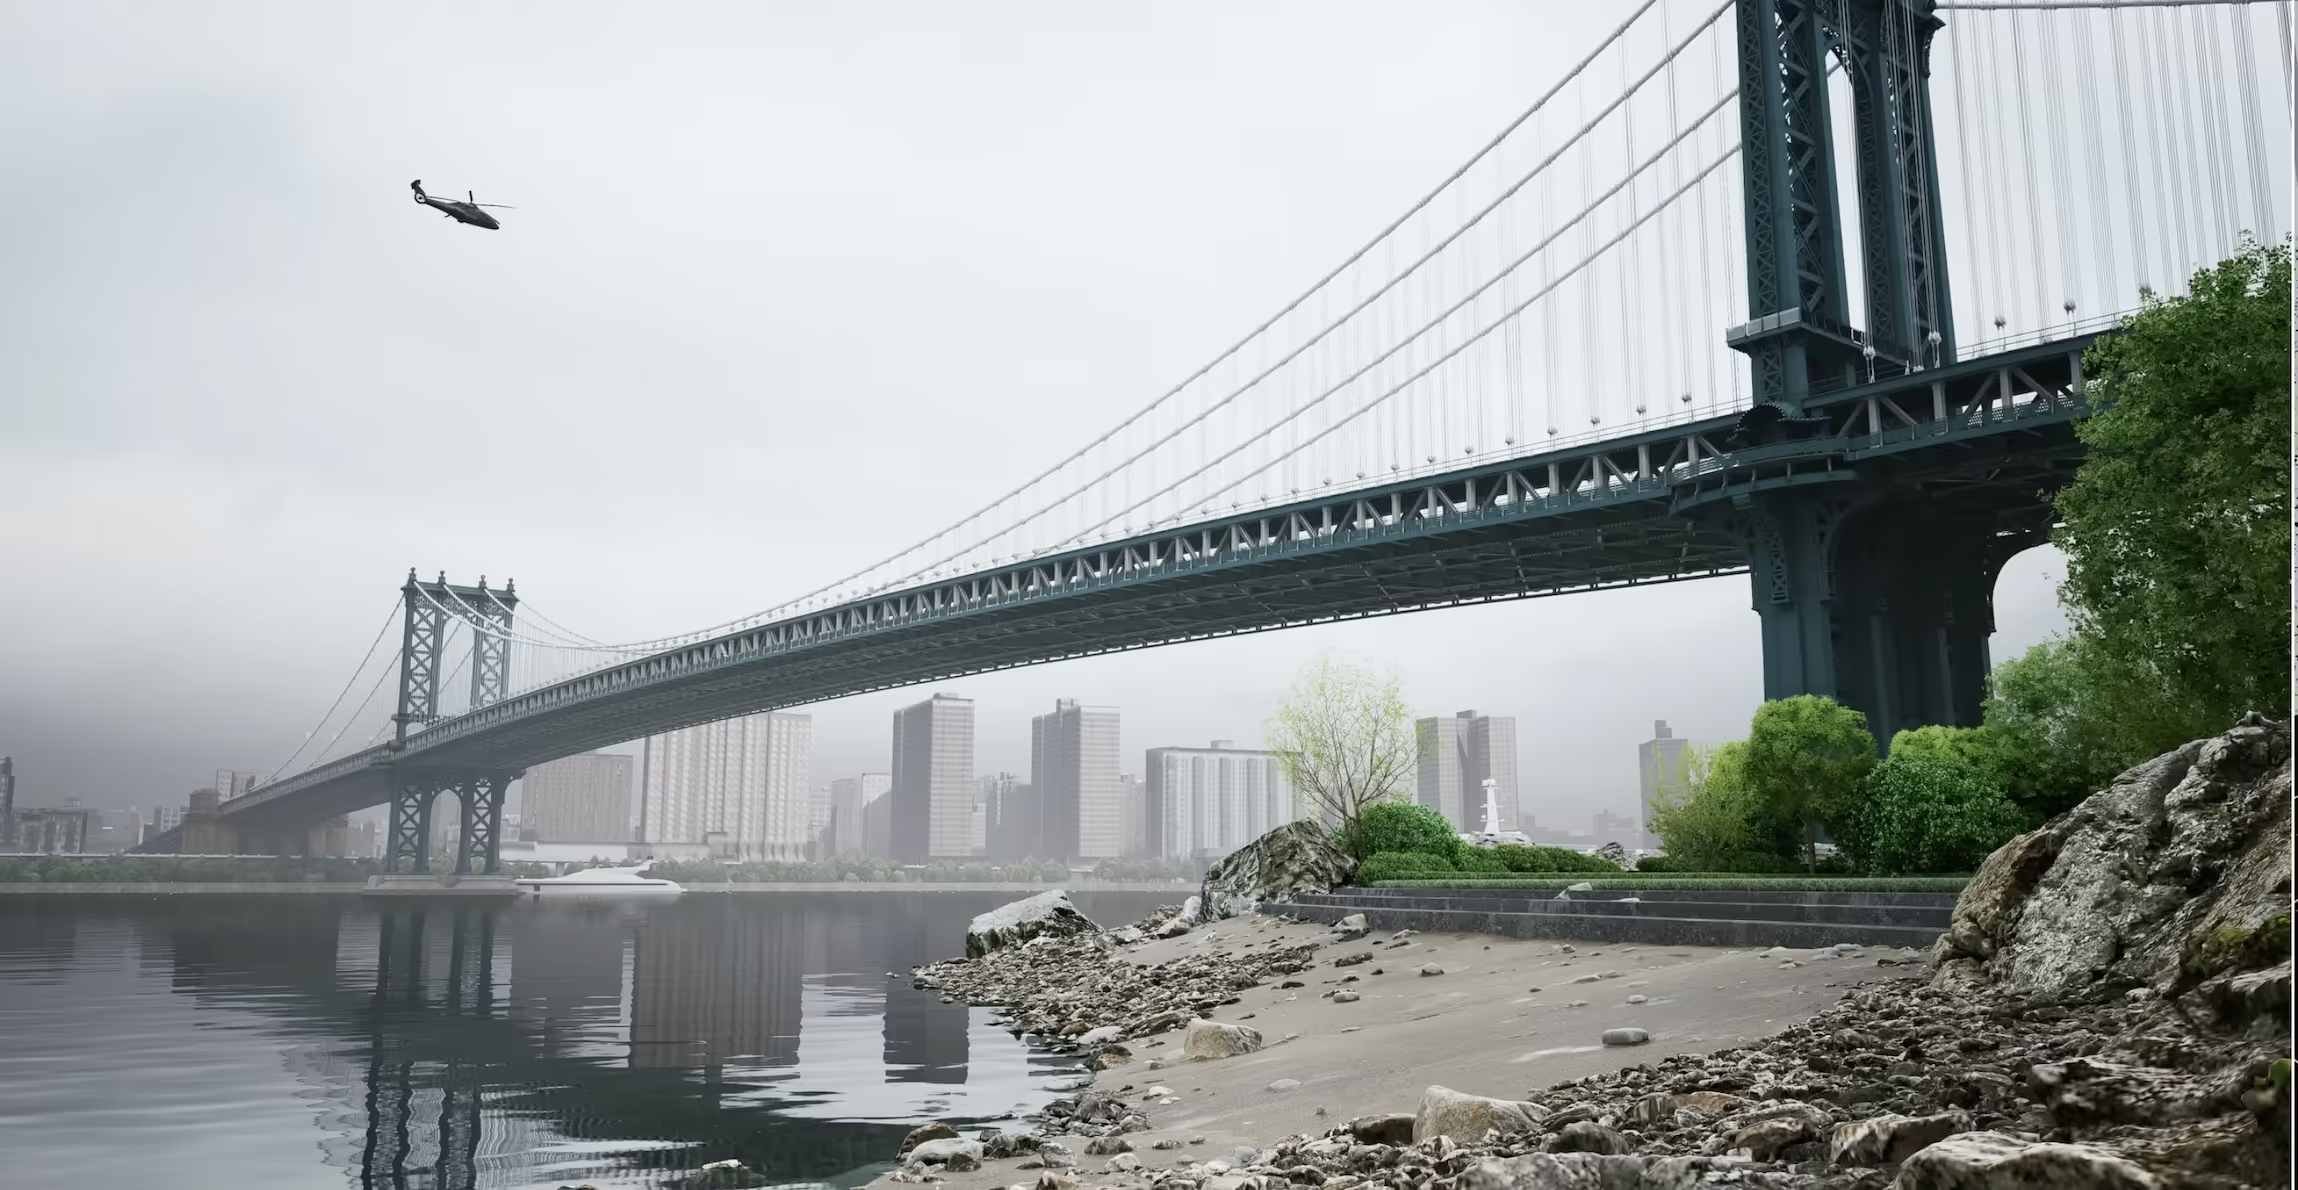
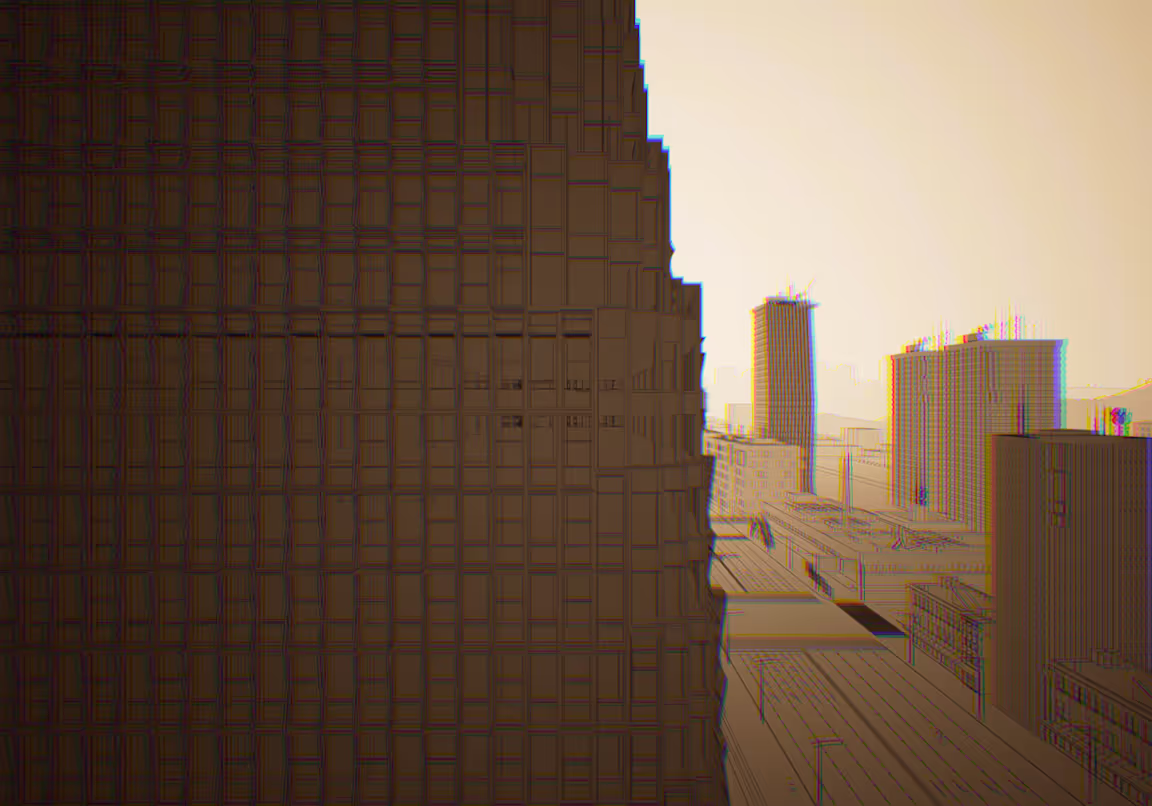
You can use it together with the outline effect to create a stunning visual. For example, this image combines vignette, chromatic aberration, outline and z-depth.
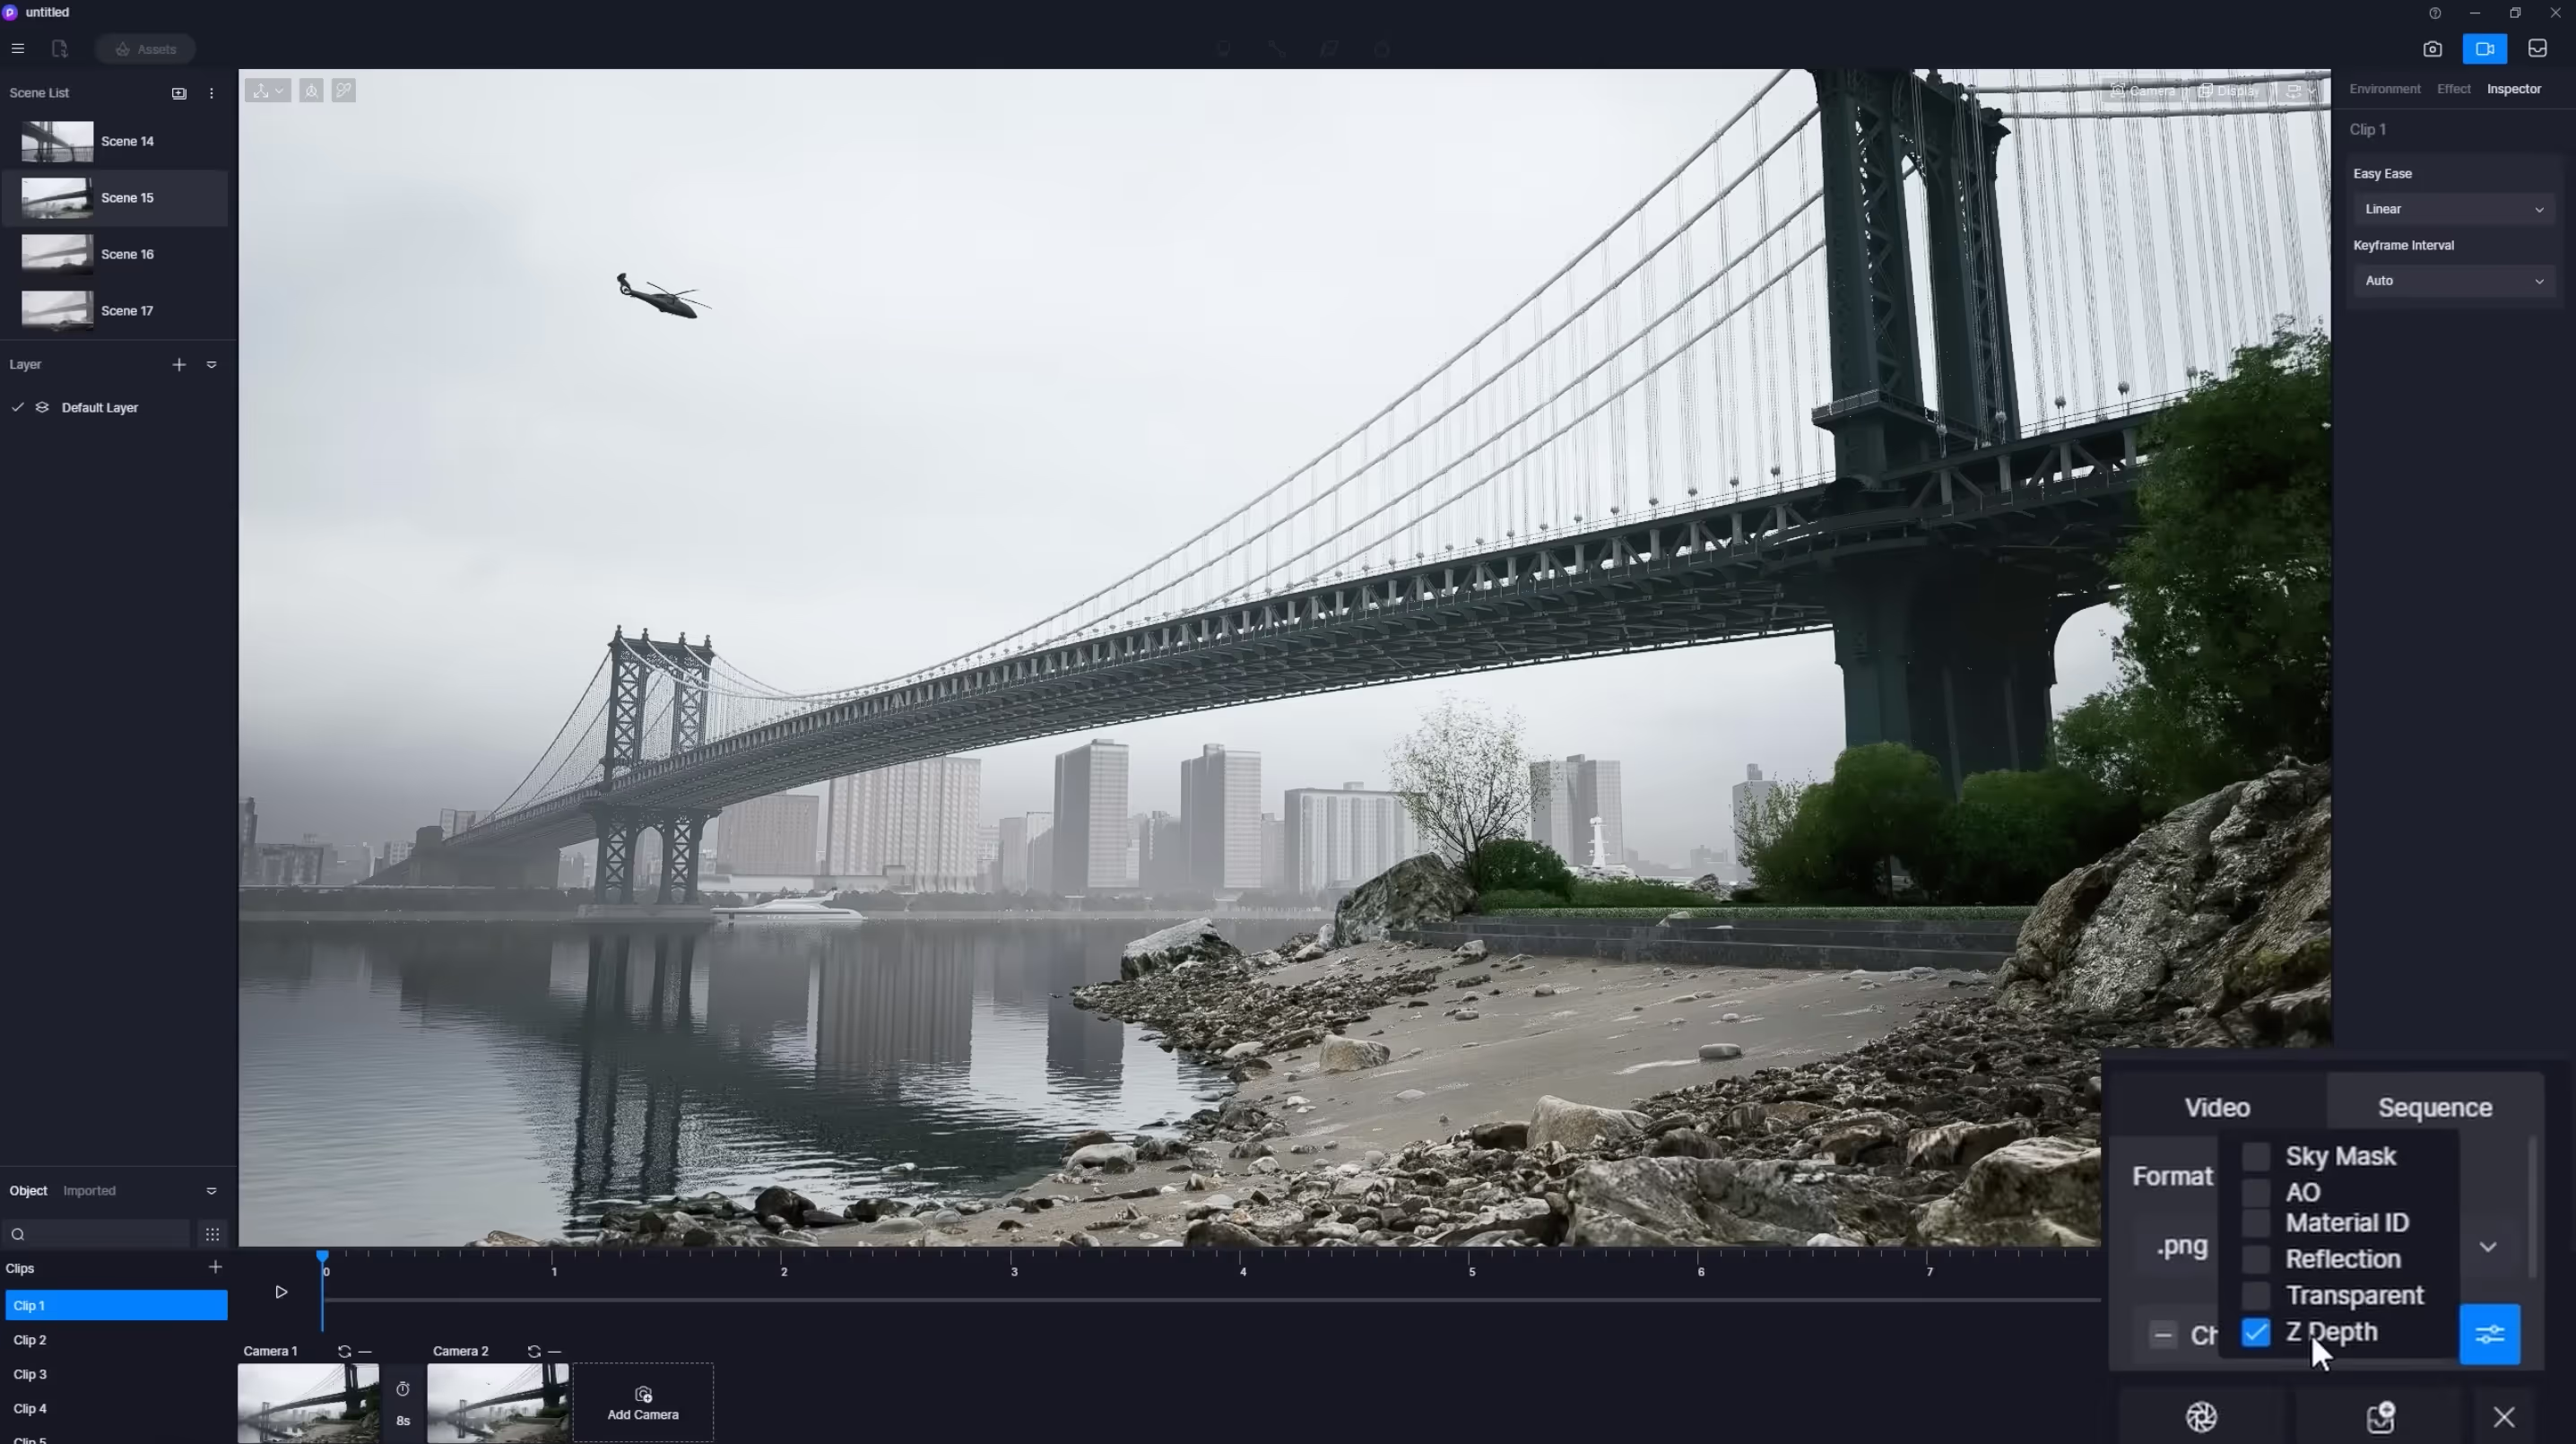
2. For post-processing, you can export the z-depth channel map when rendering the image. It’s worth noting that the z-depth rendering effect can be adjusted as a preview of the z-depth channel. After getting the satisfied distance of black and white points from the camera, you can switch off the z-depth rendering mode. The z-depth channel map will inherit this effect.
How to fake depth of field with z-depth in Photoshop
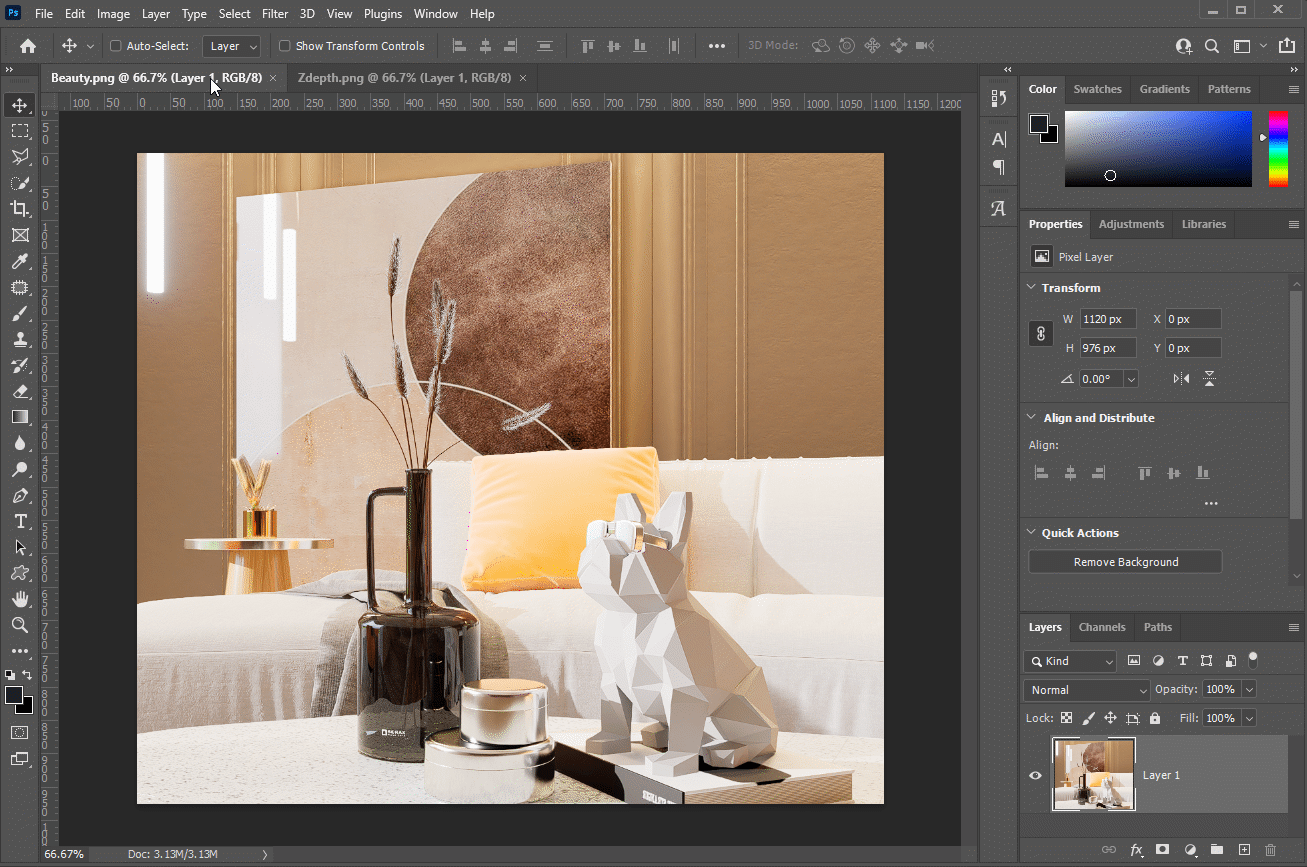
Take this rendering image and its z-depth channel as an example.

- Open them in Photoshop.
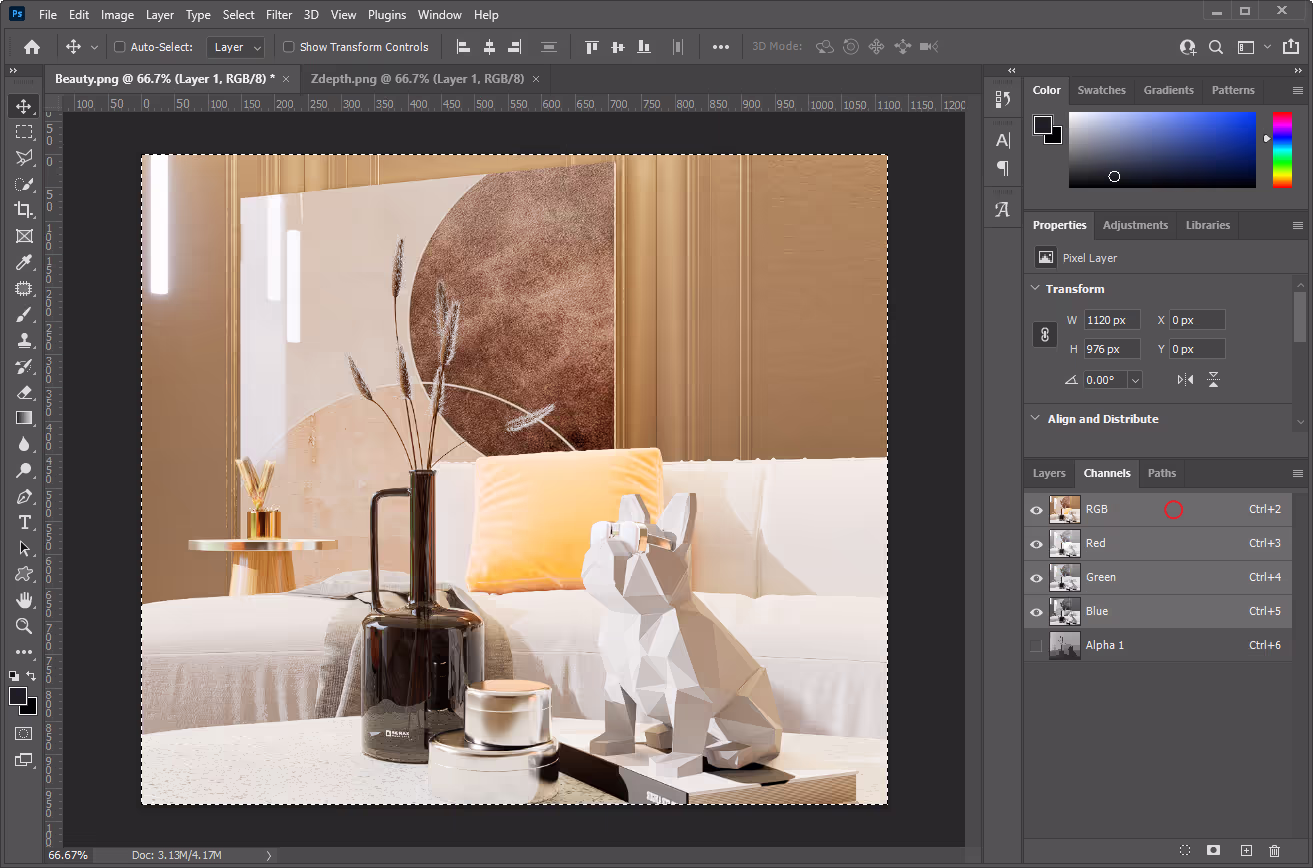
- Select the z-depth channel with the hotkeys Ctrl+A and copy it.
- Create a new Channel named “Alpha-1” for the rendering and paste the z-depth info into it.
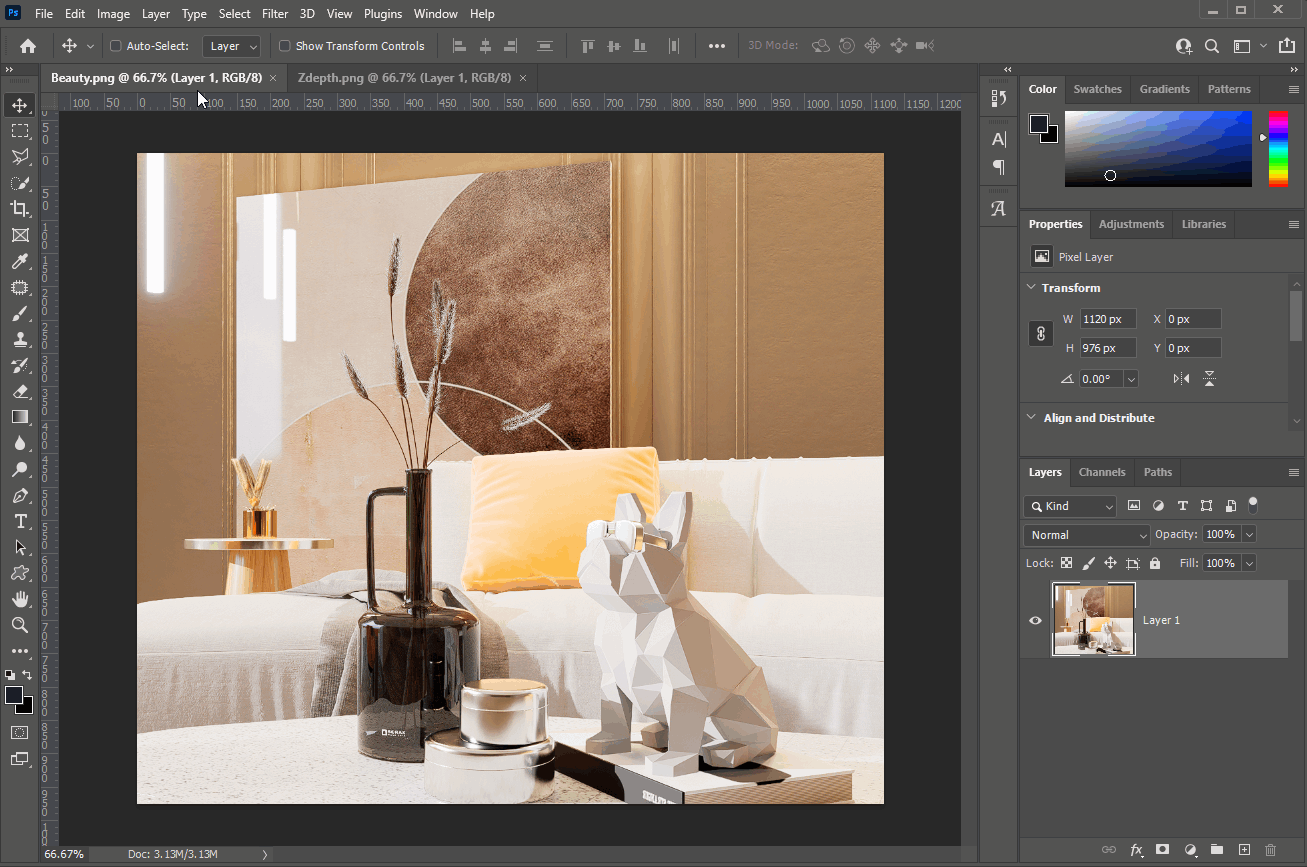
- Click the blank space to select the RGB channel.
- Select the rendering. Go to Filter>Blur>Lens Blur.
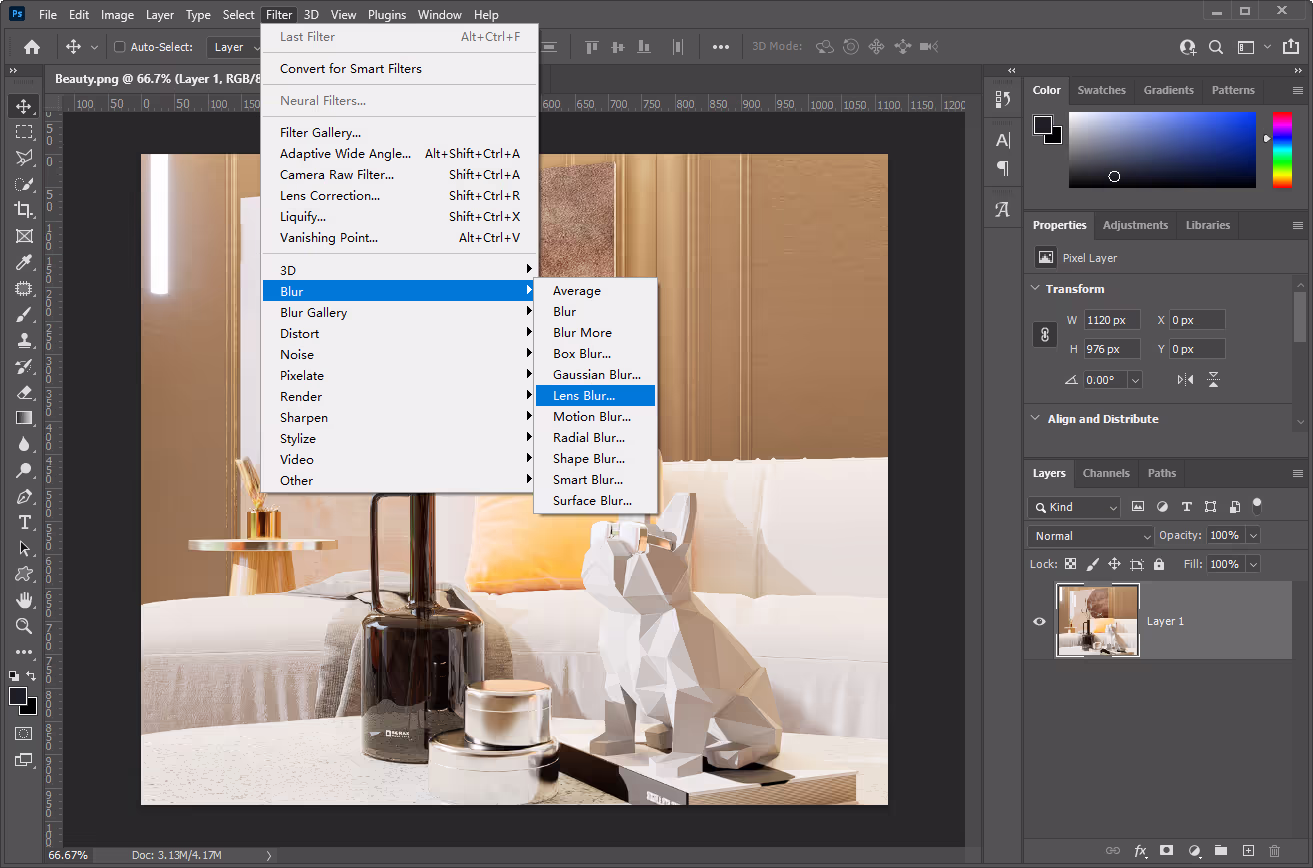
- Set the Source of the Depth Map information to the “Alpha 1” channel that we created in advance.

- The value range of the Blur Focal Distance is 0-255, which corresponds to the 0-255 color values of the Z-depth map. Objects with a Z-depth value of Blur Focal Distance will be in focus and will not appear blurry.
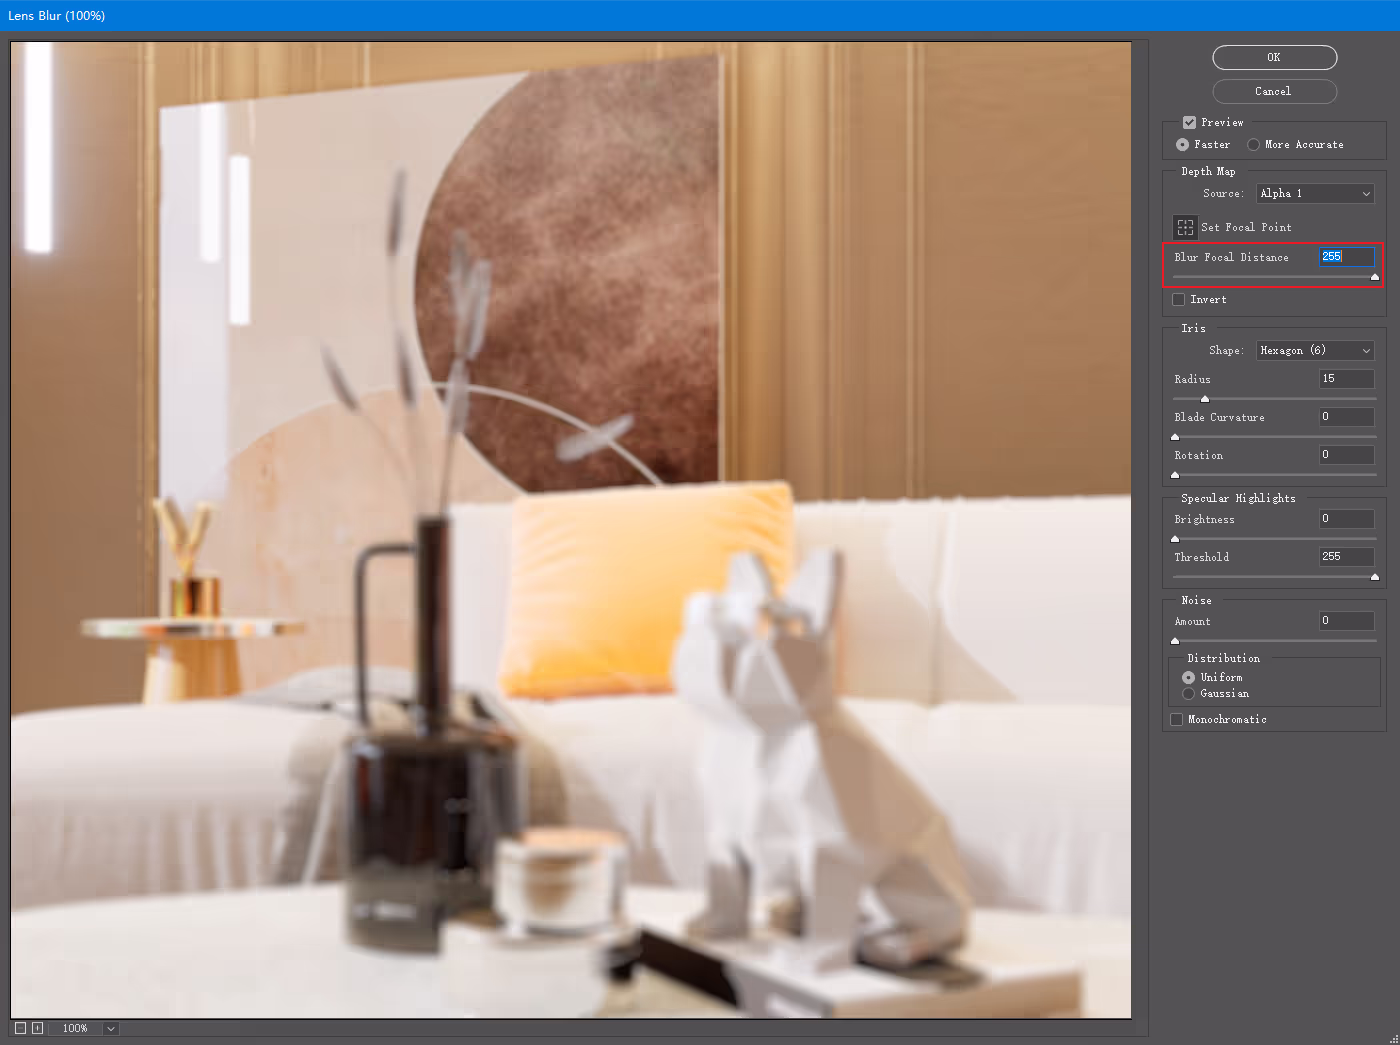
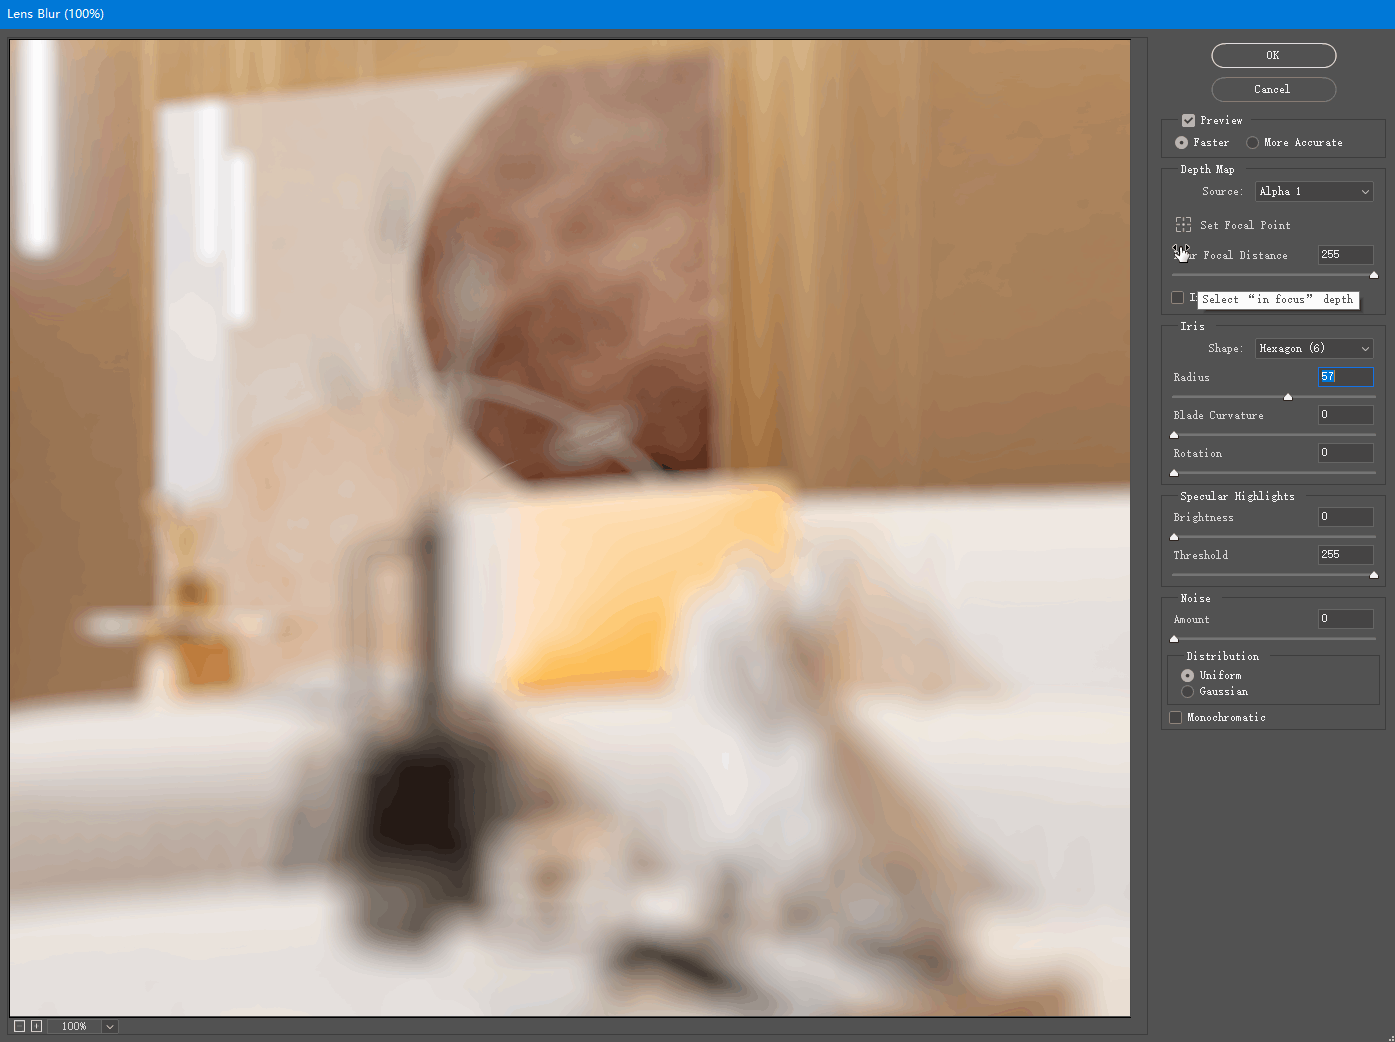
- We can increase the Iris Radius to achieve a stronger depth of field blur effect (consistent with real-life experience).
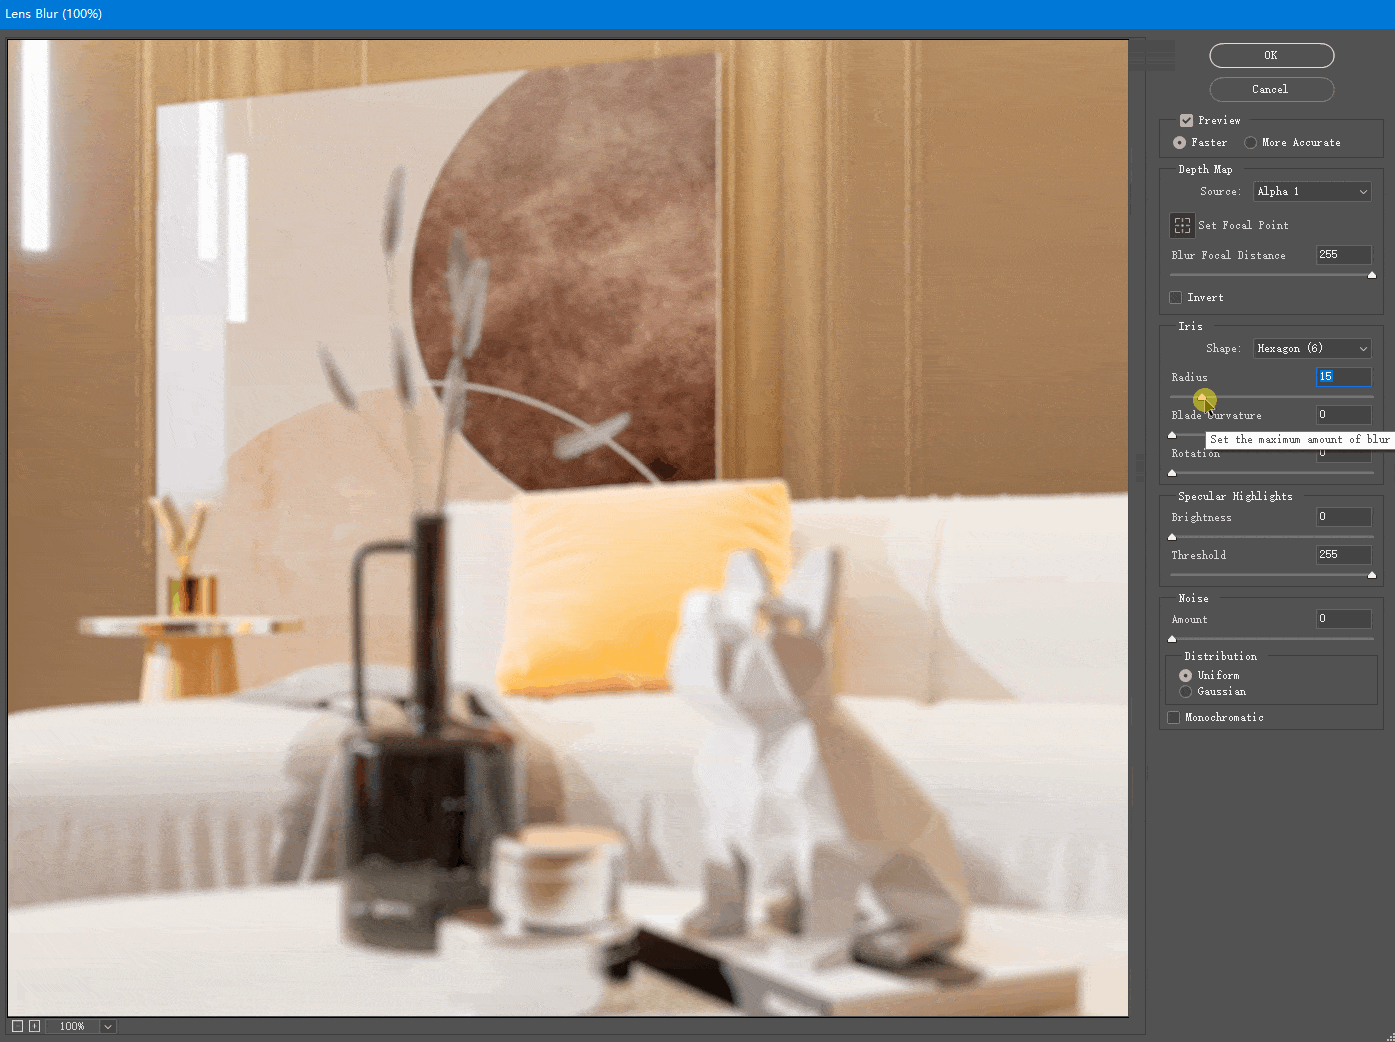
- Click on the Set Focal Point button and simply click on the object in the screen to define the focus, which is very intuitive and convenient.
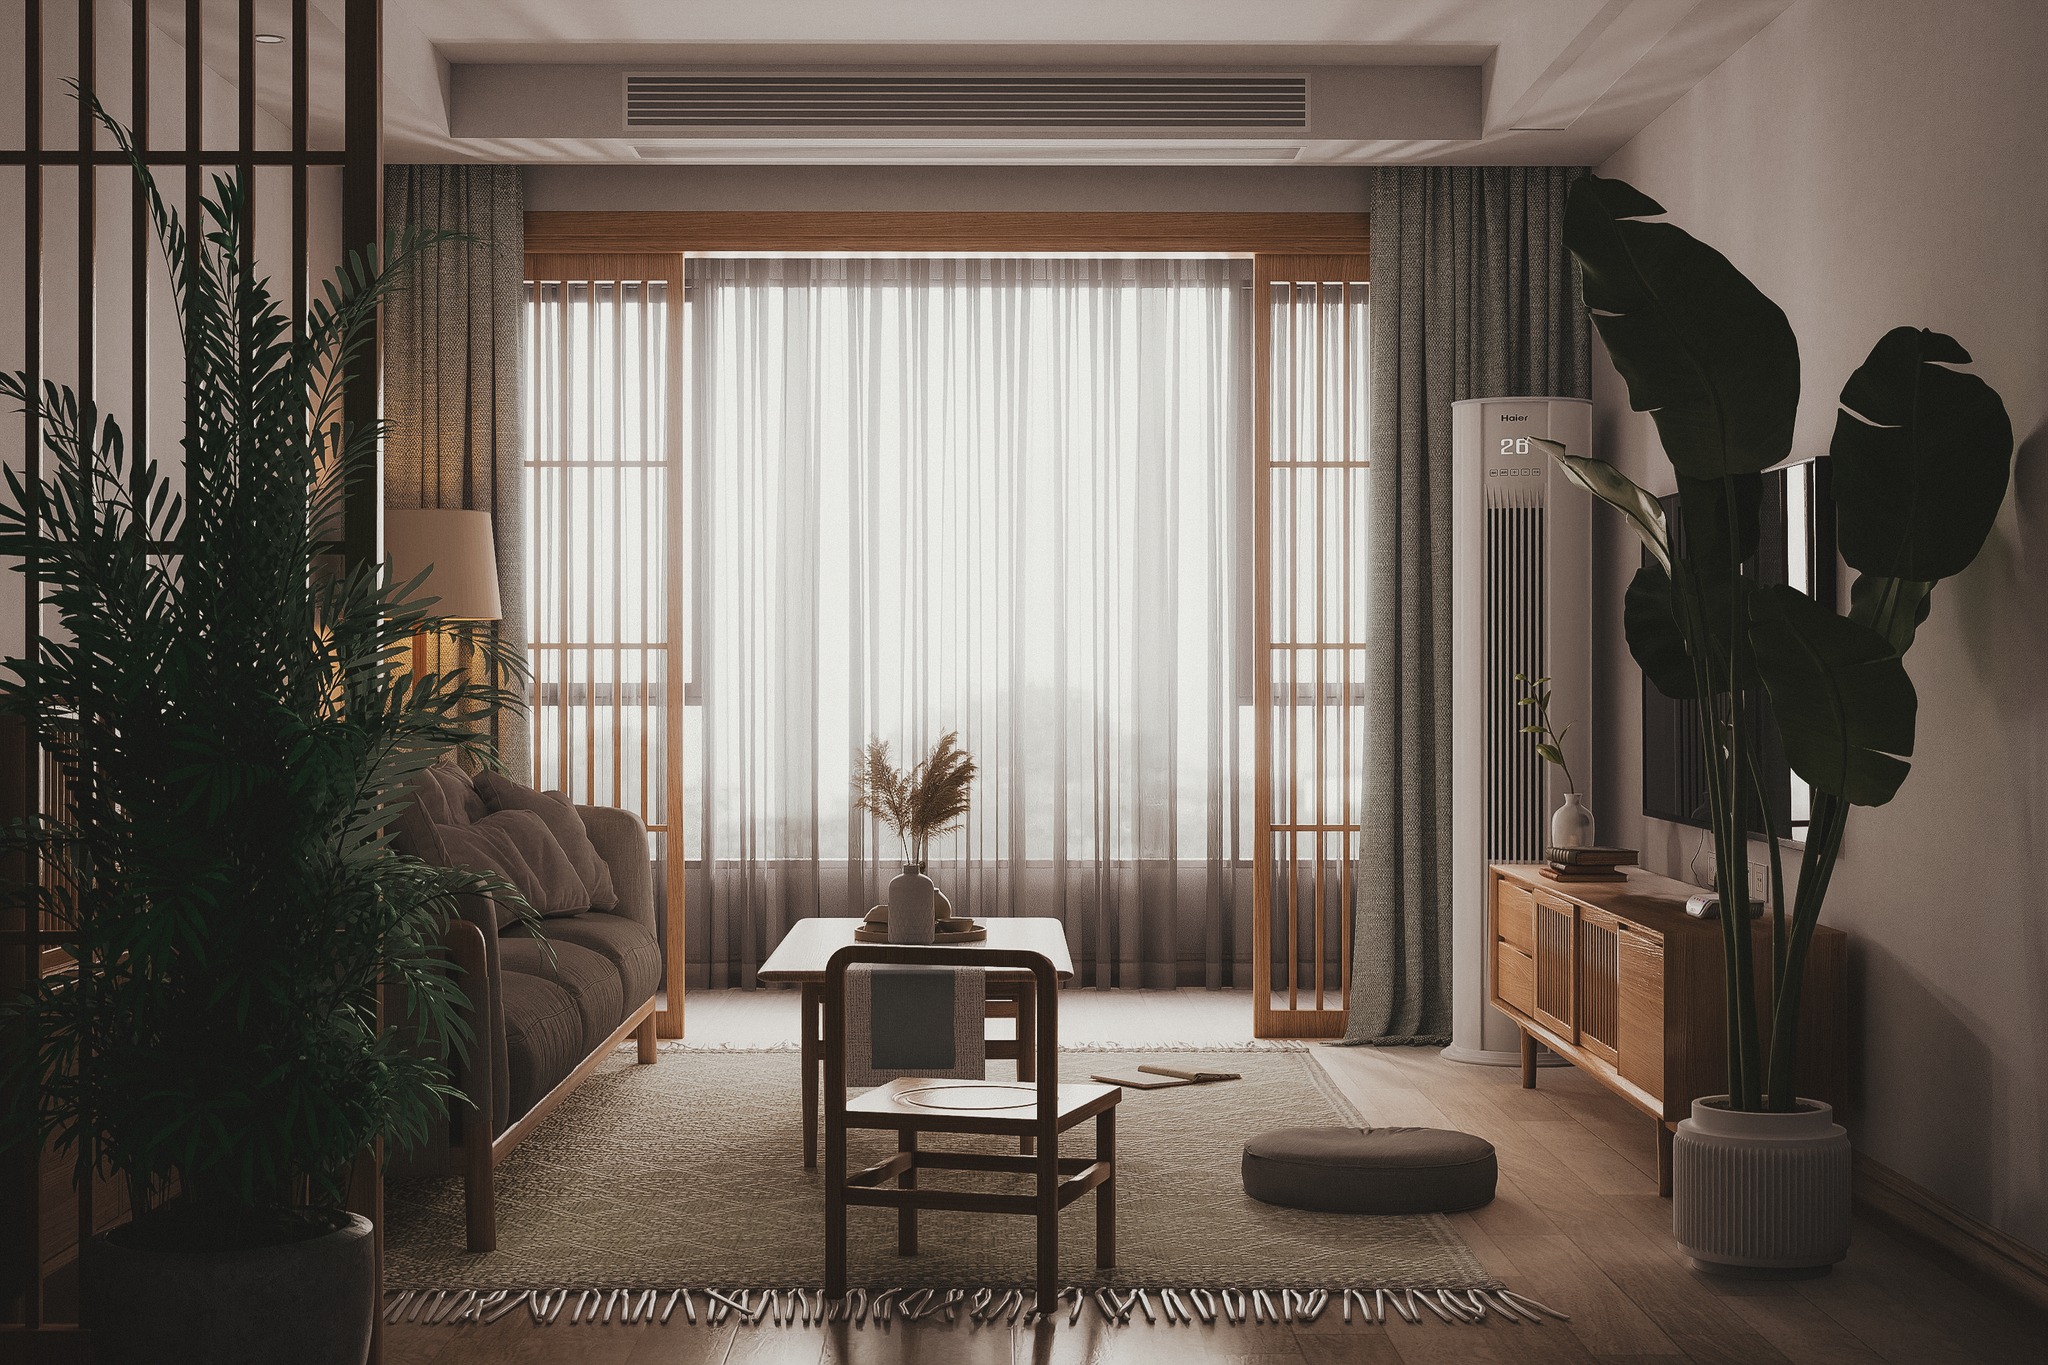
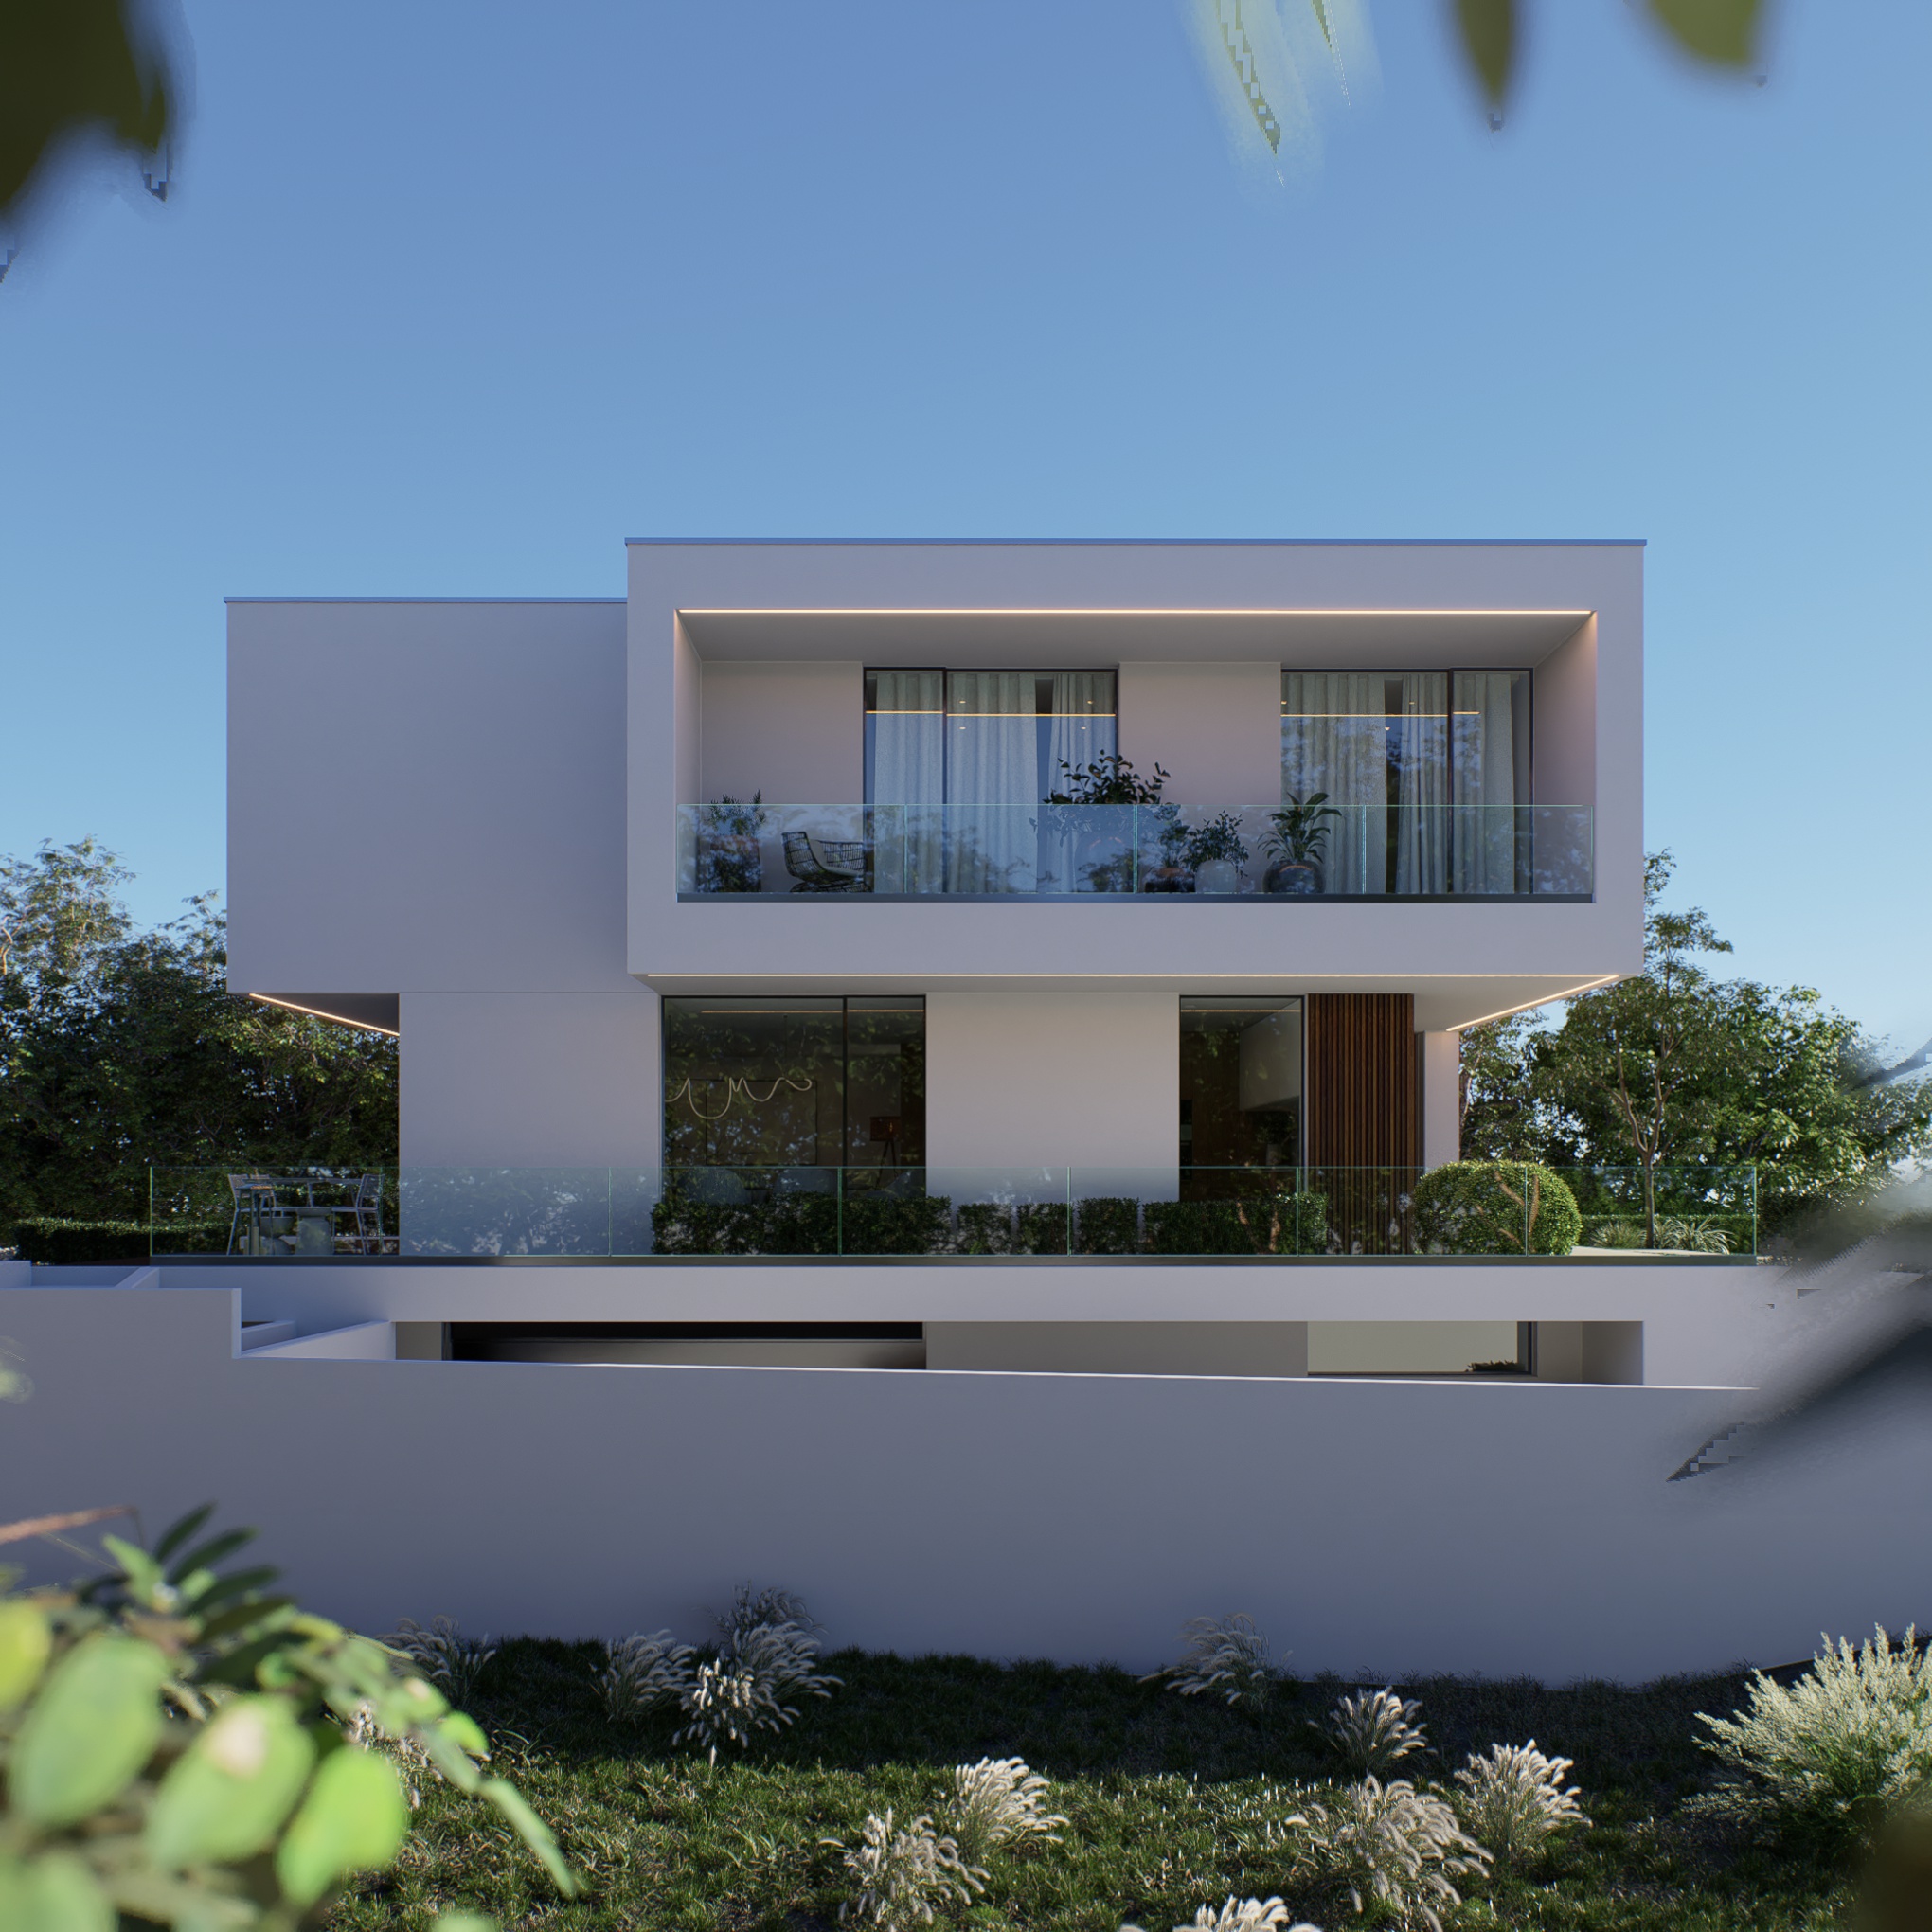
Render Showcase