Key Takeaways
- Atmospheric perspective softens distant objects to create realistic depth in scenes.
- D5 Render’s fog and haze tools simulate how air scatters light, enhancing spatial realism.
- Use D5 Render’s lighting tools to control shadows and match time-of-day lighting.
- Post-processing tools like AI Atmosphere Match finalize the mood and depth of your renderings.
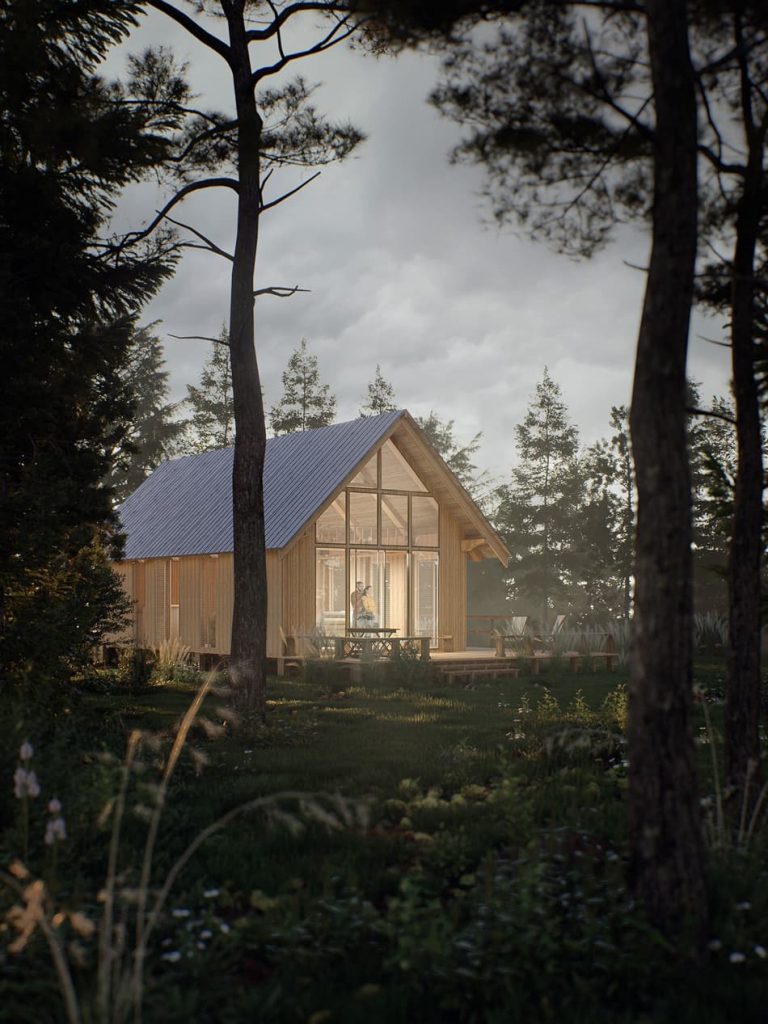
When you gaze at distant skylines or mountains, you’ll notice they look paler, blurrier, and less defined. This phenomenon, known as atmospheric perspective, occurs as air particles scatter light, reducing detail and contrast with distance.
In large-scale renderings, this effect is critical to crafting depth and realism. Without it, even a beautifully modeled scene can feel unnaturally flat. D5 Render equips designers with intuitive features that replicate these natural depth cues—turning lifeless scenes into immersive visual experiences.
1. Understanding Atmospheric Perspective
1.1 What is Atmospheric Perspective?
Atmospheric perspective is a principle rooted in how light travels through air. As light moves from a distant object to your eye, it interacts with particles in the atmosphere. The more air it passes through, the more diffused and desaturated it becomes:
- Desaturation: Far objects appear muted in color.
- Color shift: Cool tones dominate at a distance.
- Reduced contrast: Shadow and light differences soften.
- Detail loss: Edges and features blur.
Artists and photographers have used this technique for centuries to evoke mood and spatial hierarchy. In 3D rendering, it’s a powerful way to turn flat scenes into immersive, believable environments—especially in aerial or landscape scenes.
1.2 Why is Atmospheric Perspective Important in Aerial Renderings?
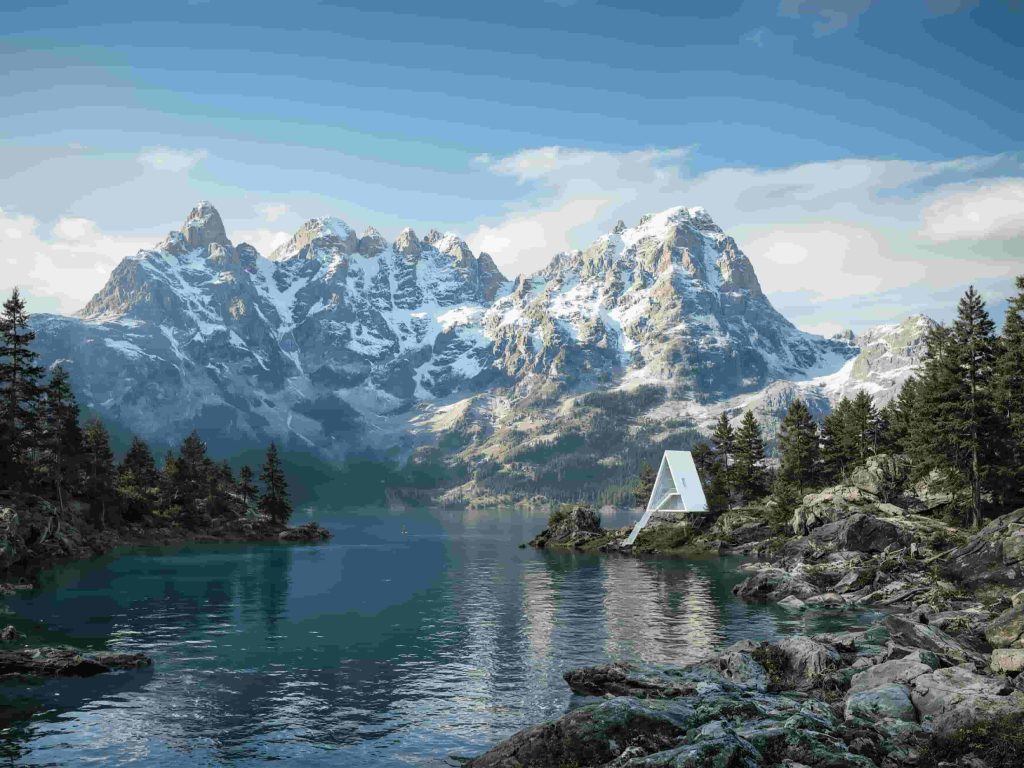
In aerial views, it’s easy for scenes to become visually chaotic. Atmospheric perspective introduces a gentle hierarchy of depth that guides the viewer’s eye. Distant objects lose sharpness, letting the foreground breathe and focal points shine.
Think of drone photography: it captures vast areas while clearly conveying depth. That’s the power of this visual principle—it:
- Simplifies scale and layout
- Draws attention to key design elements
- Conveys time of day and environmental context
- Separates visual layers with clarity
It’s a subtle way of letting the air do the storytelling.
2. How D5 Render Makes Atmospheric Perspective Easy
D5 Render delivers tools that make it easy to integrate atmospheric perspective into your workflow—no complex setup, just intuitive controls that respond in real time.
2.1 Fog and Haze Settings
With D5’s height-based fog, you can mimic how air density changes with elevation. These tools let you add subtle veils that lighten distant areas and add ethereal softness.
🎯Tip: For aerial scenes, subtle fog is more effective than heavy haze—keep it light to maintain clarity.
Also read: How to add realistic fog to archviz rendering with D5 Render
2.2 Real-Time Lighting and Sun Positioning
Lighting sculpts depth more than any other tool. D5 lets you simulate golden hour, high noon, or sunset with a simple drag. Shadows stretch, colors warm or cool, and your scene immediately gains atmospheric nuance.
For added realism, match your sun’s position with geographic coordinates to simulate real-world environments.
2.3 Smart Tone Mapping and Color Grading
Refining atmosphere is about finesse. With D5’s tone mapping, you control light range protecting detail in bright skies and shaded areas. Then, color grading lets you shape the mood:
- Photographic tone mapping keeps realism intact.
- Creative grading evokes specific emotions or cinematic looks.
🎯Tip: Always begin with tone balance before dialing in mood through color.
2.4 Depth of Field and Real-time Path Tracing
D5’s Depth of Field tool lets you mimic how cameras perceive distance. Used sparingly, it can help guide viewer focus without sacrificing realism.
For photoreal precision, real-time path tracing calculates how light behaves over distance, factoring in scatter and fade. Enable “Accumulate” for crisper, noise-free results in hazy or backlit environments.
2.5 Terrain, Scatter & Vegetation: The Realism Boosters
Realistic structure underpins good atmosphere. D5’s terrain tools help build undulating landscapes, while scatter tools populate them with natural variation whether it’s dense forests, rolling hills, or rocky expanses.
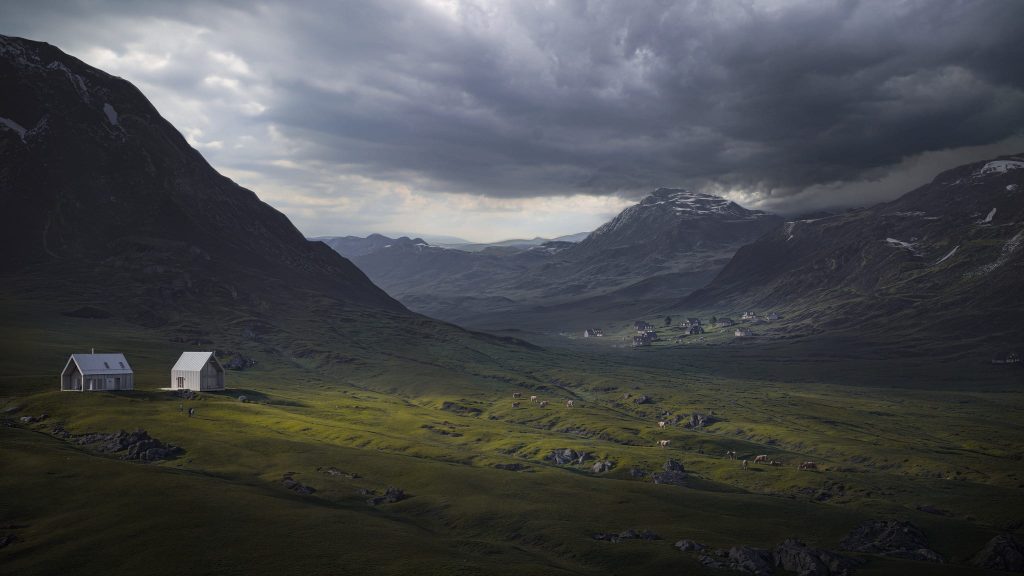
✅Pro Move: Use soft fog behind sloped terrain filled with scattered vegetation and set the sun low. This combination adds cinematic depth and richness.
Also read: Mastering Architectural Landscaping with D5 Render Terrain Tool
2.6 Post-Processing: Mood and Polish
Once the structural and lighting layers are in place, use D5’s AI-driven post tools to unify the feel of your scene:
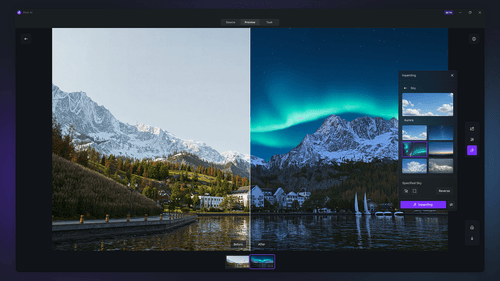
- AI Atmosphere Match adapts sky, lighting, weather, and tone based on the reference image to replicate the desired mood, whether it’s a serene sunset or a dramatic stormy night.
- AI Enhancer analyzes your render and automatically improves contrast, lighting, and depth, perfect for dialing in subtle atmospheric effects.
- AI Inpainting helps clean up render artifacts or fill missing details, especially useful for refining skies/waters or softening transitions in distant objects.
2.7 Avoiding Common Mistakes
Mistakes in atmospheric perspective can make your work look odd or unclear. Hereâs what to avoid:
- Too Much Fog or Haze: Depth disappears if overdone. Use just enough for subtle layering.
- Unbalanced Lighting: Harsh or flat lighting breaks immersion. Tune the sun and shadows for consistency.
- Overblurring Depth of Field: Keep it soft. Overuse distracts and flattens the image.
- Poor Composition: Ensure spatial layers are distinct foreground, midground, background.
Pro Tip: Always preview from multiple angles to ensure depth reads well throughout.

3. Real-World Inspiration: Landmark Projects from the Sky
D5 Render’s atmospheric tools come to life through a range of projects that push the boundaries of landscape-scale visualization.
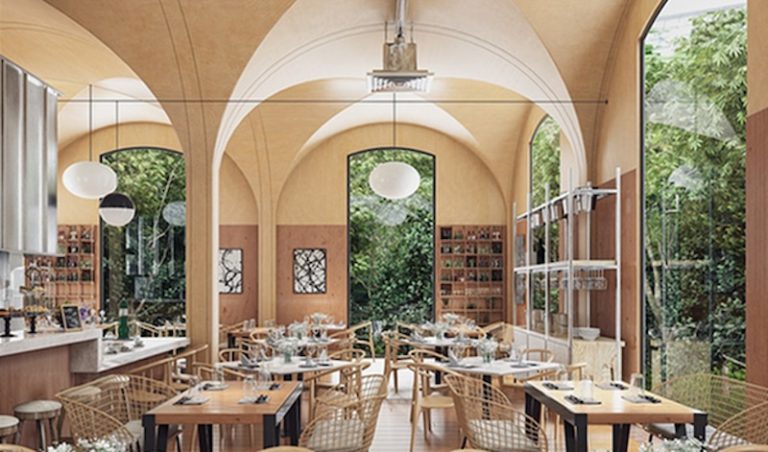
3.1 Kimmel Studio: Harmonizing Architecture and Landscape
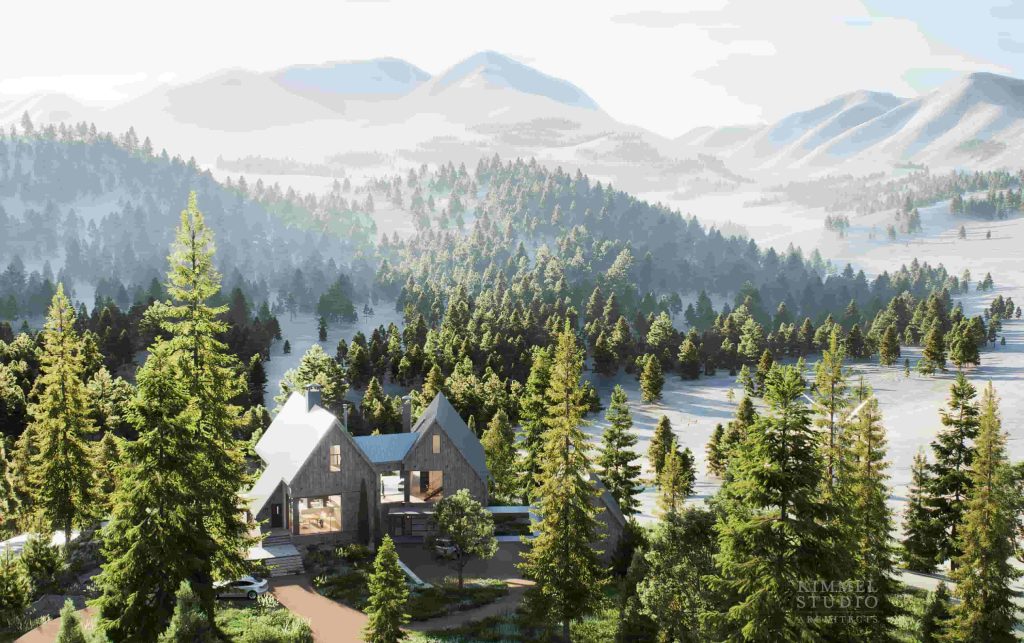
Kimmel Studio, known for integrating classical architecture with lush landscapes, used D5 Render to strike the perfect visual balance between built form and natural surroundings. They leveraged D5’s scatter, vegetation, and lighting tools to convey narrative depth and realism.
“It’s like a creative puzzle, and D5 makes that process enjoyable.”
D5 Render’s ability to handle extensive models without lag proved transformative. Kimmel Studio could design and render vast neighborhoods and intricate landscapes without disruption, enabling a smooth, efficient creative process.
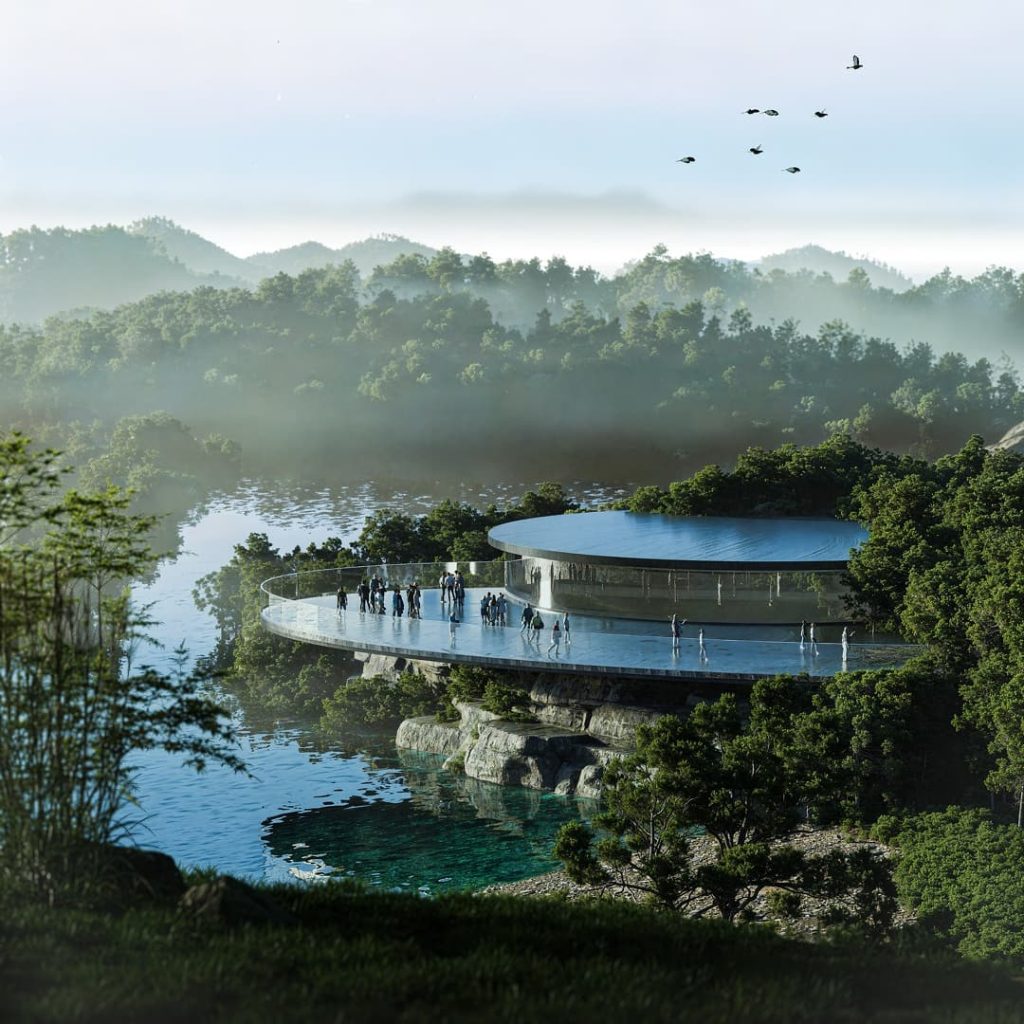
3.2 ArchiGlobal: Aerial Storytelling at Scale
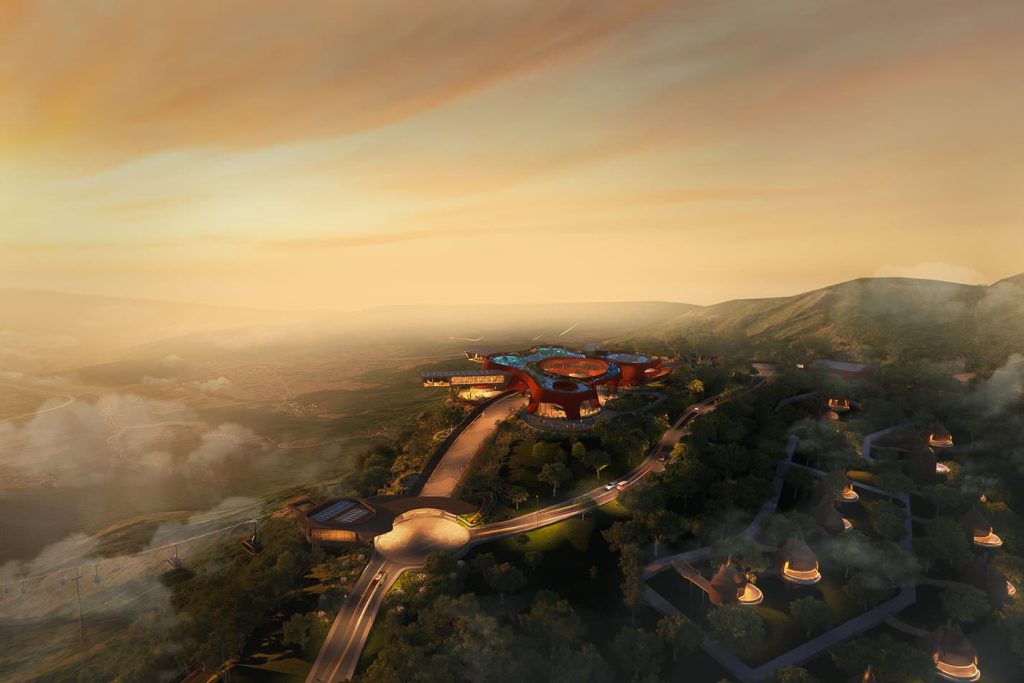
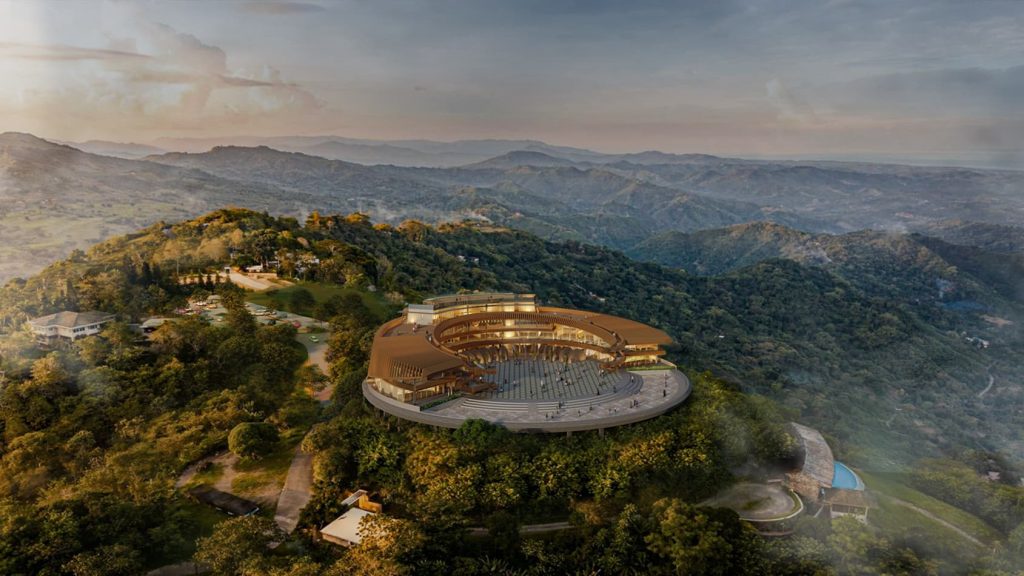
In projects like Caniaw Crest and the Tops Redevelopment, ArchiGlobal used D5 to emphasize the spatial relationship between built forms and their environments. Features like terrain sculpting, AI-enhanced atmospheres, and real-time lighting brought aerial scenes to life.
- Storytelling through Layers: Use elevation, fog, and light to direct attention.
- Effortless Realism: Create emotional impact with just a few key settings.
These studios show how atmospheric perspective isn’t just technical’s narrative. It helps your renders breathe, guide, and resonate.
4. FAQ
4.1 How can I make fog look real in D5 Render?
Change the fog density and height using sliders. Use thin fog for soft depth or thick fog for dramatic scenes. Pick a fog color that fits your scene’s mood. Check your changes to make sure the fog looks natural with the light and land.
4.2 What is the best lighting for aerial renderings?
Use the Dynamic Sky System to copy real-world light. Move the sun’s angle to create long shadows at sunrise or sunset. For midday, make the light brighter for strong contrasts. Try adding volumetric clouds for more texture and atmosphere.
4.3 How do I stop overusing depth of field?
Set a soft blur in the camera settings. Keep key areas sharp and make far objects slightly blurry. Don’t use too much blur that hides details. Look at your rendering from different angles to keep it balanced.
4.4 Can I use D5 Render for nighttime aerial views?
Yes! Add lights like streetlights or building lights. Change their brightness and color to look real. Use soft shadows and light diffusion to show nighttime effects. Use post-processing tools to make the scene look polished.
4.5 What camera angle is best for aerial renderings?
Pick a three-quarter view to show diagonal depth. Use a wide-angle lens to make the scene feel bigger. Try tilting or raising the camera to highlight important parts. Test different angles to find the most interesting view.