Why Every Line and Layer Matters—and How to Build Credible, Constructible 3D Scenes
Key Takeaways
- Start with accurate 3D modeling by getting geometry and scale right, adding edge details, and modeling layers and joints to build a strong foundation for realism.
- Focus on function, constructibility, and aesthetics in every detail to create believable and buildable designs that connect emotionally with clients.
- Use high-quality materials and textures with imperfections like scratches and stains to avoid a too-perfect look and boost authenticity.
- Apply natural and artificial lighting carefully to add depth, highlight materials, and create mood, testing scenes at different times of day.
- Include environmental context and use post-processing tools to enhance your renderings, making designs feel real and helping clients see how they fit into their surroundings.

1. Introduction
Why do some architectural renders feel instantly convincing—while others, no matter how polished, still feel fake? Often, the difference isn’t about better lighting or sharper textures. It’s about detail.
In the real world, buildings are layered, imperfect, and full of logic. Baseboards hide expansion gaps. Metal flashing keeps water out. Every edge, recess, and fastener has a purpose. These aren’t extras—they’re evidence of constructibility.
As we move deeper into 2025, clients expect more from visuals. Realistic renderings not only inspire confidence—they drive business. Case studies show:
- Listings with 3D views get 67% more qualified inquiries
- Pre-sales complete 60% faster when supported by detailed visuals
So how do you get there? This article breaks down:
- Why every line and layer matters
- How real construction logic makes renders credible
- Allen & Rand’s 3-pillar framework (Function, Constructibility, Aesthetics)
- A practical checklist covering modeling, materials, lighting, and more
Whether you’re a beginner or intermediate 3D artist, this guide will help you craft renders that aren’t just beautiful—they’re believable.
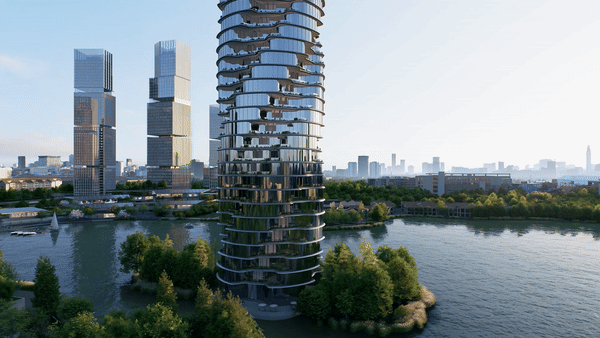
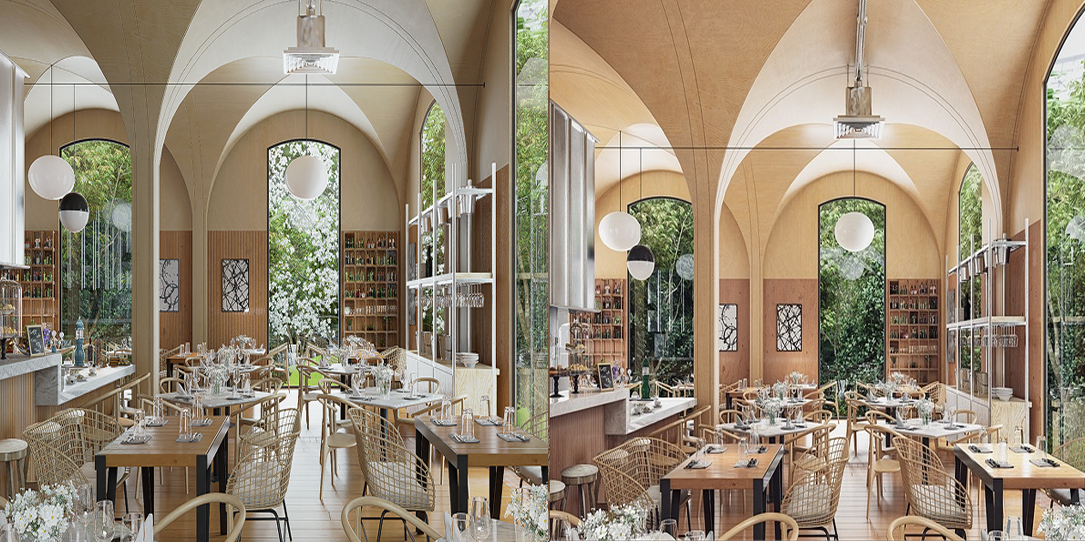
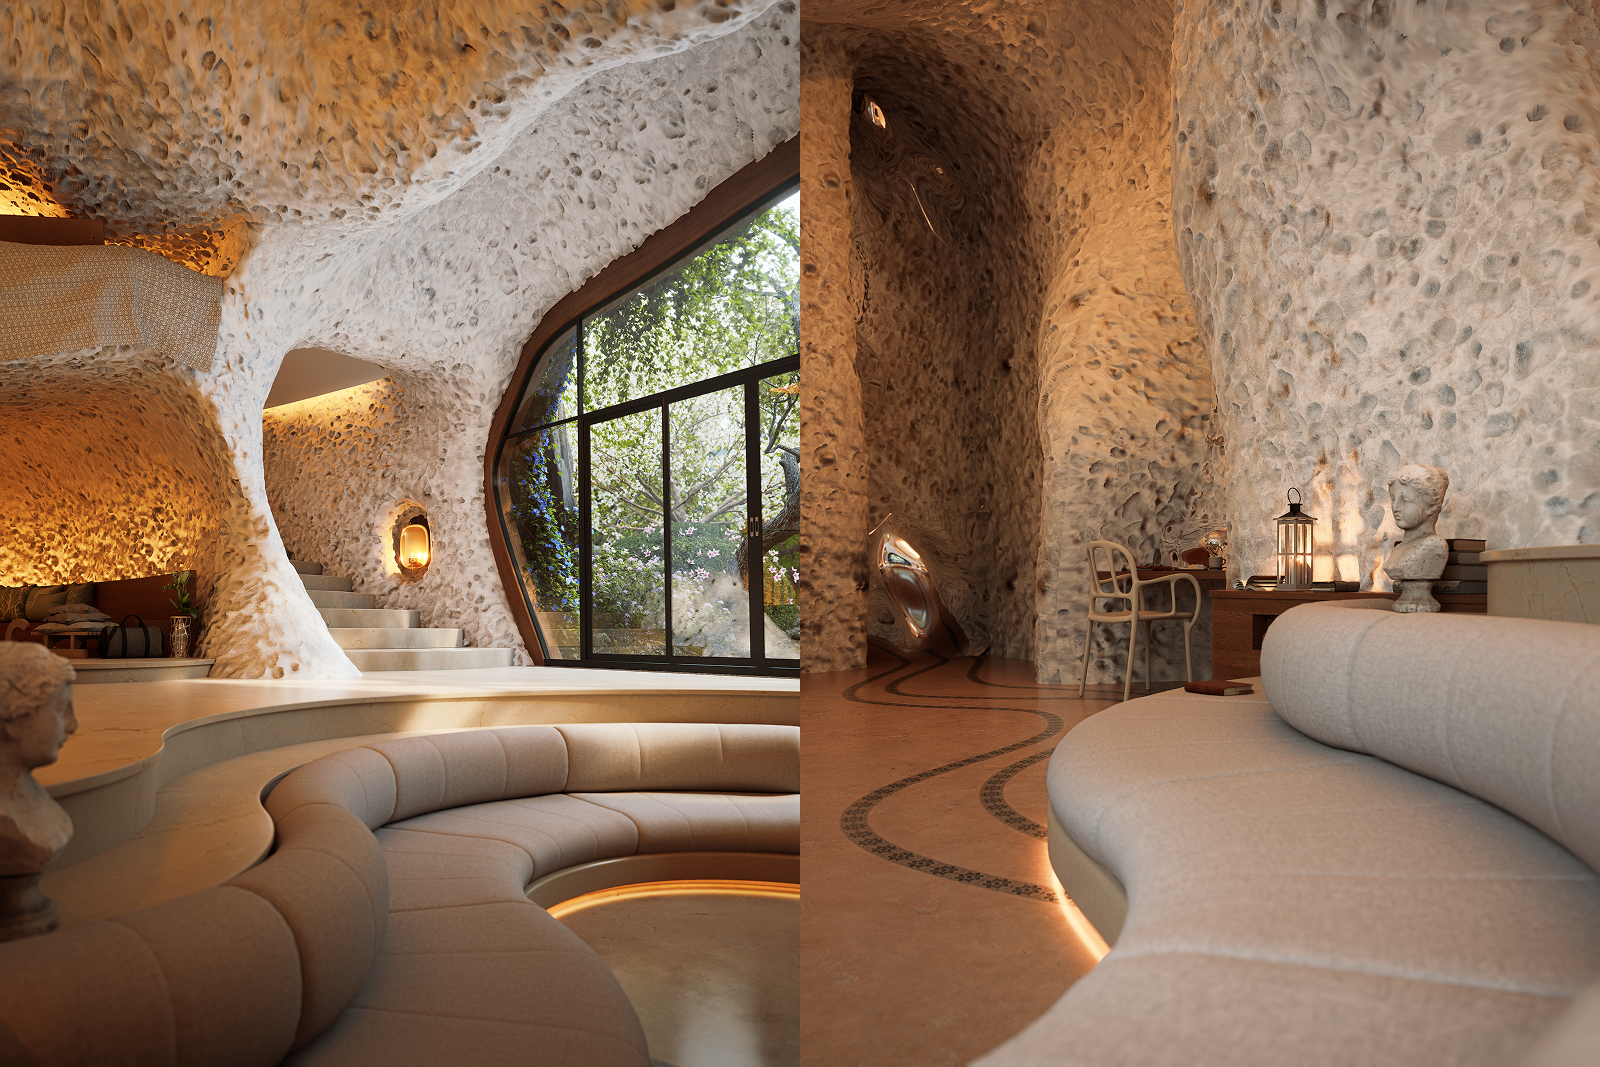
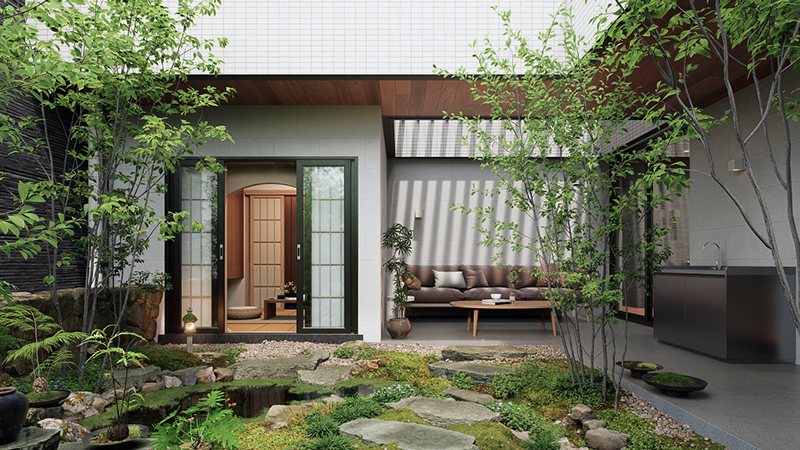
2. Every Line and Layer Matters
To create realism, you need to think like a builder.
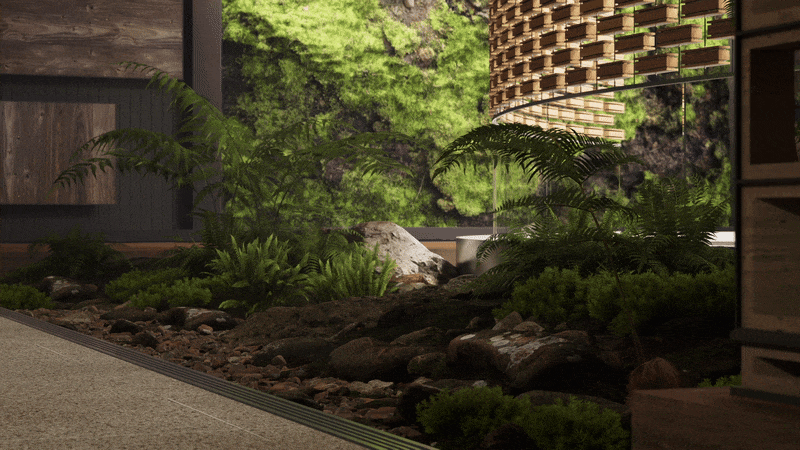
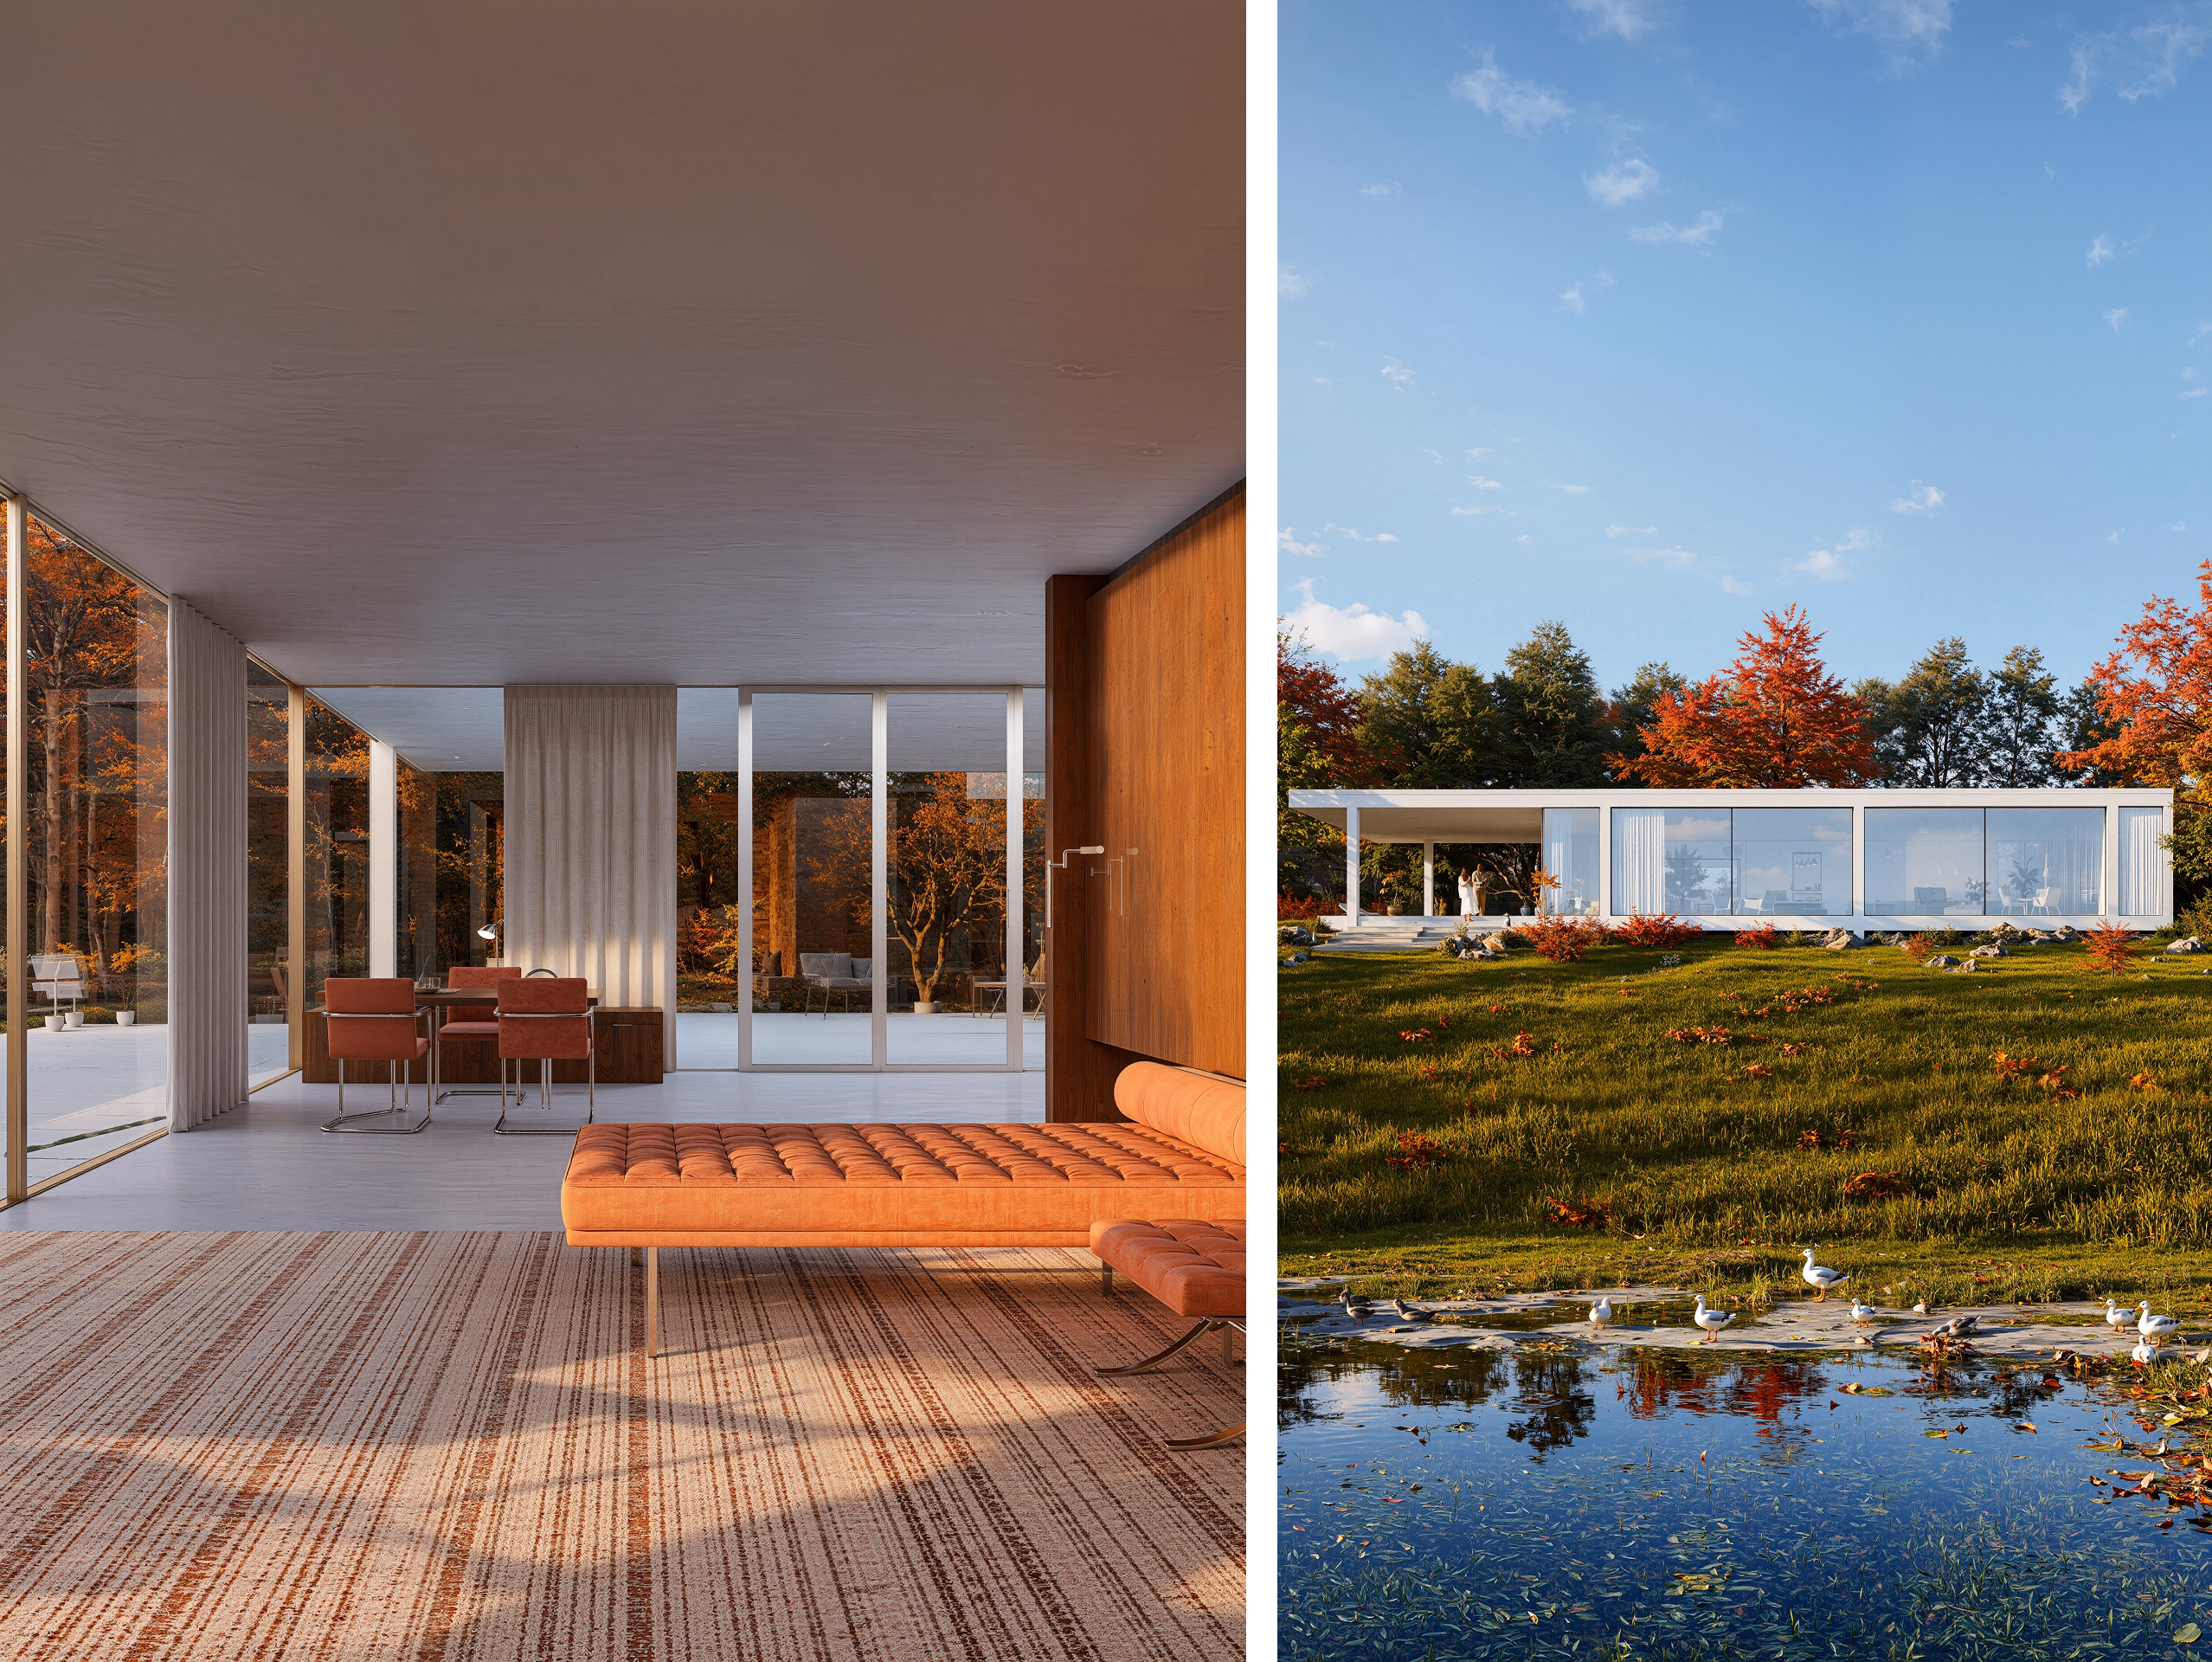
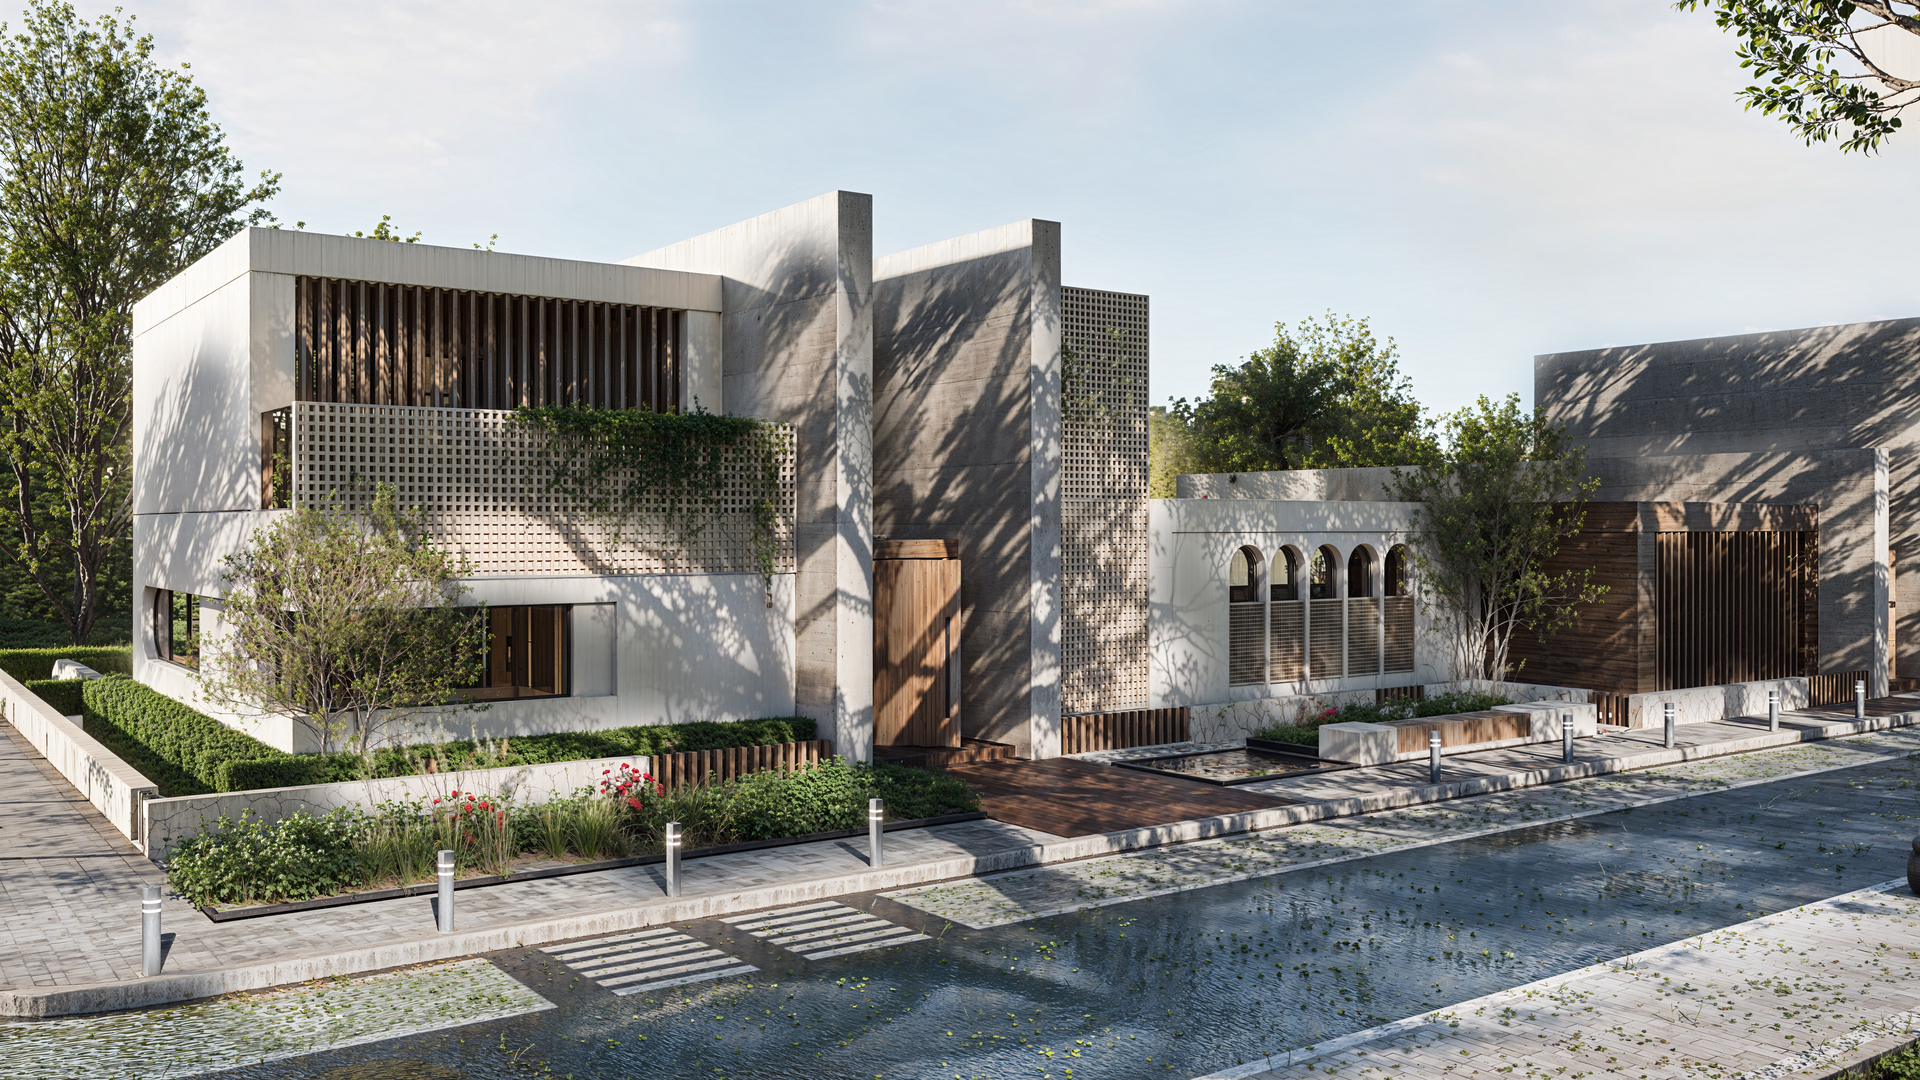
In architecture, walls don’t just meet floors—they do so with baseboards, shadow gaps, or trims. Joints control movement. Flashing prevents leaks. Materials overlap and connect in functional ways. Every visual cue communicates something real.
For 3D artists, these small details provide scale, logic, and believability:
- Bevels catch light and create subtle highlights
- Wall layers show depth (e.g., window recesses, insulation, finishes)
- Seams and joints break up flat surfaces and reflect material assembly
- Hardware and fixtures ground a space in usability

When these are present—even subtly—they trigger a subconscious recognition: “This looks real.” When they’re missing, the viewer might not know why, but the scene feels off—like a cardboard model instead of a real structure.
Every line and layer you include makes your scene more grounded in reality. It shows care, craft, and construction awareness. And that’s what separates a decent render from a professional one.
3. Avoiding Common Detailing Mistakes
A scene can have perfect lighting and textures and still look fake—because of missing or incorrect detail. Here are common traps to avoid:
3.1 No Baseboards or Trims
Rooms look like empty boxes when walls meet floors without skirting or finishes. Always add baseboards or at least a visual separation.
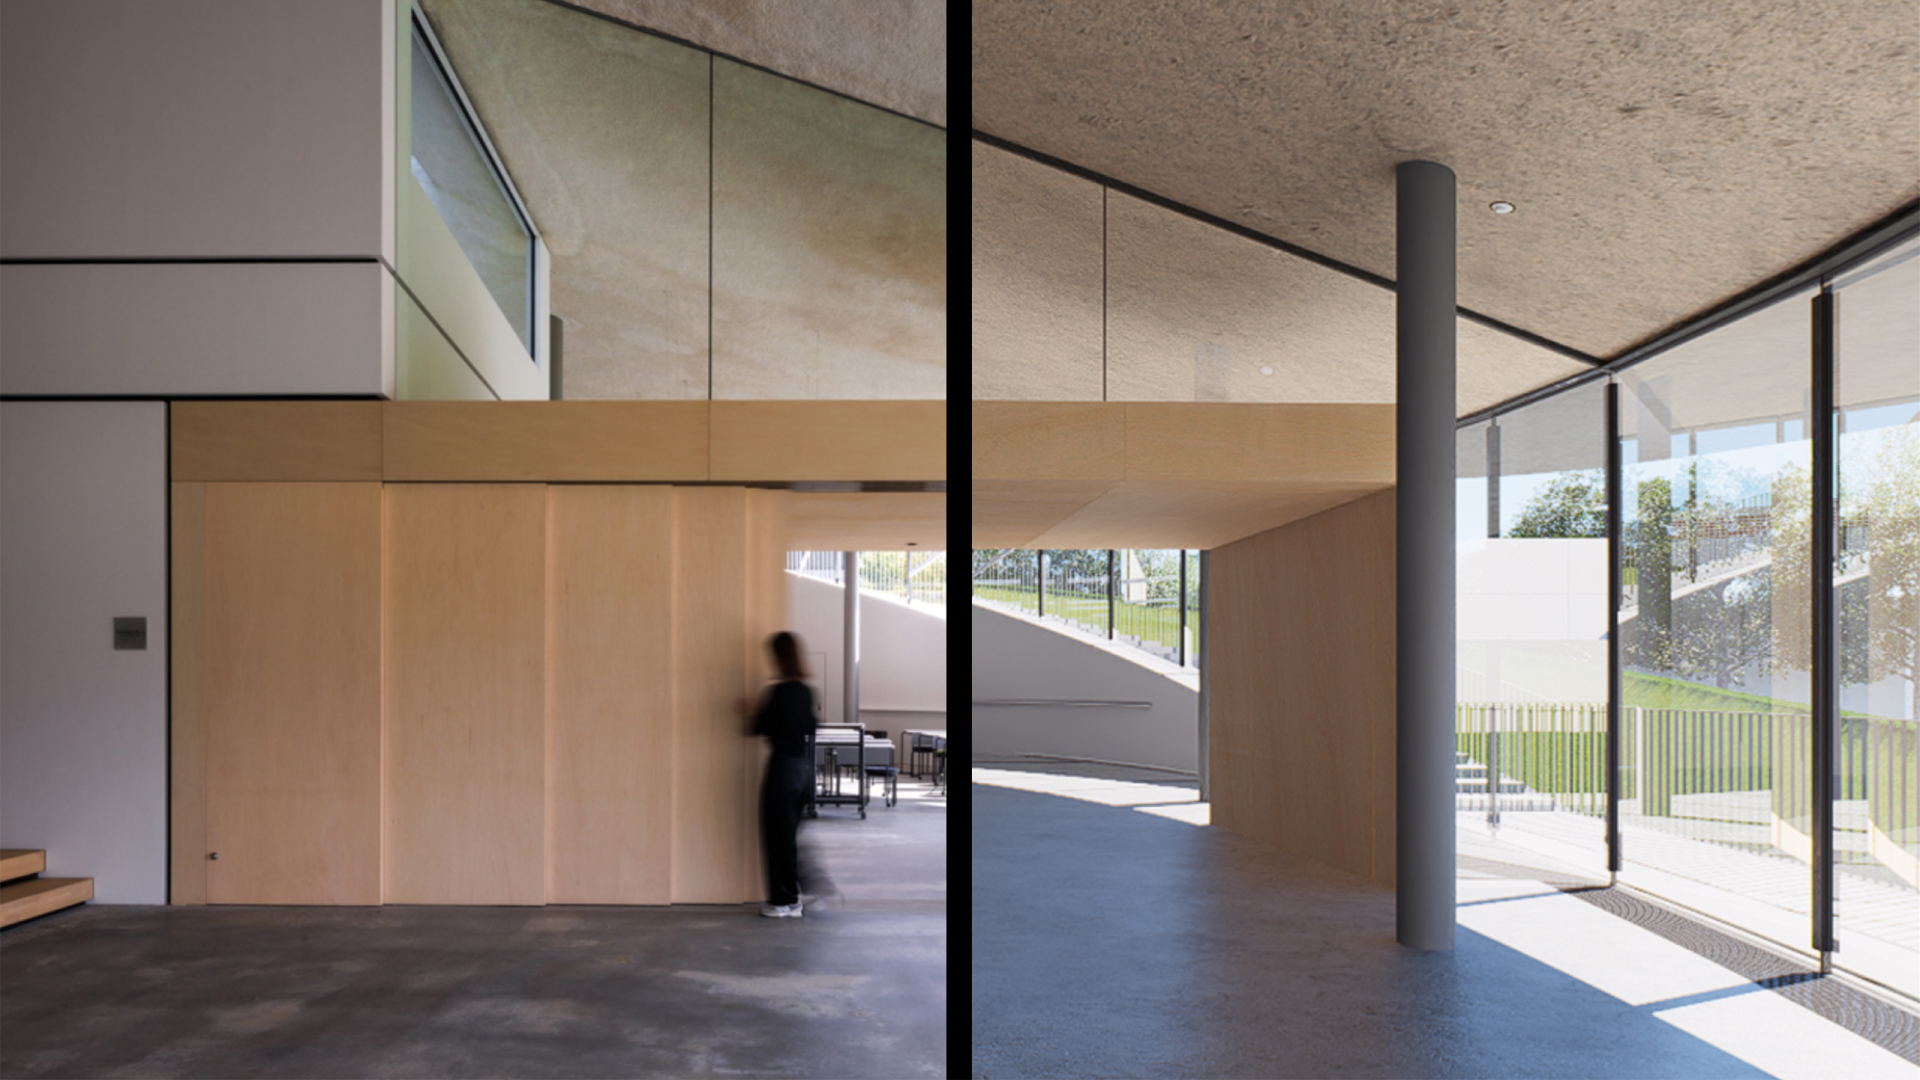
3.2 Paper-Thin Walls
Walls in real buildings have thickness. If your window cuts through a wafer-thin plane, the illusion collapses. Use proper layering and recesses.
3.3 Unbroken Surfaces
A brick wall without mortar joints? A concrete slab with no expansion cuts? These scream "CGI." Real surfaces are assembled, not continuous.
3.4 Too Perfect Edges
Real-world objects have micro-bevels or imperfections. Razor-sharp corners feel unnatural. Always bevel your geometry, even just slightly.
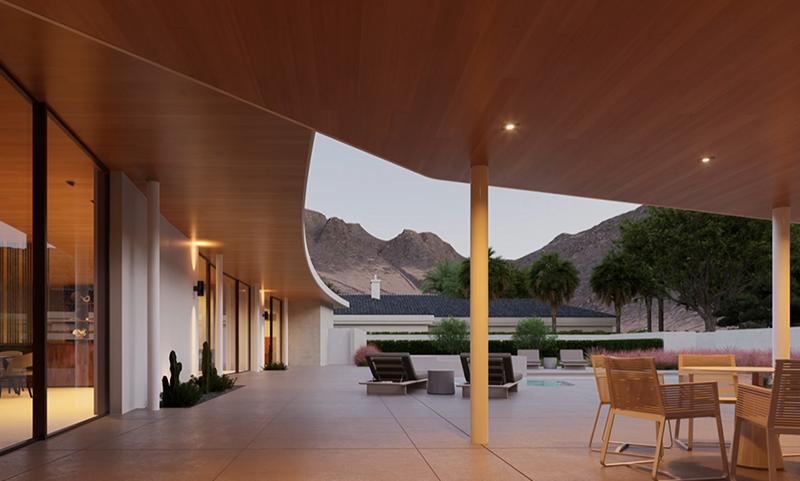
3.5 Floating or Unsupported Structures
A floating staircase with no visible support, or a long cantilever with no brackets—these break the laws of physics. Add support elements or show how it’s engineered.

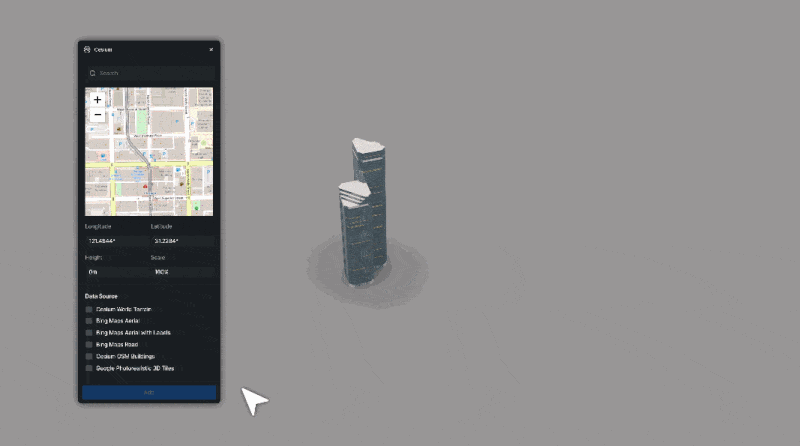
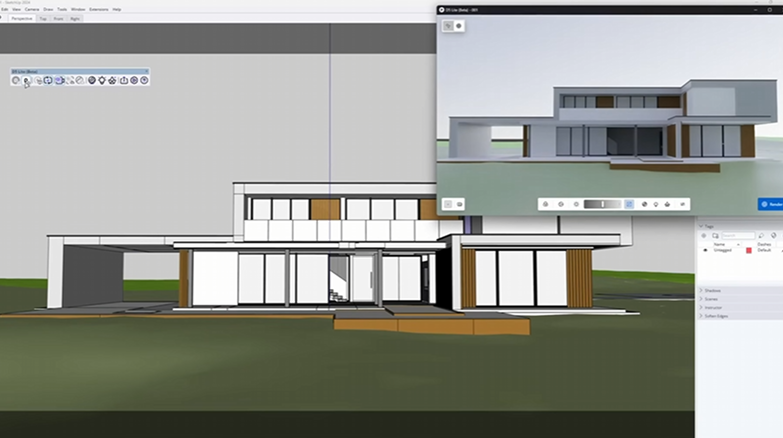
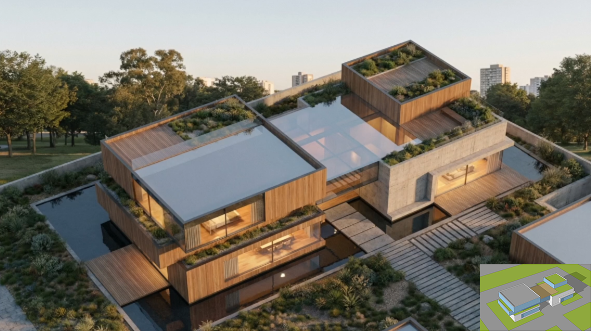
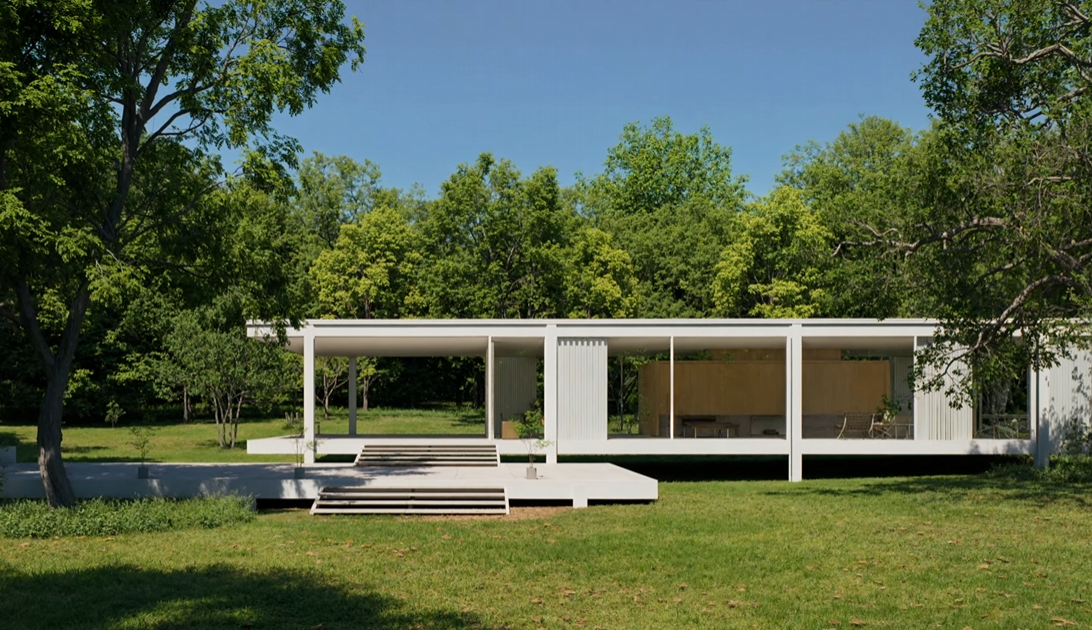
4. Start with Accurate 3D Modeling
Detailing starts at the modeling stage—not in post.
4.1 Get Geometry and Scale Right
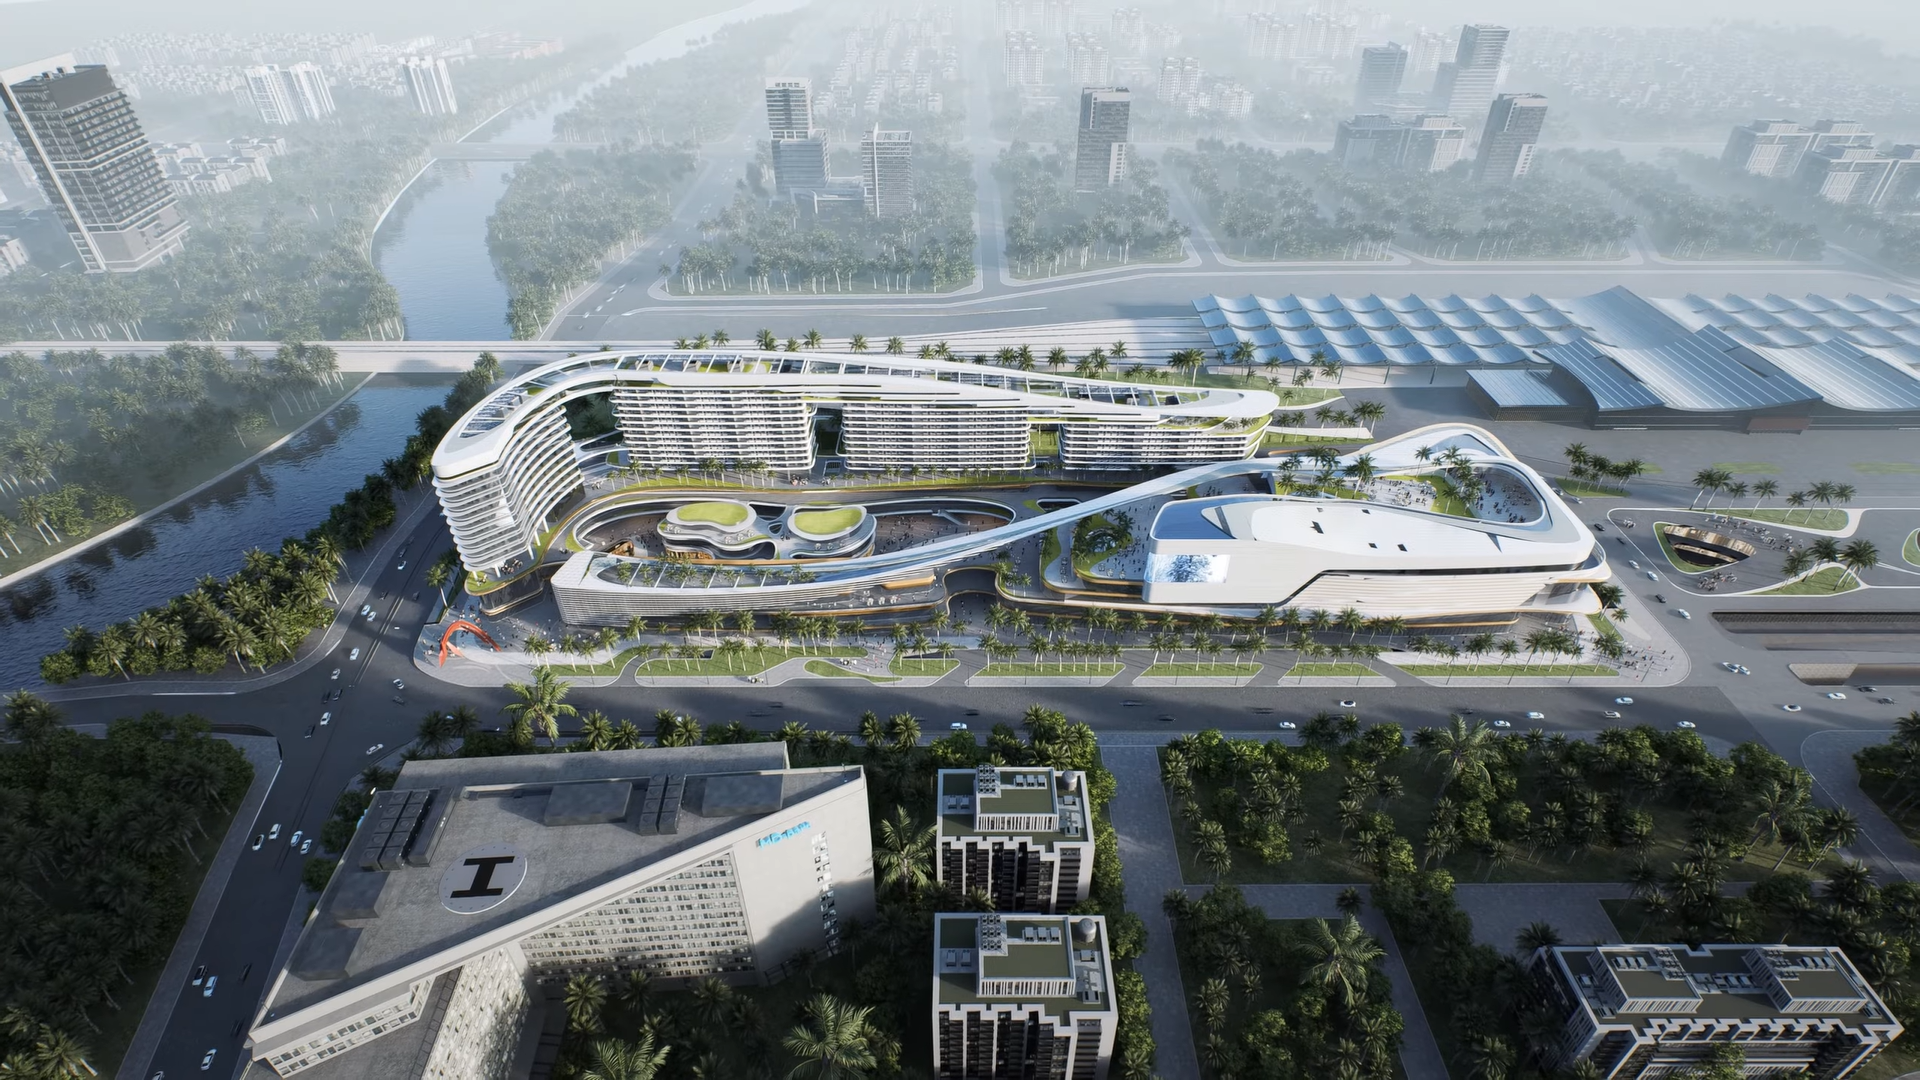
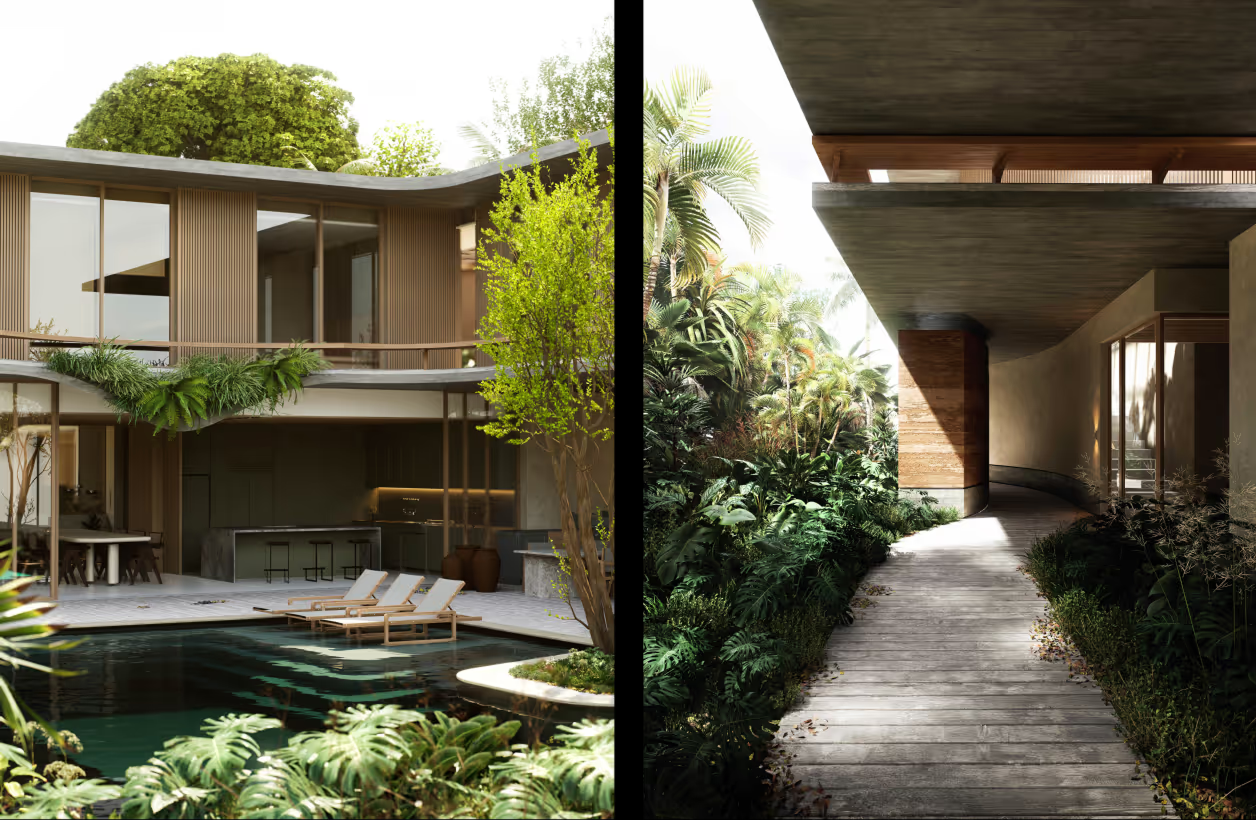
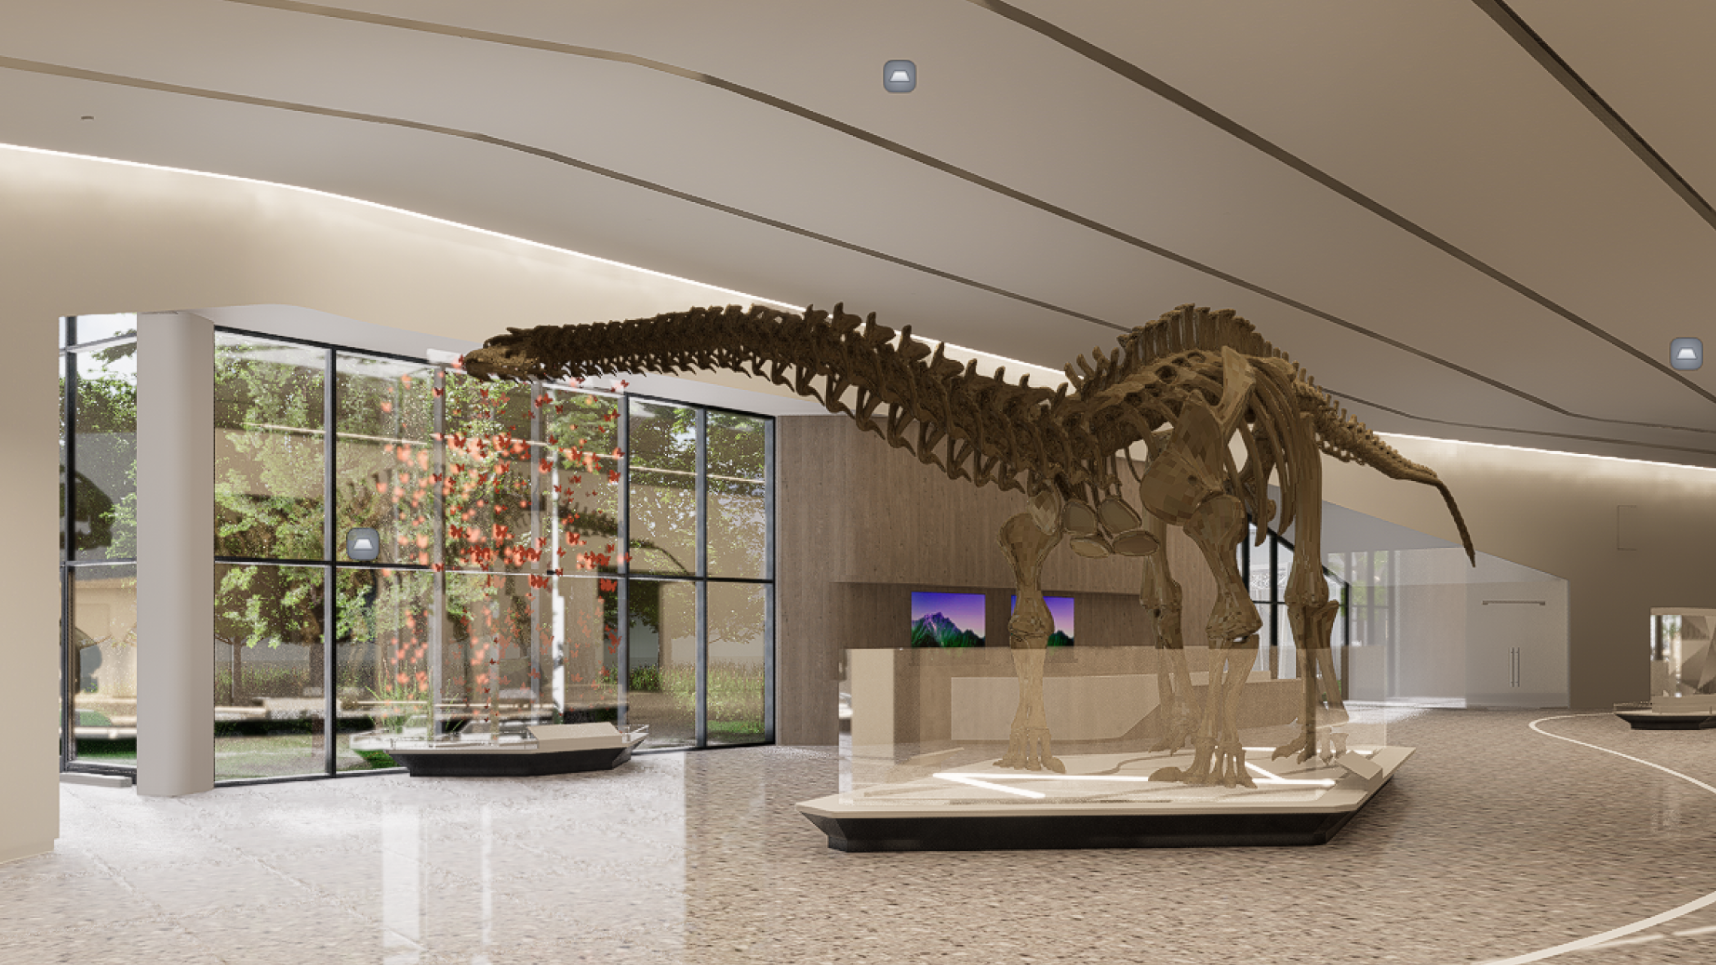
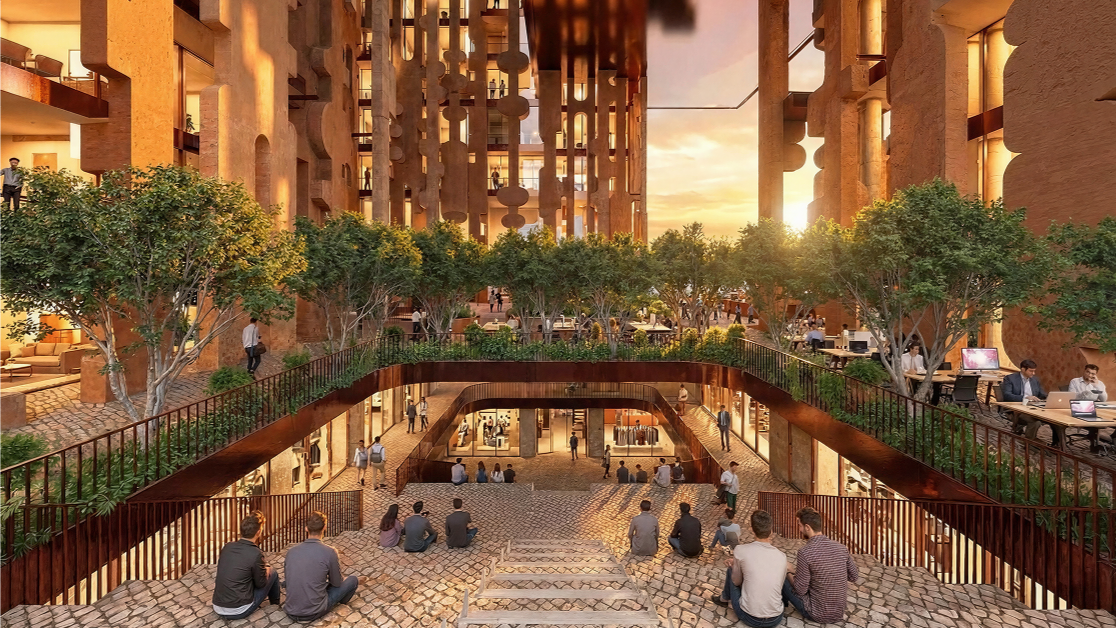
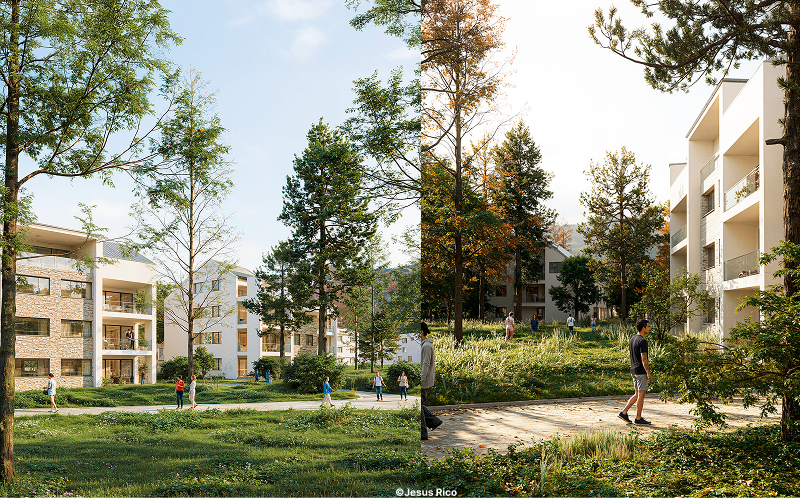
Use reference drawings or field measurements. Accurate proportions help viewers emotionally relate to a space. For example, a dining chair that’s 10% too short breaks immersion. Add contextual elements—like people, plants, and vehicles—to reinforce the sense of scale.
4.2 Focus on Edge Detailing
Real-world edges aren’t sharp. Add bevels or chamfers using tools in your software (e.g., SketchUp’s RoundCorner, Blender’s Bevel Modifier). Use references to see how light behaves on corners and edges.
4.3 Model Layers and Joints
Walls aren’t just surfaces—they’re built from multiple layers. Model wall thickness, add window/door recesses, and include expansion joints, cladding seams, or tile grout lines. Organize geometry into clean layers to streamline texturing.
These elements make your render look buildable, not just visual.
5. Adopt the Right Mindset: 3 Pillars of Detailing
Architectural experts Edward Allen and Patrick Rand proposed a simple, powerful framework for detailing. Every element you add should check three boxes:
Great rendering happens when all three pillars are present. If it only looks good but can’t function or be built, it’s incomplete.
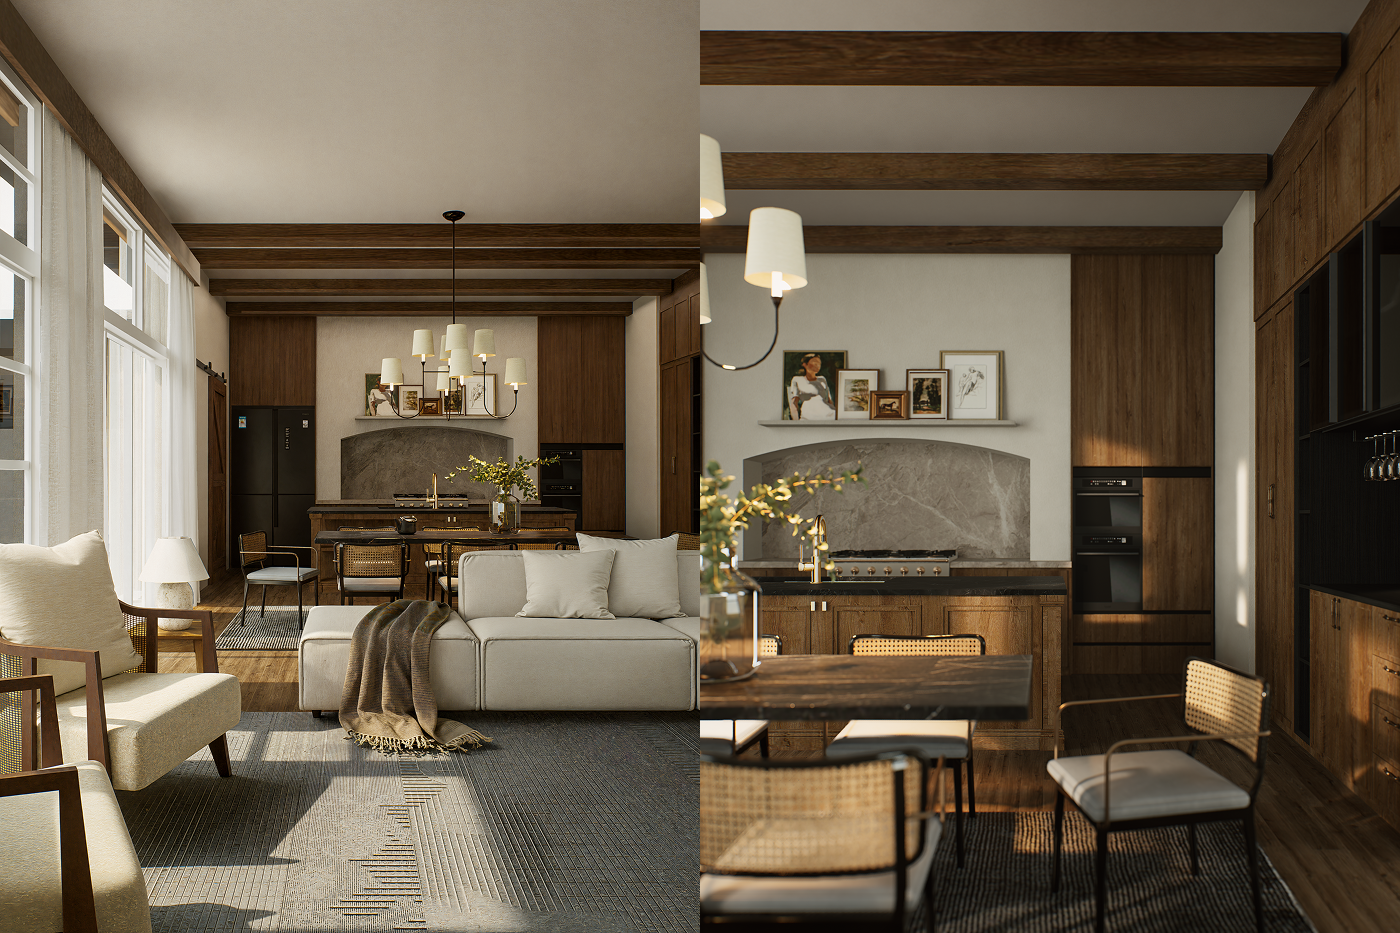
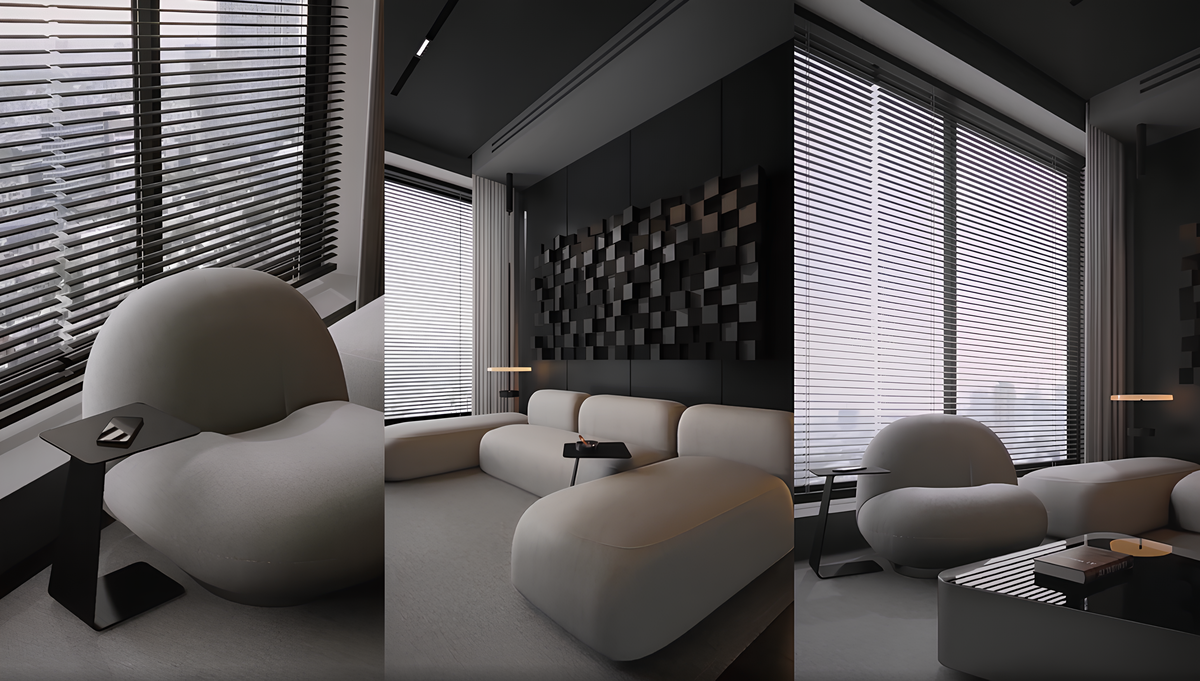
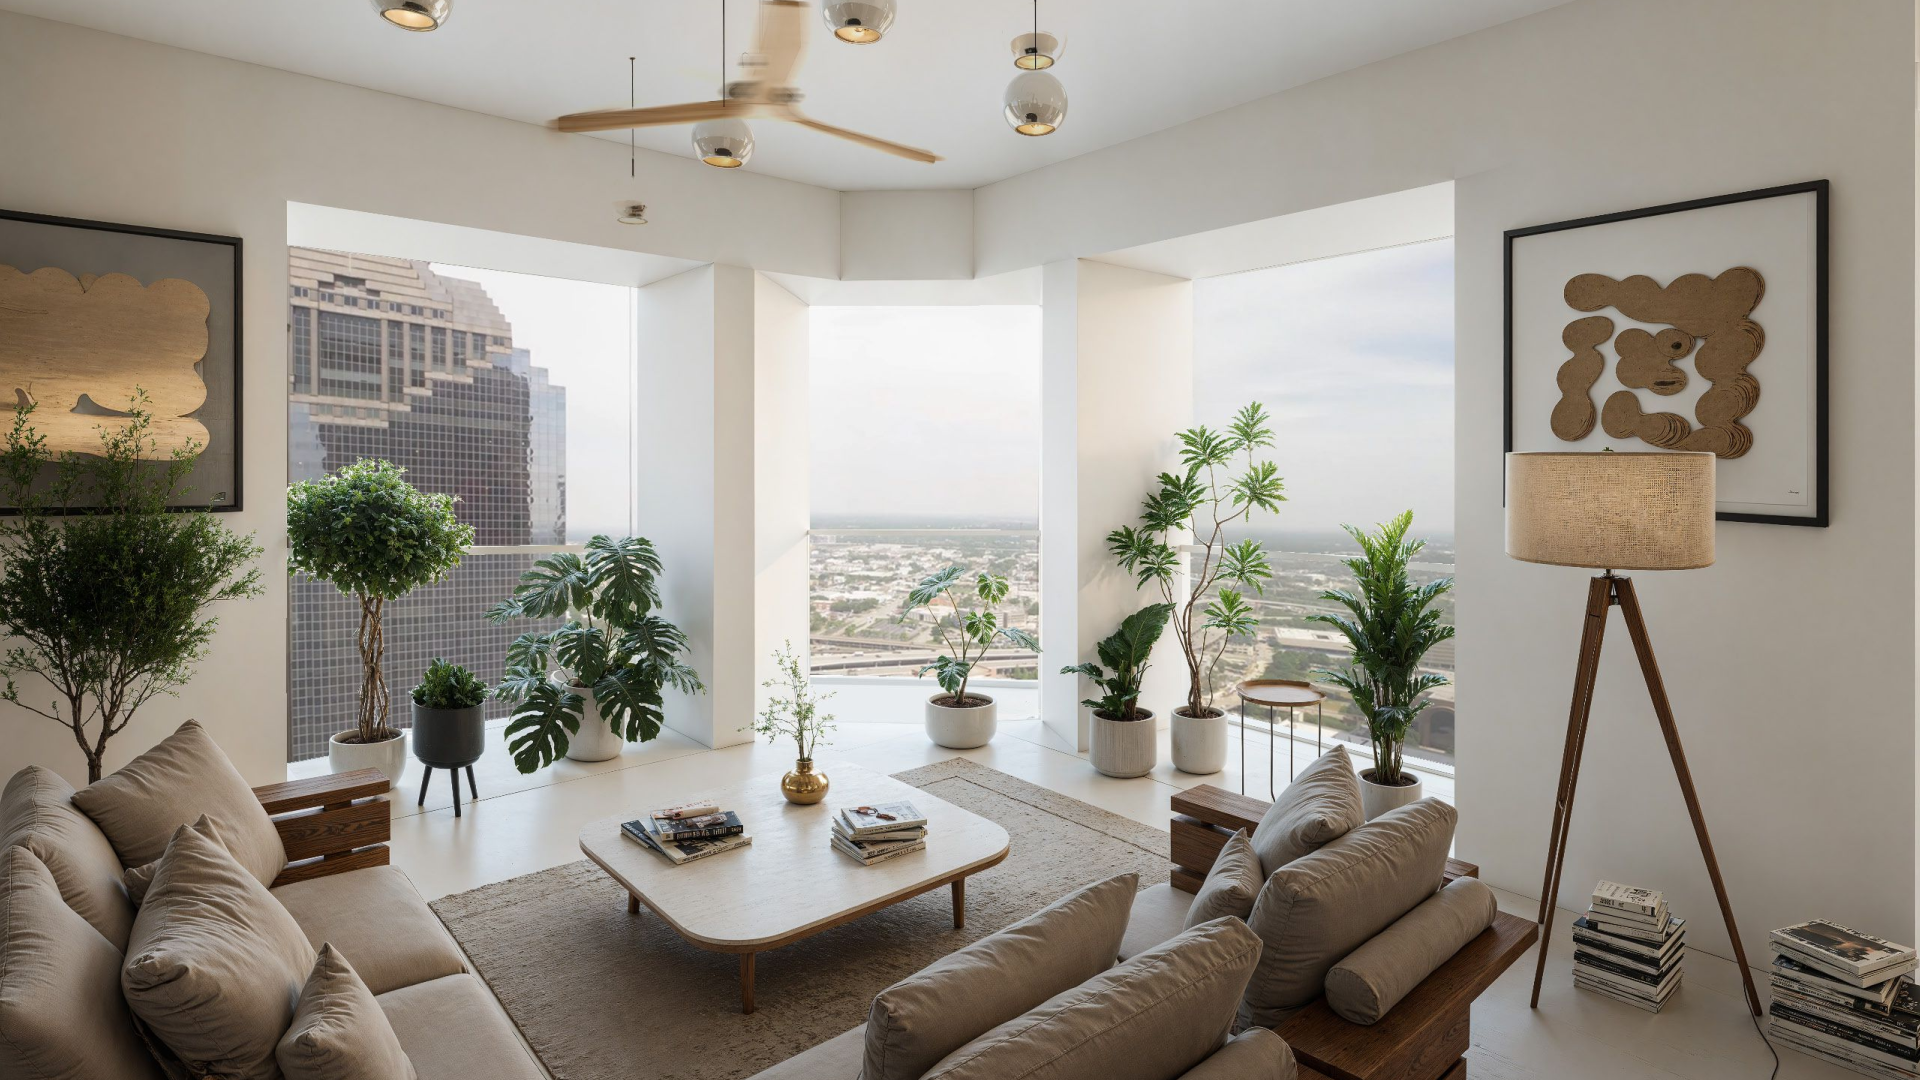
6. Materials, Textures & Imperfections
6.1 Use PBR Workflow

Apply maps for:
- Albedo (base color)
- Roughness (gloss)
- Metalness
- Normal/Bump (surface depth)
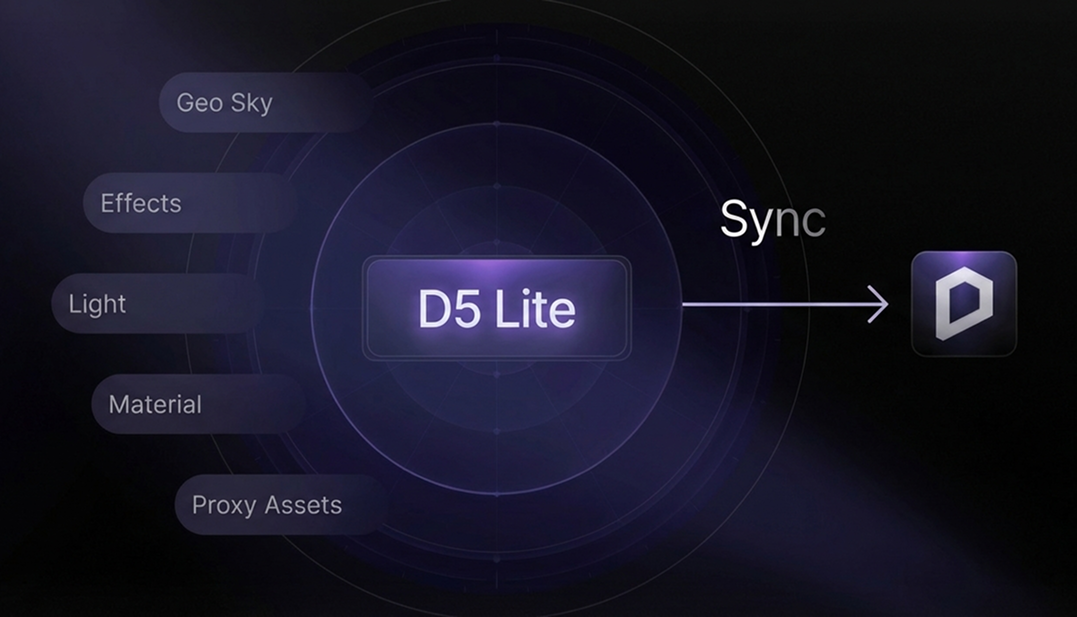
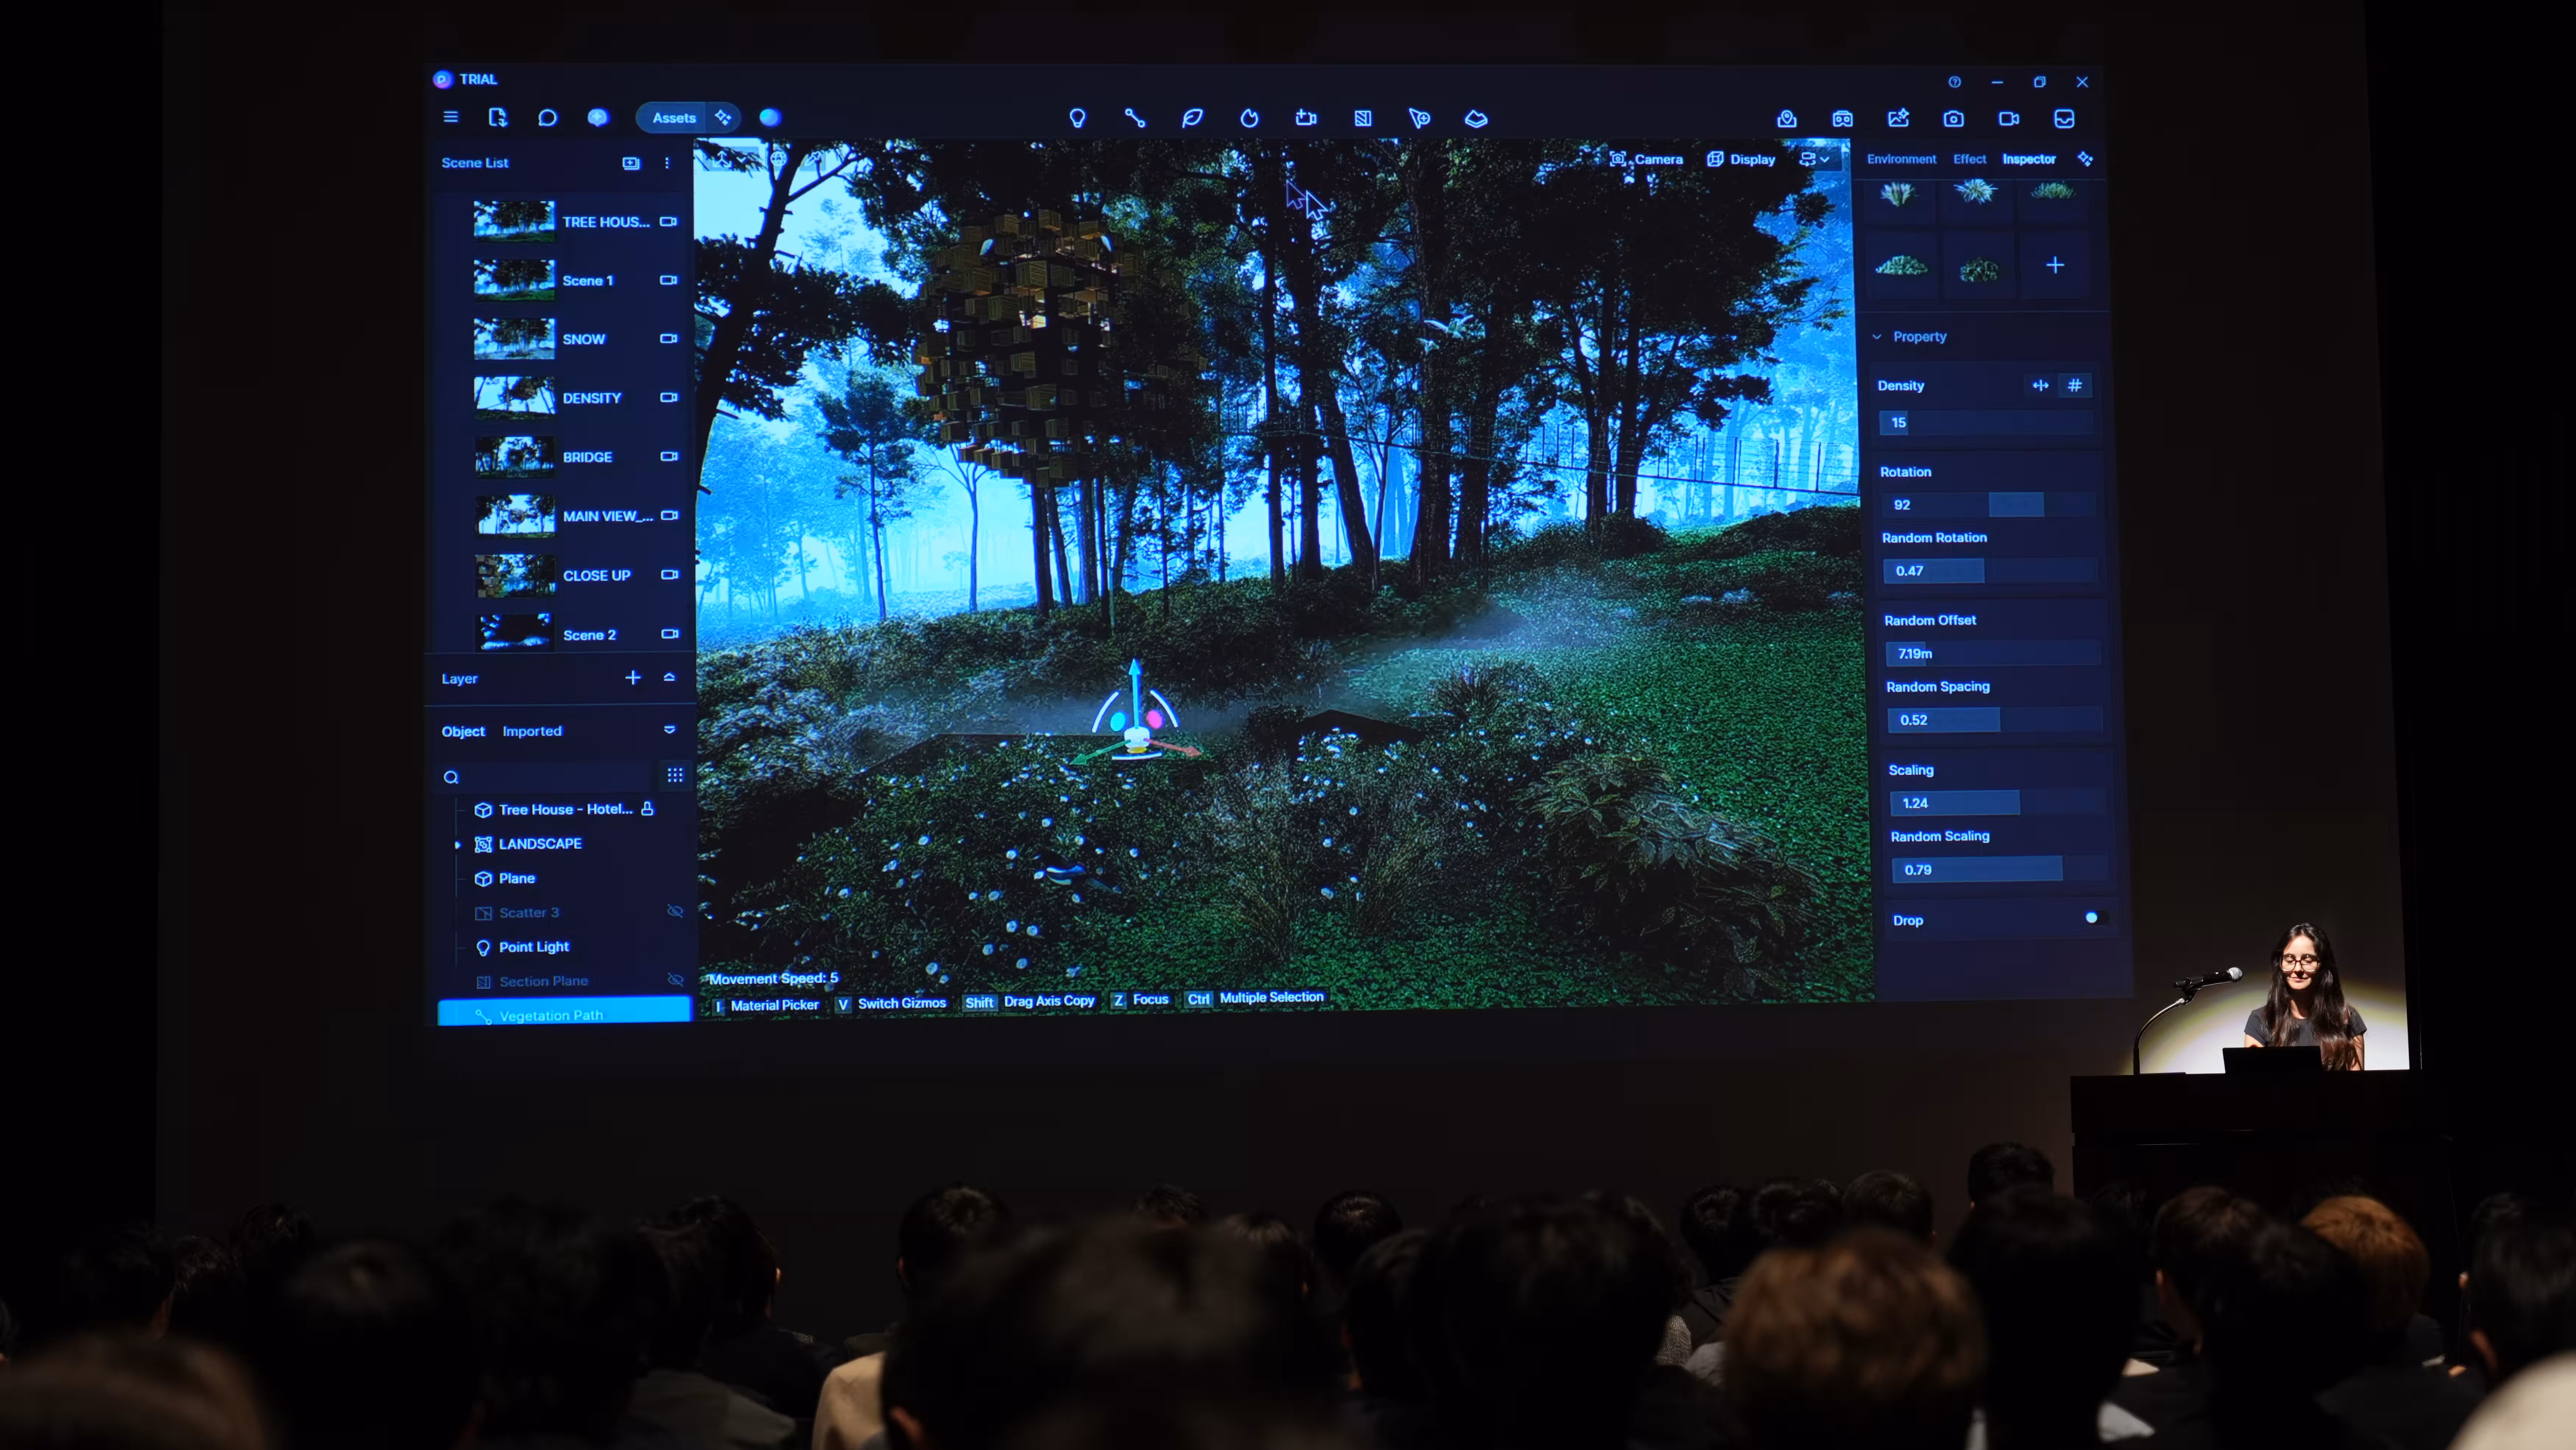
D5 Render combines real-time global illumination, BRDF-based materials, and smart texture mapping to create dynamic, photorealistic visuals with instant feedback. Its built-in PBR support and AI-powered lighting tools eliminate the need for complex setups or long render times. The result is high-quality, physically accurate rendering made fast, simple, and efficient.
Also read: What is PBR: Your Guide to Realistic Rendering
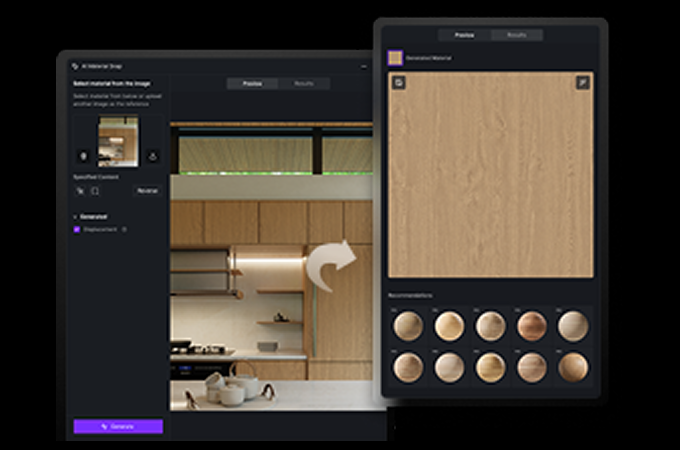
6.2 Texture Mapping & UVs
- Avoid misalignment
- Use high-resolution images
- Match scale to material (e.g., brick, tile sizes
To achieve this easily, D5 Render offers a built-in, AI-powered seamless texture generator right inside your real-time visualization workspace. Called ‘AI Make Seamless,’ this feature effortlessly converts nearly any image into a perfectly tileable texture, significantly speeding up the material creation process.

Also read: Seamless Texture Generator: Boost D5 Render Visuals
6.3 Add Imperfections
No surface is perfect. Use:
- Scratches
- Dust maps
- Subtle stains
- Color variation
- Slight displacement

Imperfections are not flaws—they are realism.
Also read: Tutorial Surface Imperfections
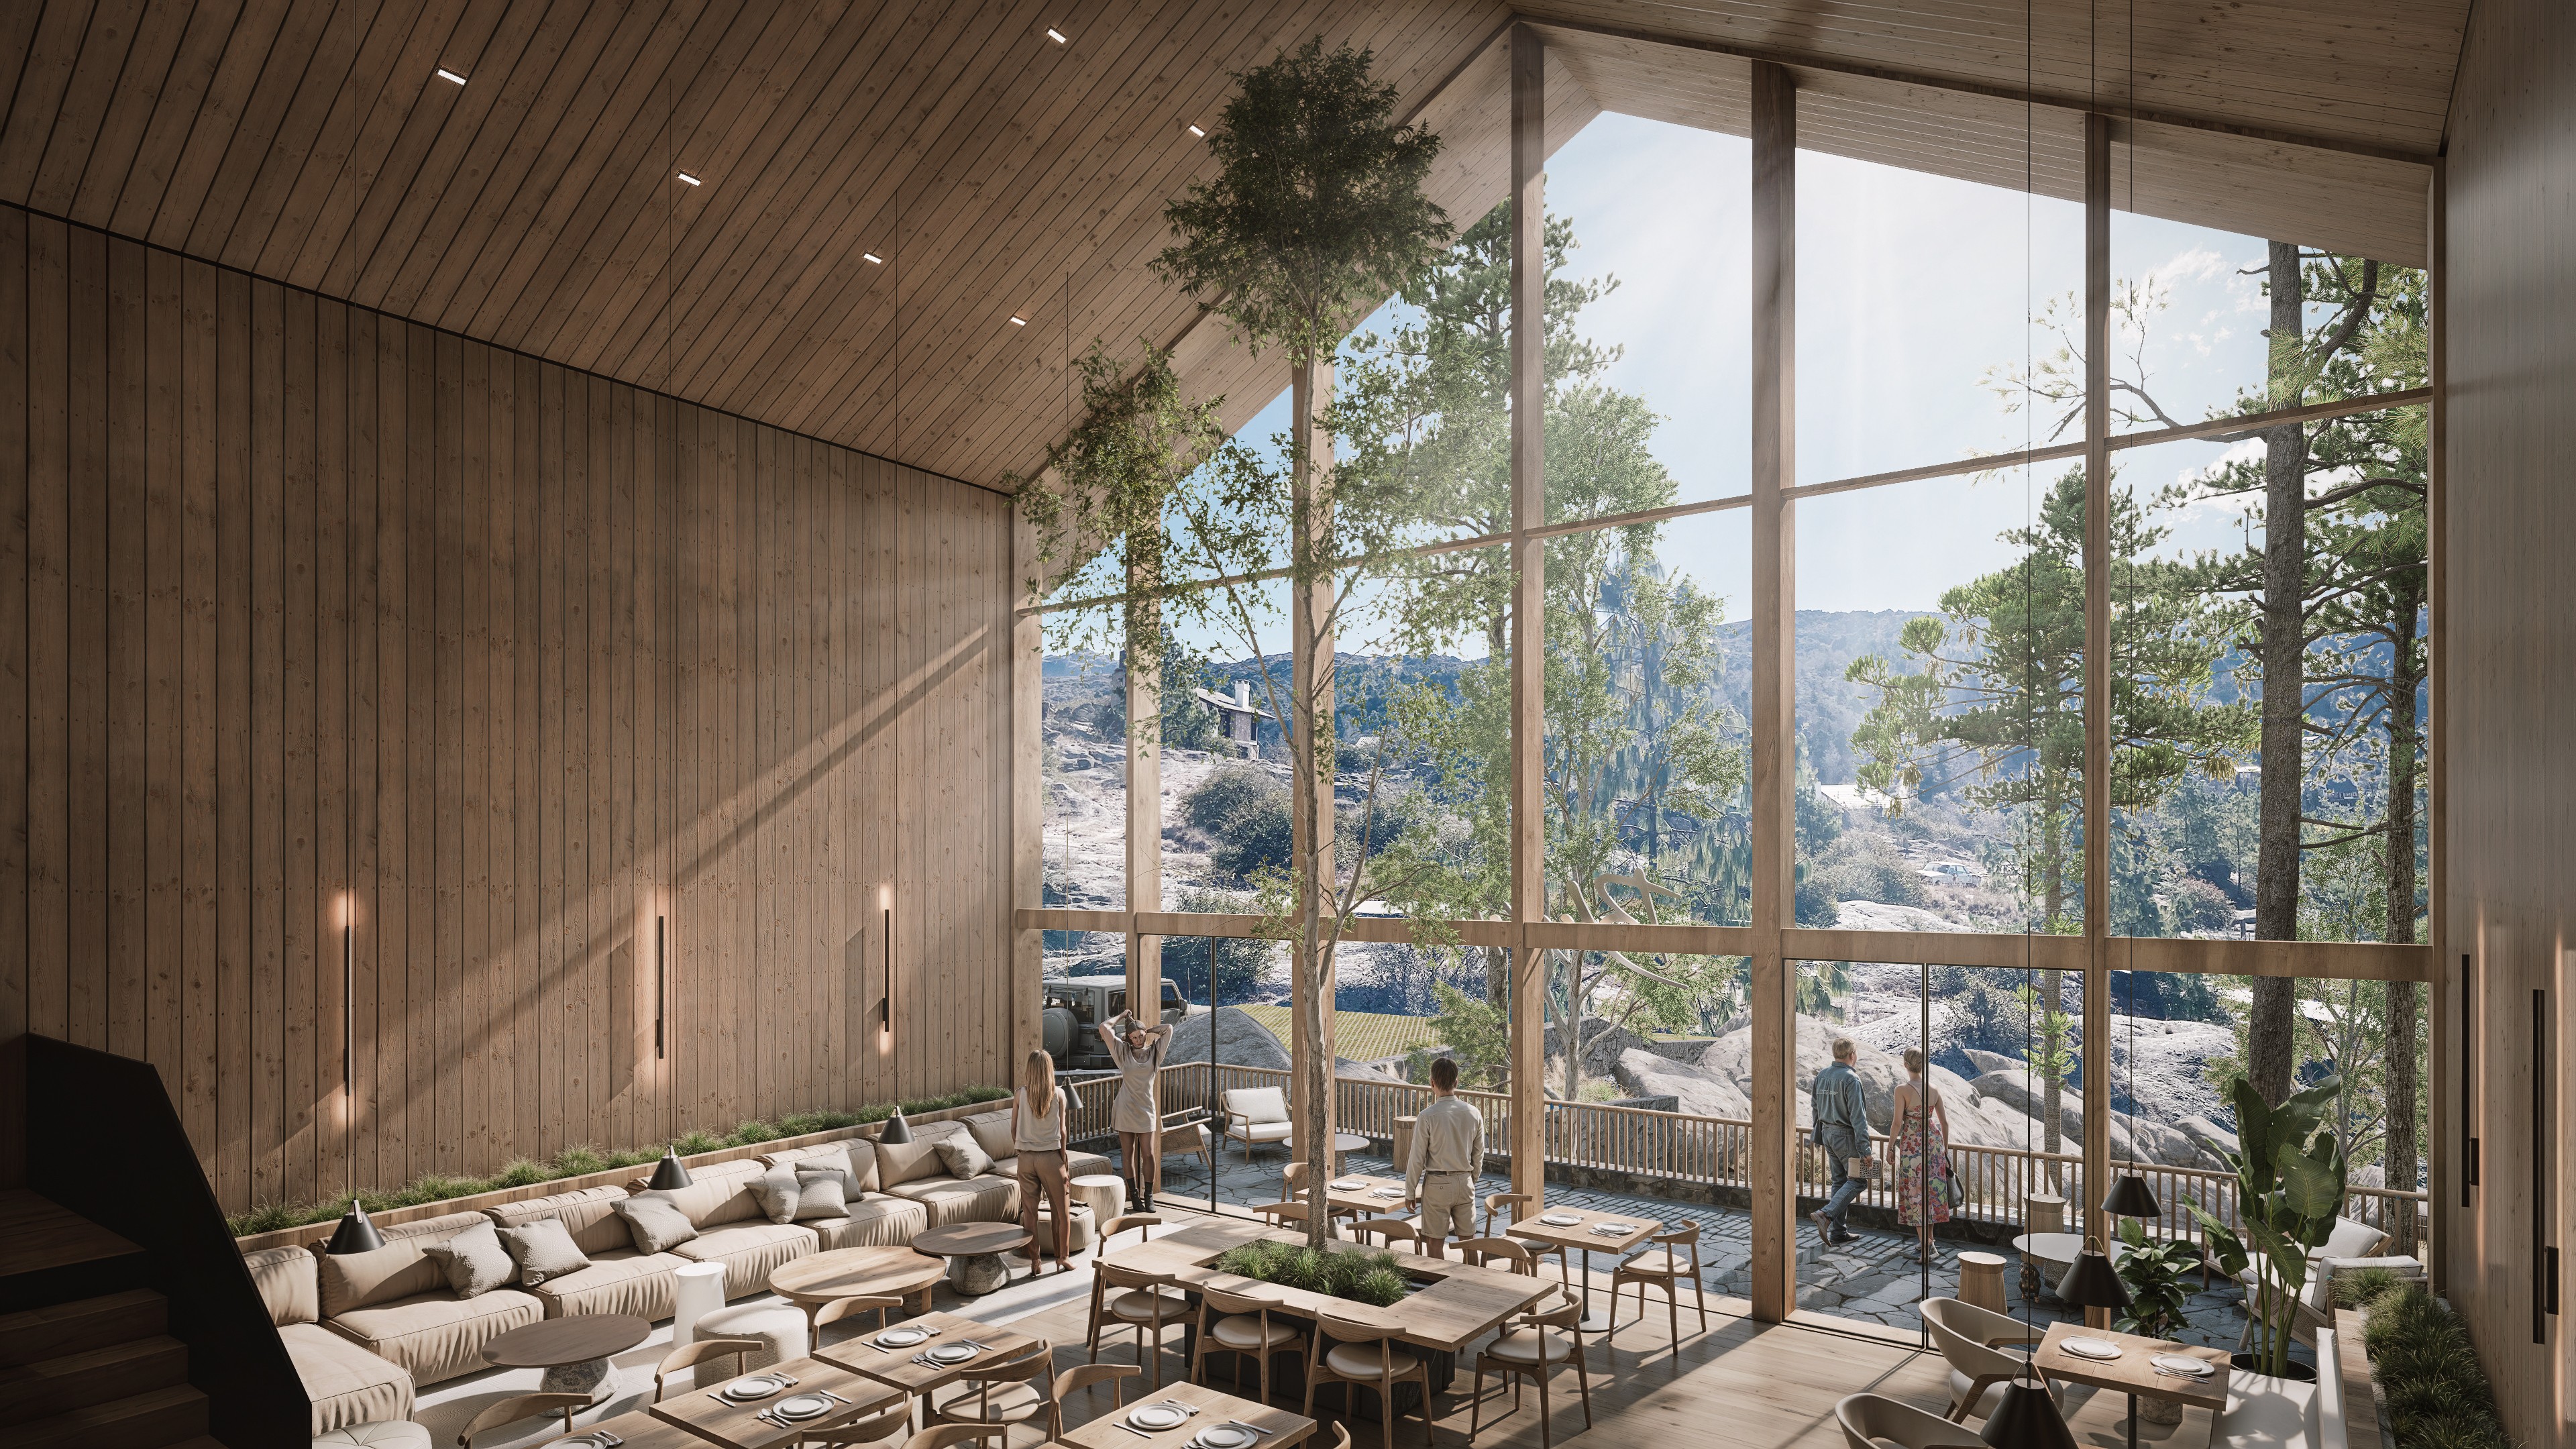
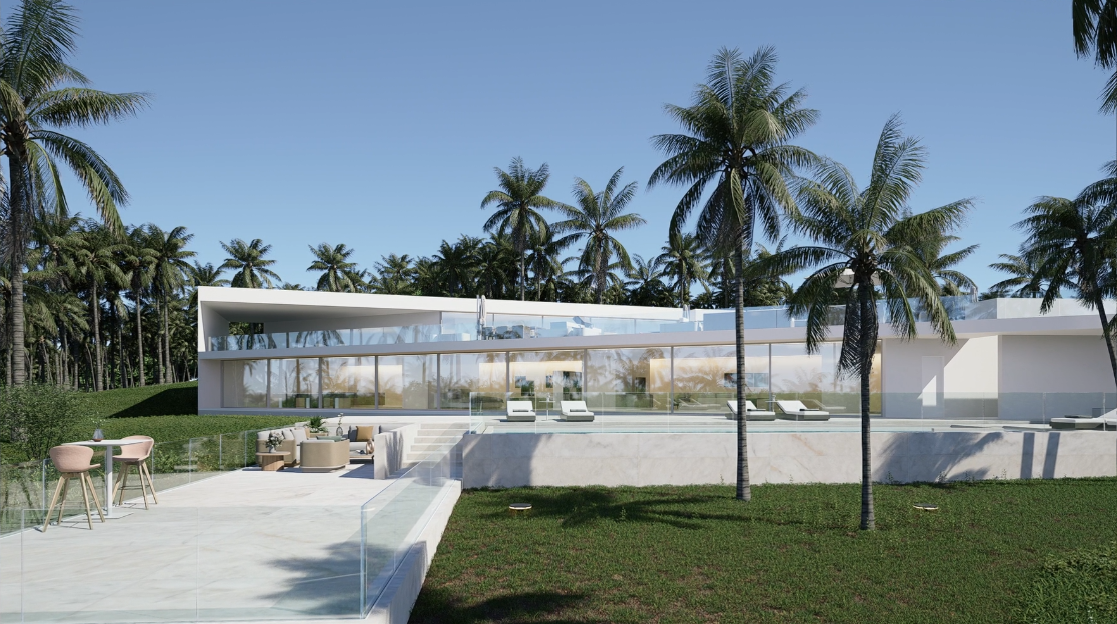
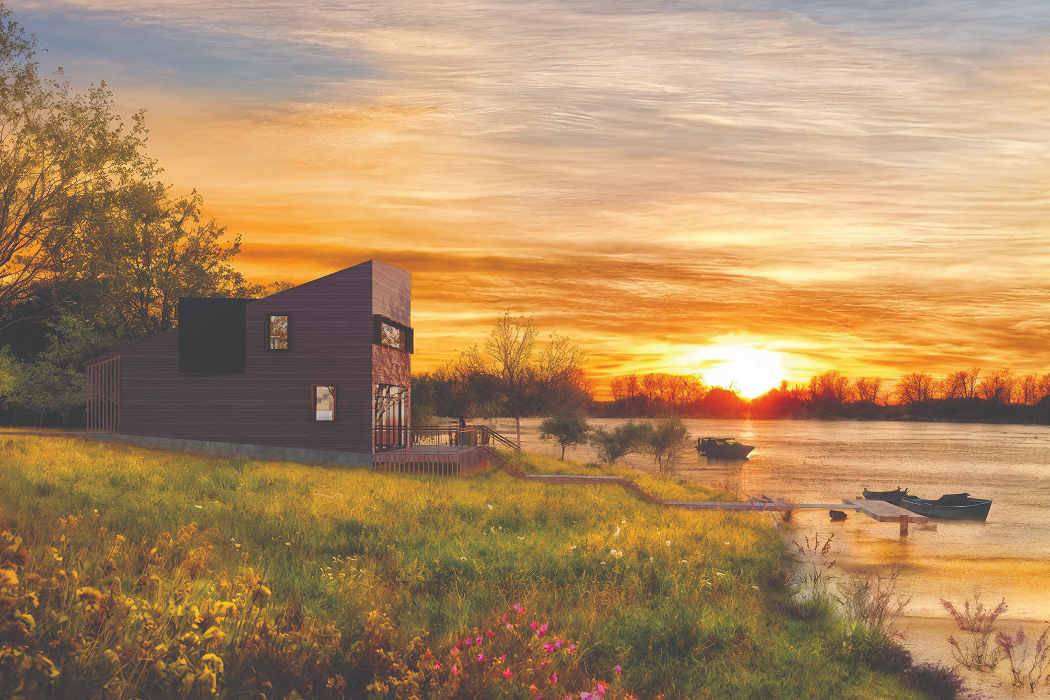
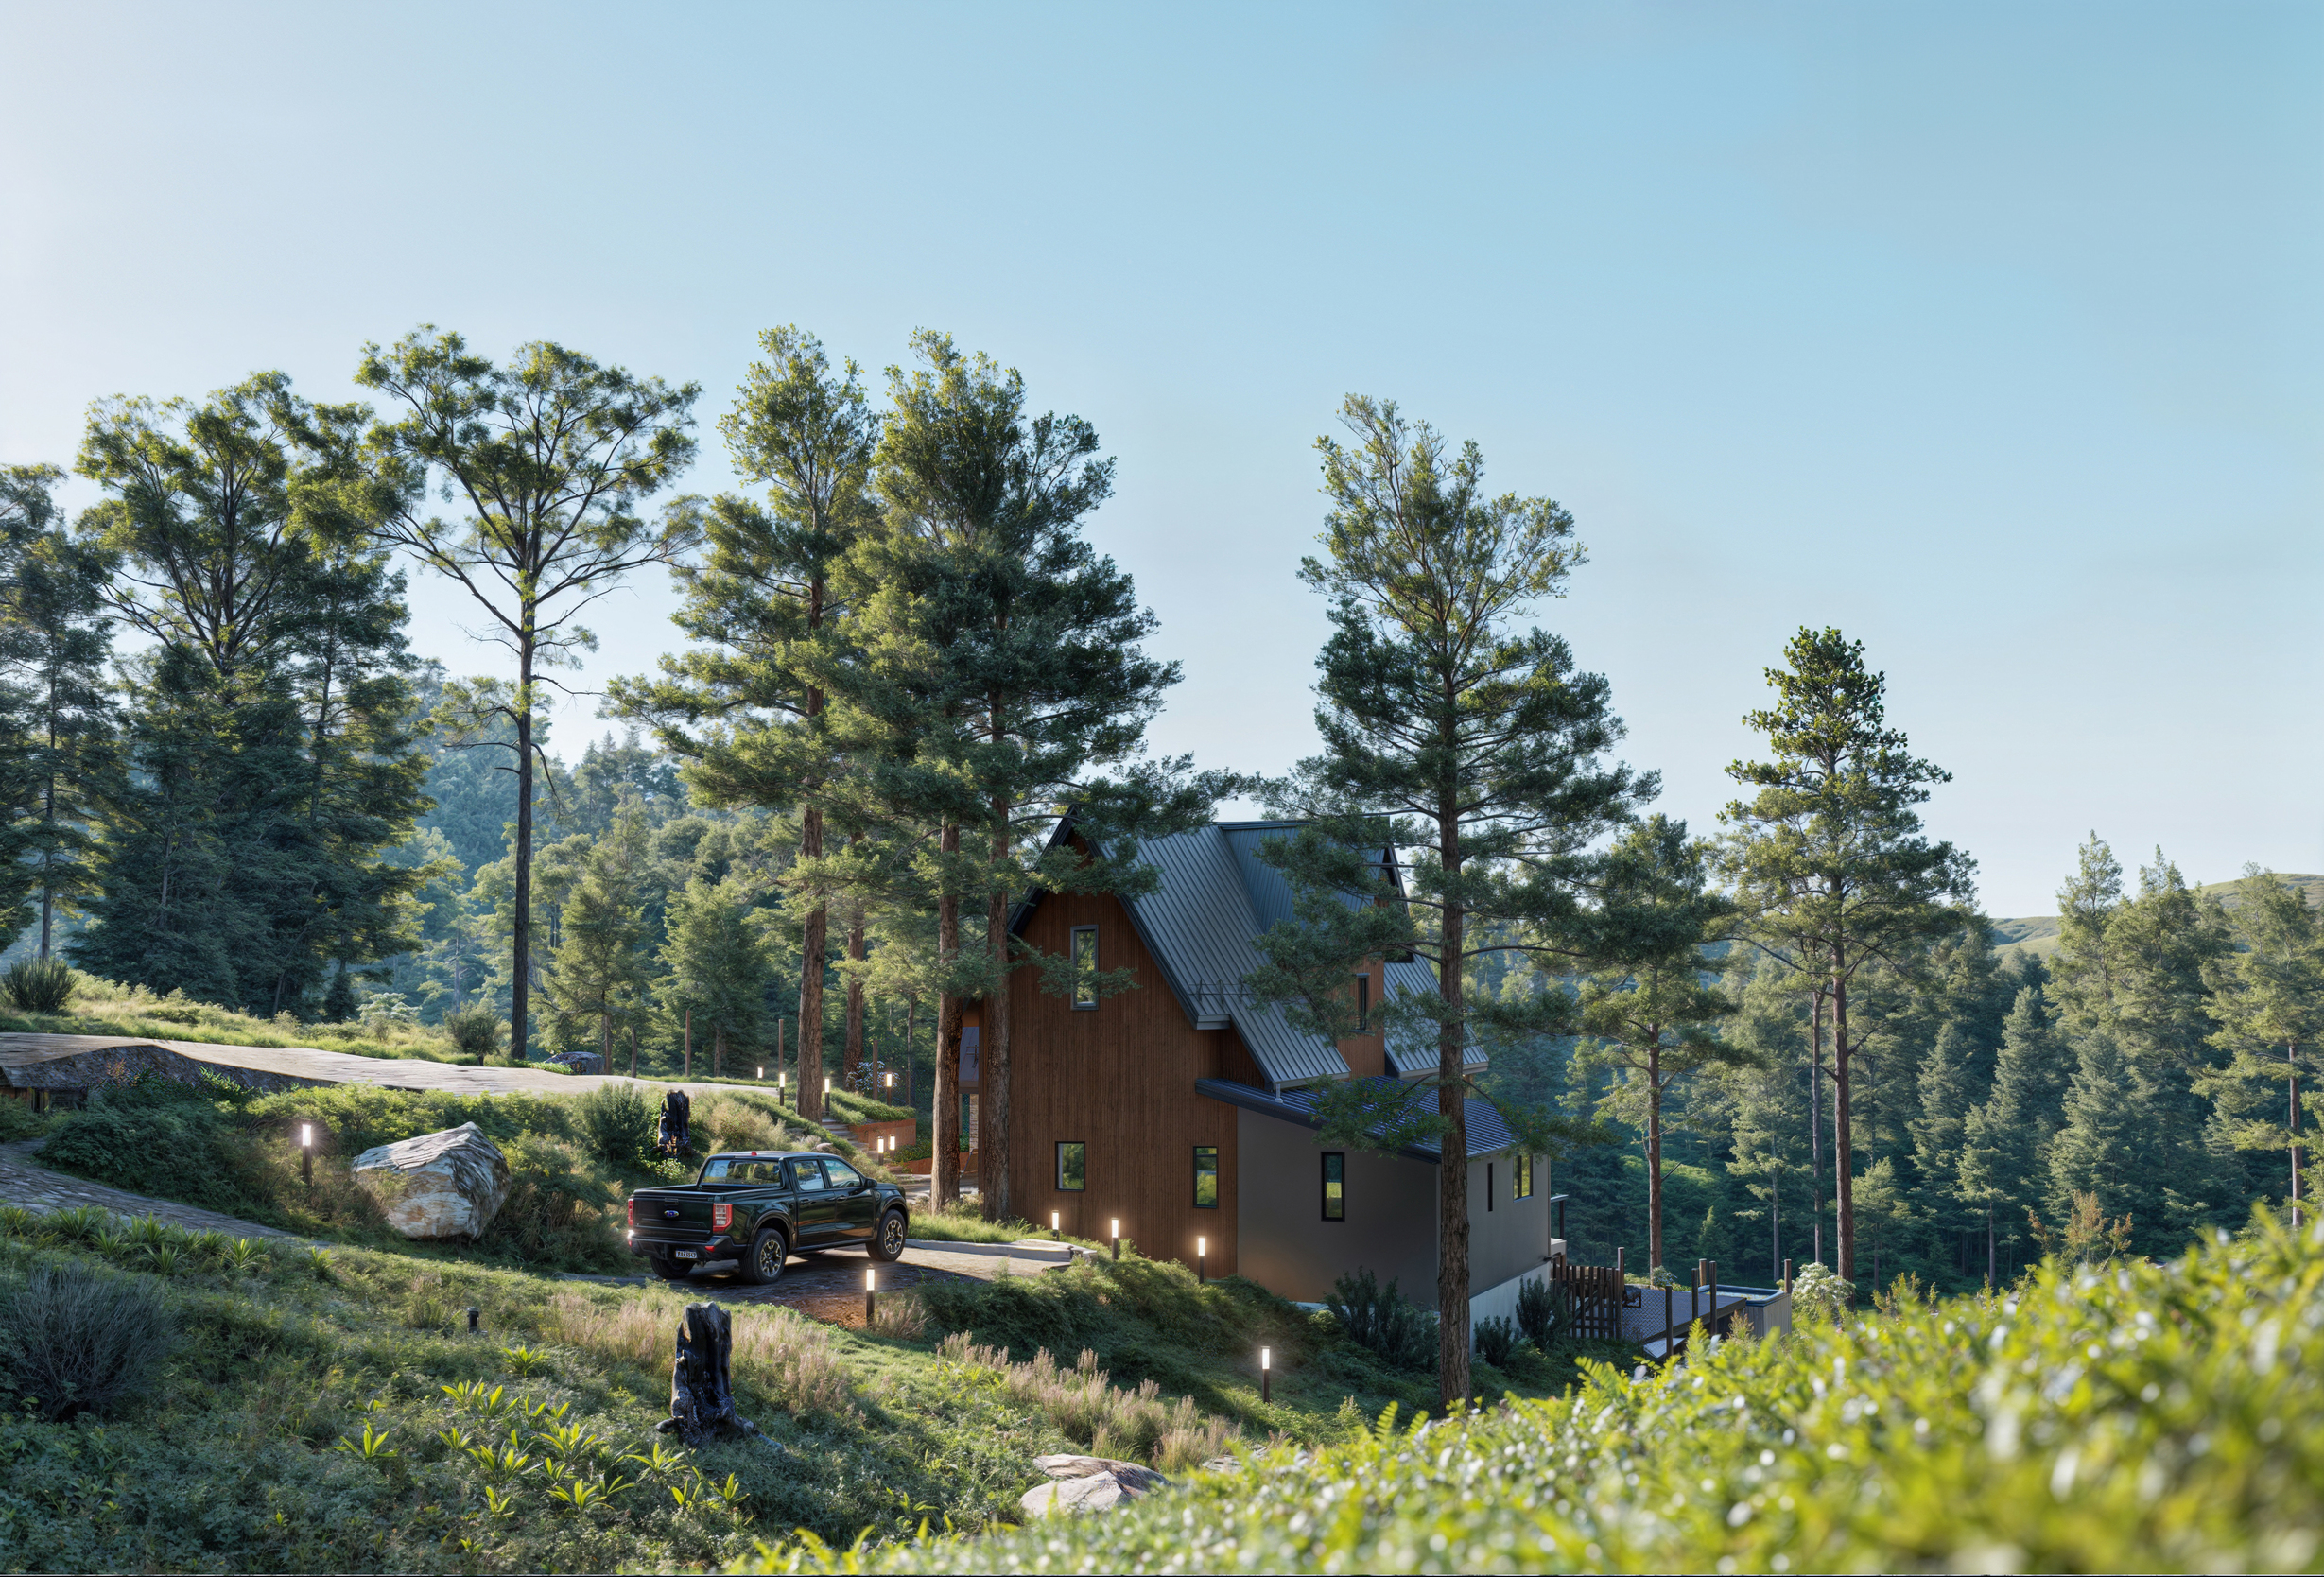
7. Light, Environment & Post-Processing

7.1 Natural Light
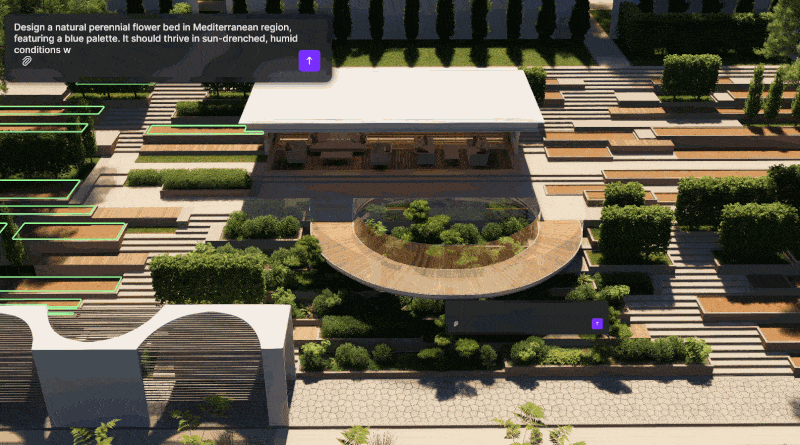
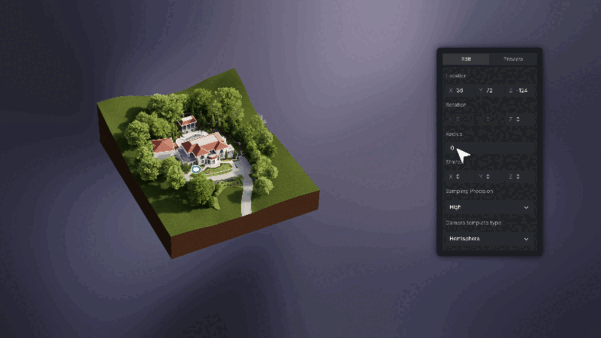
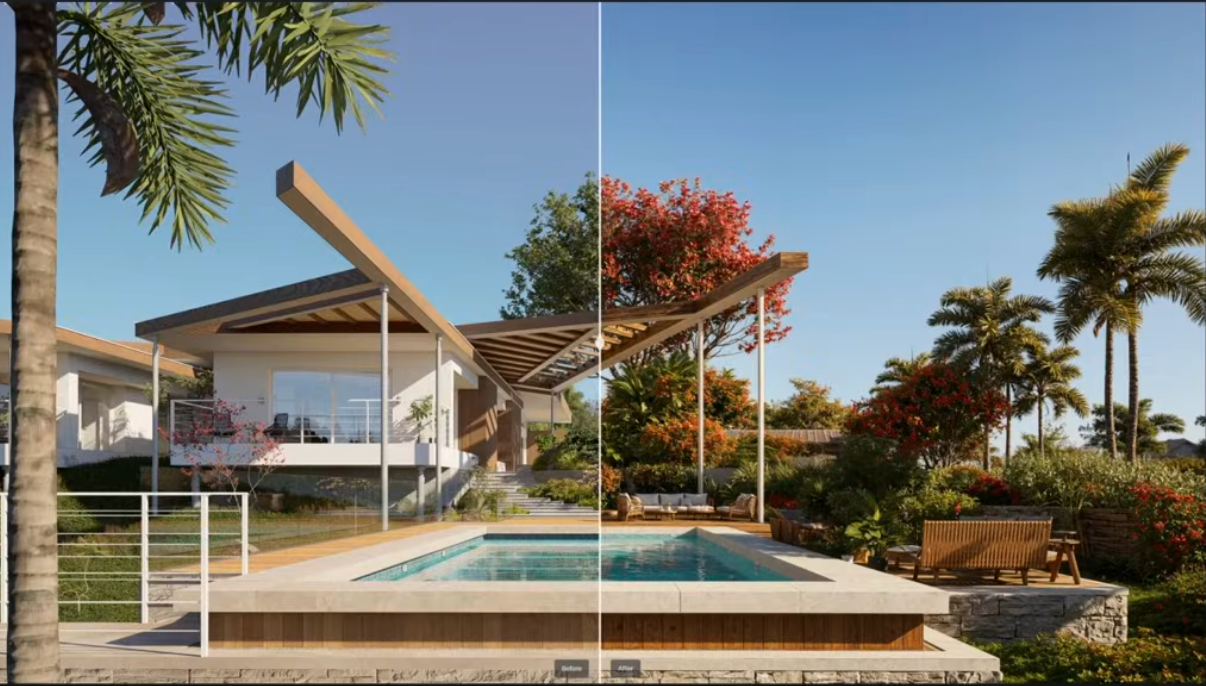
Use sun settings and geolocation in D5 Render to create realistic lighting and shadows that add depth and mood. Geo&Sky provides accurate sunlight based on location, while HDRI offers diverse atmospheric options. You can also get desired atmosphere with D5's AI atmosphere match. Simply upload a reference image and D5 analyzes its lighting and colors to instantly replicate the desired mood using a neural network color transfer algorithm for seamless visual harmony.
Also read: Best practices of interior lighting for SketchUp
7.2 Artificial Light
- Use global illumination and HDRIs
- Combine task, ambient, and accent lighting
- Apply tone mapping to simulate natural exposure
Bonus: Test at different times of day to understand how your design behaves in real conditions.
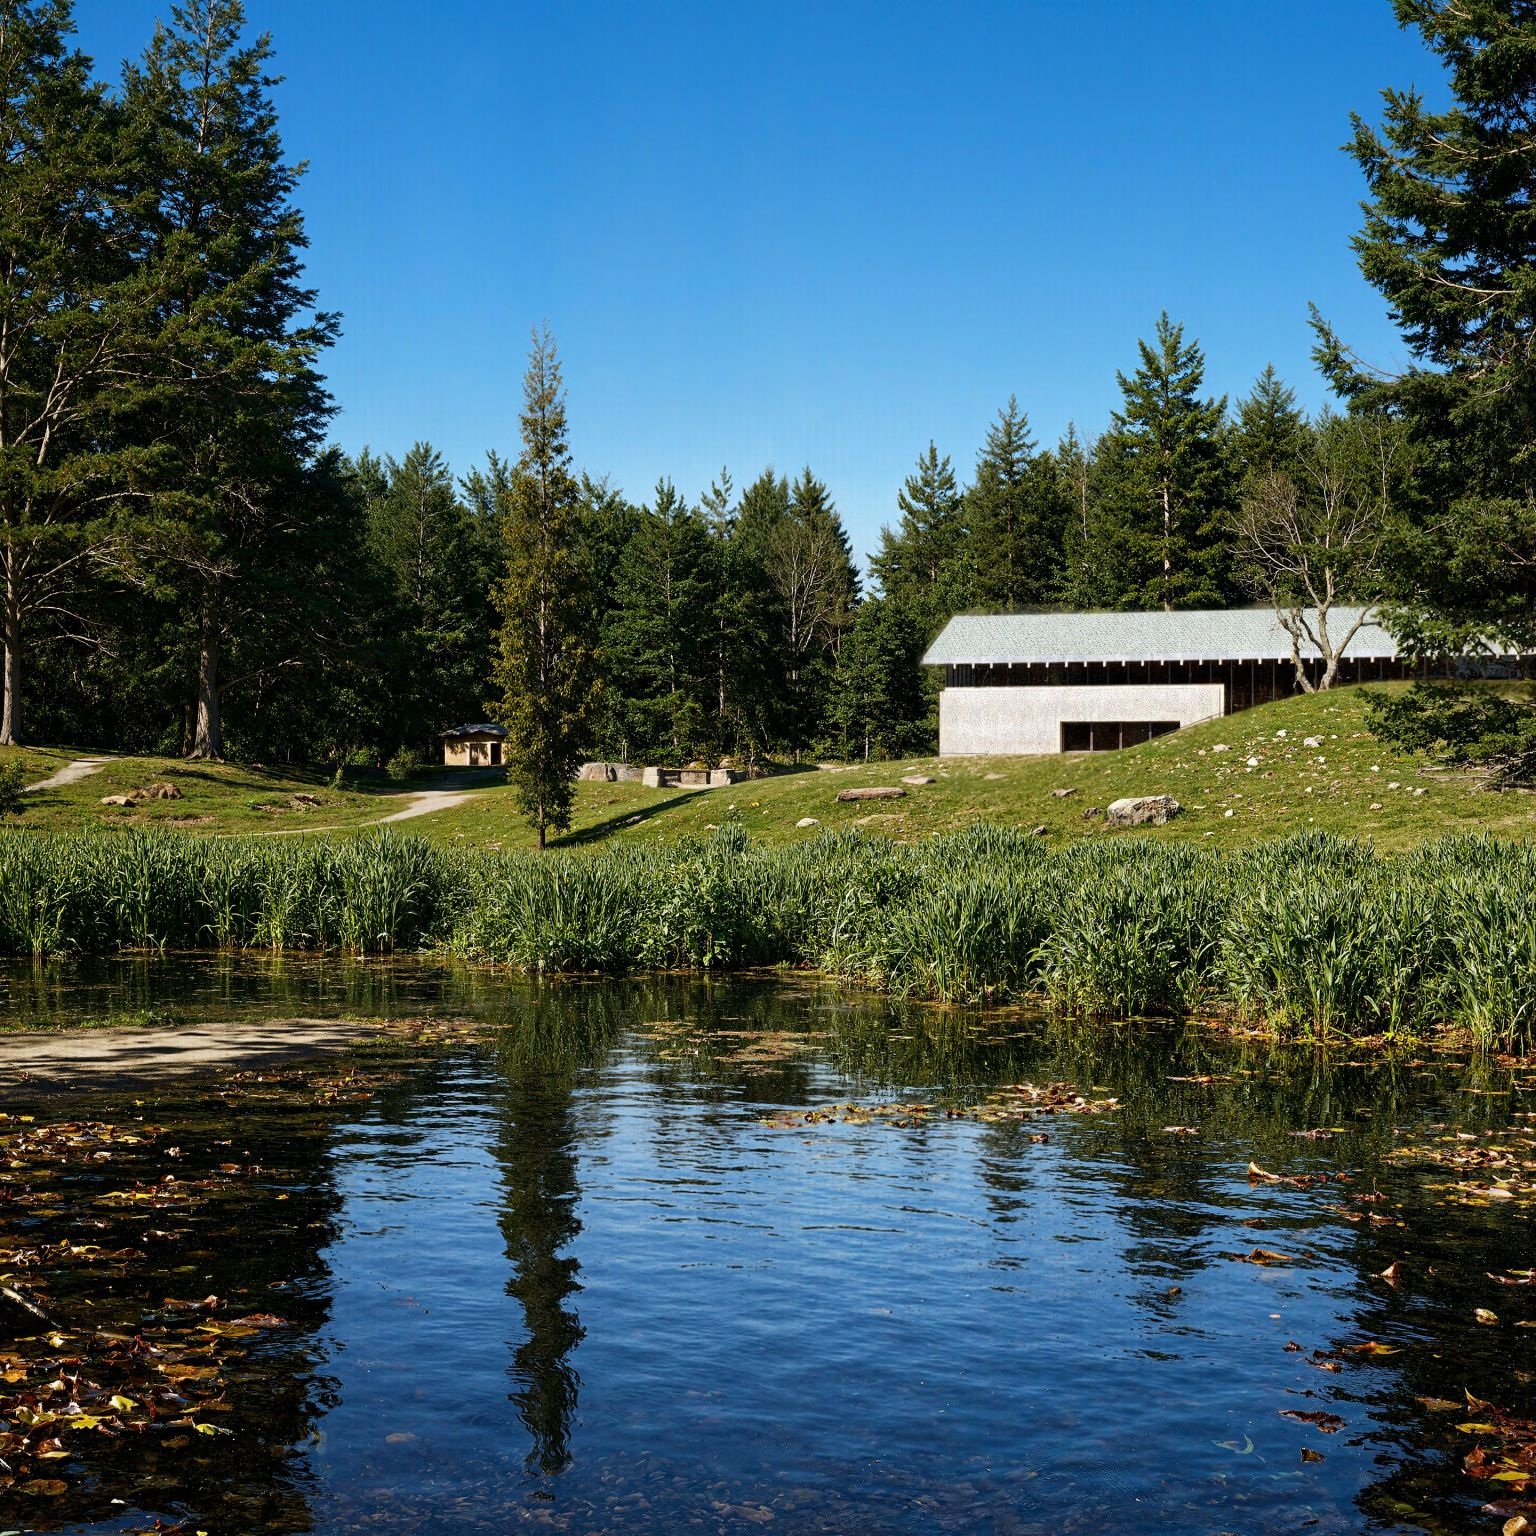
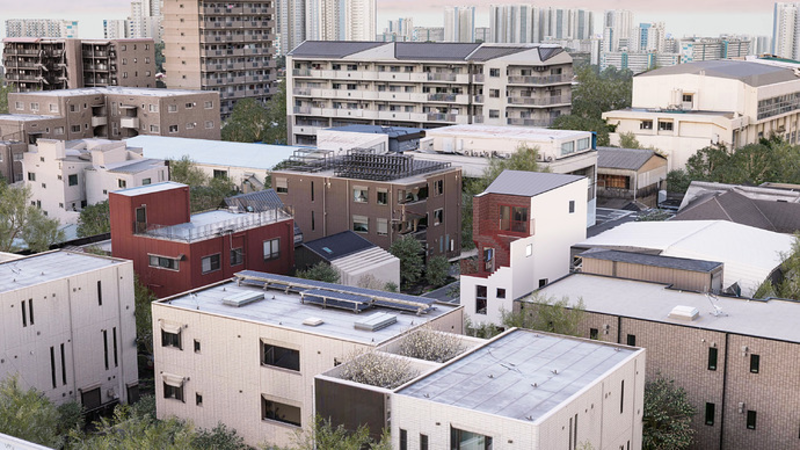
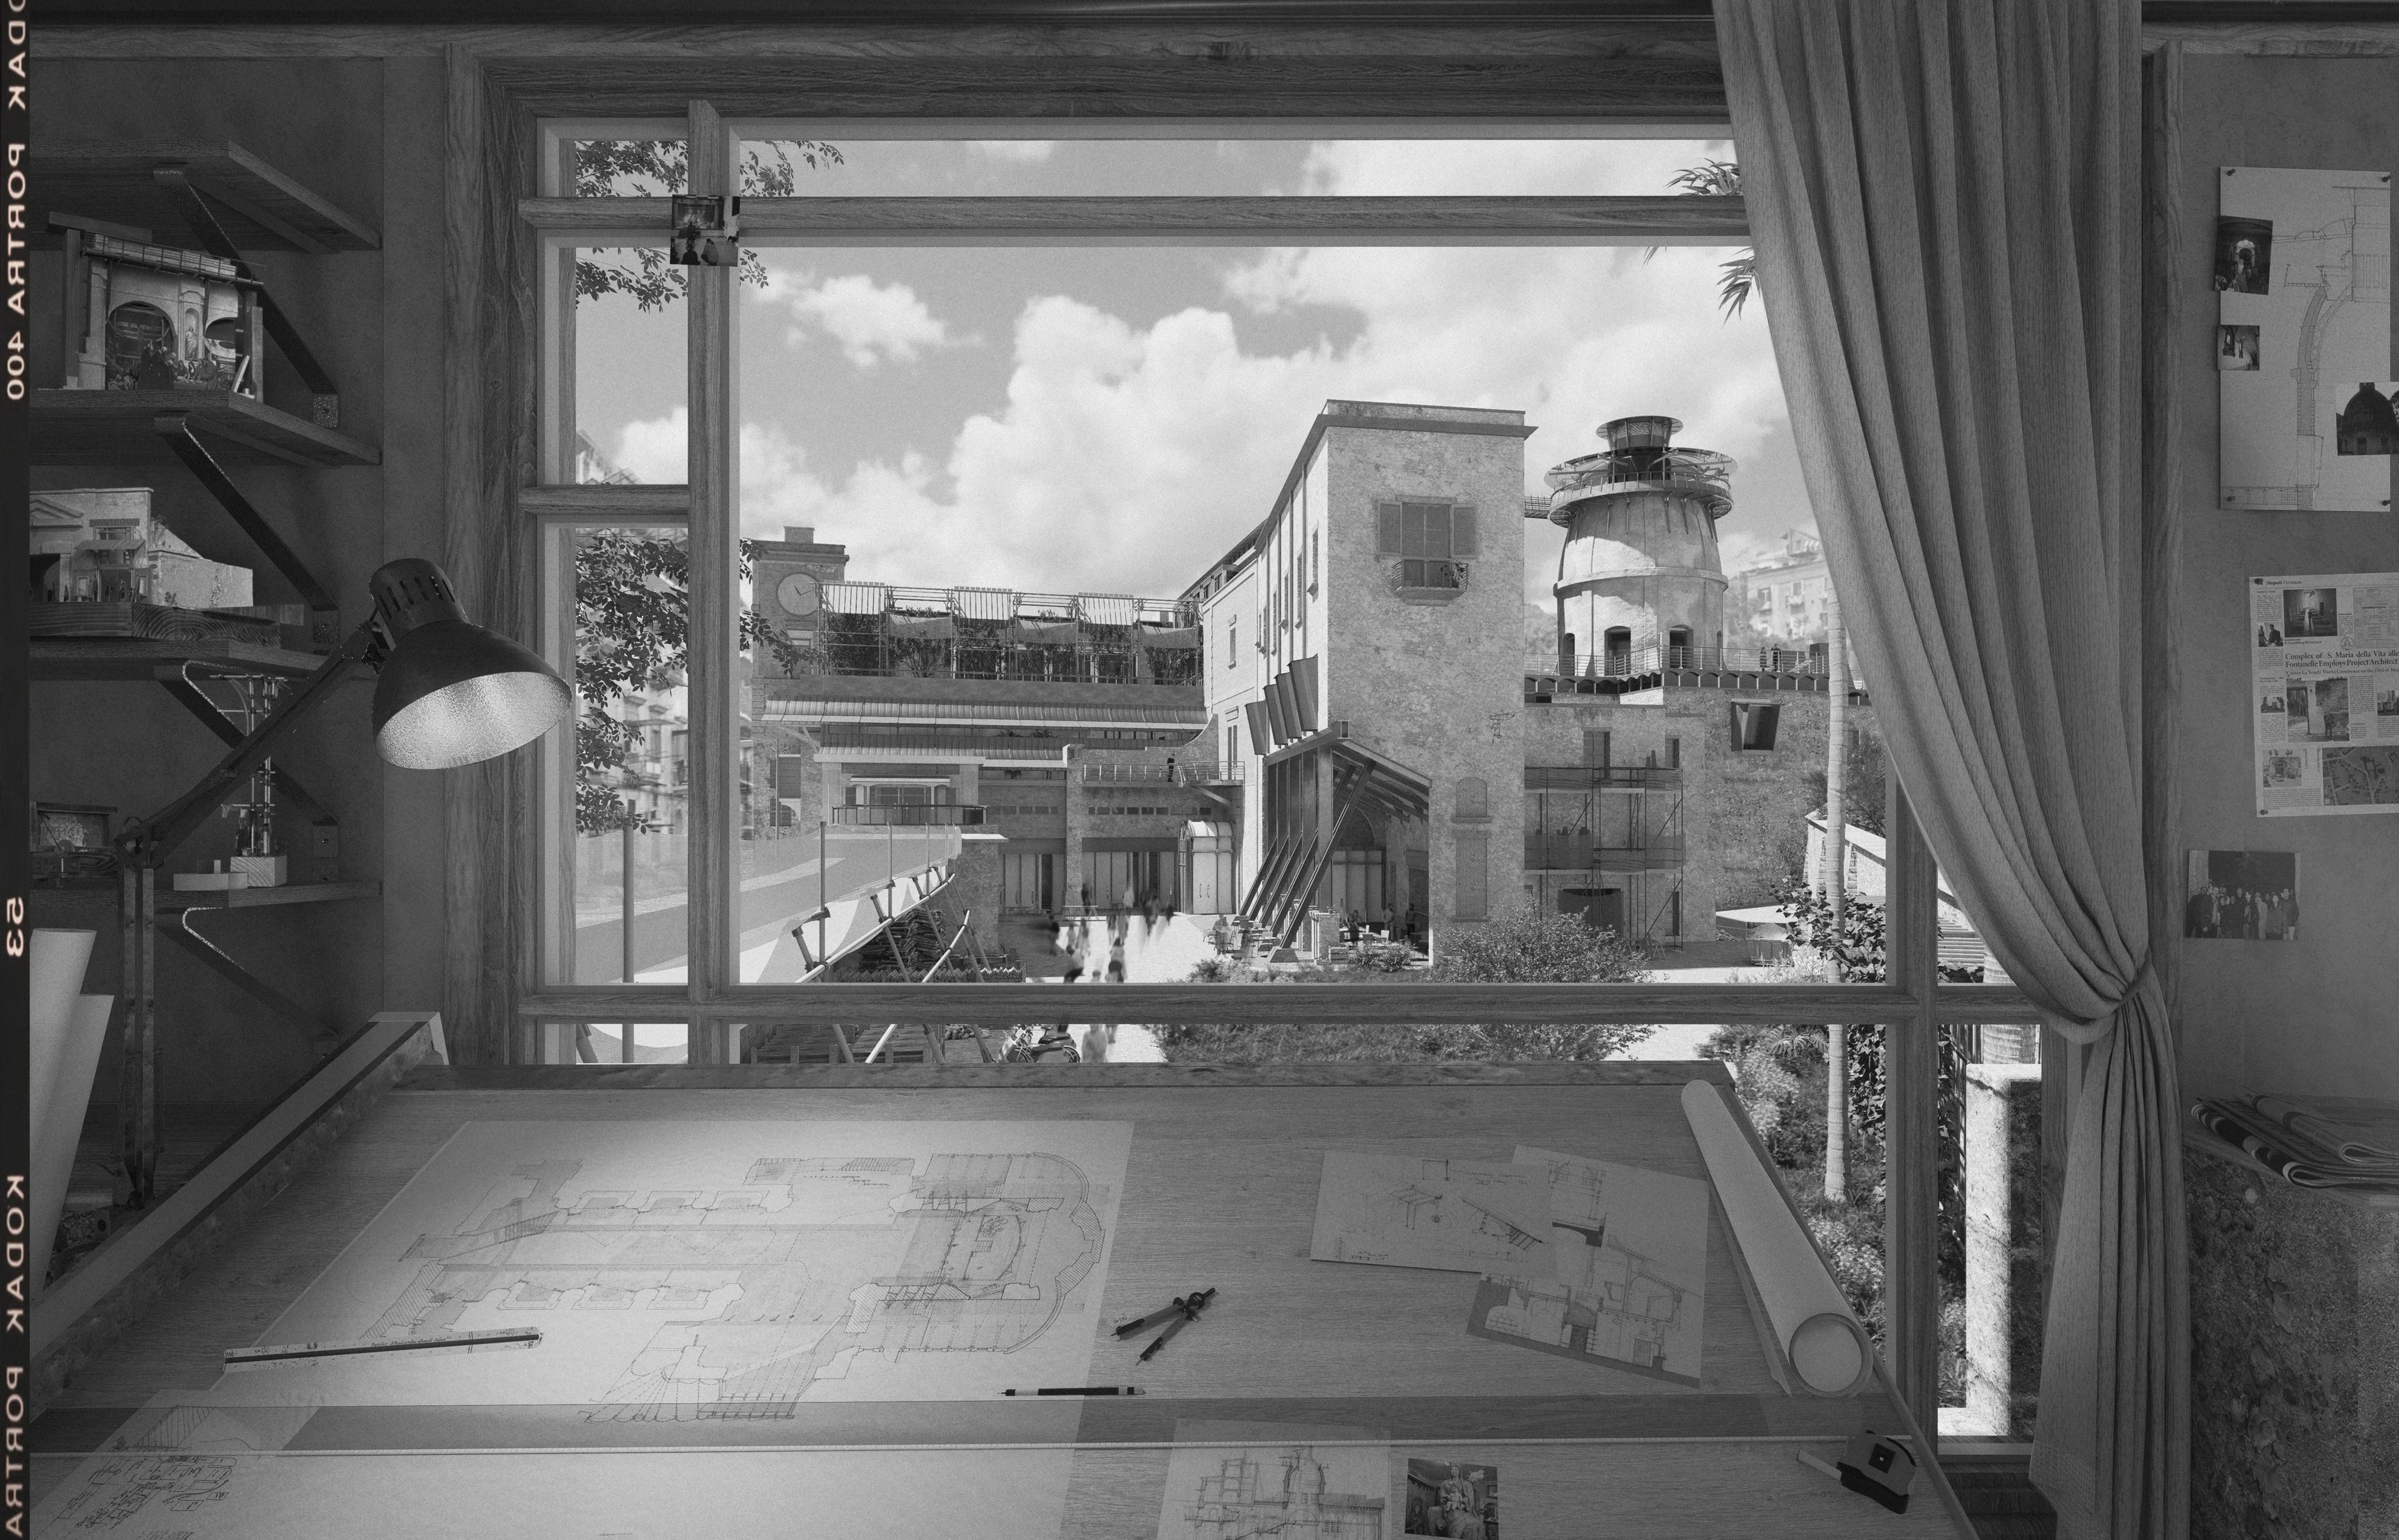
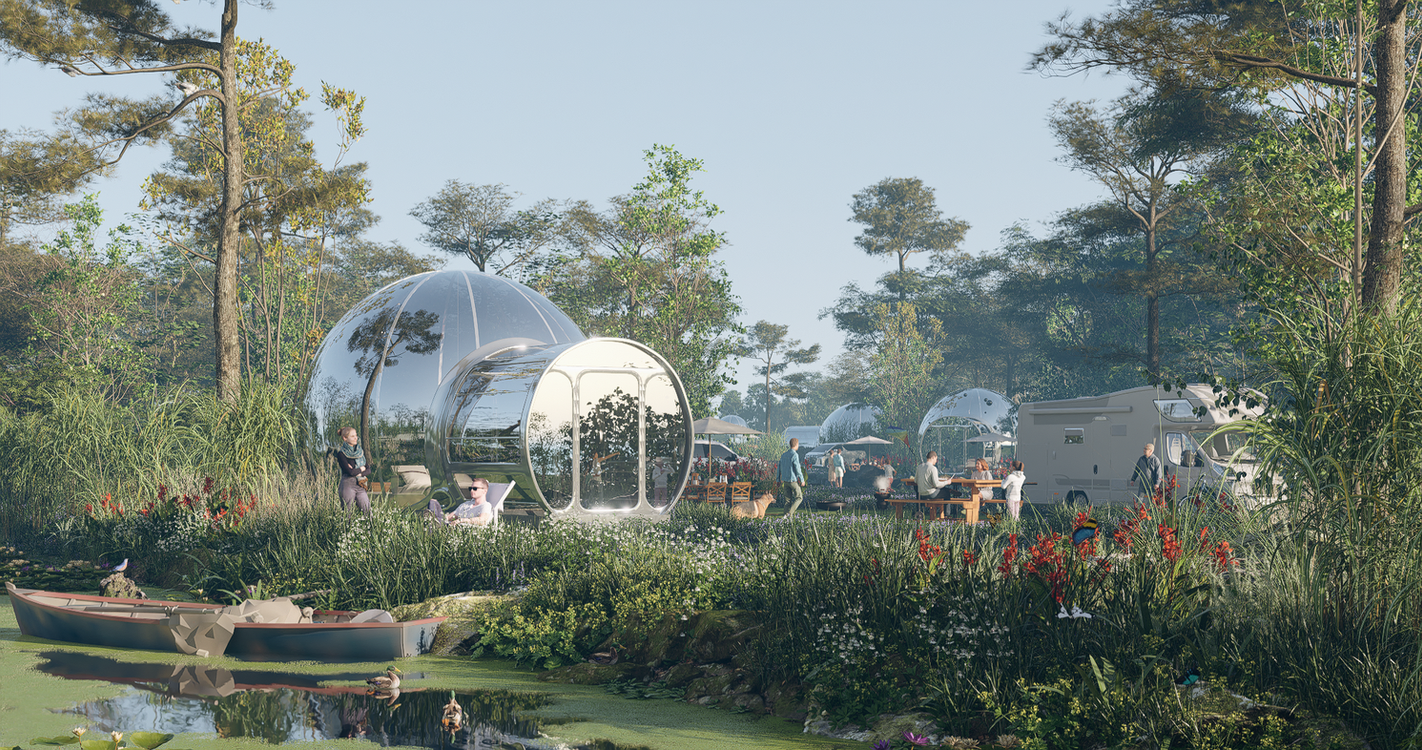
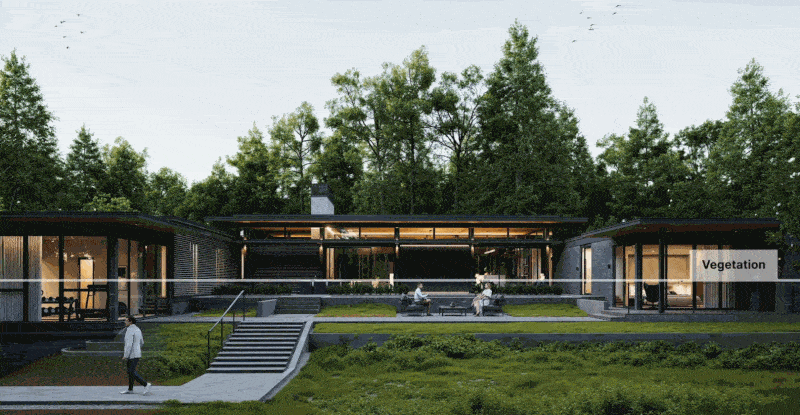
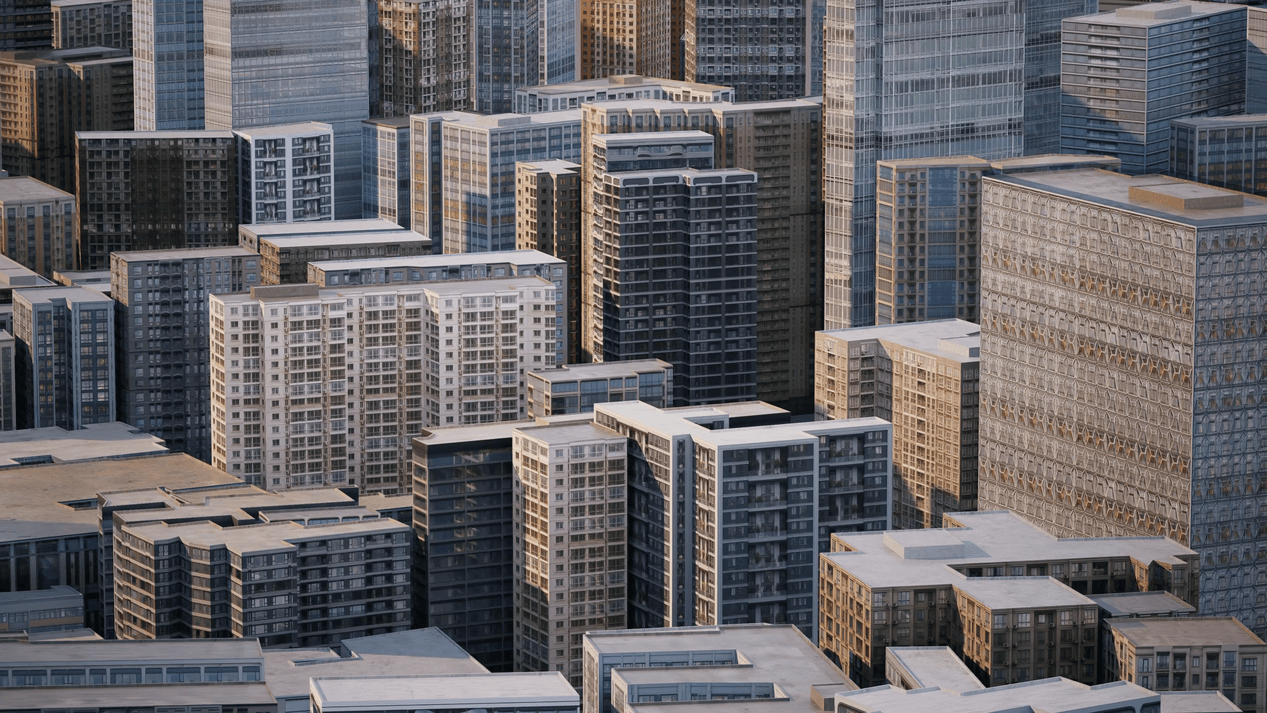
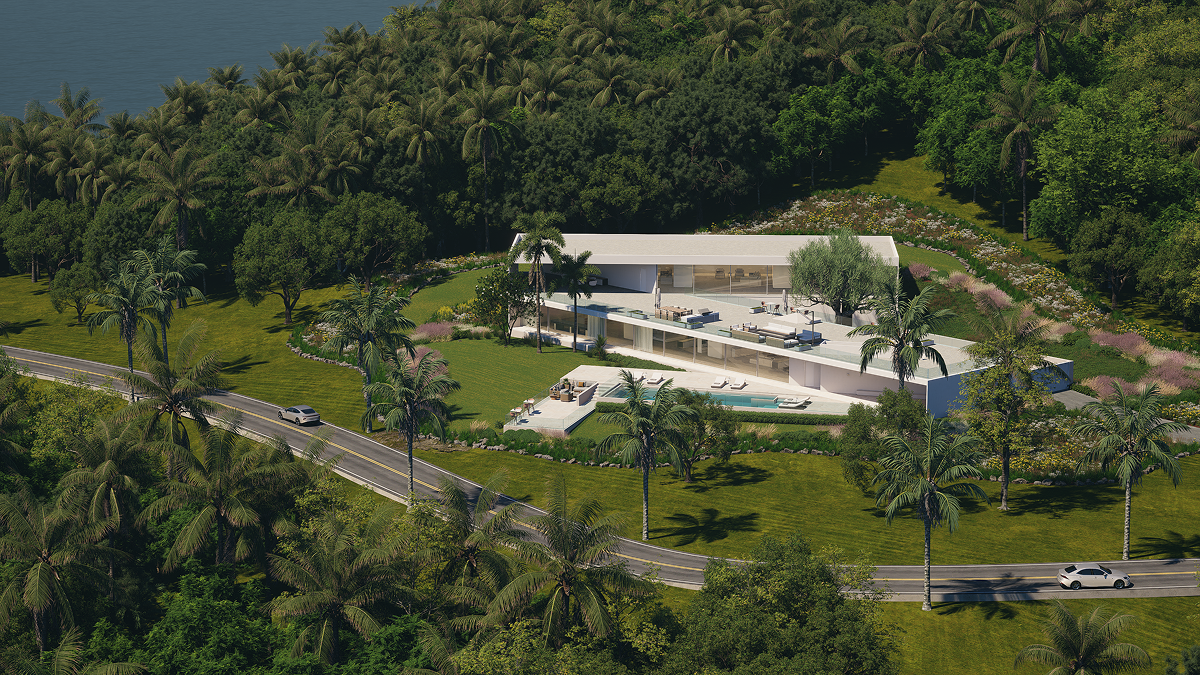
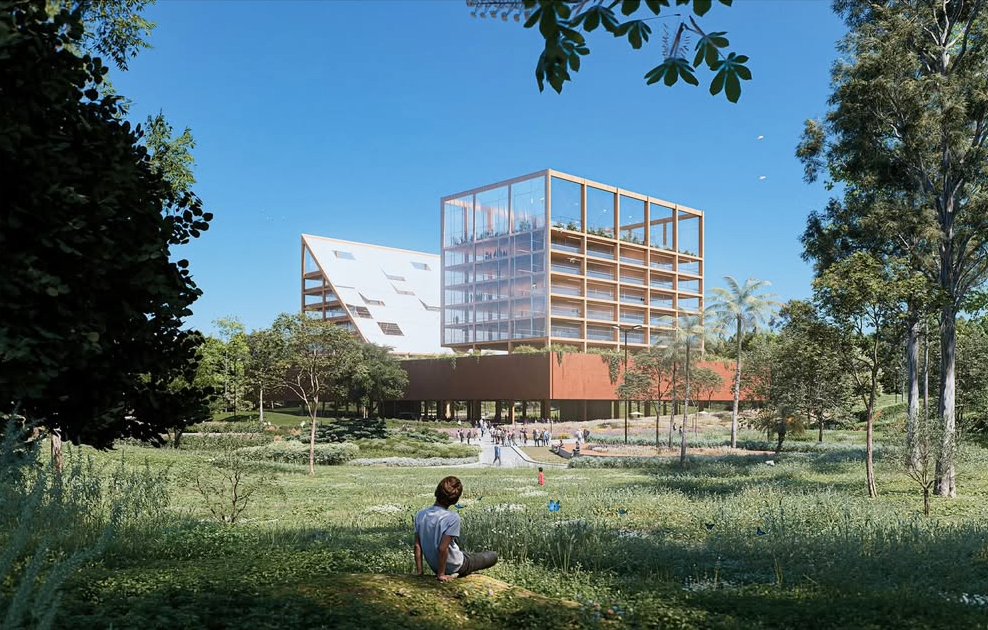
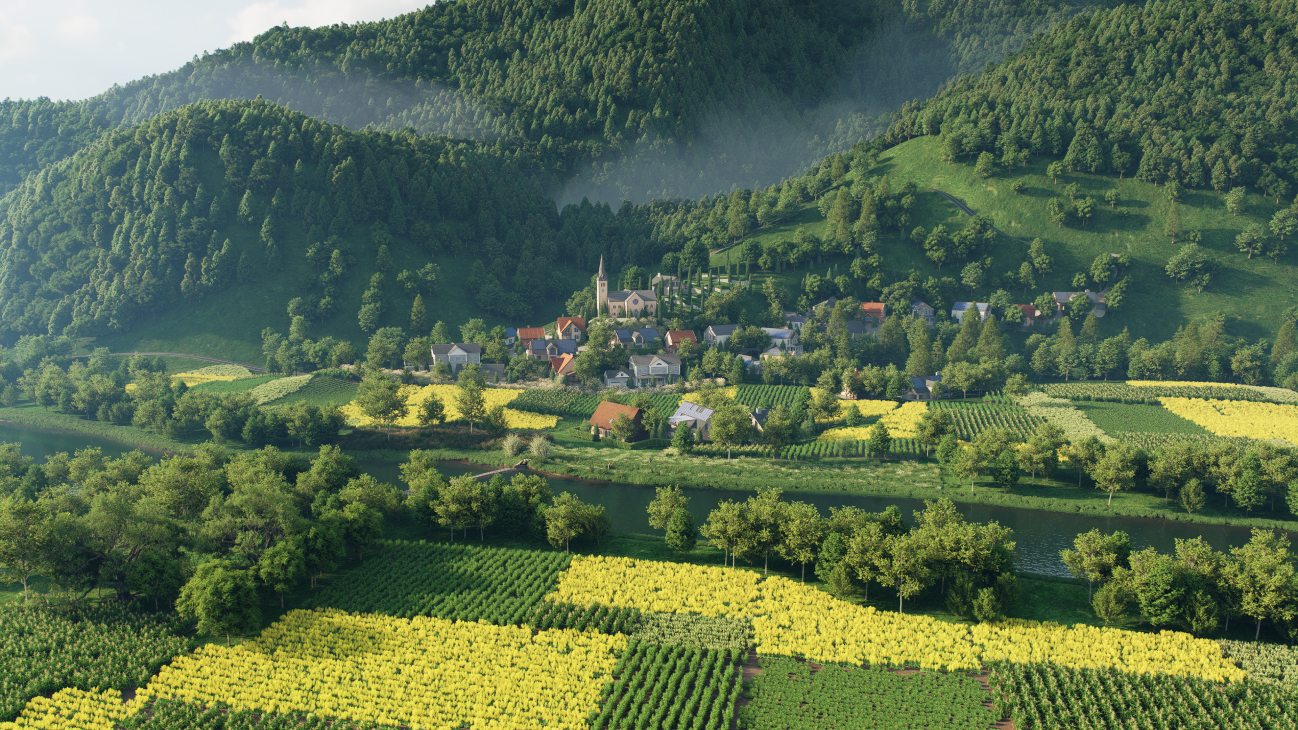
7.3 Environmental Context
Include surroundings:
- Terrain and nearby buildings
- Roads, trees, fences
- People and vehicles (with realistic proportions)
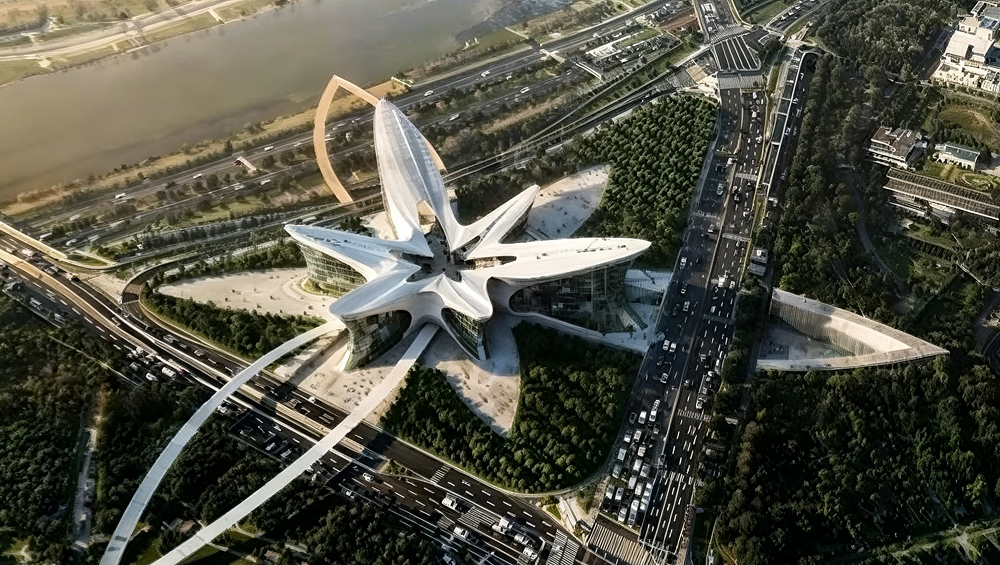
This grounds your design in its actual context—and helps clients emotionally connect.
7.4 Post-Processing
- Adjust contrast, exposure, and sharpness
- Add subtle depth of field and lens effects
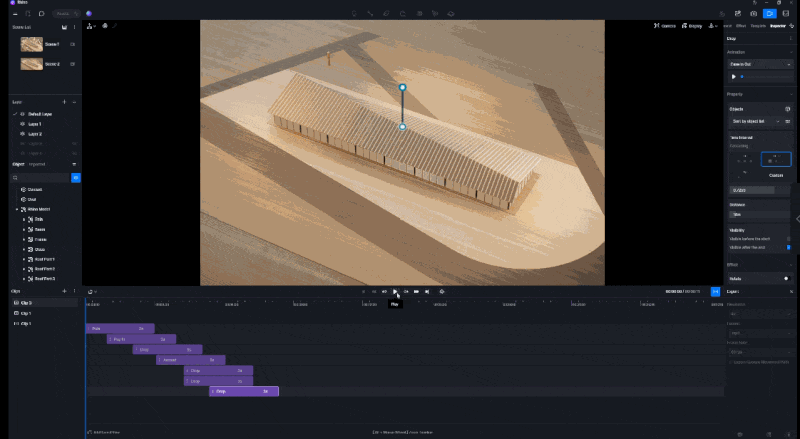
- Use AI tools for upscaling or draft refinement
Final polishing can turn a great render into an unforgettable one.
8. Conclusion: Every Detail Adds Reality
In 2025, great visuals aren’t enough—realistic, buildable design is what clients trust. Every time you bevel an edge, add a fastener, or show flashing under a roofline, you’re telling a deeper story: this building could be real.
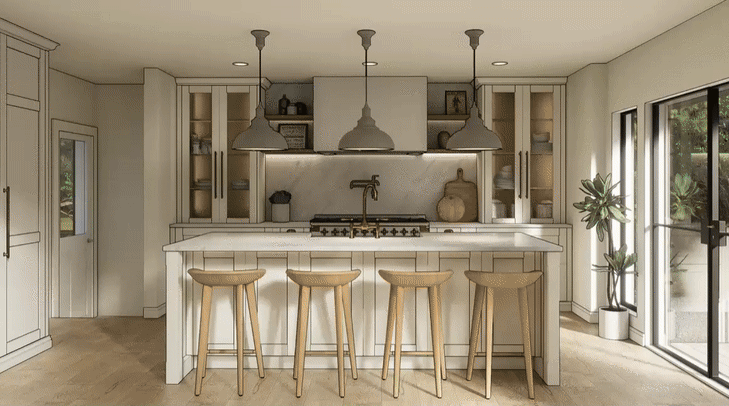
So whether you’re rendering a house, a tower, or a kitchen cabinet, remember this:
- Every line and joint tells a story
- Every layer adds authenticity
- Every detail brings your vision closer to reality
Architectural rendering isn’t just an art—it’s a craft. Master the details, and you master the medium.


.png)


.jpg)


.png)

1%20(2).png)


%20(1).png)
.png)
.png)