Key Takeaways
- Photography principles like framing, color balance, and exposure are vital for achieving photorealistic rendering that feels both emotionally engaging and visually accurate.
- D5 Render enhances the architectural visualization process with intuitive, AI-powered tools for lighting, material refinement, and real-time feedback.
- By combining real-time rendering with creative photographic techniques, designers can elevate storytelling, accelerate workflows, and deliver client-ready, high-quality visuals.
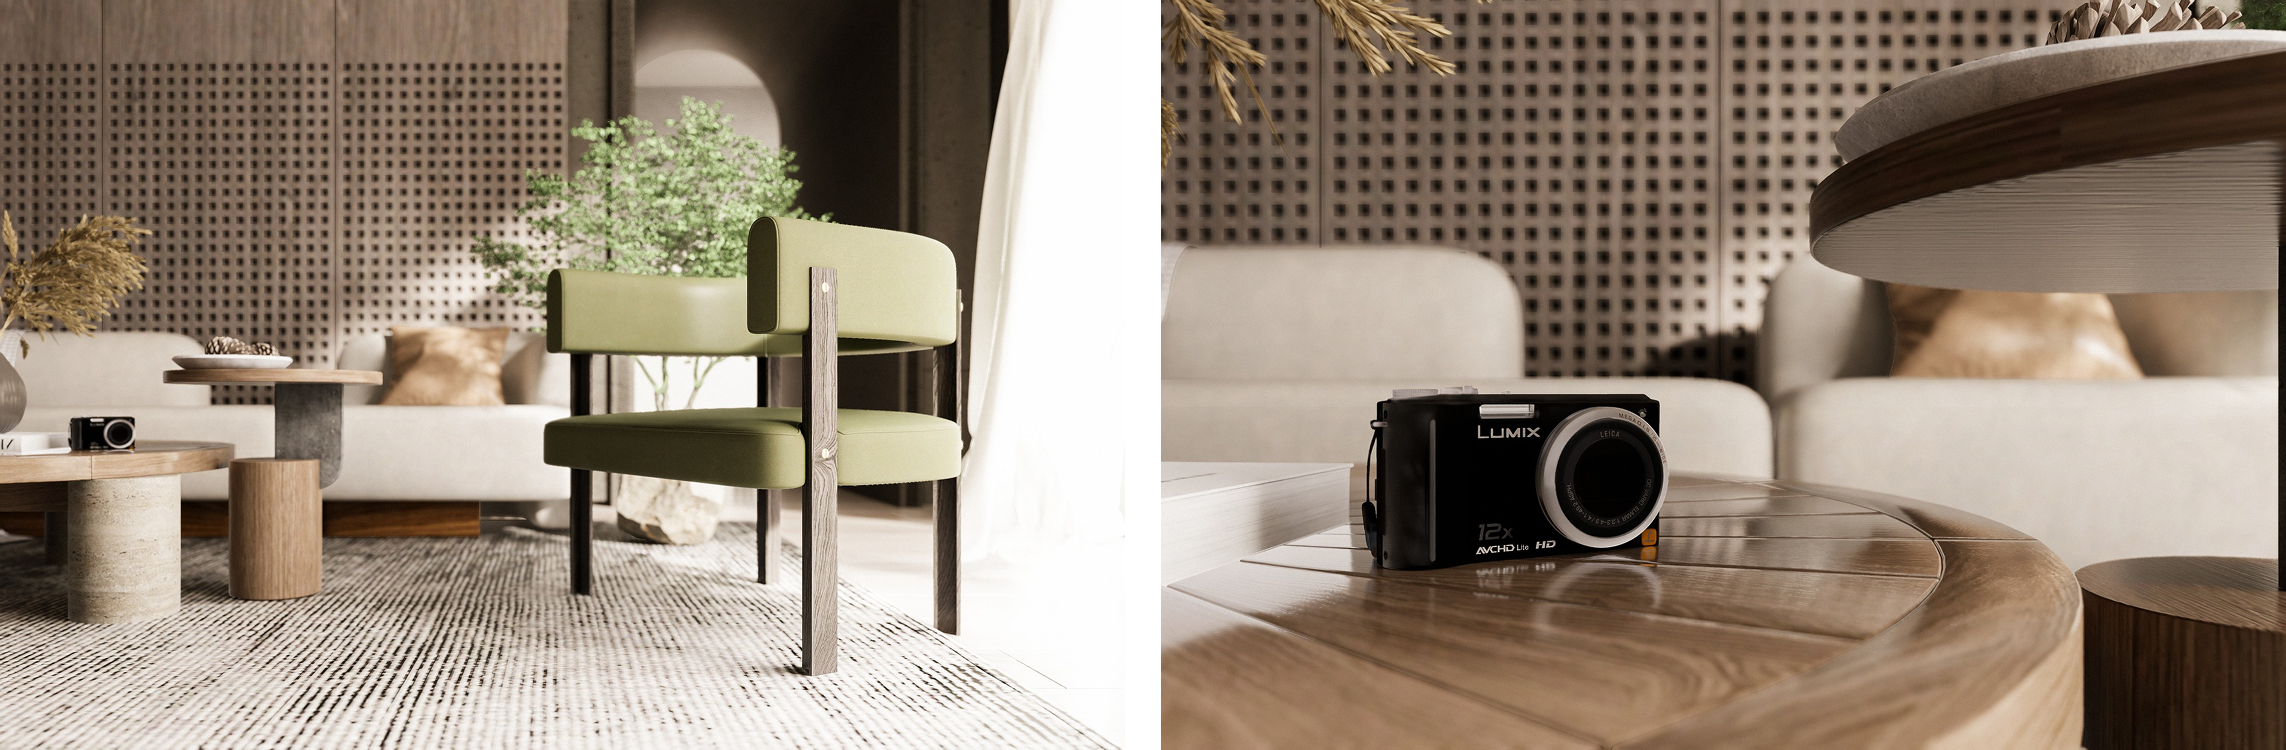
Creating photorealistic renders means going beyond technical mastery—it requires a creative vision grounded in the fundamentals of photography. With D5 Render, you can apply principles like composition, light exposure, and color harmony to craft architectural visualizations that resonate emotionally while delivering design precision.
This article explores how to apply essential photography techniques in D5 Render, blending technical precision with visual storytelling. Whether you're crafting interiors or large-scale exteriors, these tips will help you elevate your renders into captivating, professional-grade visuals.

Framing: Composing with Purpose
Framing guides the viewer’s eye, balances visual elements, and enhances storytelling. In D5 Render, real-time rendering lets you instantly experiment with camera positions and compositions.
Key Techniques:
- Camera Positioning: Adjust height and angle to mimic human eye level or achieve dramatic perspectives.
- Focal Length: A wider lens (20–35mm) is ideal for interiors; a longer lens (50–85mm) isolates architectural details.
- Depth of Field (DOF): Blur foregrounds or backgrounds to emphasize subjects and add realism.
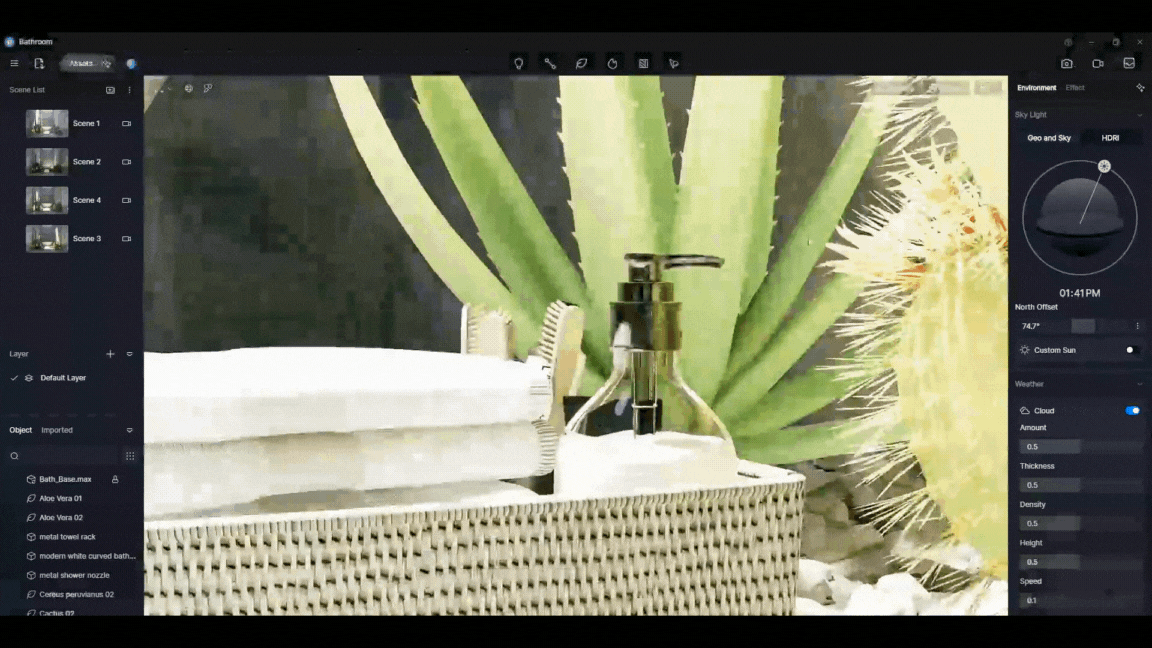
Depth of Field
- Rule of Thirds & Leading Lines: Align key elements along the thirds grid or use natural lines (walls, paths) to direct focus.
- Frame Within a Frame: Use architectural elements like windows or doorways to emphasize the subject.
- Balance Symmetry and Asymmetry: Symmetry conveys structure; asymmetry adds dynamism.
Tip: For small rooms, use a wide-angle lens. If distortion occurs, enable the two-point perspective correction in D5.
Real-World Insight:
A study on hotel photography revealed that balanced composition and framing significantly influenced viewer perception and booking behavior. This same principle applies in architectural CGI—framing shapes how your design is experienced.
Color Balance: Achieving Natural and Emotional Harmony
Color balance affects how real—or emotionally impactful—your scene feels. Off-color tones can make even the most technically accurate render seem unnatural. D5 Render provides intuitive color controls to perfect your scene’s atmosphere.
Adjusting Color in D5 Render:
- White Balance: Correct color casts by adjusting temperature based on light sources—cool for daylight, warm for incandescent lighting.
- Tint Control: Fine-tune greens and magentas, useful for balancing vegetation or artificial lighting.

- Saturation & Contrast: Increase vibrancy or create muted, cinematic moods.
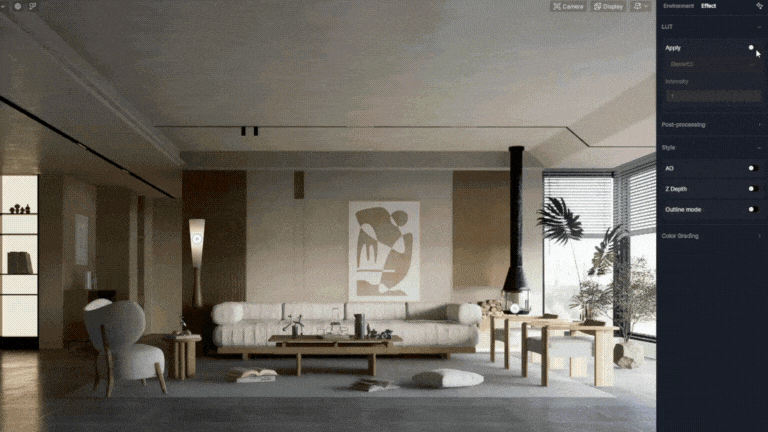
- LUTs (Look-Up Tables): Apply color grading presets to set the emotional tone of your render.
Tip: Place a white sphere in the scene and adjust the white balance until it appears neutral to eliminate color casts.
Use visual storytelling techniques seen in films—cool tones for futuristic moods (Blade Runner), warm tones for intimacy (Her), or desaturation for stark environments (Mad Max). D5’s post-processing tools let you emulate these cinematic effects seamlessly.
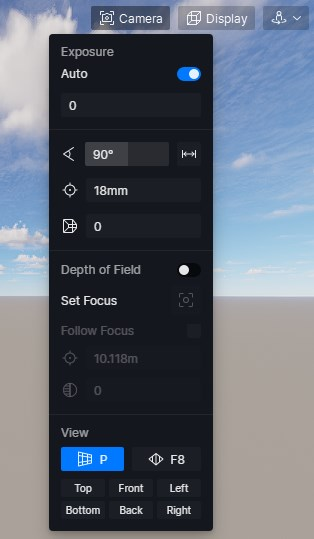
Exposure: Mastering Light and Shadow
Exposure determines your image’s brightness and how well it captures lighting details. In rendering, it plays a central role in realism and clarity
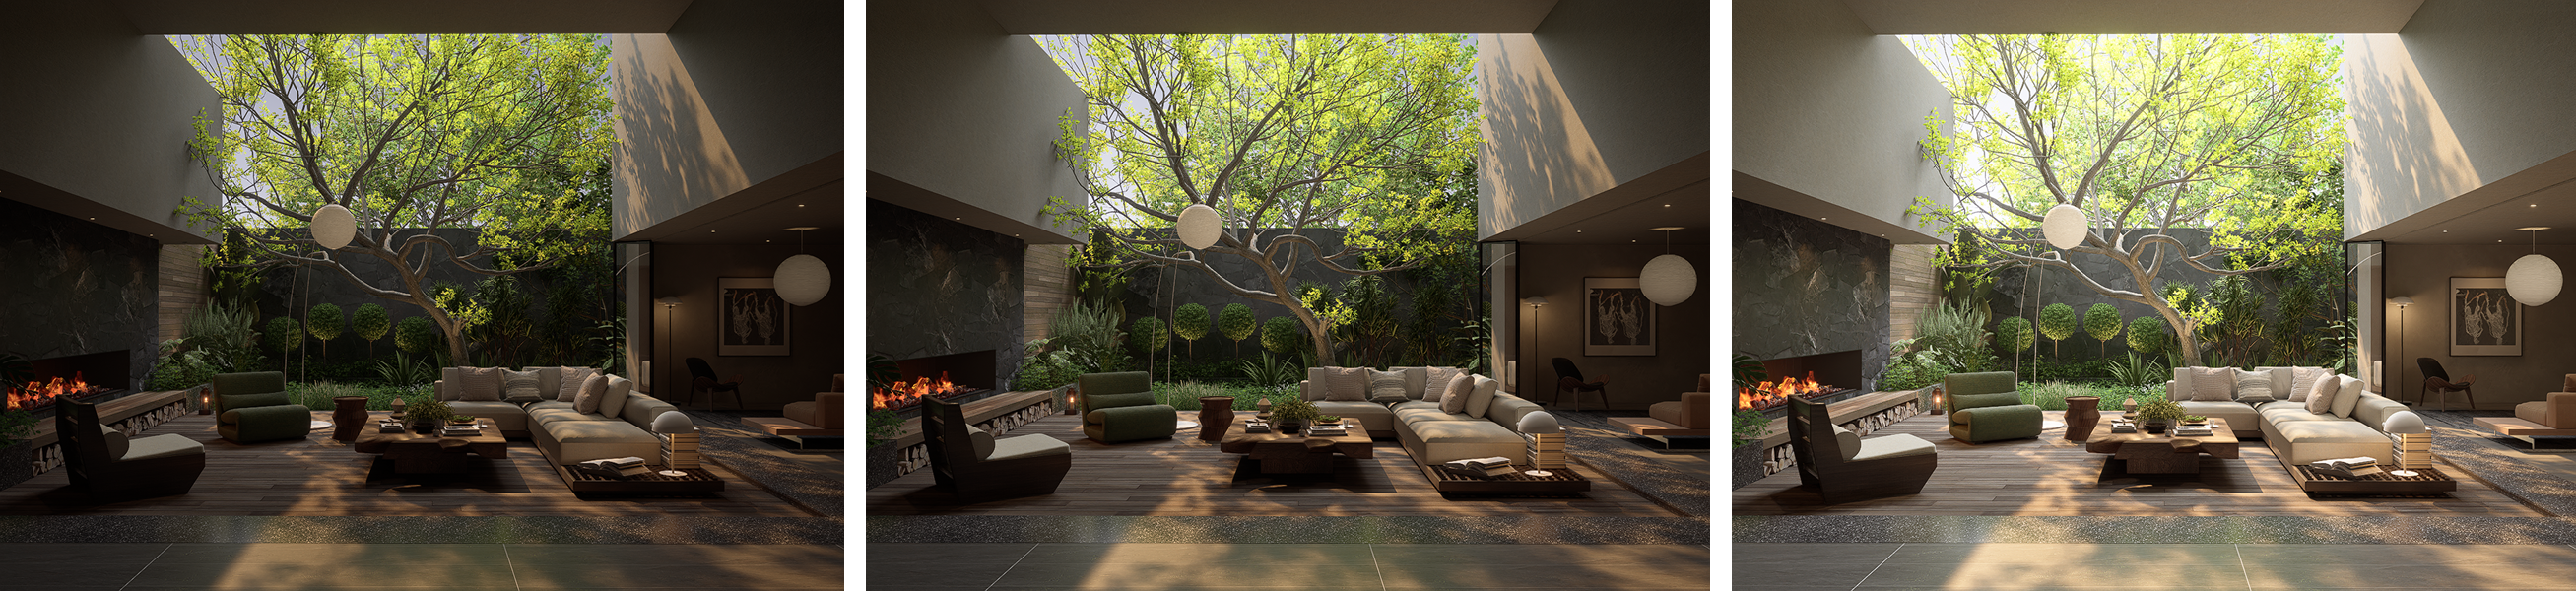
Exposure Tools in D5 Render:
- Manual Exposure (EV Slider): Adjust overall brightness to suit your lighting conditions.
- Highlight/Shadow Adjustments: Recover details in extreme lighting.
- Tone Mapping: Balance dynamic range for natural light transitions.
- Bloom & Lens Flare: Add glow and camera-like effects to enhance atmosphere.
Understanding the Exposure Triangle:
Like real photography, exposure in D5 benefits from an understanding of:
- Aperture: Affects DOF and light intake.
- Shutter Speed: Impacts motion blur (mostly for animations).
- ISO: Influences brightness and noise (simulated in D5 through EV settings).
Mastering these helps you create consistent lighting across indoor and outdoor environments.
AI Enhancer: Automating Realism Without Losing Control
D5 Render’s AI Enhancer refines lighting and materials using intelligent automation. It’s a productivity tool and a creative ally, especially for enhancing final renders.
Features:
- Selective Enhancement: Target specific areas without affecting the whole image.
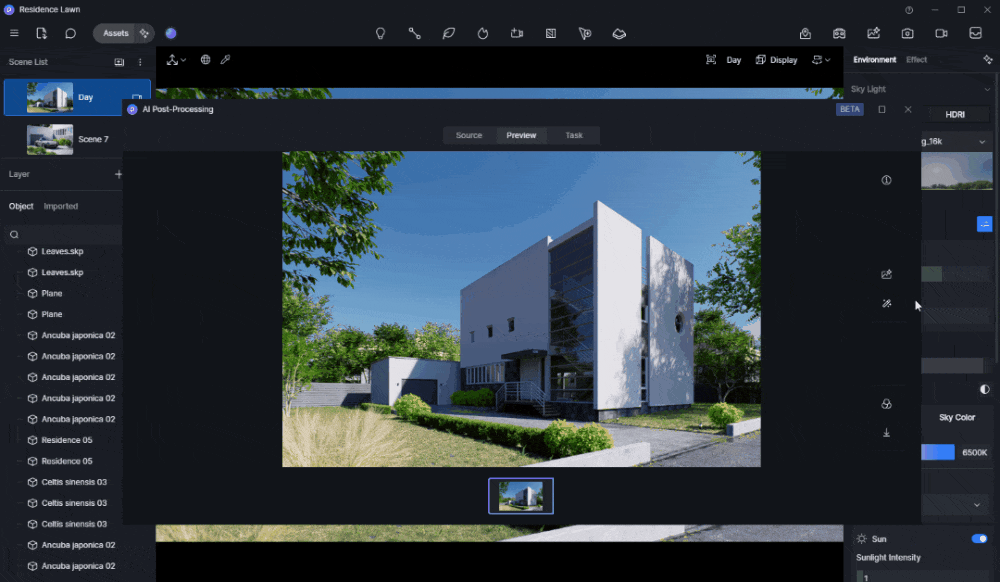
- Intensity Levels: Choose weak, normal, or strong adjustments for lighting and materials.
- Material Refinement: Improves reflections, textures, and surface realism.
- Lighting Correction: Automatically balances inconsistent lighting.
Tip: Use AI Enhancer to sharpen wood textures, add highlight to fabric, or even out lighting in dim corners—without manual rework.
Also read: AI Enhancer for Architects: Elevating Render Quality with AI-Powered Precision
Bonus Techniques for Depth and Workflow
Adding Depth:
- Vignette: Darkens image edges to direct focus to the center.

- Chromatic Aberration: Simulates camera lens imperfections for realism.

Also read: Vignette, Chromatic Aberration for 3D Rendering with D5 Render
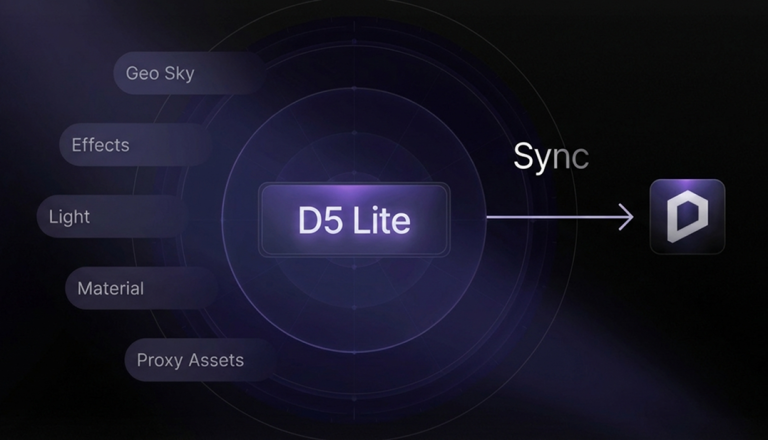
Real-Time Sync:
Connect D5 Render with software like SketchUp, Revit, or Rhino. Edits in your modeling tool appear instantly in your render—great for collaborative design, client previews, or catching issues early.
Also read: SketchUp Pro Tips: Boost Workflows with D5 Render AI
Final Thoughts
Combining photographic principles with D5 Render’s real-time capabilities allows you to create not just renderings—but experiences. From choosing the right camera angle to balancing color and light, every decision shapes how your design is perceived.
D5 Render gives you the tools to:
- Craft emotionally resonant, technically accurate scenes.
- Work faster with AI-assisted features and real-time sync.
- Push creative boundaries without losing precision.
So go beyond just rendering. Tell a story. Set a mood. Show the future—one frame at a time.
FAQ
How does D5 Render simplify real-time rendering?
D5 Render uses advanced AI and real-time ray tracing to streamline rendering. You can see changes instantly as you adjust your design. This eliminates delays and allows you to focus on creativity. The intuitive interface ensures you can achieve professional results without extensive technical knowledge.
Can I use D5 Render with my existing design software?
Yes, D5 Render integrates seamlessly with popular design tools like SketchUp, Revit, and 3ds Max. You can sync your models in real time, making it easy to incorporate D5 Render into your current workflow. This compatibility enhances efficiency and ensures a smooth design process.
What is the AI Enhancer, and how does it help?
The AI Enhancer refines lighting and material details in your renders. It uses algorithms to simulate realistic light behavior. You can enhance textures, adjust brightness, and improve contrast. This tool ensures your visuals look polished and lifelike, saving you time during post-processing.
How do I avoid overexposure in my renders?
Use the exposure slider in D5 Render to balance light and shadow. Monitor the histogram to ensure highlights and shadows are not clipped. Adjust brightness incrementally and preview changes in real time. These steps help you maintain a natural and realistic look.
Does D5 Render support high-resolution outputs?
Yes, D5 Render supports up to 6K resolution for images and animations. This ensures your renders look sharp and professional, even on large displays. High-resolution outputs are ideal for presentations, marketing materials, and immersive client experiences.