Product
NEW
Roadmap
AI Capabilities
Asset Library
System Requirements
All Features
D5 for Teams
D5 for Education
Workflow
SketchUp
3ds Max
Revit
Rhino
Archicad
Blender
C4D
Vectorworks
Solutions
Interior
Landscape
Architecture
3D Collaboration
Animation
For Business Owners
Resources
Blog
Scene Express
Help Center
Webinar
Learning
Free Sample Scenes
Community
Forum
Affiliate
Events
Certification
Join Facebook
Subscribe to YouTube
Gallery
Download
Pricing
Log In
Free Download
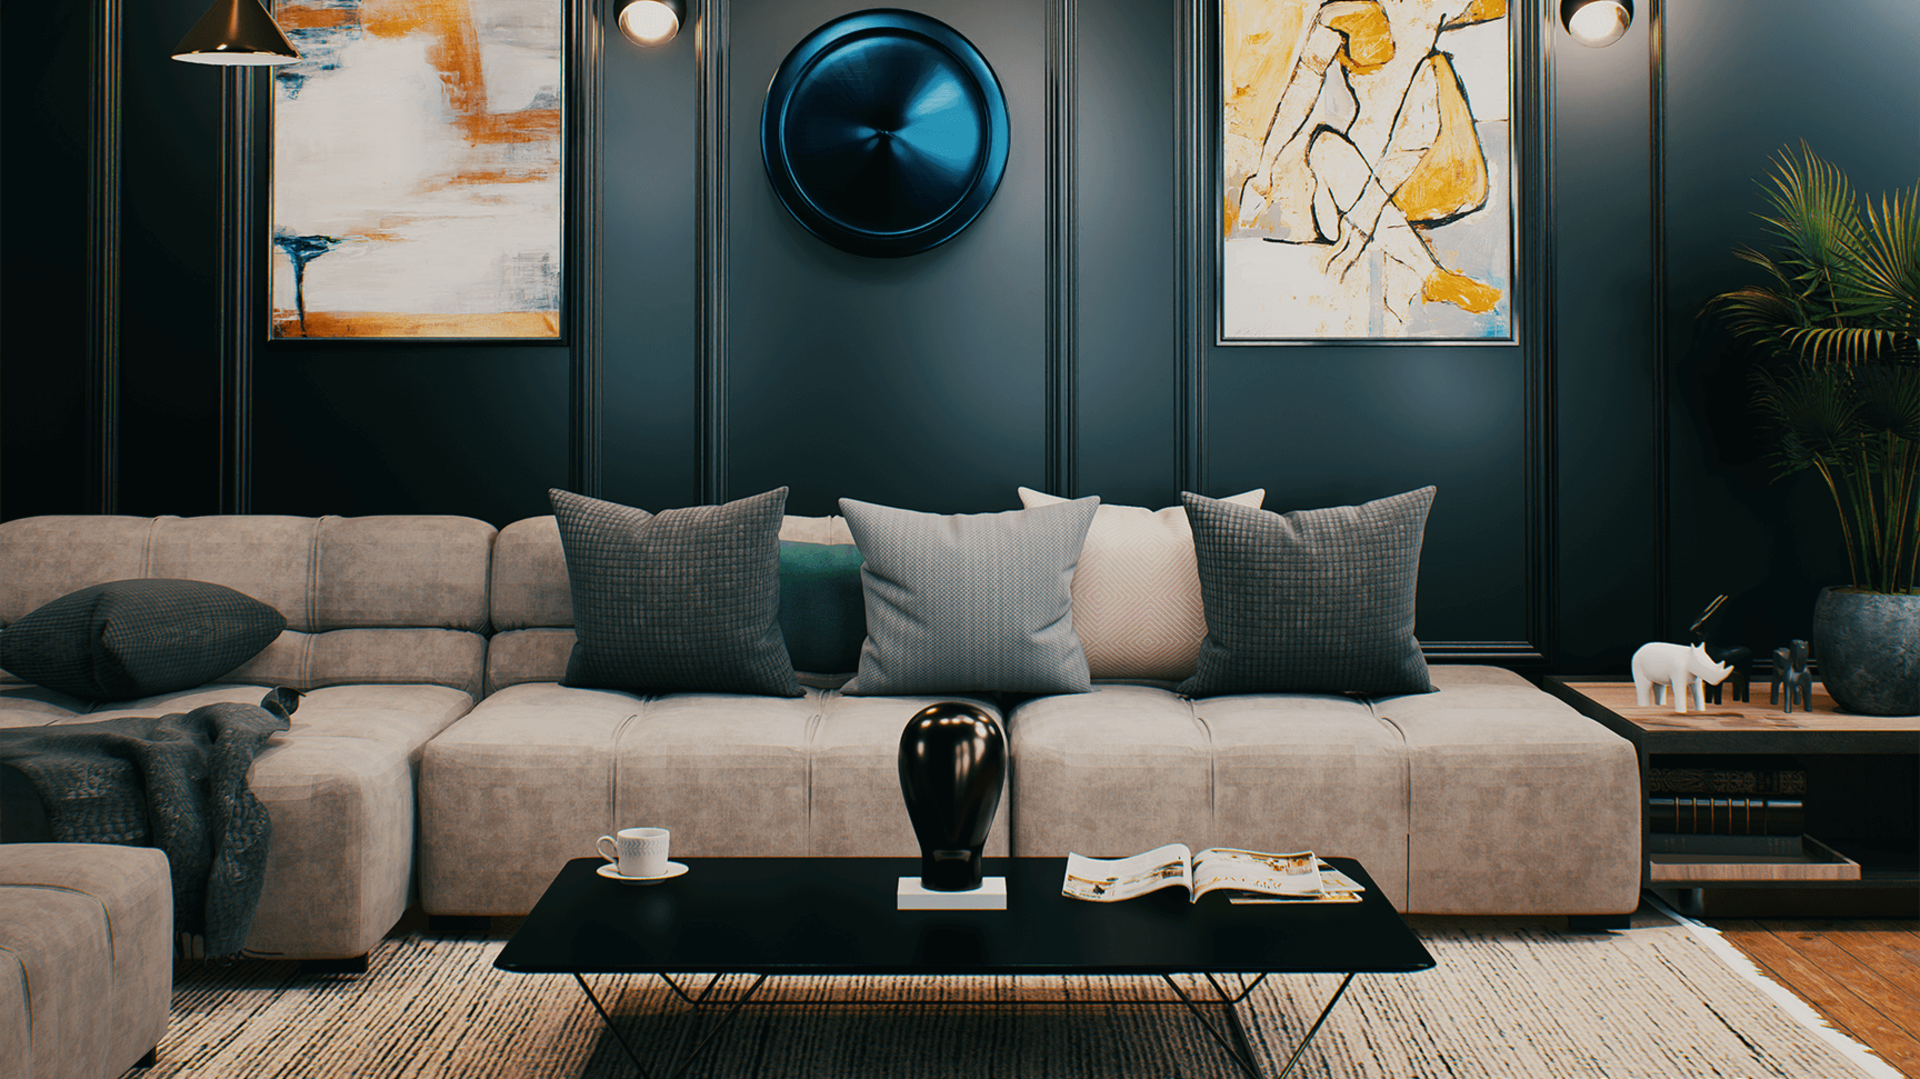
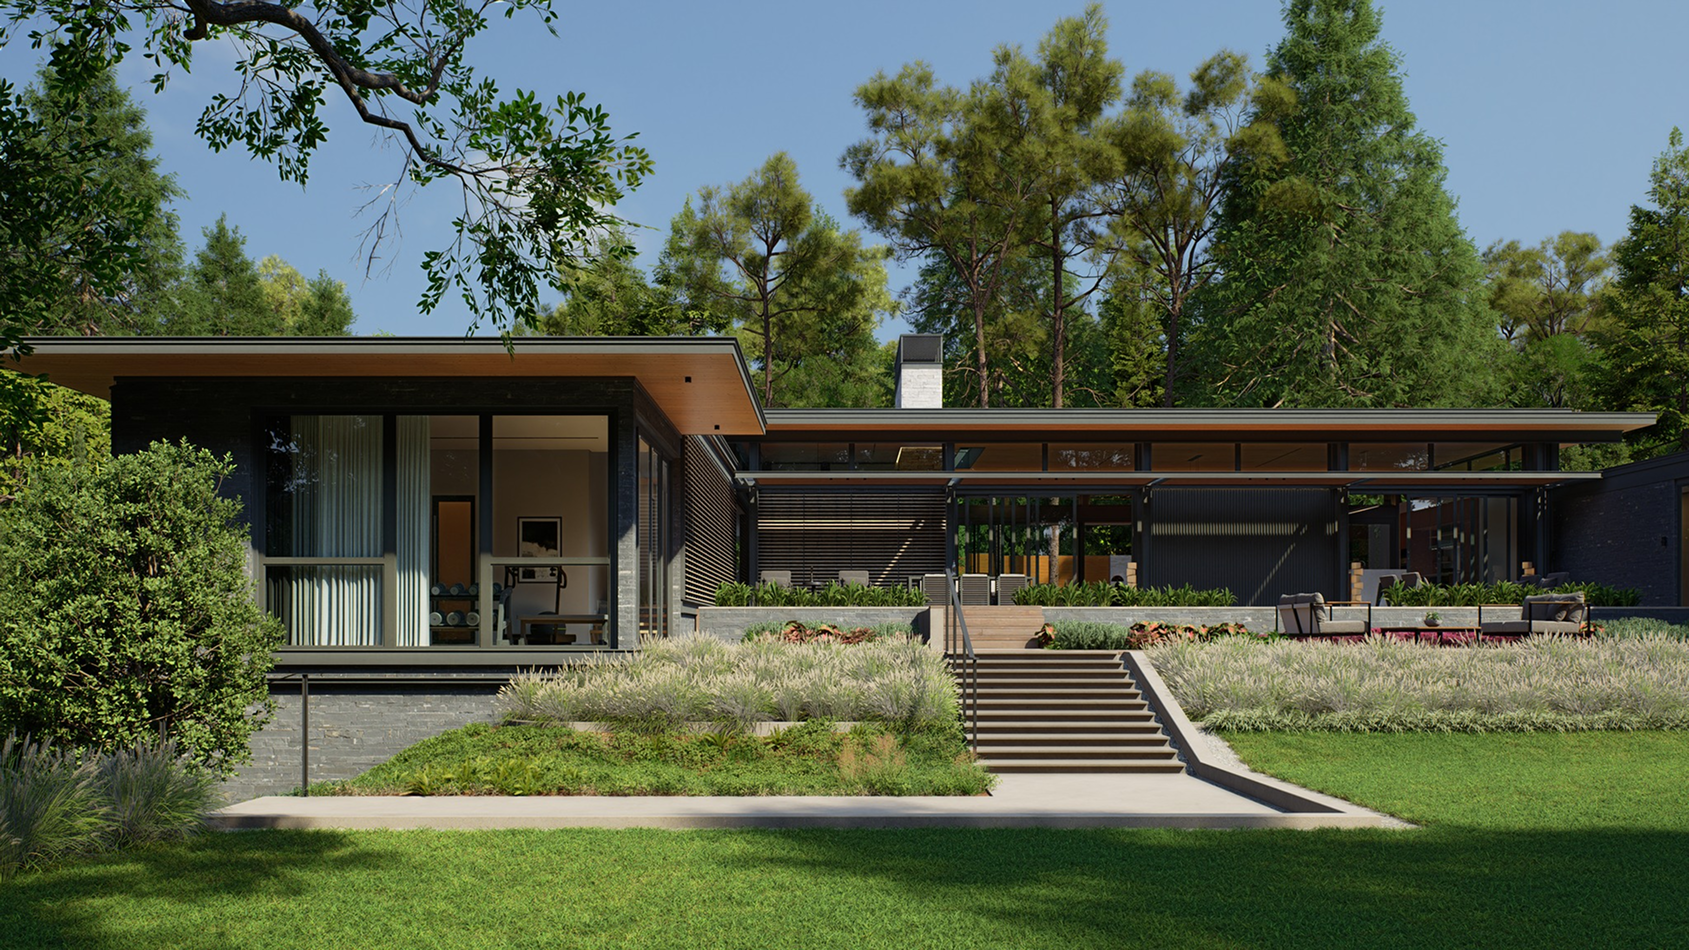
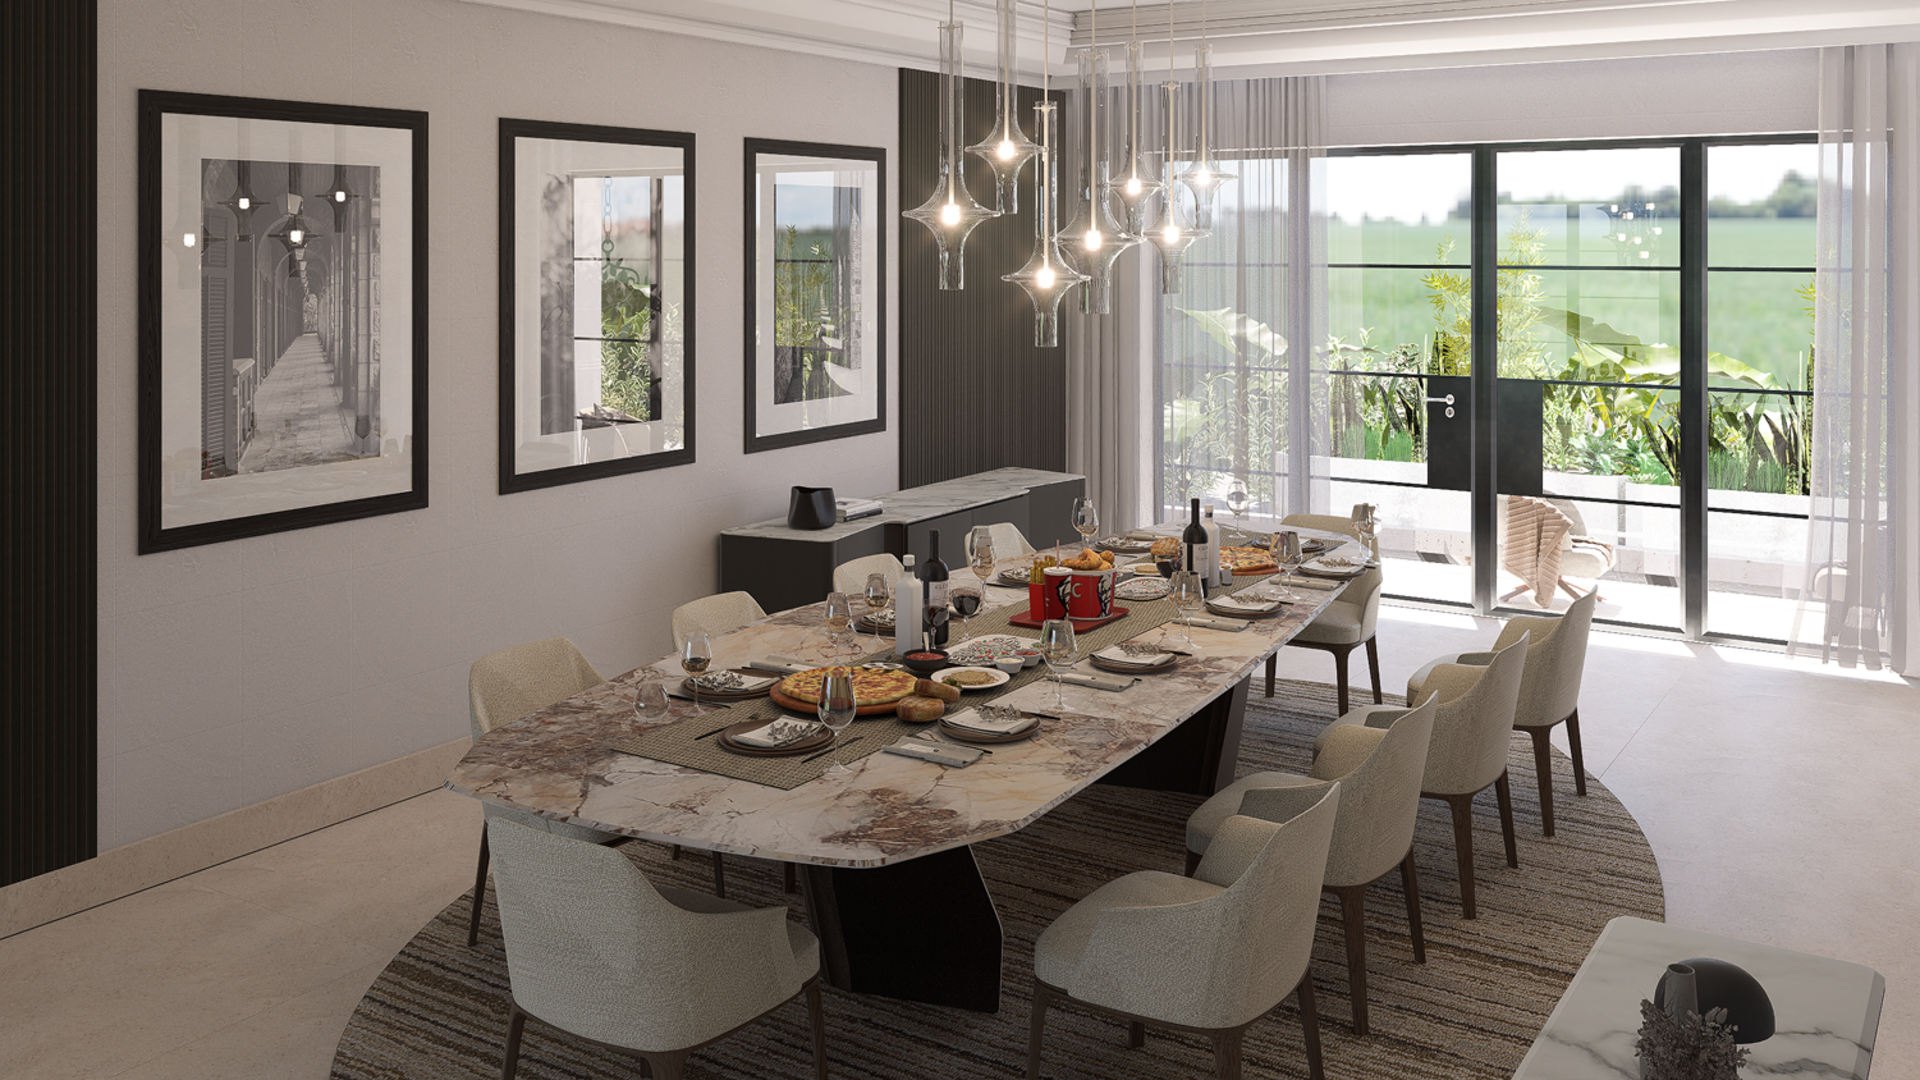
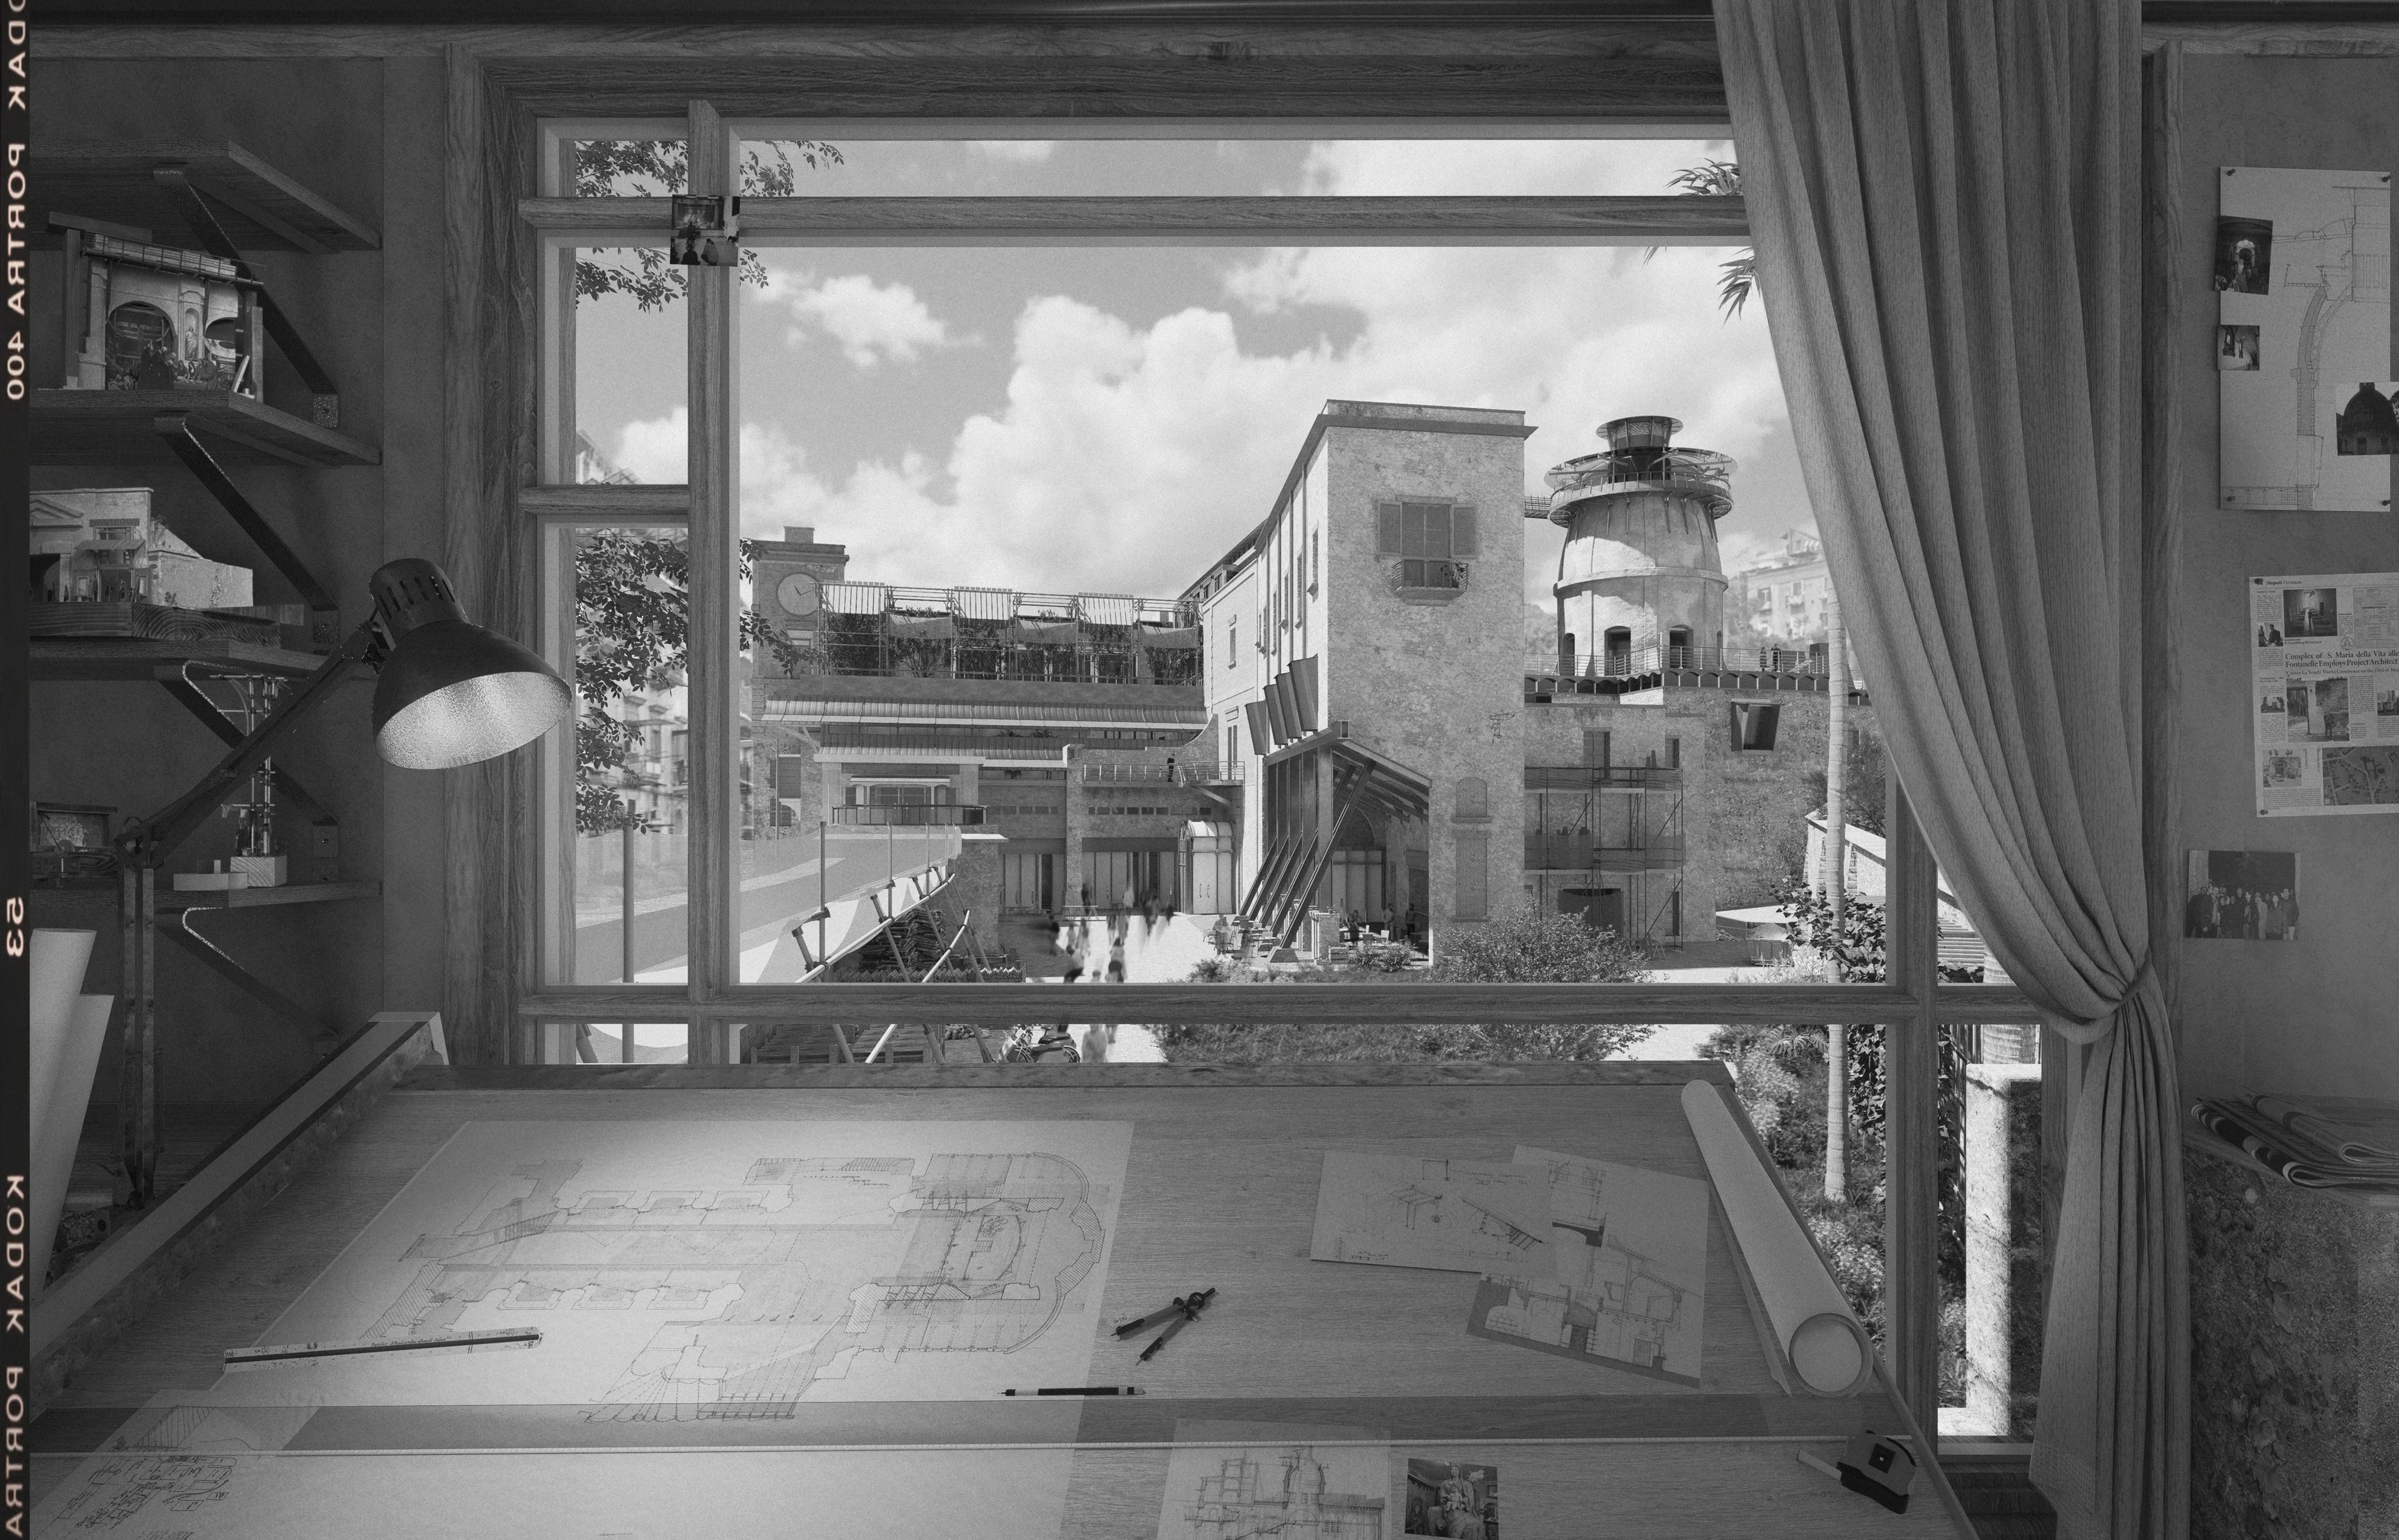
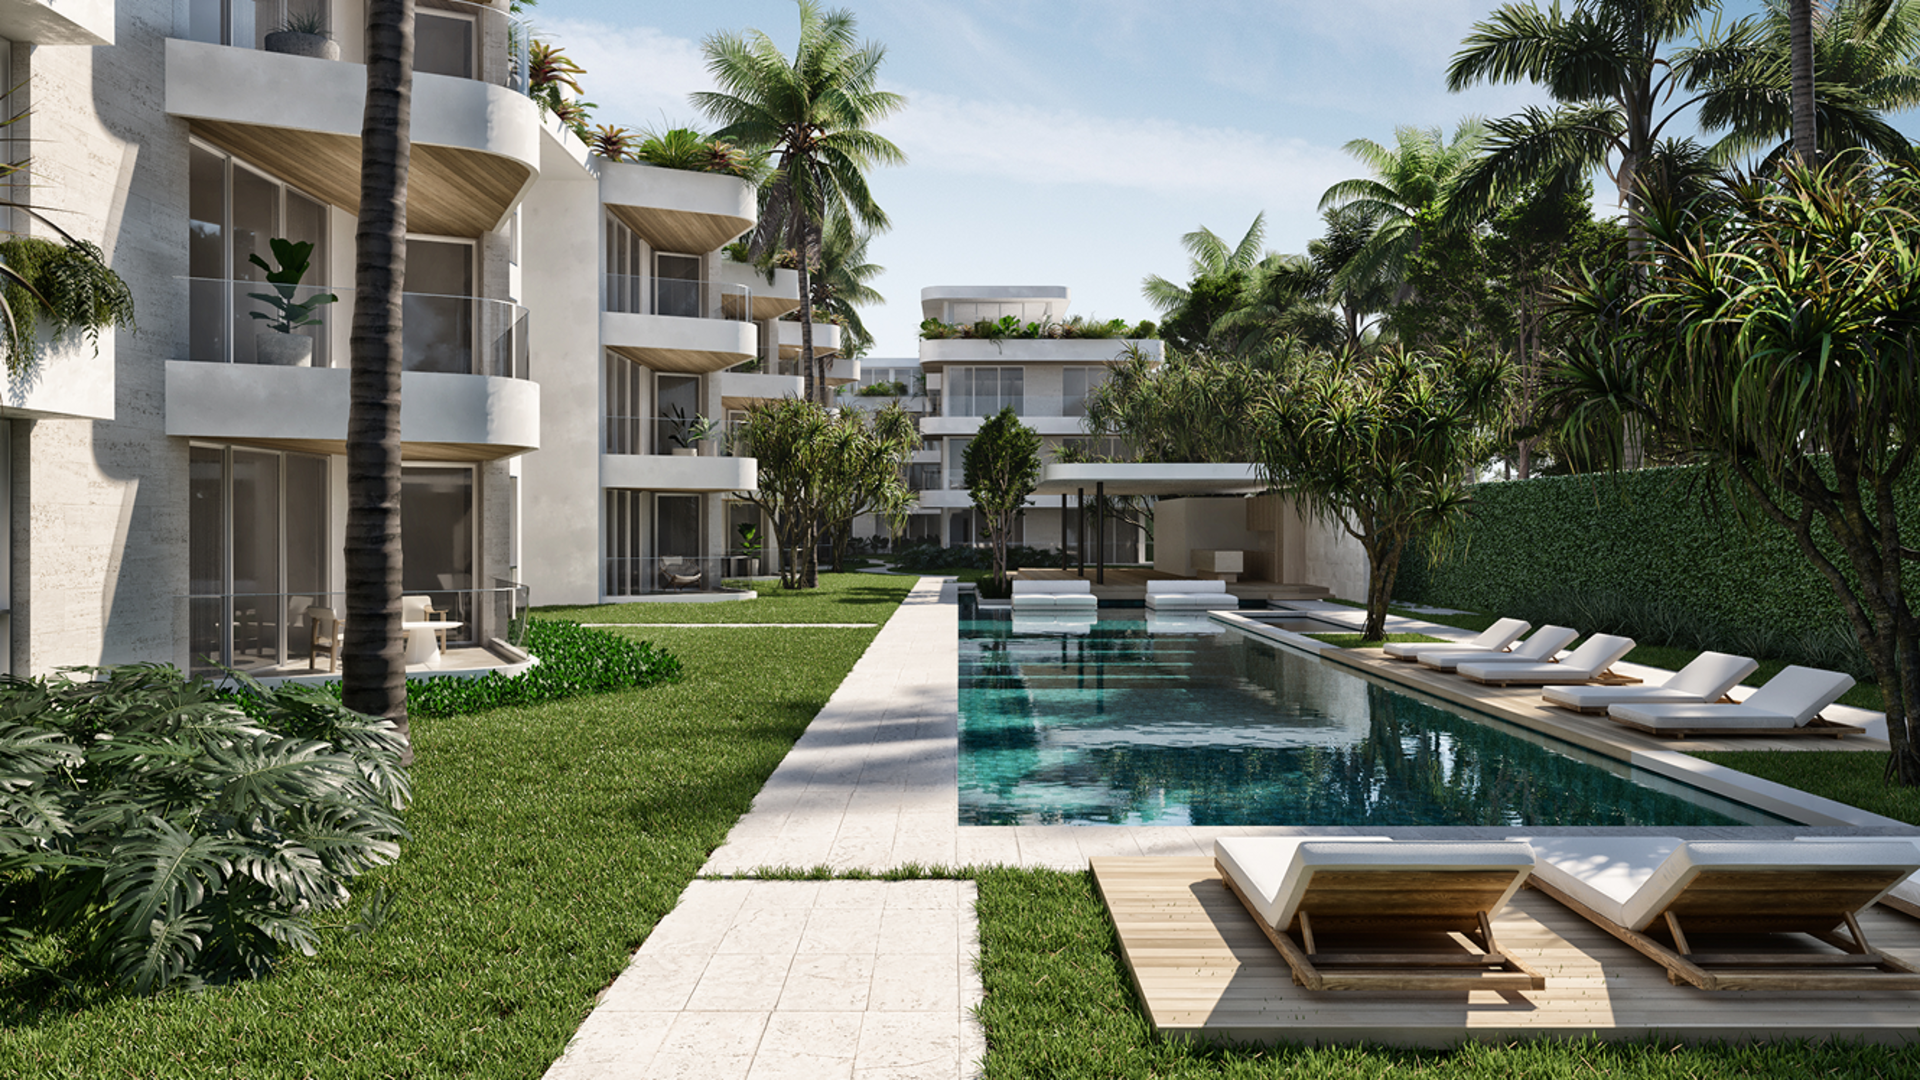
Best real-time rendering workflow for interior designers using AutoCAD-SketchUp
Workflow
Best real-time rendering workflow for interior designers using AutoCAD-SketchUp
Workflow
Home
>
Blog
>
Best real-time rendering workflow for interior designers using AutoCAD-SketchUp
Hao Wang
Data Manager
Contact Us
You might also like
D5 for Teams
The first 3d visualization collaboration platform
Case Study
KPF's innovative leap with D5 Render
Interviews
Designing Fiction into Reality: How Dominik Los Won Eye Line 2025 with a Story-First Approach
How to
How to Create Realistic Rain Backgrounds in D5 Render?
How to
What is XR? How D5's XR Technology Transforms Architecture?
Case Study
AMODA x D5 Render: Driving Efficiency in Modular Construction with a Unified Design Platform
How to
Unlocking Color Grading in D5 Render: The Effect Panel Guide
How to
How Can Aesthetic Plants Transform Your Design with D5 Render?
Case Study
Exhibition Design at Scale: Inside G&A’s Visualization Workflow with D5 Render
How AI Inpainting Supercharges 3D Visualization Workflows?
Industrial solution
Why Do Pros Love D5 Render? See These Jaw-Dropping Renders!
Workflow
Want Faster, Easier Renders from Archicad? Try D5 Render!
Workflow
Free Real-Time 3ds Max Rendering with D5 – Fast & Easy
Interviews
"Glad I switched to D5 Render" | Better Option for 3ds Max
Workflow
How to Render Rhino Models Significantly Faster with D5 Sync
Workflow
The Best Free SketchUp Rendering Tool: D5 Render
Features
Need Free PBR Textures? Try AI PBR Material Snap in D5!
Case Study
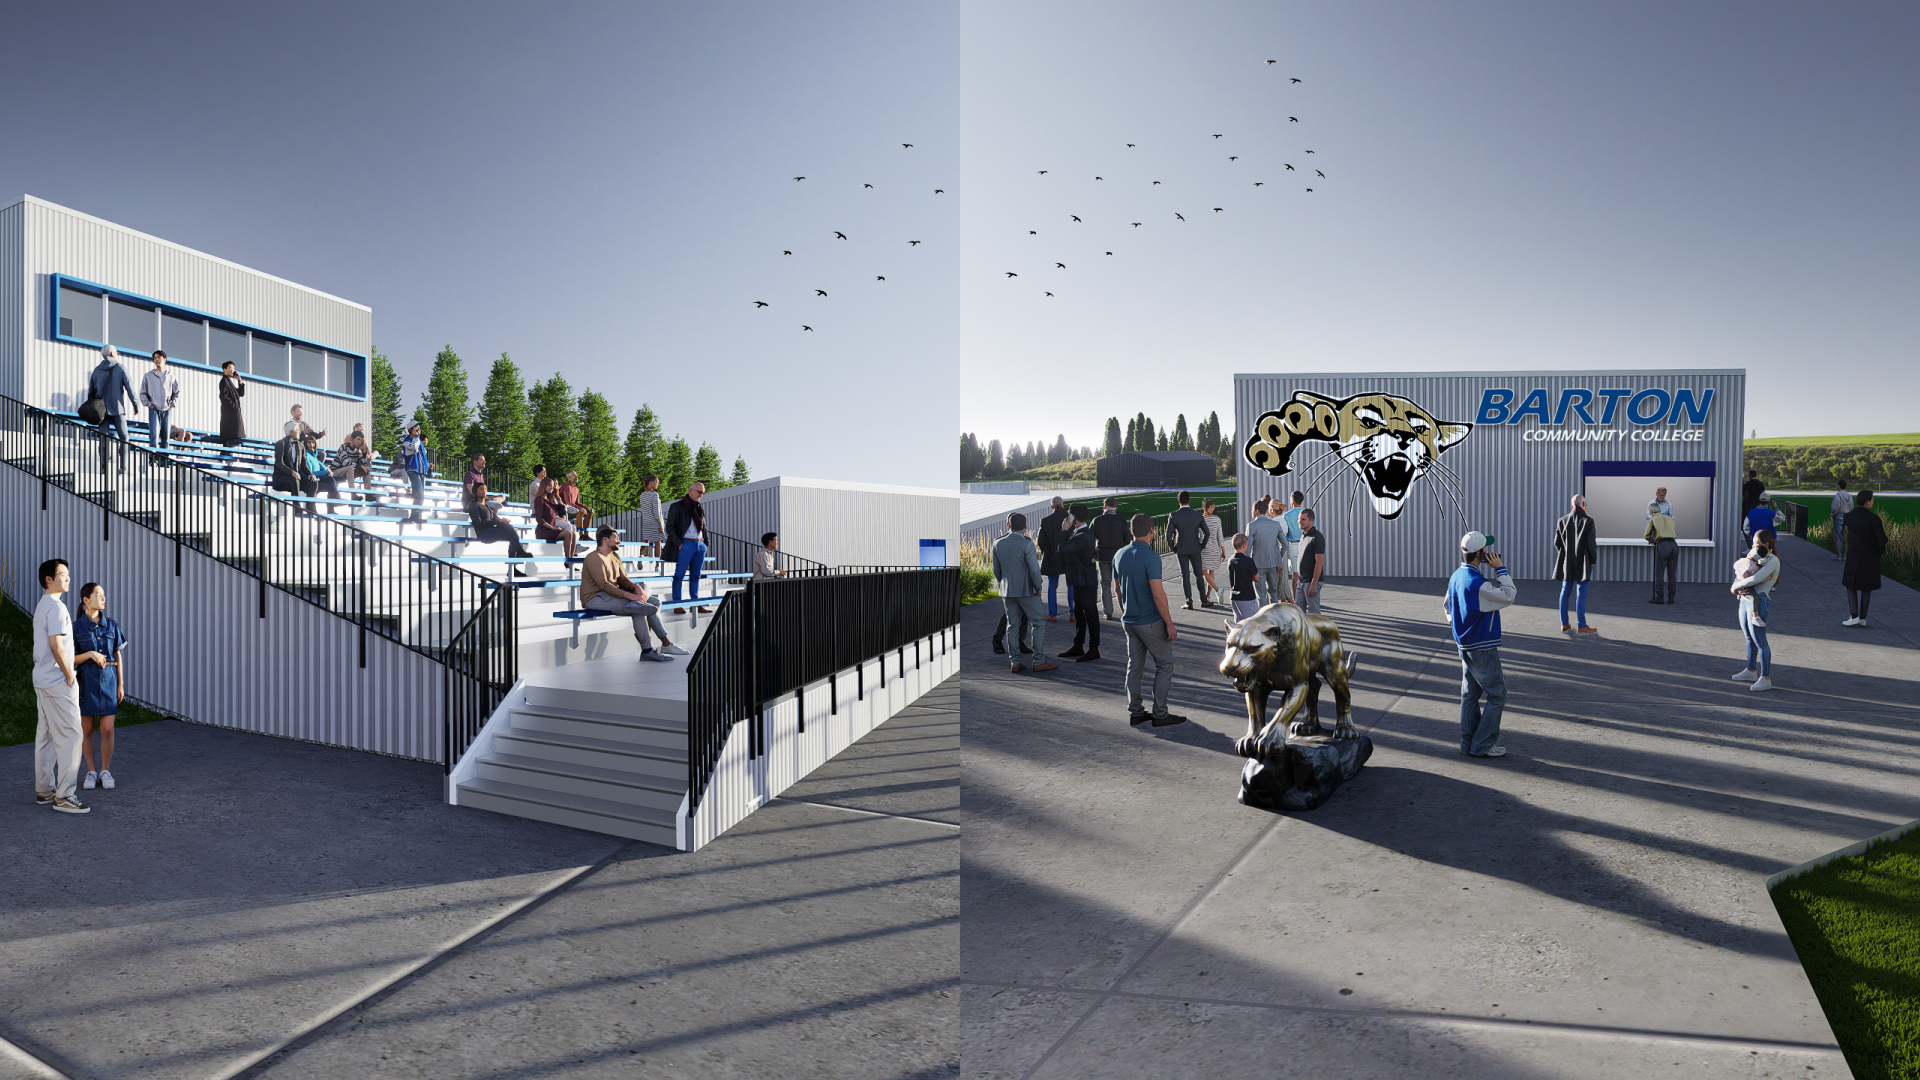
Optimizing Creative Workflow in Sports Architecture: Ampere × D5 Render
D5 News
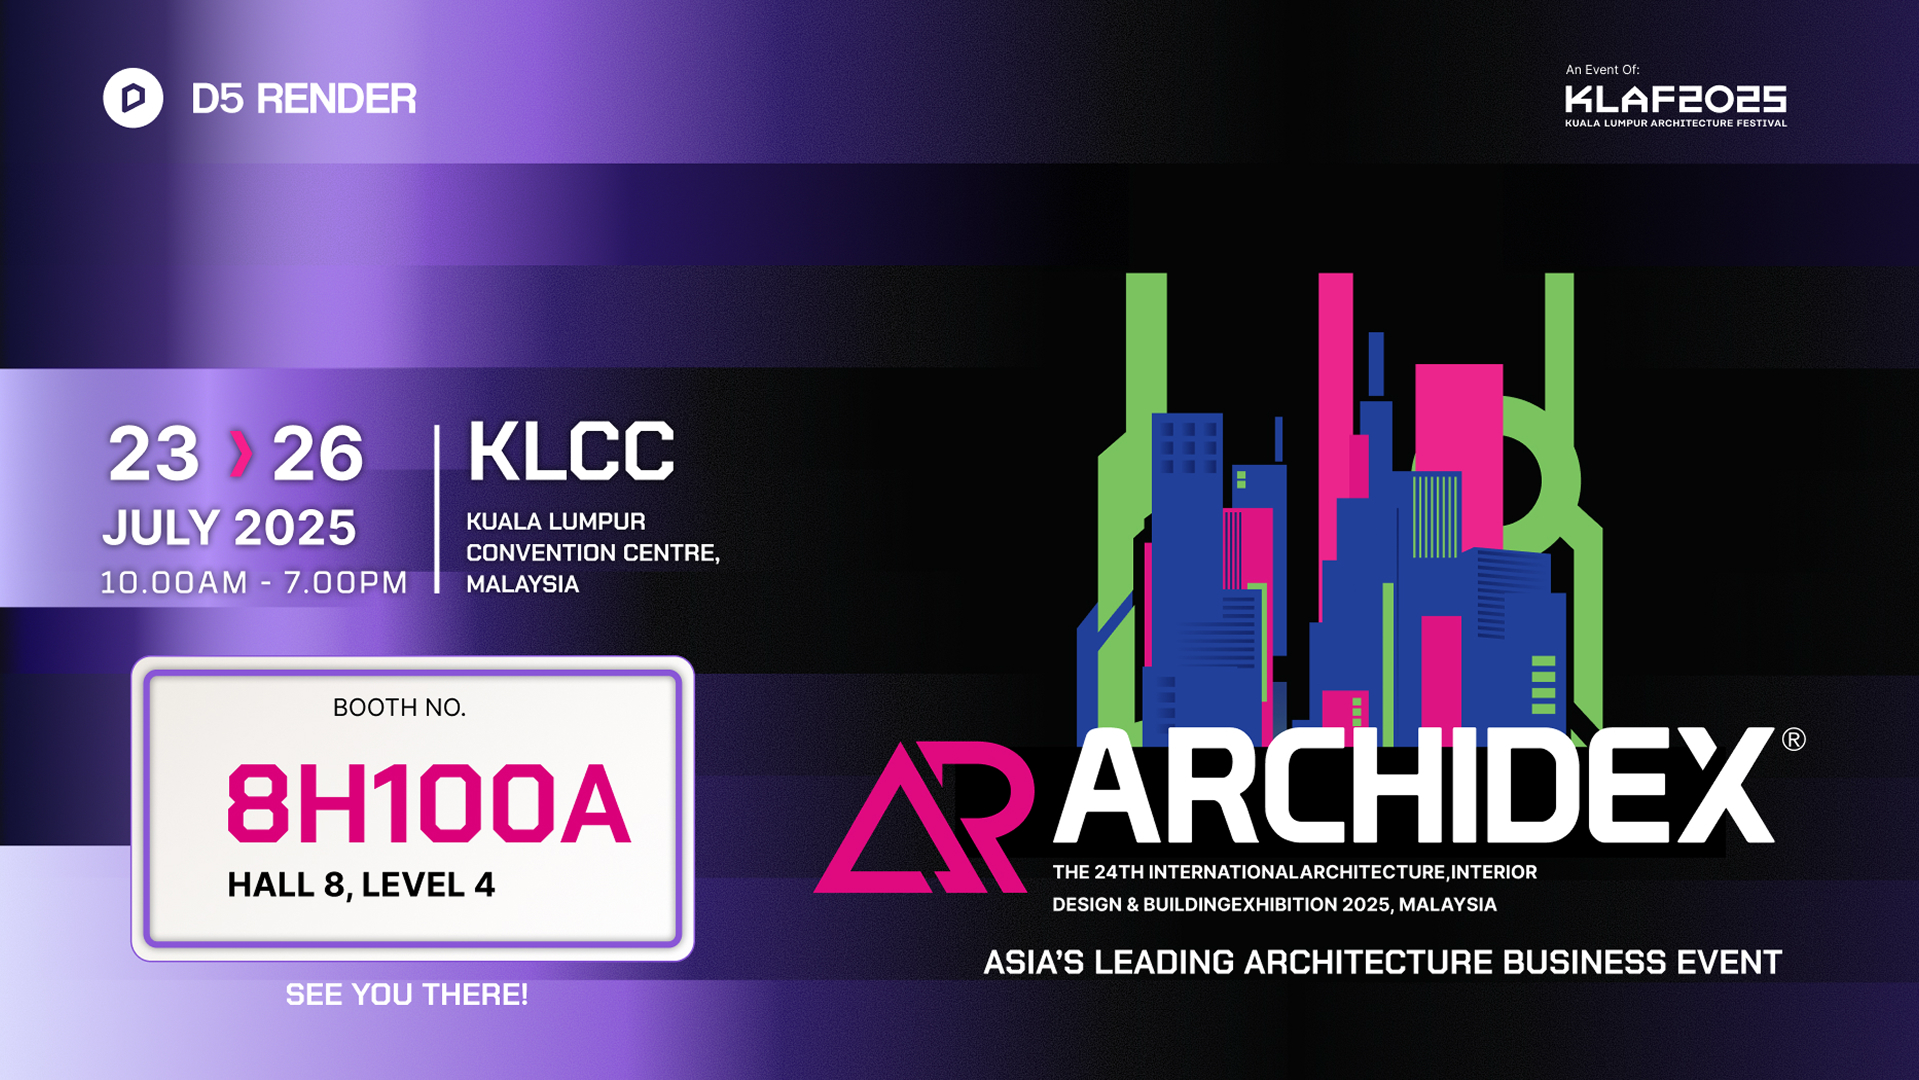
D5 Render Showcases the Future of Architectural Visualization at ARCHIDEX 2025
Case Study
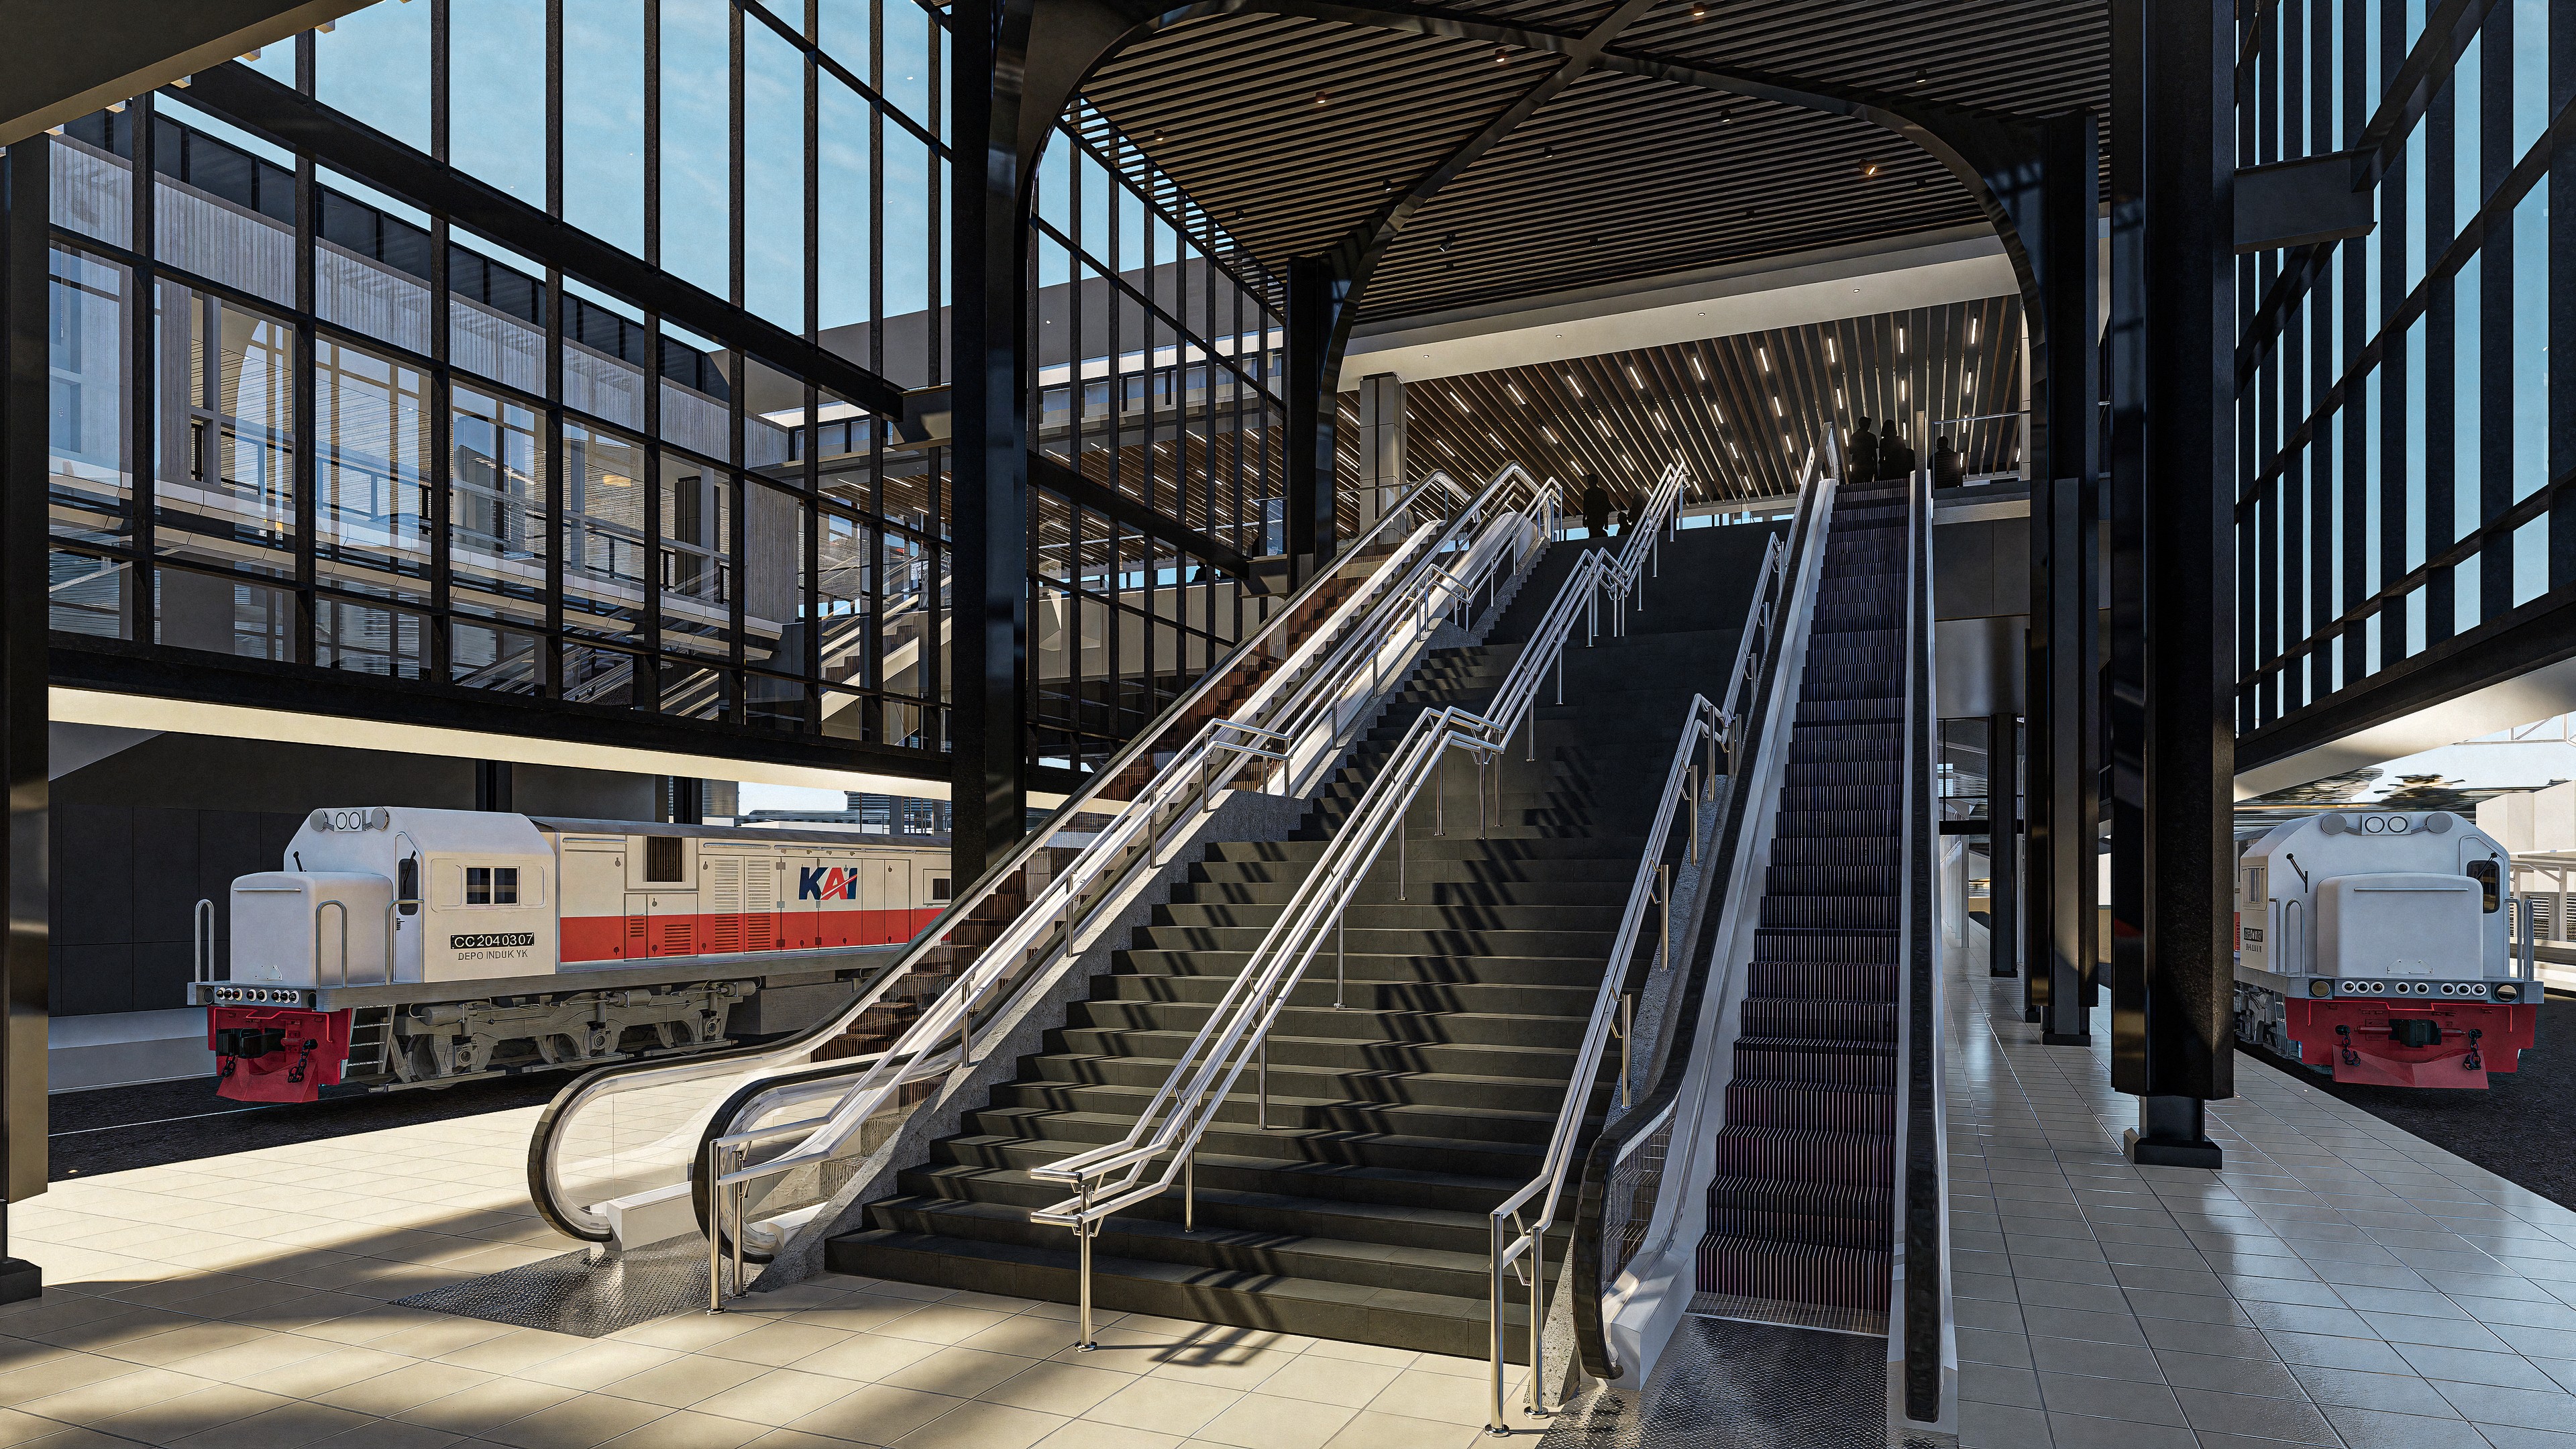
Redefining Public Infrastructure Visualization: Bagan Desain’s Workflow with D5 Render
D5 News
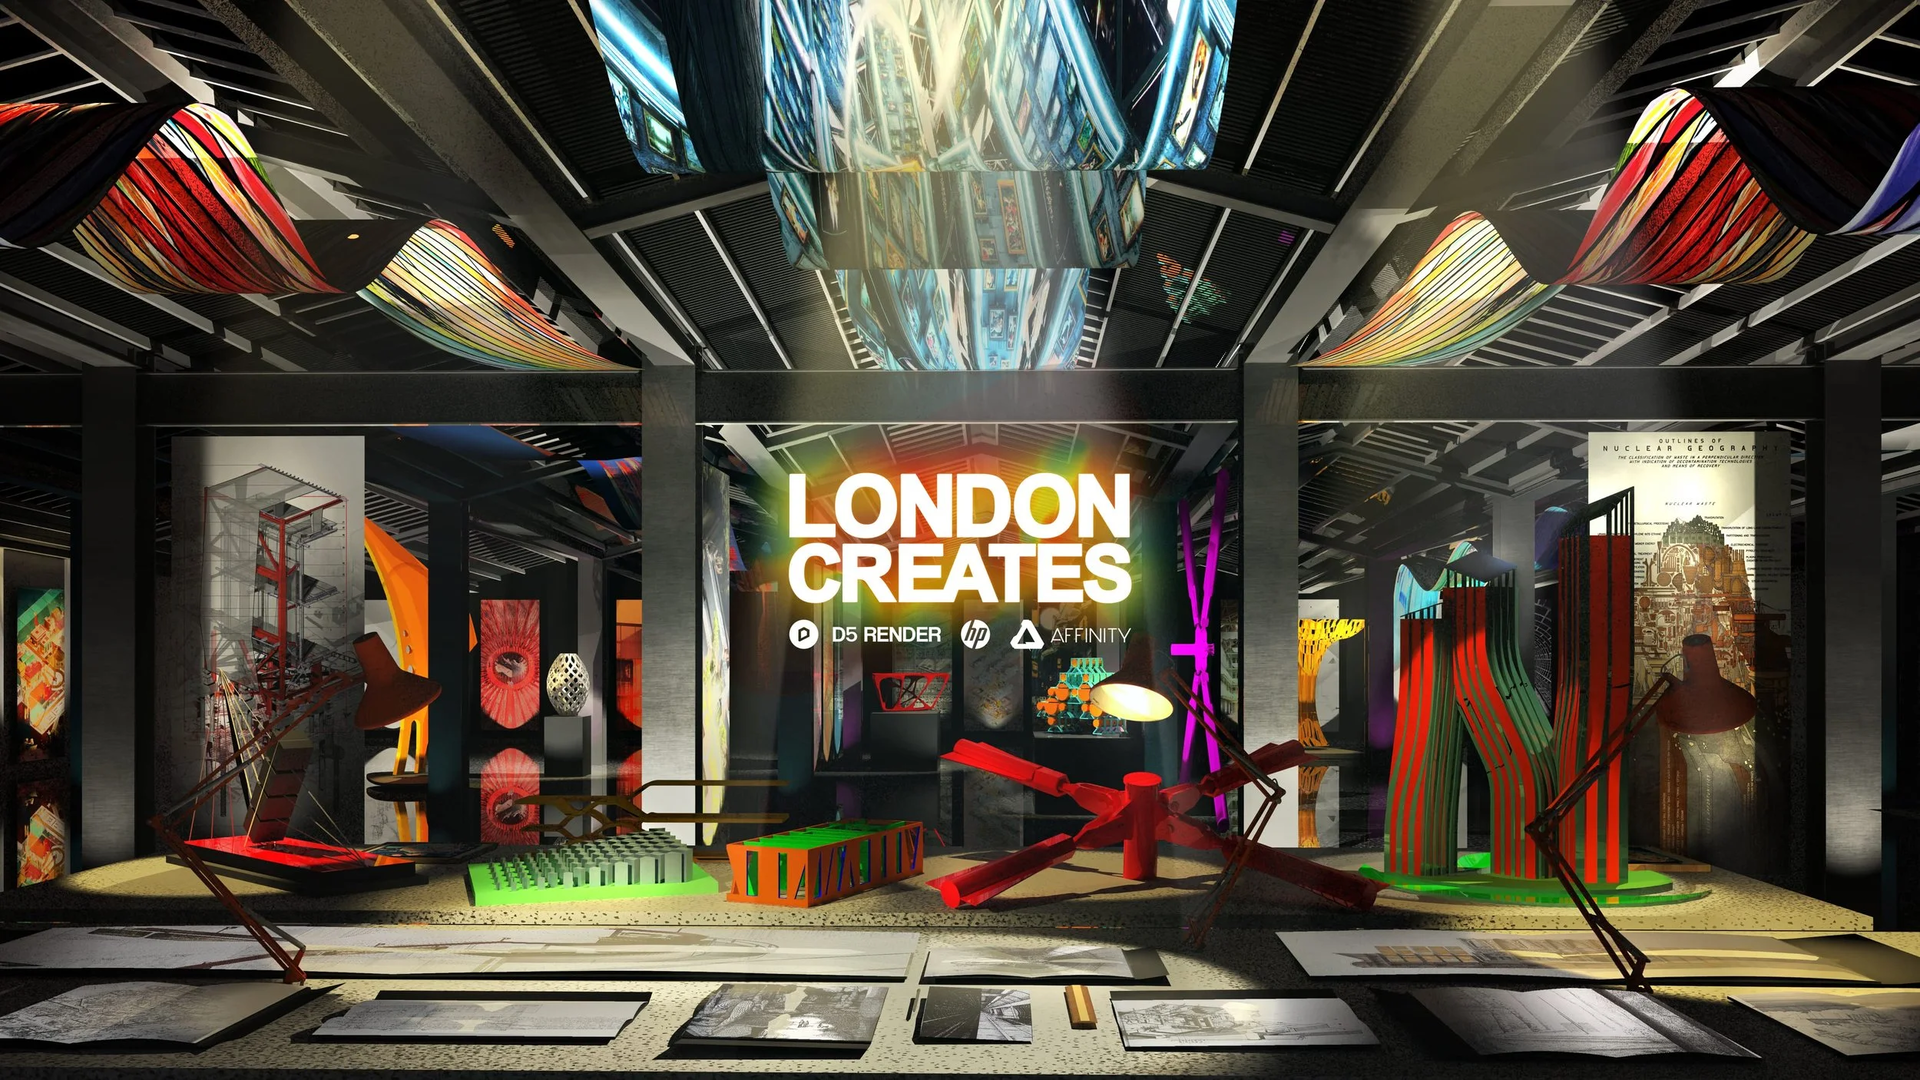
D5 Render at London Creates 2025: Enhancing the Architectural Design Process Through Real-Time Visualization
D5 News
D5 Render at AIA 2025: Real-Time Visualization for the Future of Architecture
How to
How to Create Orthographic Views in D5 Render?
Features
3D Landscape Scatter Tools in D5 Render You Must Know
Case Study
Design Workflow That Wins Tenders: Penta’s Strategy with D5 Render
Case Study
Historical Building Restoration with D5 Render: Driven Design Studio’s Michigan Landmark Revival
How to
How D5's Scatter Diagrams Transform 3D Environment Design?
Features
D5 Launcher: Quickly Manage & Download Free Rendering Software
Workflow
Top 5 GIS Tools for Next-Level 3D Visualization in 2025
Features
How to Use Cesium in D5 Render 2.11 for 3D Mapping (3 Steps)
D5 News
D5 2.11 Update: Boost Team Collaboration with Cesium, XR & More!
Features
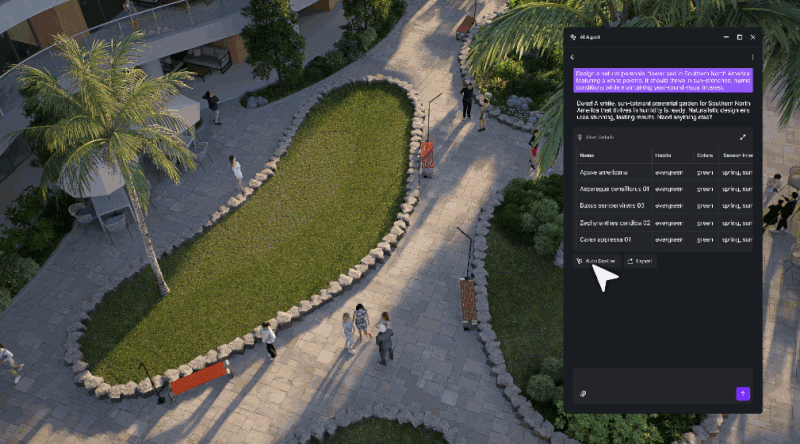
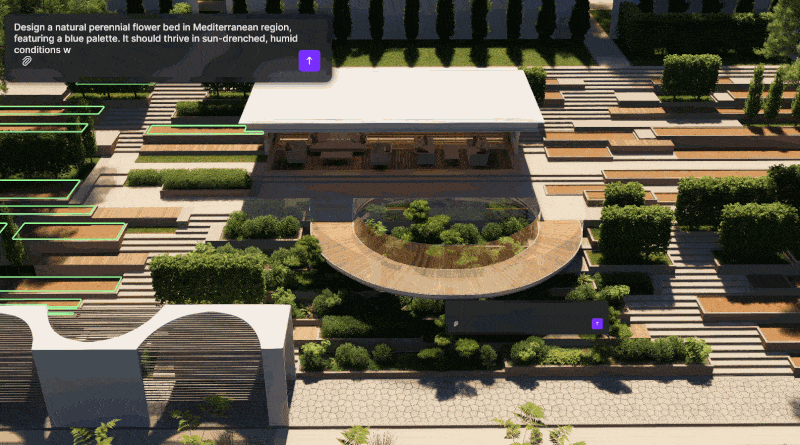
What Is an AI Agent? How D5 2.11 Automates Landscape Design?
D5 News
AI Rendering Revolution: D5 2.11's Smart Tools for Designers
D5 News
D5 Render 2.11: New AI Tools + Ultra-Fast Workflow Upgrades!
Industrial solution
D5 Key Features to Visualize Human-Centered Design
Industrial solution
What Makes a Walkable City? Key Design Principles and Tools
How to
How D5 Showreel's Panorama Comment Boost 3D Design Collaboration?
Workflow
What Is Landscape Architecture? Realistic 3D with D5 Render
Workflow
What is a LUT? A Guide to Color Grading in 3D Rendering
Features
Best Free HDRI Download Resources for D5 Render Users
Industrial solution
Rendering What Can Actually Be Built: 3D Visualization for Architecture and Construction
How to
How to Add Detail for Architectural Rendering Realism
Interviews
Turning Emotion into Space: Behind the Scenes of a Winning Buildner Architecture Competition Project
Case Study
Visualizing an Urban Oasis: Yoga4Arch Studio's Real-Time Workflow for a 650 ha Project
Features
6 Architectural Styles Explained: With Modern Rendering Tips
Case Study
Crafting Coastal Architecture: ANarquitectura’s Real-Time Workflow with D5 Render
Industrial solution
Is 32 GB RAM Enough for 3D Rendering? | D5's Power Tips
D5 News
D5 Render Named 2025 A+Product Awards Popular Choice Winner in Design Tools Category
Industrial solution
Interior Design vs. Interior Styling: What’s the Difference—and Why It Matters for Visual Artists
How to
What Does RTX Mean? How It Powers Real-Time Rendering in D5?
How to
How to Create Ultra-Realistic Metal Textures in D5 Render?
D5 News
Upgrade Renders: 1200+ Branded Interior Design Models in D5
Industrial solution
How to Effectively Communicate Parametric Architecture through Visualization
Case Study
สรรค์สร้างสถาปัตยกรรมเขตร้อนร่วมสมัย (Tropical Modernism)ได้แบบเรียลไทม์ : เส้นทางการรังสรรค์ Wellness Hotel G ผ่าน D5 Render
Case Study
Tropical Modernism in Real-Time: The Wellness Hotel G Journey with D5 Render
Workflow
Best Free High-Quality SketchUp Textures in 2025
Features
How to Create Perfect Blade of Grass with D5 Render?
Workflow
MEP Meaning in Construction: How D5 Render Optimizes Design
Case Study
Rendering Memory into Reality: How Exotic Kitchens Elevates Custom Cabinet Design with D5 Render
Case Study
Studio GERAU’s Secret to Faster, Smarter, Photorealistic Interior Rendering
Industrial solution
Top 10 Sustainable Building Materials | D5 Render Guide
D5 News
Driving 3D Architectural Visualization Forward: D5 Render at ALEICA 2025
Interviews
Behind the Scenes: D5 Challenge Winning Entry Breakdown
Workflow
How to Create an Immersive Virtual Tour with D5 Render?
Case Study
Real-Time Rendering for Revit: Urbay Pro’s Path to Faster Client Approvals
Case Study
Odin Architect’s Next Chapter: From a Decade of Design to a New Frontier in 3D Architectural Visualization
Features
D5 Render's AI Texture Generator: Speed + Realism Boost
Workflow
D5 Render: Seamless Workflow Integration Using Smart Plugins
How to
How to Achieve Natural Depth in Renders with Atmospheric Perspective
Features
AI Image to Image: D5 Render's AI Transforms Design Workflow
Case Study
Timeless, Agile, Human: BGD Architects’ Evolving Architectural Design Process with D5 Render
Industrial solution
Architectural Reality Check — How Global Illumination Impacts Real-World Design Visualization
D5 News
Winners Announced: 2025 D5 Community Challenge I
Case Study
Productizing Architectural CGI: How Monolith Visuals Scales High-Quality Visualization with D5 Render
Two-Point Perspective in D5: Auto-Correct & Dynamic Tools
How to
Photography Techniques for Photorealistic Rendering: Framing, Color Balance & Exposure
Workflow
Best Free Architecture Software for Pro Renders
Workflow
How Much Do Architects Make a Year?
Workflow
Seamless Texture Generator: Boost D5 Render Visuals
Workflow
How Much VRAM Do I Have? A Practical Guide for Visualization Artists
Case Study
Architectural Visualization as a Strategic Advantage: How Alien DC Wins Government and SOE Projects with D5 Render
Workflow
SketchUp Free + D5 Pro: Get Pro Renders Effortlessly
Case Study
How SHM Architects Uses Architectural Visualization to Win Clients and Lead High-End Design Trends
Industrial solution
Real-Time Virtual Production with D5 Render | Cinematic Previz Made Easy
Case Study
How Settanta7 Future-Proofed Their Workflow with Real-Time Rendering
Industrial solution
"What Graphics Card Do I Have?" Start D5 Render Guide
Workflow
D5 Render + Autodesk Education: Building the Ultimate Student Design Toolkit
Industrial solution
AI Interior Design? D5 Render Turns Ideas Into Reality!
D5 News
Razer Worldwide Showcases D5 Render: Innovation in Action
D5 News
190+New Models for Japanese Designers: Lighting, Ornaments, Furniture, Greenery and More
Industrial solution
Why Architectural Models Are Essential Tools for Architects and Designers
How to
How to turn 3d architecture models to drawings in seconds
Industrial solution
What is PBR: Your Guide to Realistic Rendering
Industrial solution
Master Realistic Water Caustics in D5 Render
Case Study
Scaling Creativity in Practice: The Architecture Studio Blueprint from Novaforma
Workflow
From AI 3D Model Generator to D5 Render: Pro Tips for Stunning Visuals
Industrial solution
2025's Latest Architectural Rendering AI News & Trends
Features
D5 Urban Planning Software for 3D City Creation
Case Study
Elevate Luxury Interior Design with Real-Time Visualization
Case Study
Lansum Elena: Stunning Renders by Sparrow & D5 Render
Workflow
Want to Use SketchUp 2025 With D5? Here's What You Need to Know
How to
D5 Render for Interior vs. Exterior Architecture: Key Rendering Techniques and Distinct Approaches
Close
Contact us
Marketing: marketing@d5techs.com
Team Solution Inquiry: sales@d5techs.com
Technical Support: support@d5techs.com
Office Hours: Monday to Friday, 10:00 to 18:00 (GMT +8)


.png)
.png)


.png)