어서 오세요!흥미진진한 건축 시각화 여정을 시작하셨습니다.그래도 처음으로 진정한 포토리얼리스틱 렌더링을 완성하는 것은 복잡한 수수께끼처럼 느껴질 수 있습니다.이제 막 시작했다면 초기 드래프트에서 거친 수평선, 왜곡된 카메라 앵글 또는 평평한 텍스처와 같은 몇 가지 일반적인 문제를 발견할 수 있습니다.
좋은 소식은?다음과 같은 렌더링 도구를 사용하면 D5 렌더, 이러한 장애물에는 간단하고 직관적인 솔루션이 있습니다.이 게시물에서는 초보자가 흔히 저지르는 실수와 그에 따른 간단한 해결 방법을 살펴보면서 깔끔하고 사실적이며 궁극적으로는 사실적인 렌더링 결과를 자신 있게 만들 수 있도록 안내해 드리겠습니다.
🚀 포토리얼리스틱 렌더링을 구현하기 위한 주요 내용
- 거친 수평선을 다음과 같이 수정하십시오. D5 렌더의 터레인 스컬프팅 과 초목 브러쉬 자연스러운 룩을 연출할 수 있습니다.
- 초점 거리 및 눈높이 투시와 같은 사실적인 카메라 설정을 사용하여 D5 Render에서 포토리얼리즘을 향상시키십시오.
- 노멀 맵과 러프니스 맵으로 머티리얼 퀄리티를 높여 깊이와 사실감을 더하세요.
- 노출을 수동으로 조절하고 햇빛을 부드럽게 만들어 균형 잡힌 사실적인 조명을 연출하세요.
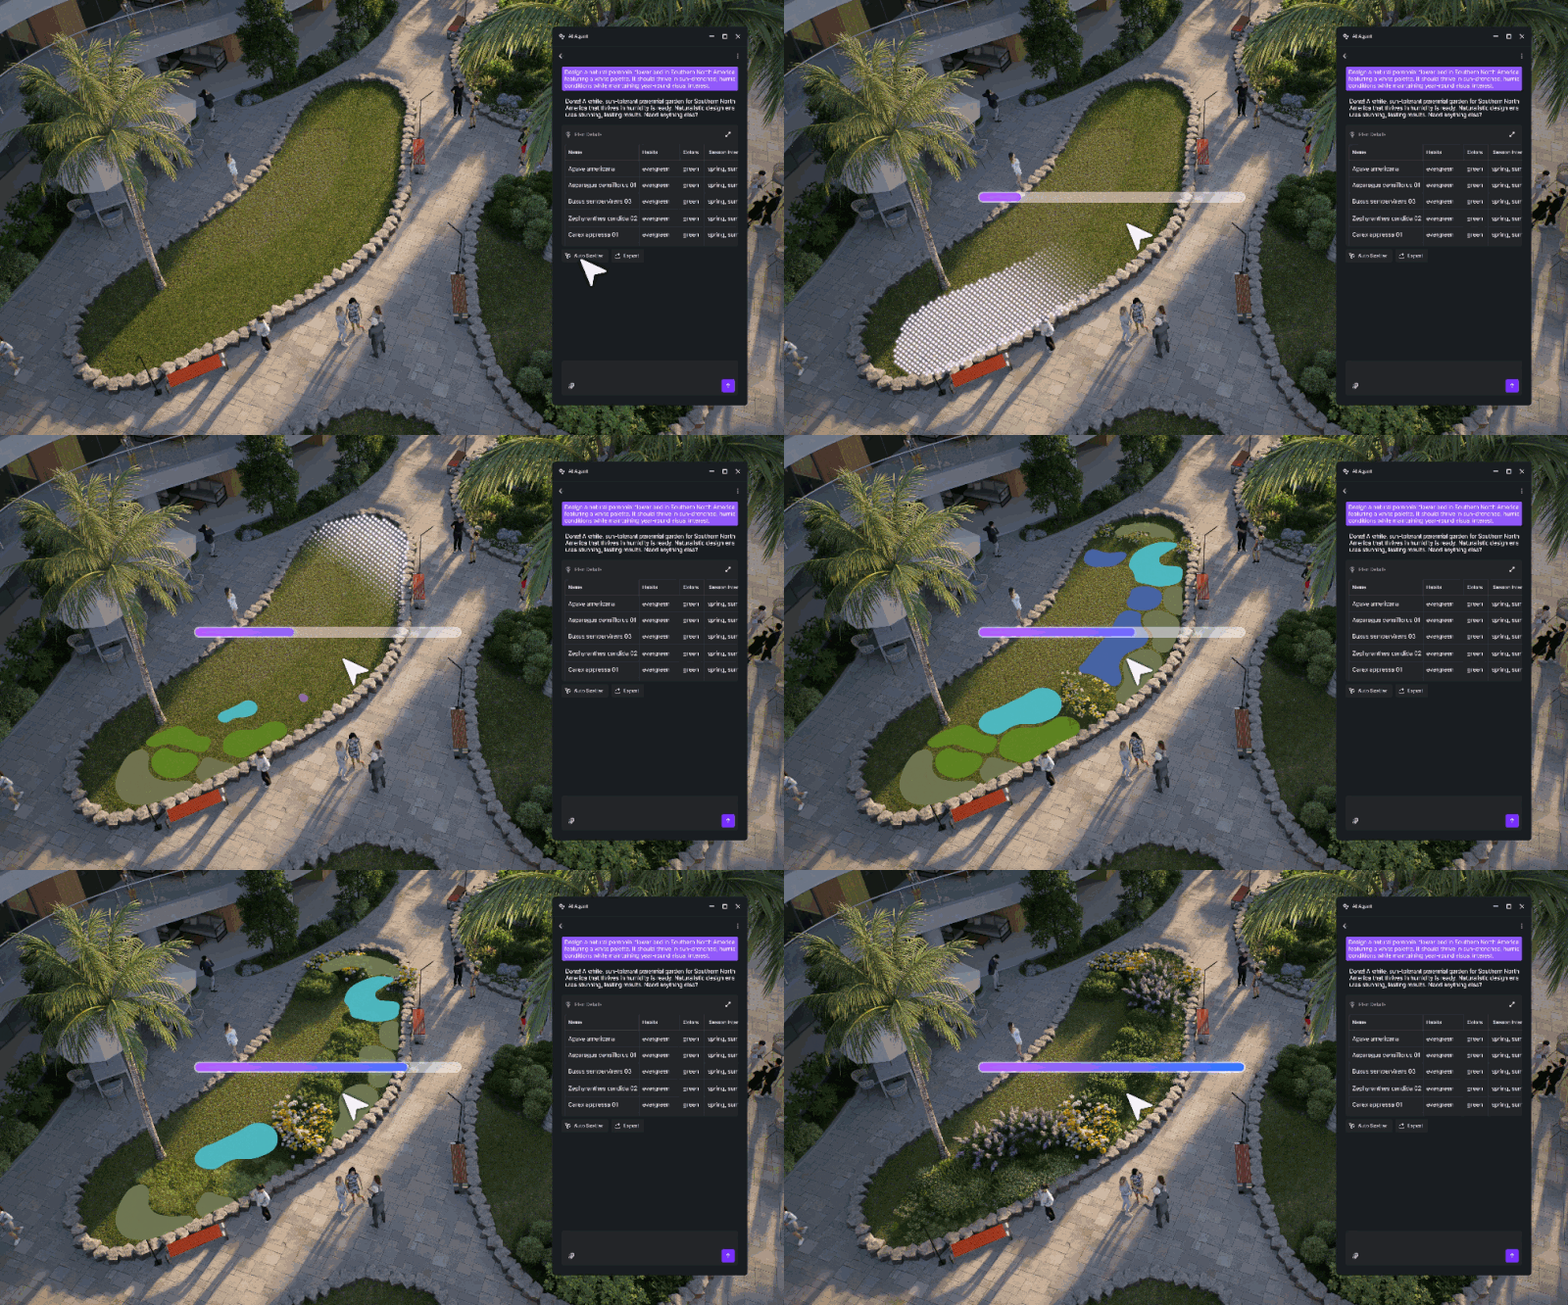
- 반복되는 잔디 패턴을 다양한 종으로 나누고 D5의 AI 에이전트 자연 경관을 위해.

1.CG 호러 정복: 언내추럴 호라이즌 라인
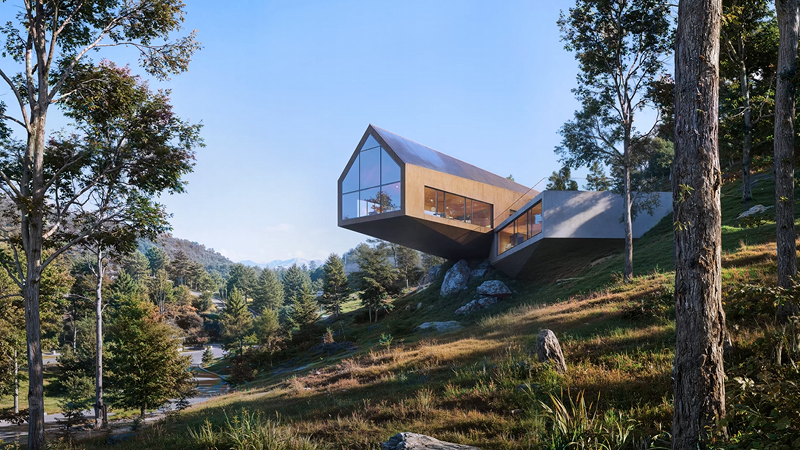
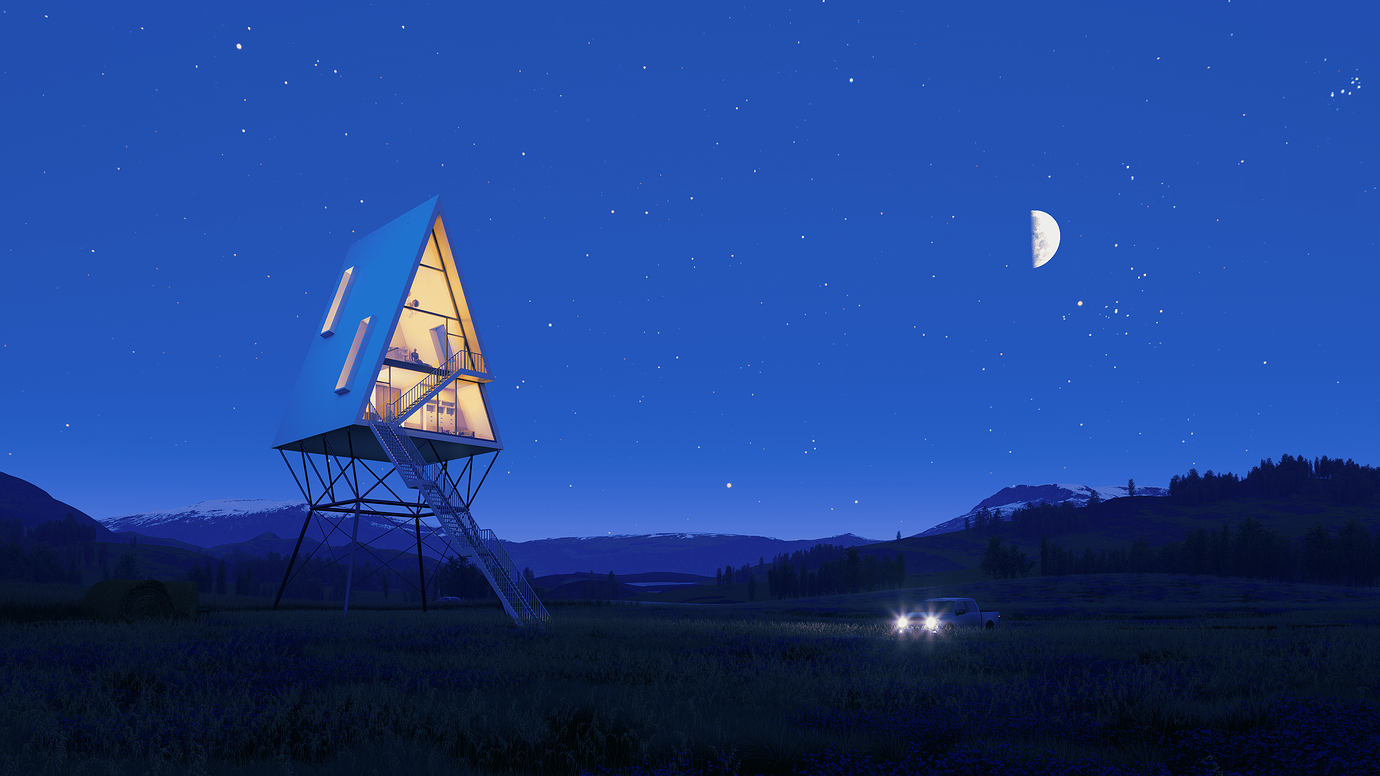
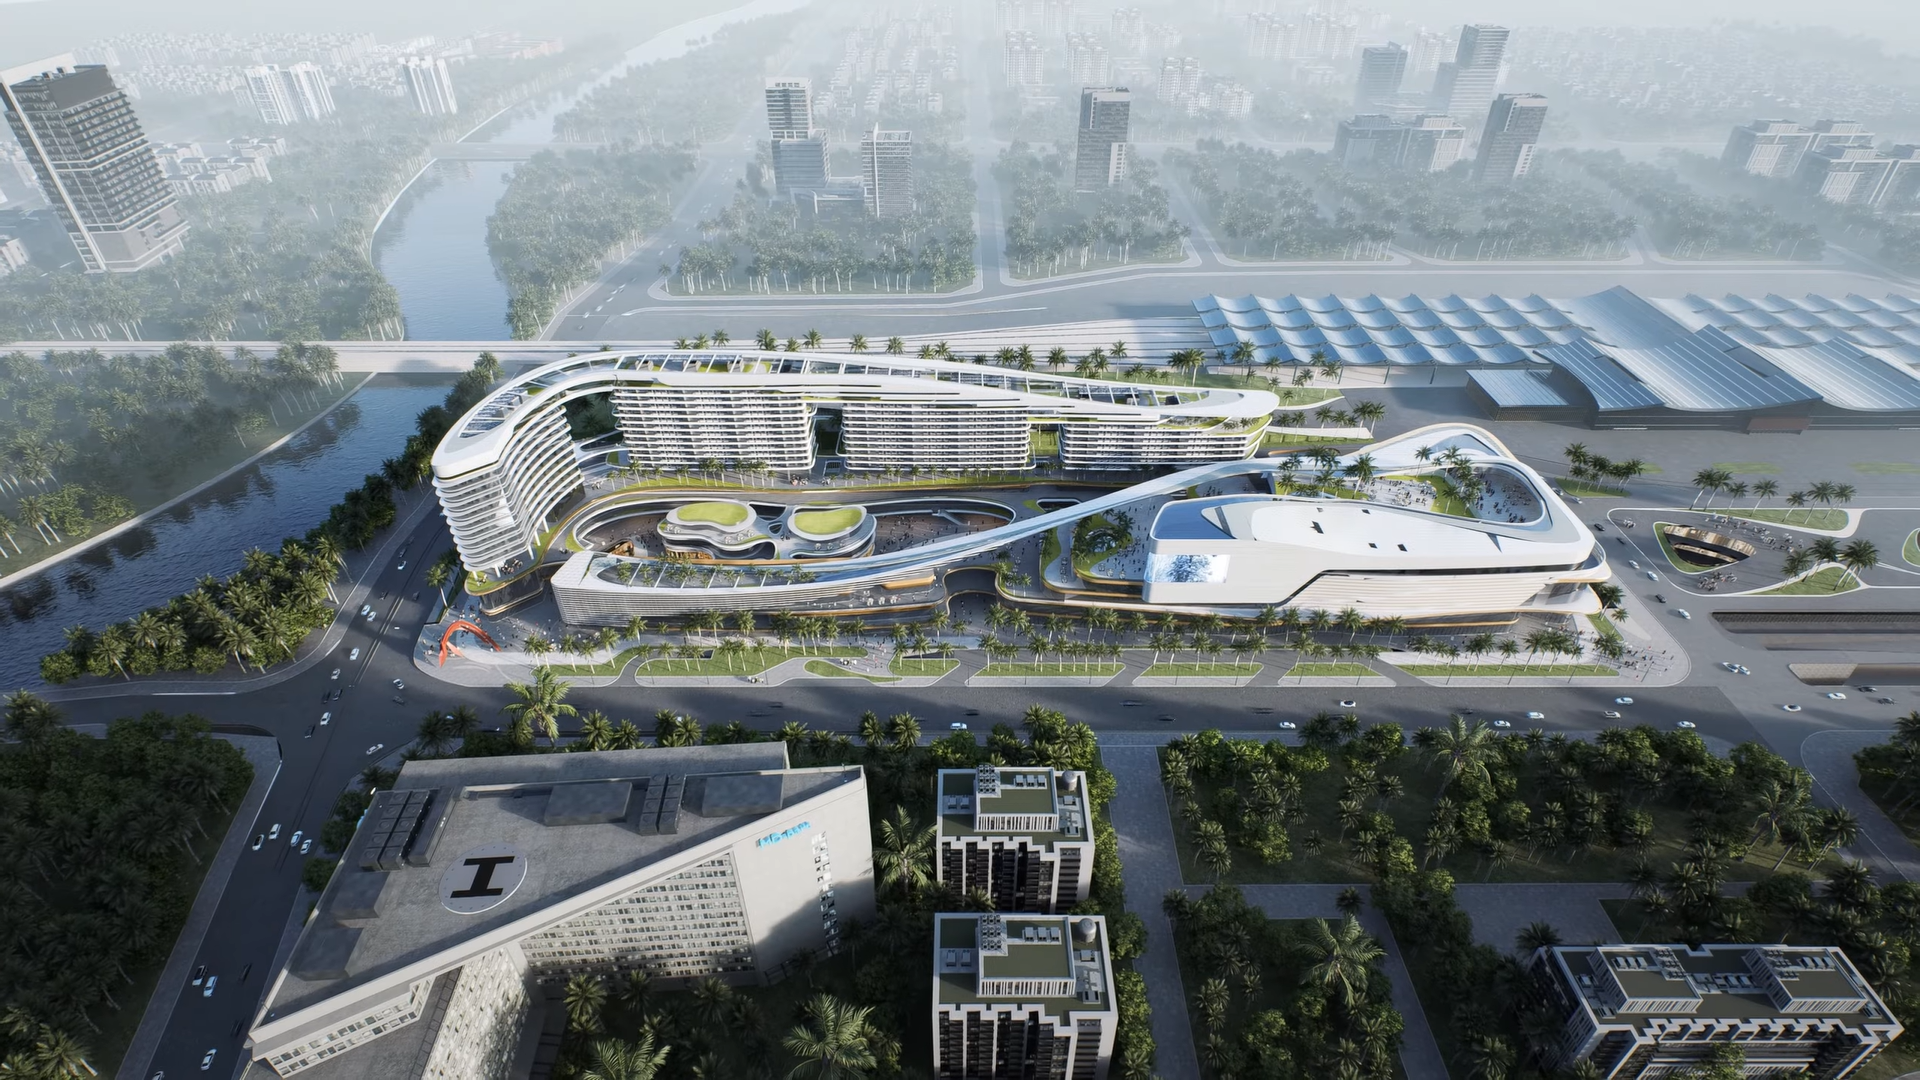
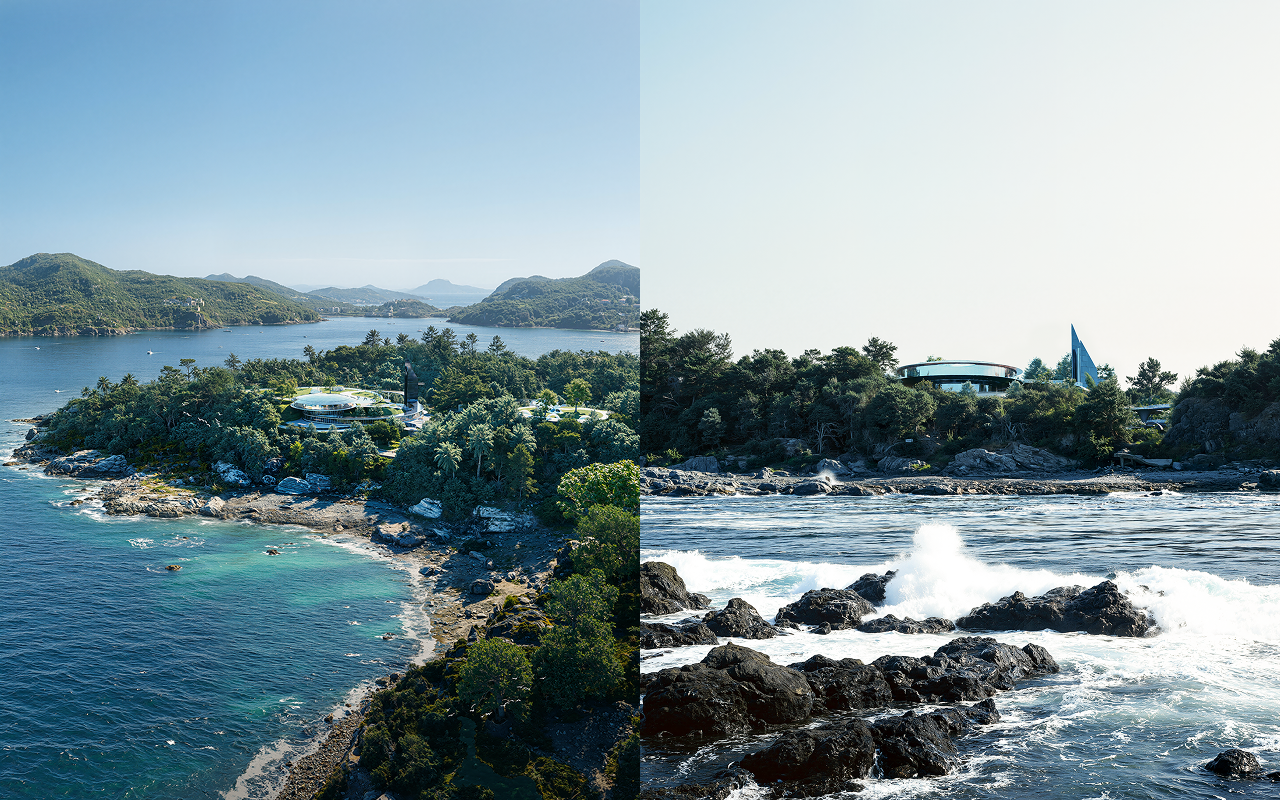
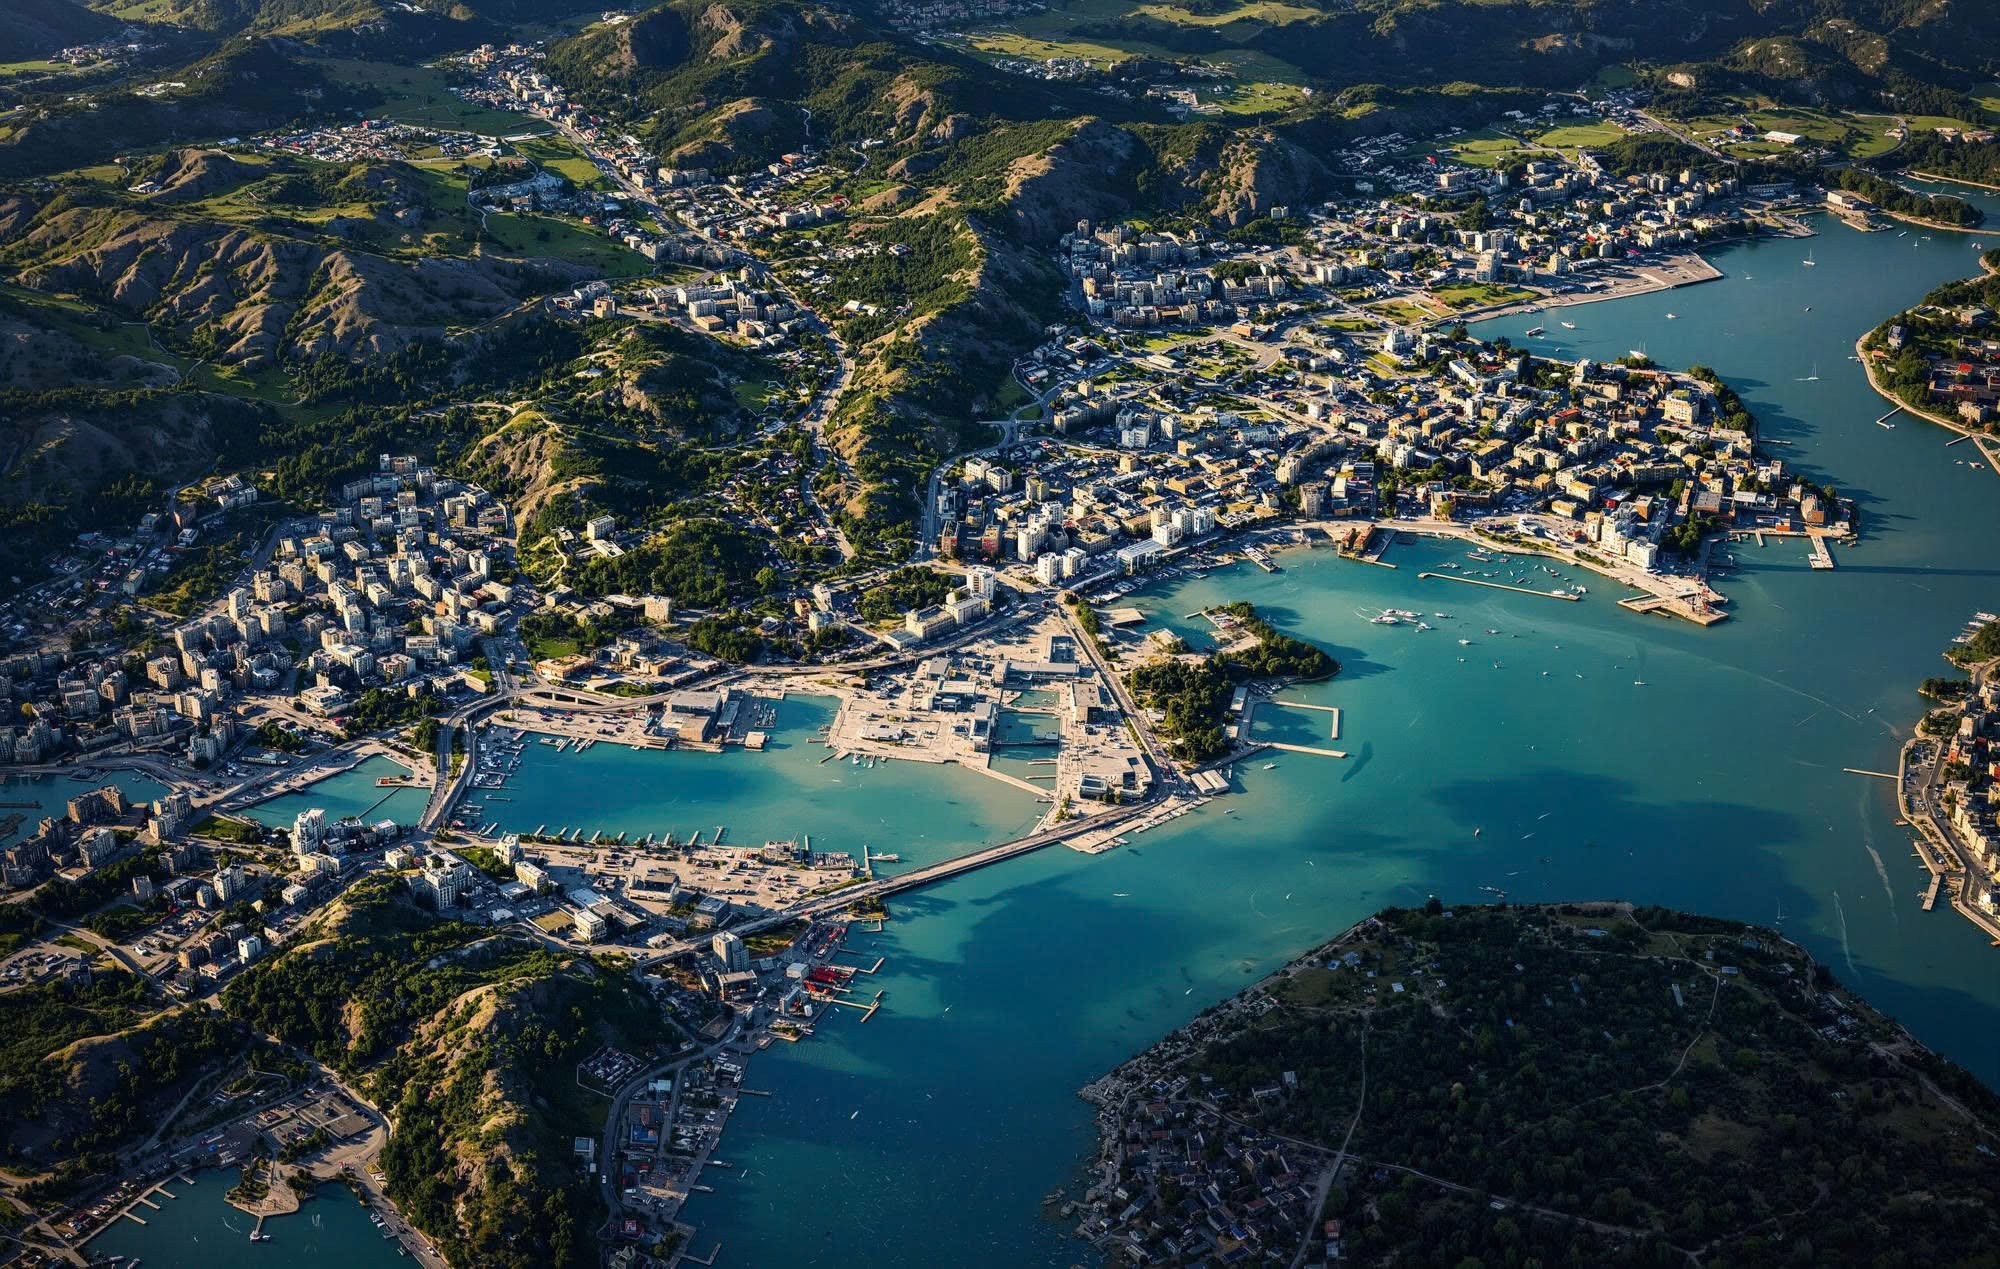
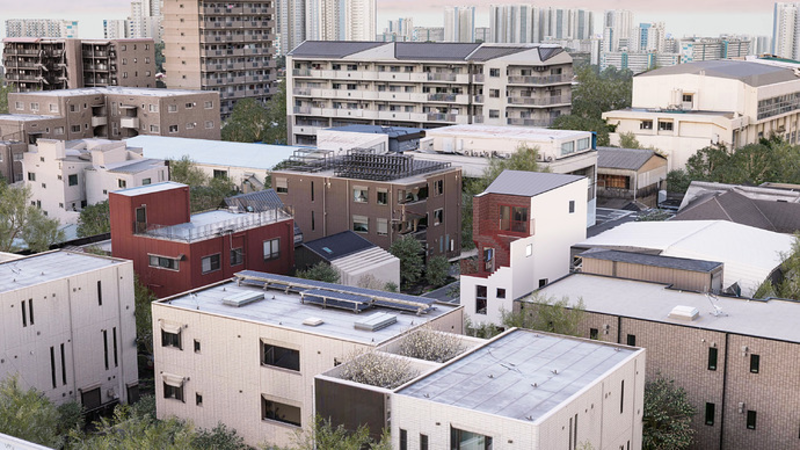
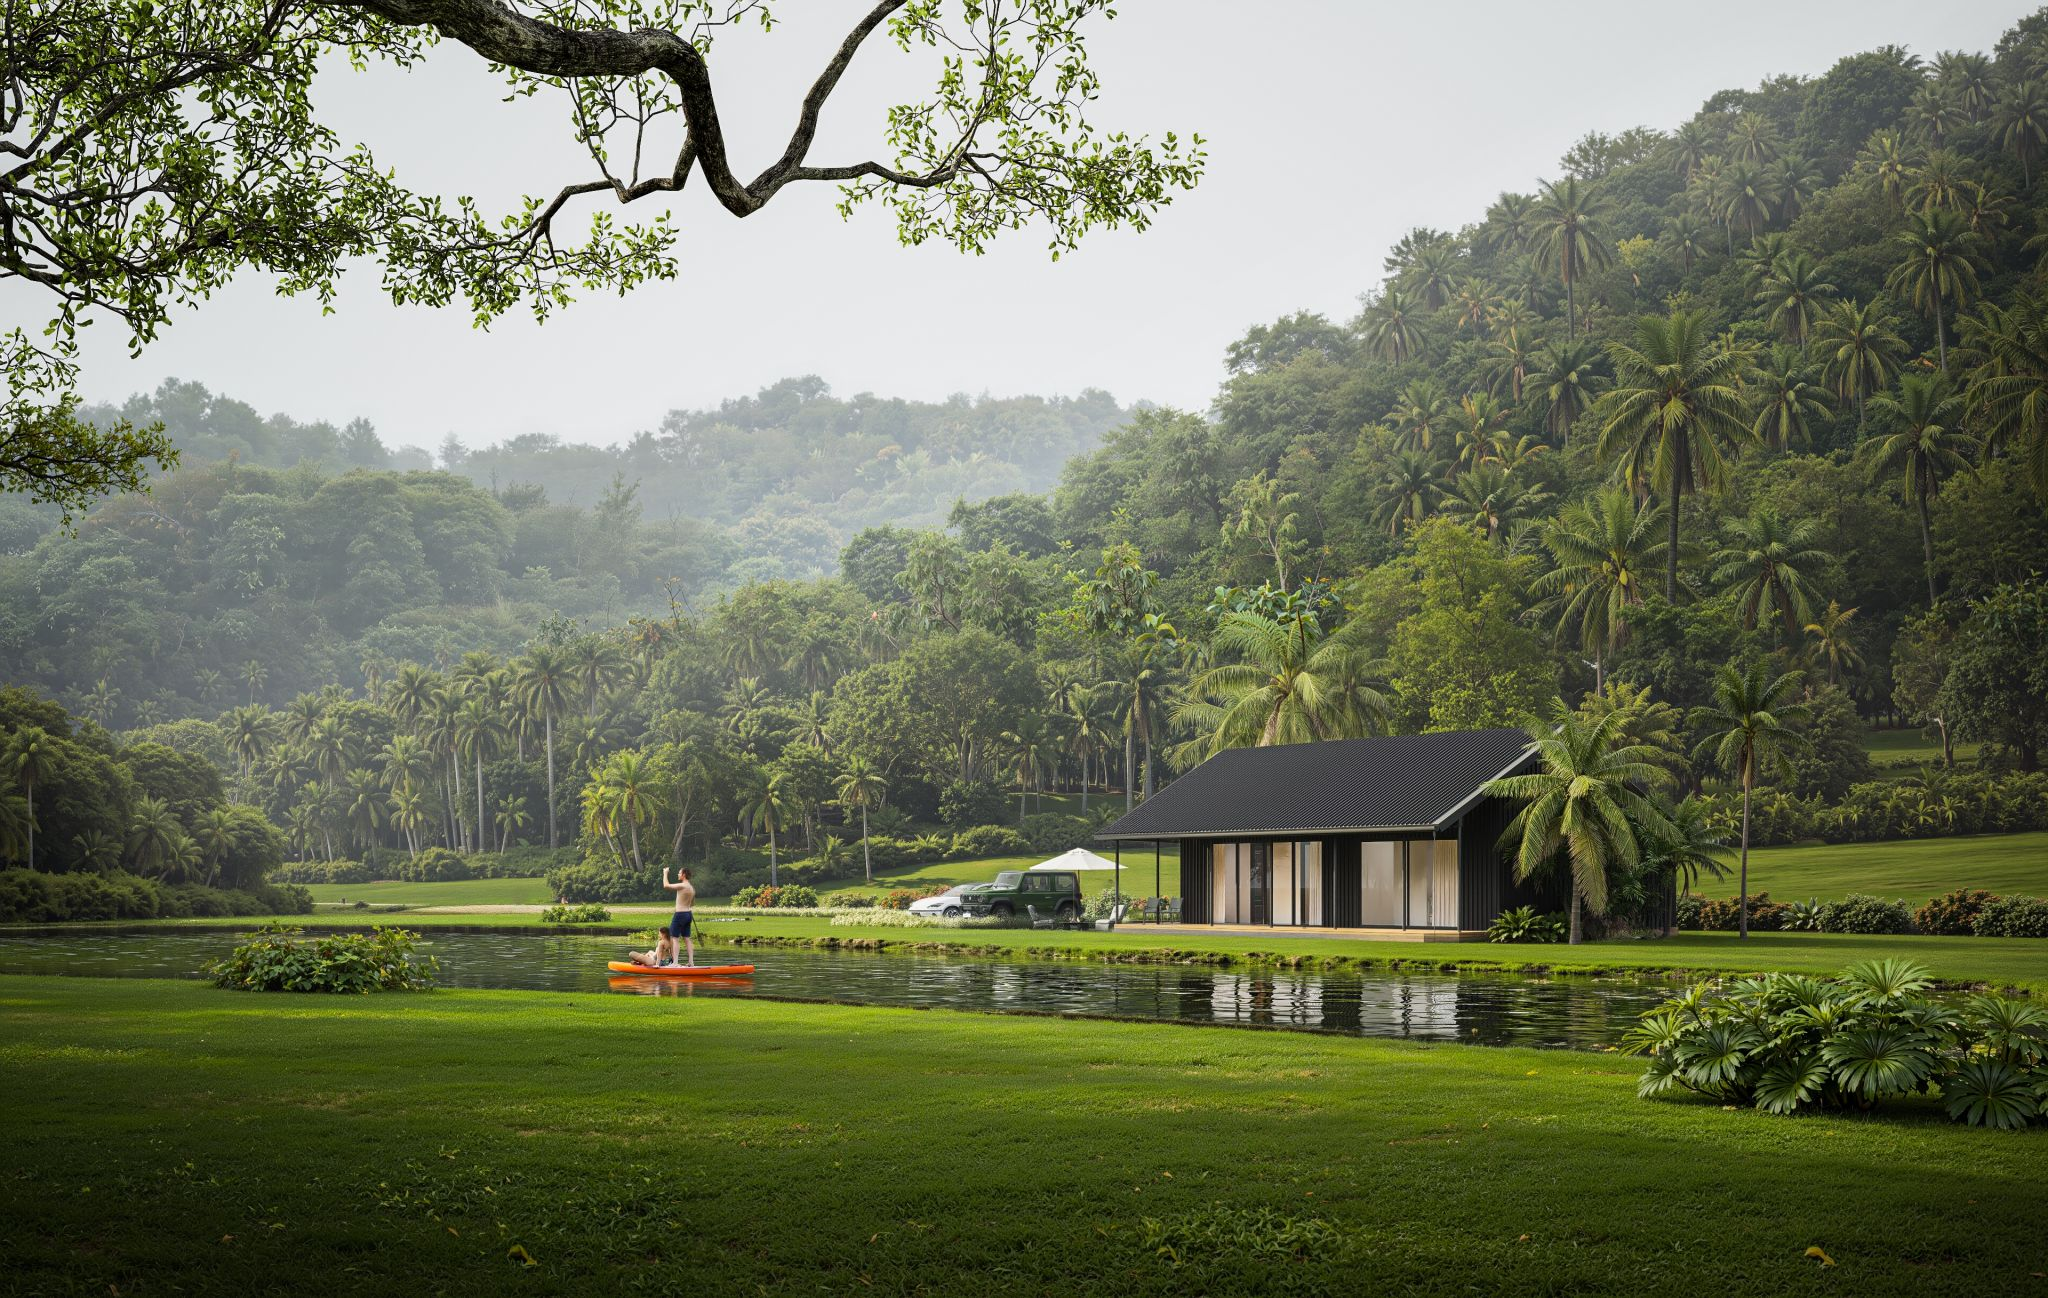
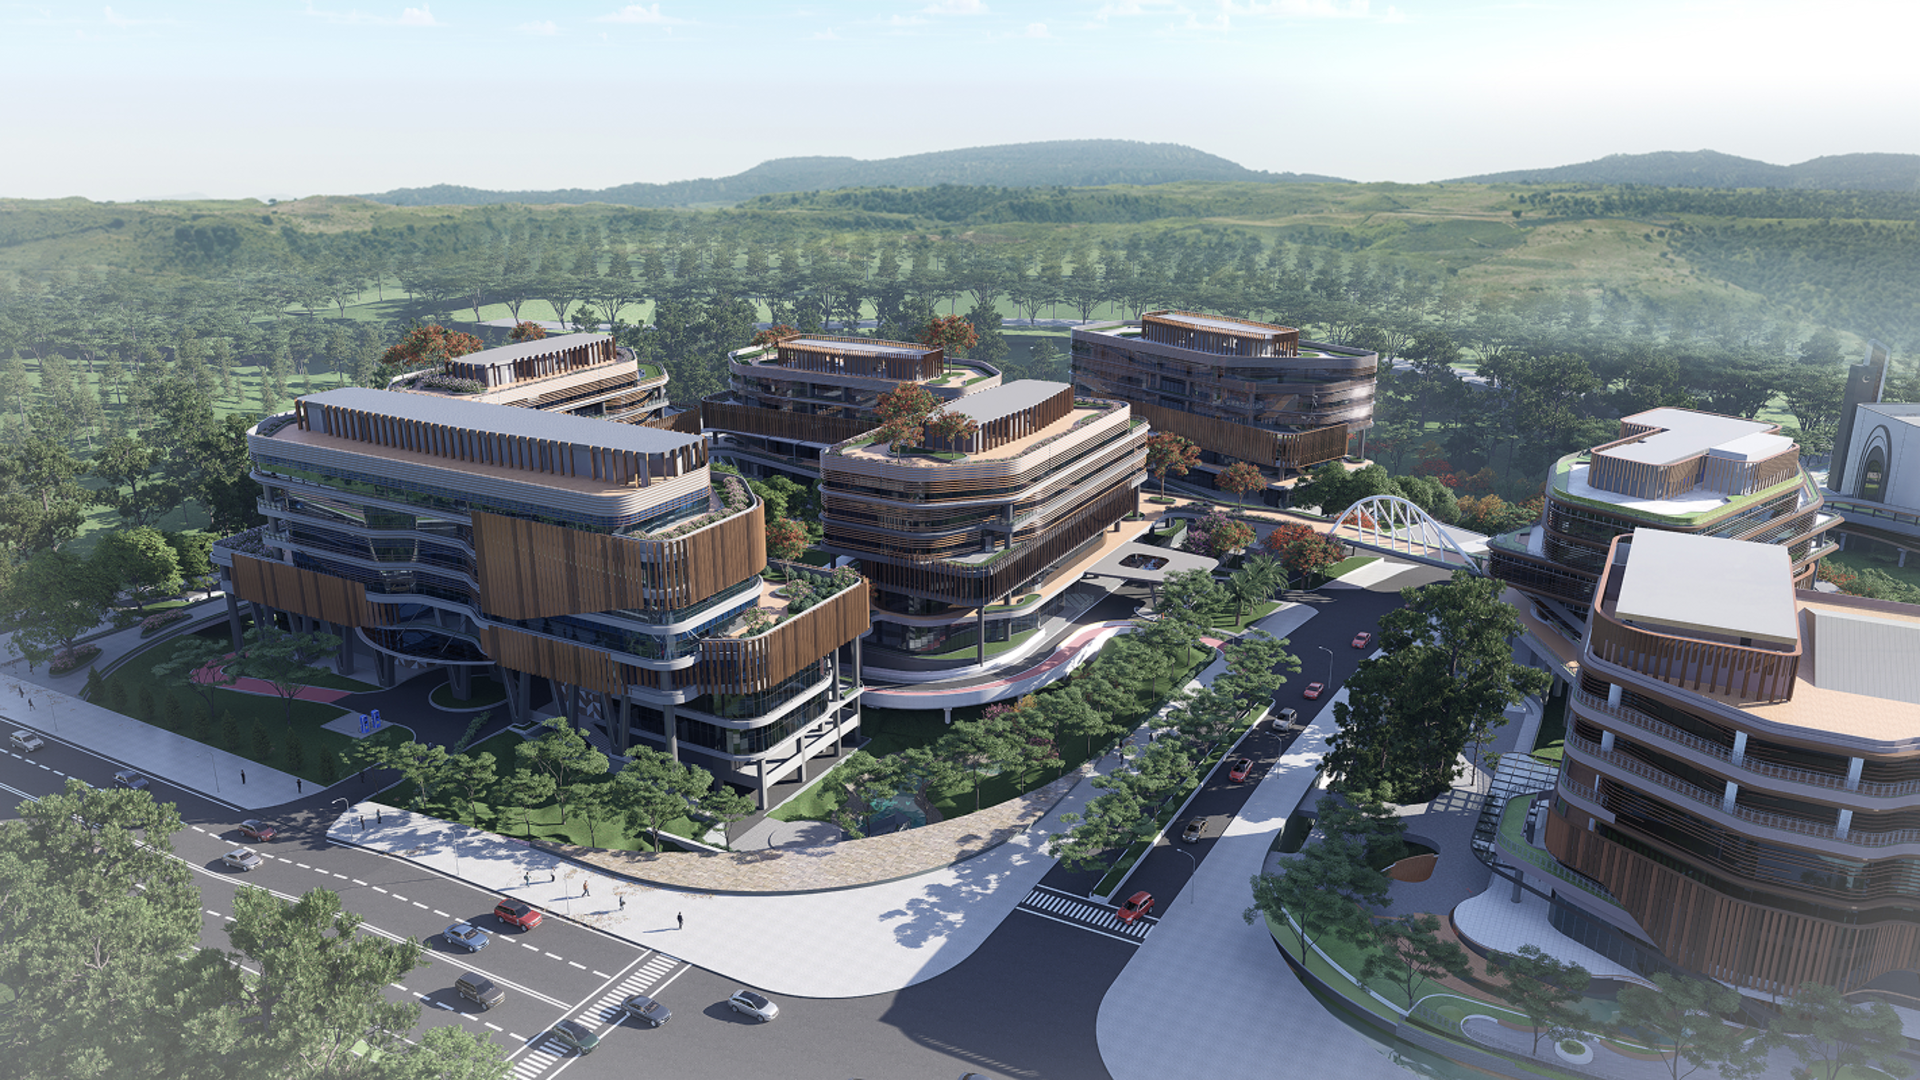
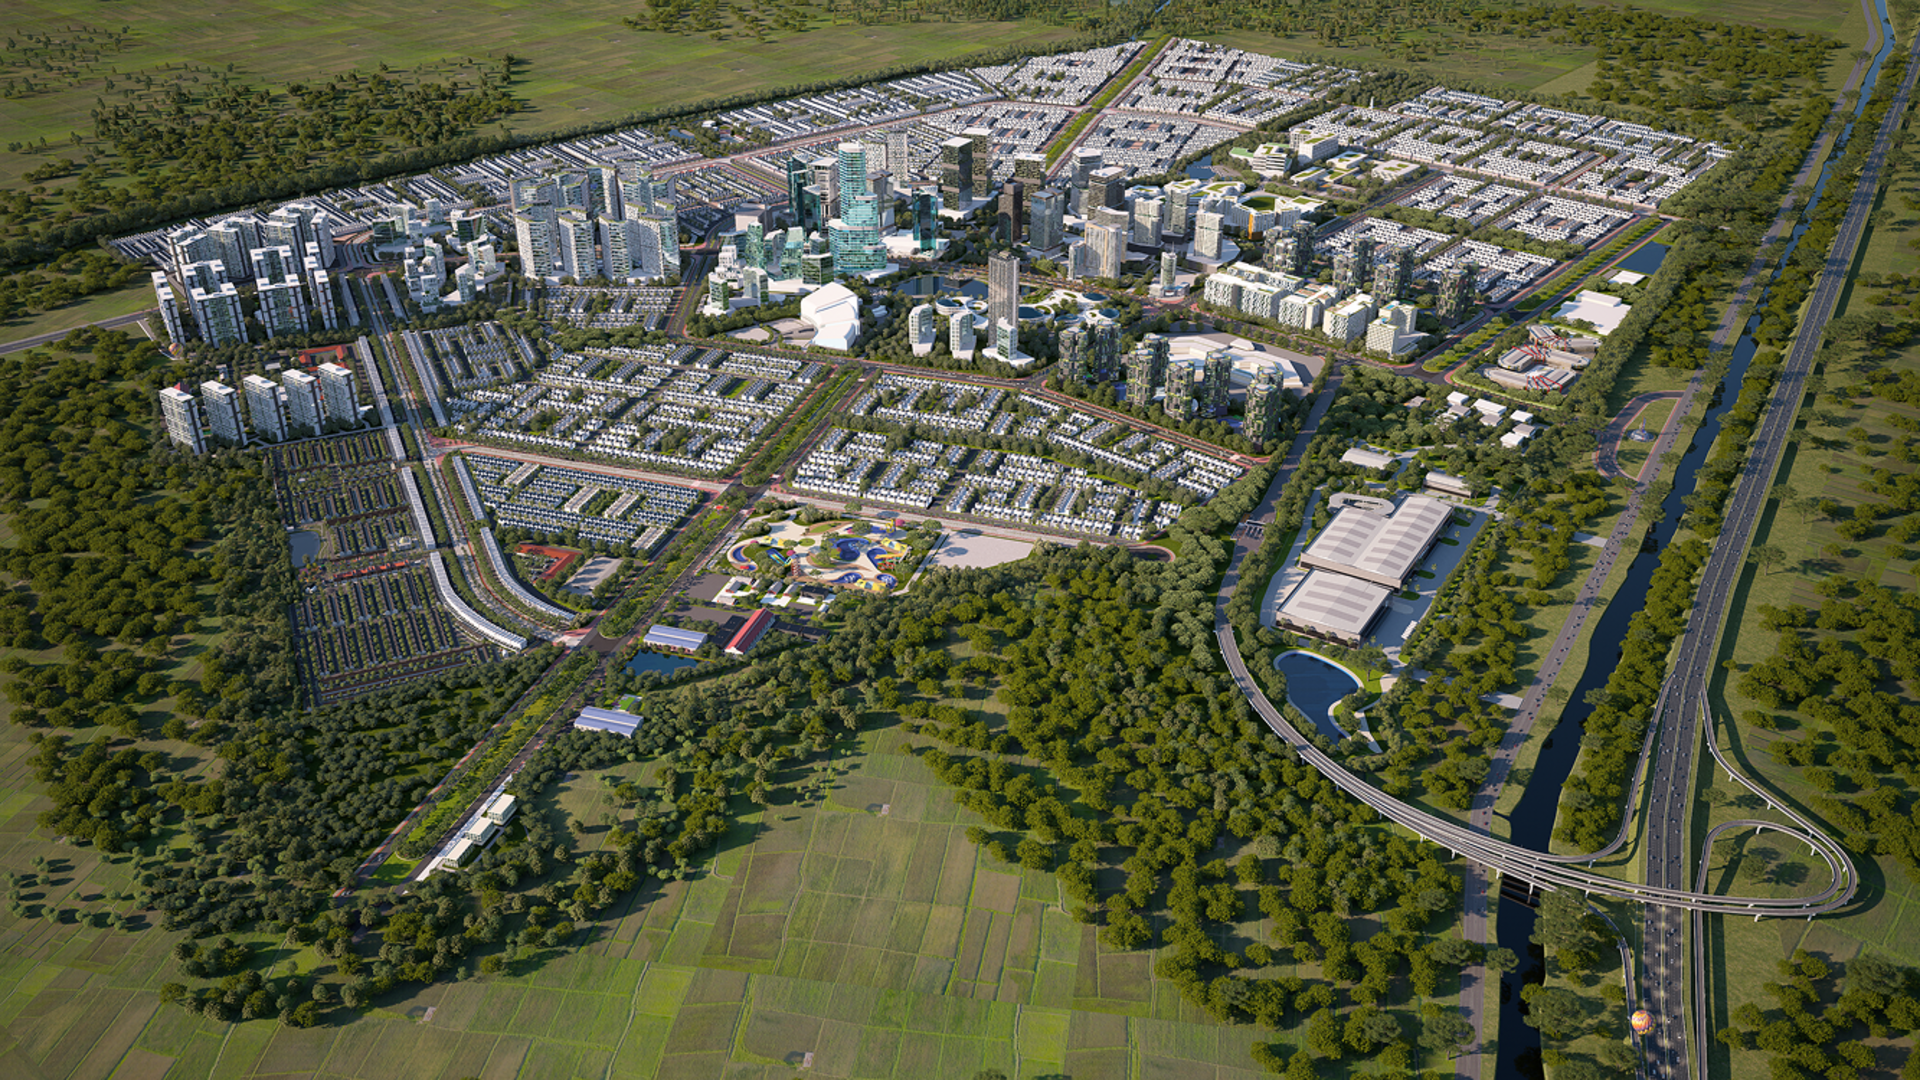
그 순간 땅과 하늘이 만나는 면도날처럼 날카롭고 완벽한 직선이 보입니다.이미지가 컴퓨터로 생성된다는 것은 정말 놀라운 일입니다.왜요?왜냐하면 실제로 우리 세상은 놀라울 정도로 불완전하기 때문이죠.지평선은 곡선으로 이루어져 있습니다. 지형은 서로 겹쳐져 있고 대기에 의해 부드러워집니다.
✅ 수정 방법 D5 렌더
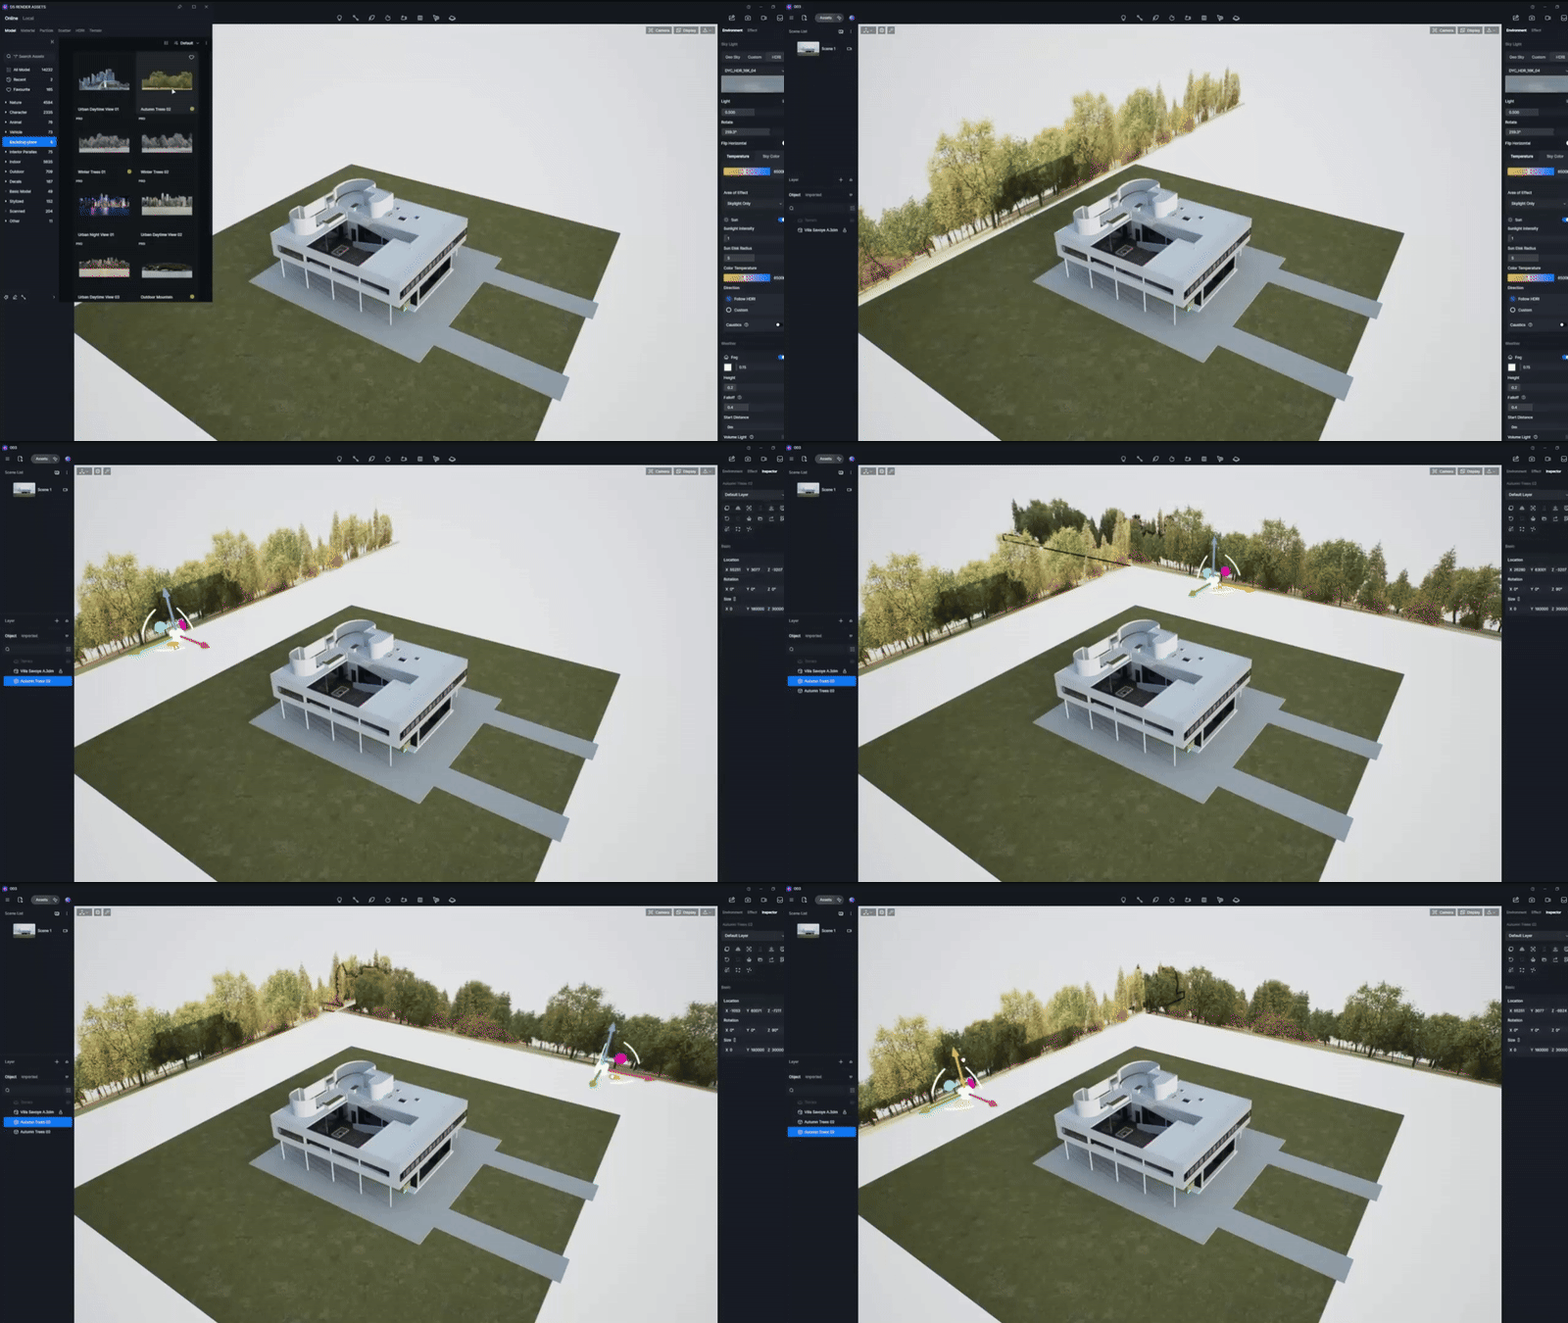
- 자연 지형의 경우: 용도 D5의 터레인 스컬프팅 툴 수평선의 부드러운 언덕과 언덕을 부드럽게 칠합니다.
- 그런 다음 다음을 사용하십시오. 초목 브러쉬 식물과 풀에 겹겹이 쌓아 이음매를 자연스럽게 가립니다.
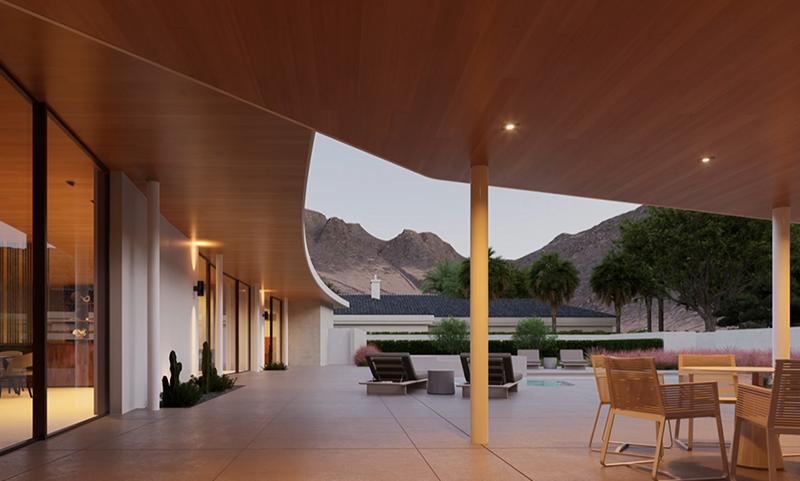
- 플랫 사이트의 경우: 일할 언덕이 없다고요?문제 없어요.다음 곳으로 가기만 하면 됩니다. D5 렌더의 광범위한 애셋 라이브러리 그리고 a를 배치하십시오 백드롭 플레인 당신의 모델을 넘어서 말이죠.이렇게 하면 즉각적으로 깊이가 생기고 그 거친 선이 깨질 수 있습니다.
수평선 이음매를 의식적으로 숨기는 이 작은 단계만으로도 진정한 포토리얼리스틱 렌더링을 구현하기 위한 엄청난 도약입니다.모든 차이를 만드는 것은 바로 이러한 미묘한 디테일입니다. D5 렌더 쉽게 못을 박을 수 있는 도구를 제공합니다.
2.렌즈를 마스터하세요: D5 렌더의 사실감을 살려주는 카메라 설정
렌더링이 약간 “별로인” 느낌이 드시나요?종종 범인은 모델링 기술이 아니라 가상 카메라입니다.초광각 렌즈와 부자연스러운 각도는 아무리 뛰어난 디자인이라도 비디오 게임 스냅샷처럼 보이게 만들 수 있습니다.
✅ 수정 방법 D5 렌더
- 자연스러운 초점 거리 선택—익스트림 15mm는 이제 그만.25-35mm 범위를 고수하여 우리가 공간을 실제로 인식하는 방식을 모방하세요.
- 눈높이에 맞는 작곡—“ 사다리에서 내려다보는” 시야를 피하십시오.카메라를 사람 높이에 배치하면 즉각적이고 공감할 수 있는 연결이 가능합니다.
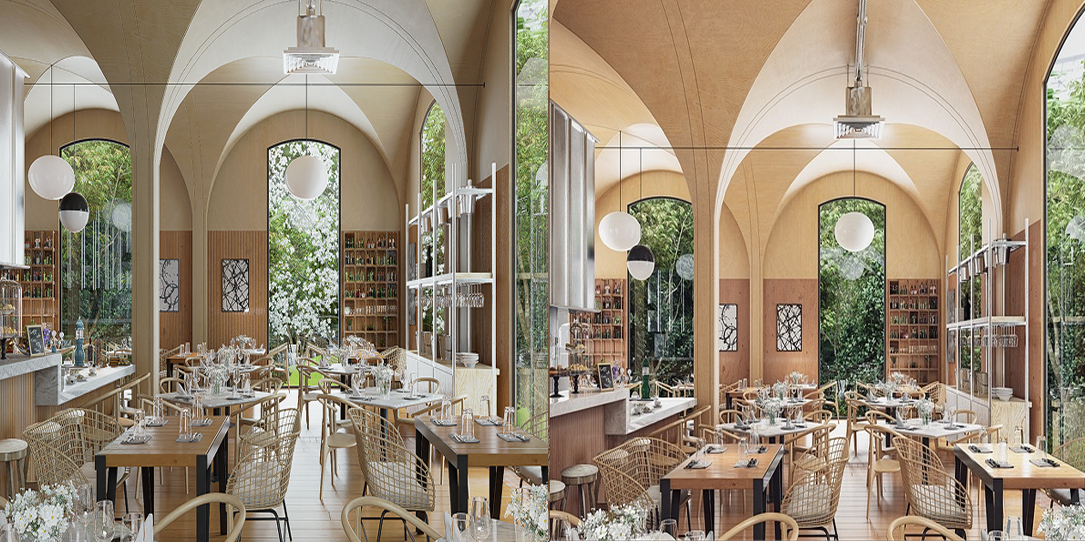
- 버티컬 잠금—항상 프로젝션 모드를 다음과 같이 전환하십시오. 투포인트 퍼스펙티브.클릭 한 번으로 모든 수직선이 완벽하게 직선으로 유지됩니다. 실제 건축 사진에서처럼 말이죠.
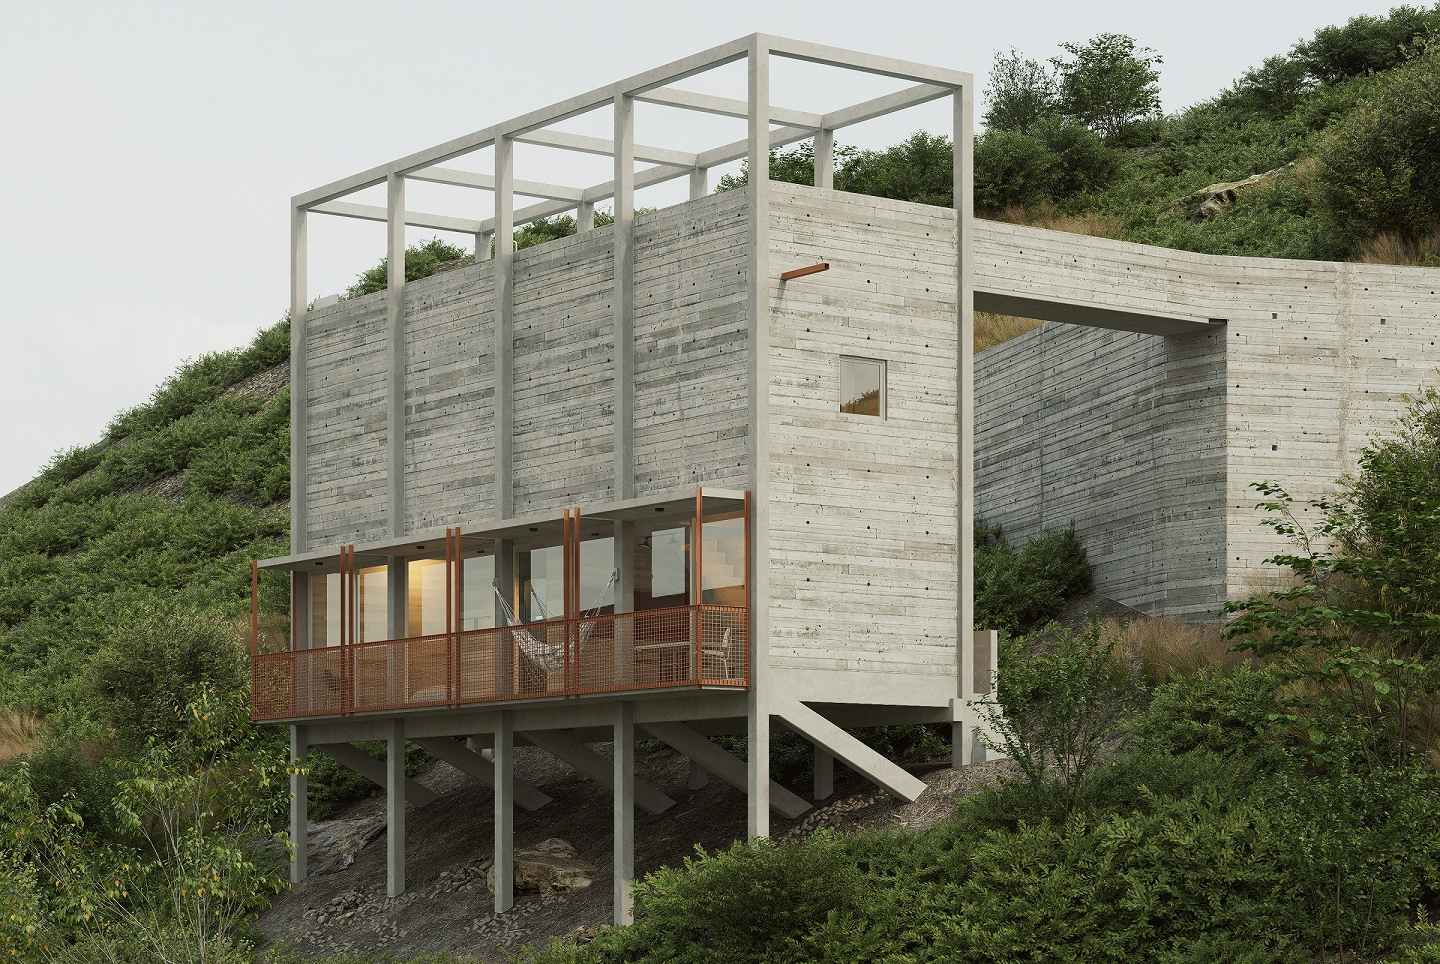
- 소개 뎁스 오브 필드—전경이나 배경 요소의 미세한 흐림 효과는 깊이를 더하여 보는 사람의 시선을 사로잡고 스케일을 향상시킵니다.
이러한 실제 사진 원칙을 채택하면 단순히 설정을 조정하는 것이 아니라 눈을 훈련할 수 있습니다.이러한 근본적인 변화는 D5에서 진정한 포토리얼리스틱 렌더링을 구현하여 디지털에서 사실적인 작품으로 옮기는 데 핵심적인 역할을 합니다.
👉 D5의 시네마틱 애니메이션에 피사계 심도를 사용하는 방법은?

3.밋밋하고 플라스틱적인 룩은 이제 그만: D5 렌더로 머티리얼을 마스터하세요
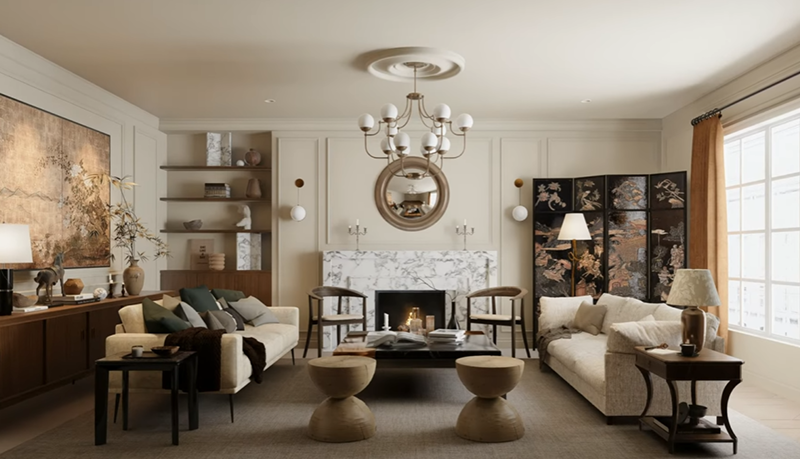
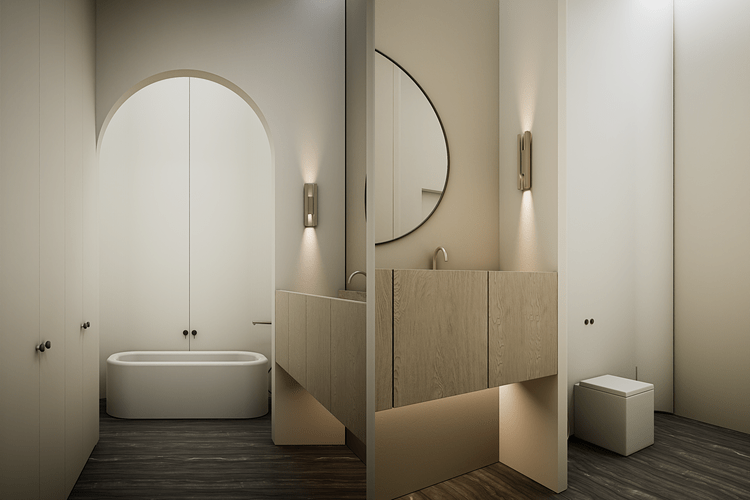
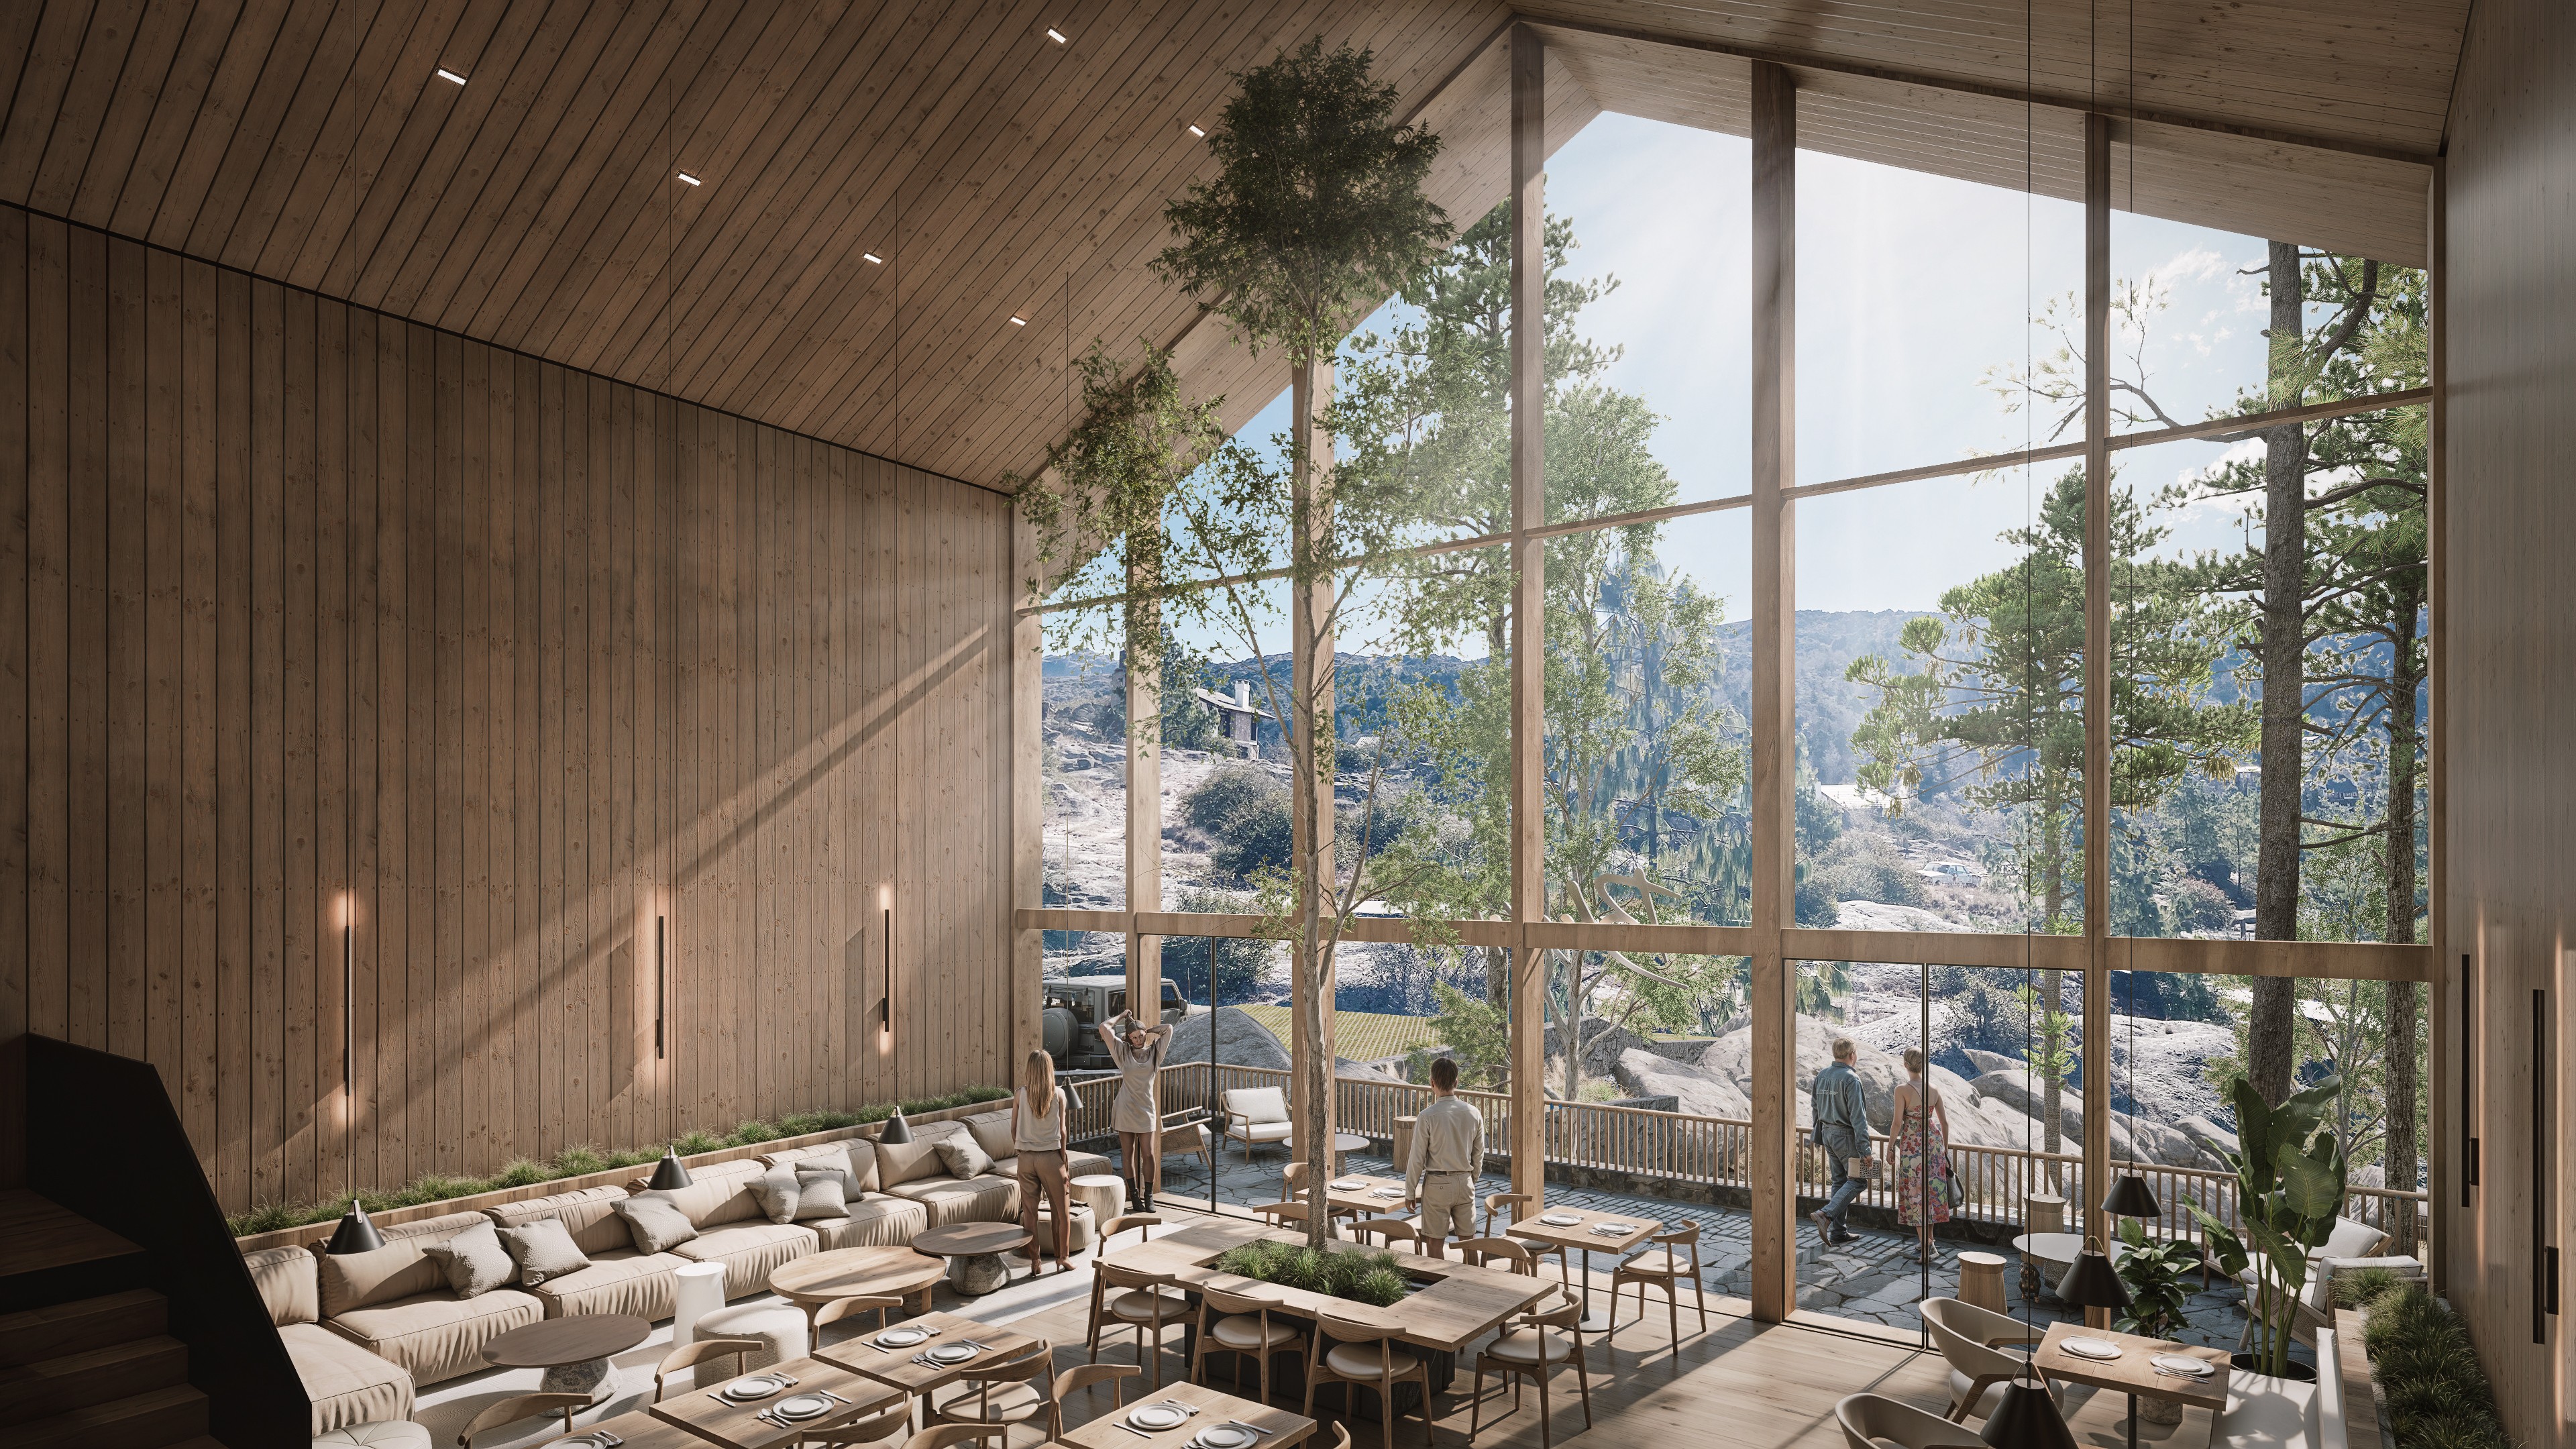
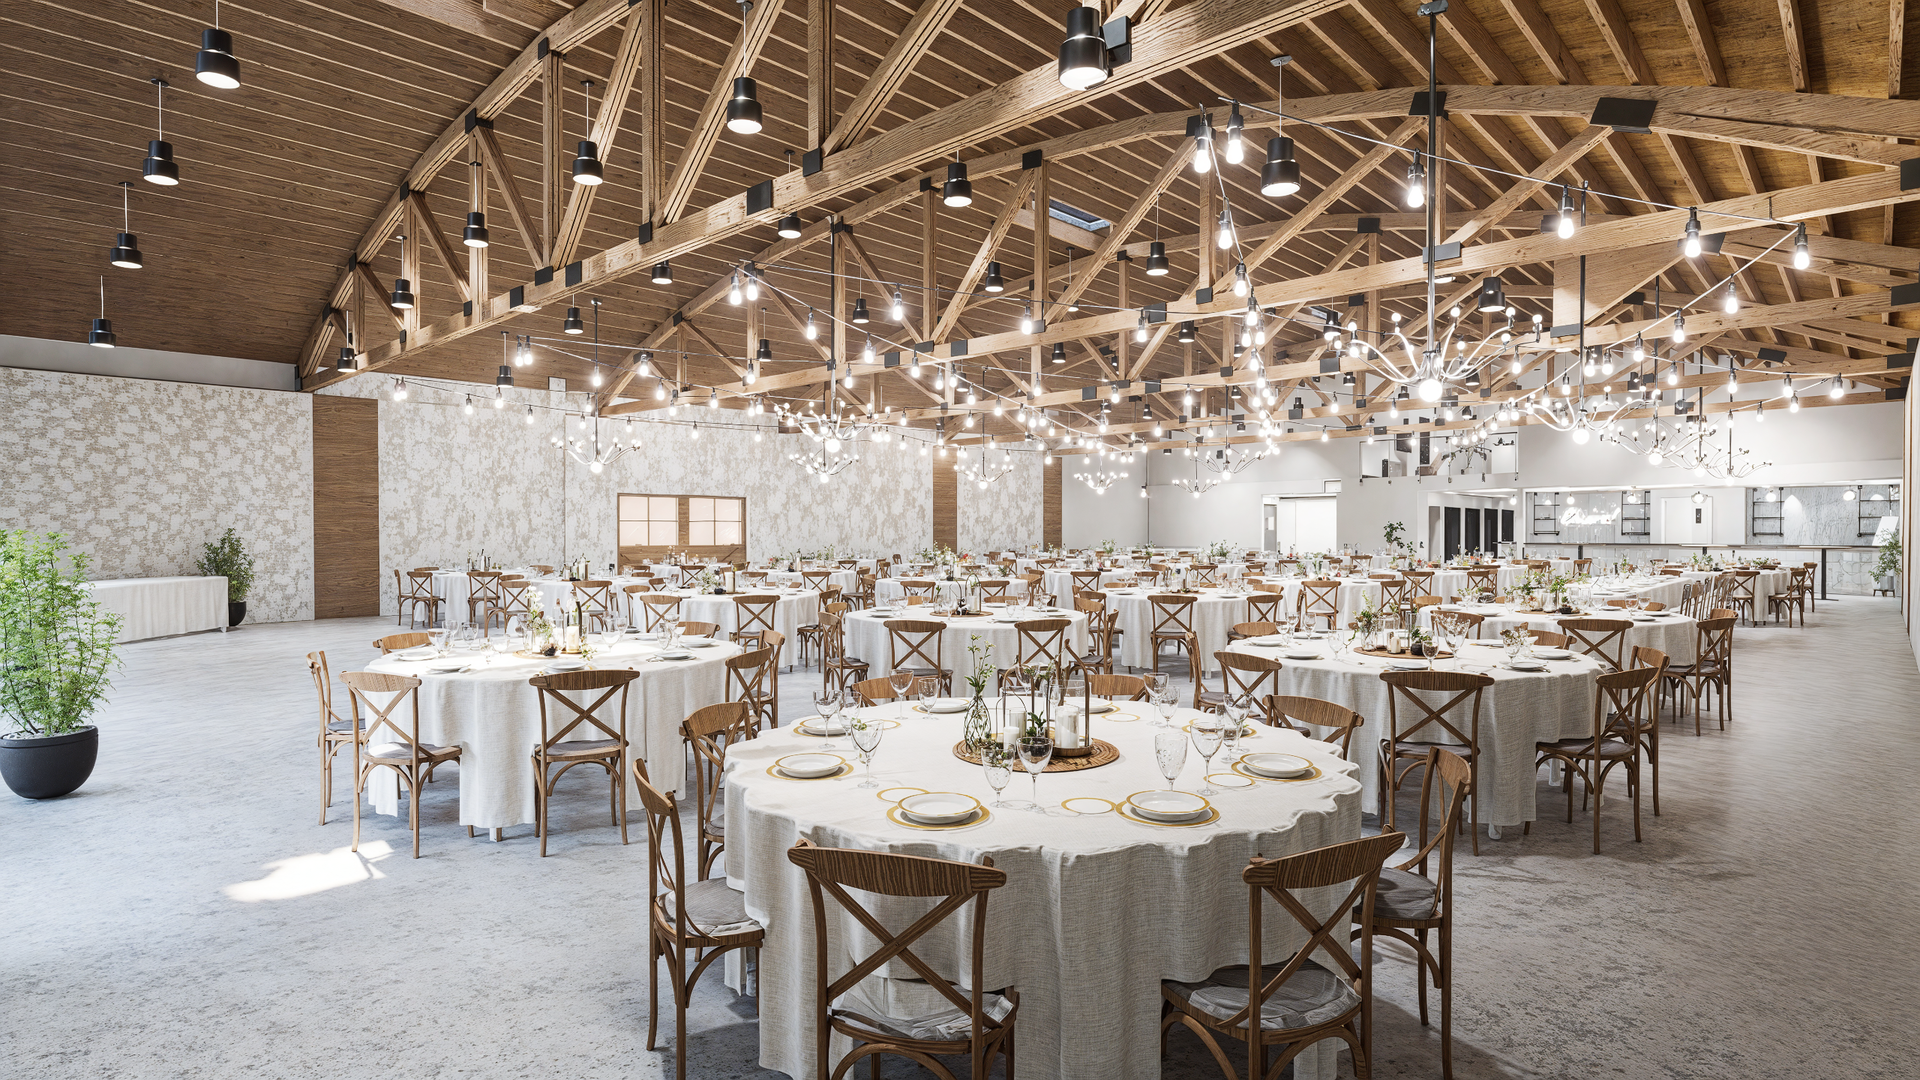
첫 번째 렌더링이 사실적이지 않나요?어쩌면 범인은 단순한 머티리얼 셋업일 수도 있습니다.색상이나 디퓨즈 텍스처만 사용하면 표면이 평평하고 이상하게도 플라스틱처럼 보입니다.미세한 디테일을 위한 노멀 맵과 빛 반사를 제어하는 러프니스 맵이 없으면 씬에 필요한 깊이와 사실감이 부족합니다.
✅ 수정 방법 D5 렌더
- 에센셜 쓰리—항상 완전한 소재 세트를 사용하는 것을 목표로 하세요.최소한 기본 색상, 노멀, 러프니스의 세 가지 맵을 불러오세요.이 조합만으로도 표면이 빛과 상호작용하는 방식을 변화시킬 수 있습니다.
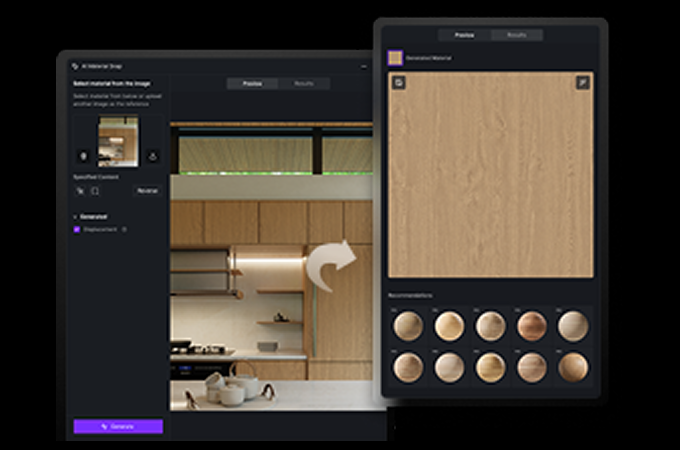
- 지도가 없나요?문제 없어요—텍스처 소스에 이러한 맵이 없는 경우 D5의 강력한 기능을 사용하세요. AI 생성 머티리얼 텍스처 맵 또는 AI PBR 머티리얼 스냅 즉시 만들 수 있습니다.그런 다음 계속 실행하세요. AI 메이크 심리스 어색한 타일링 솔기를 제거합니다.
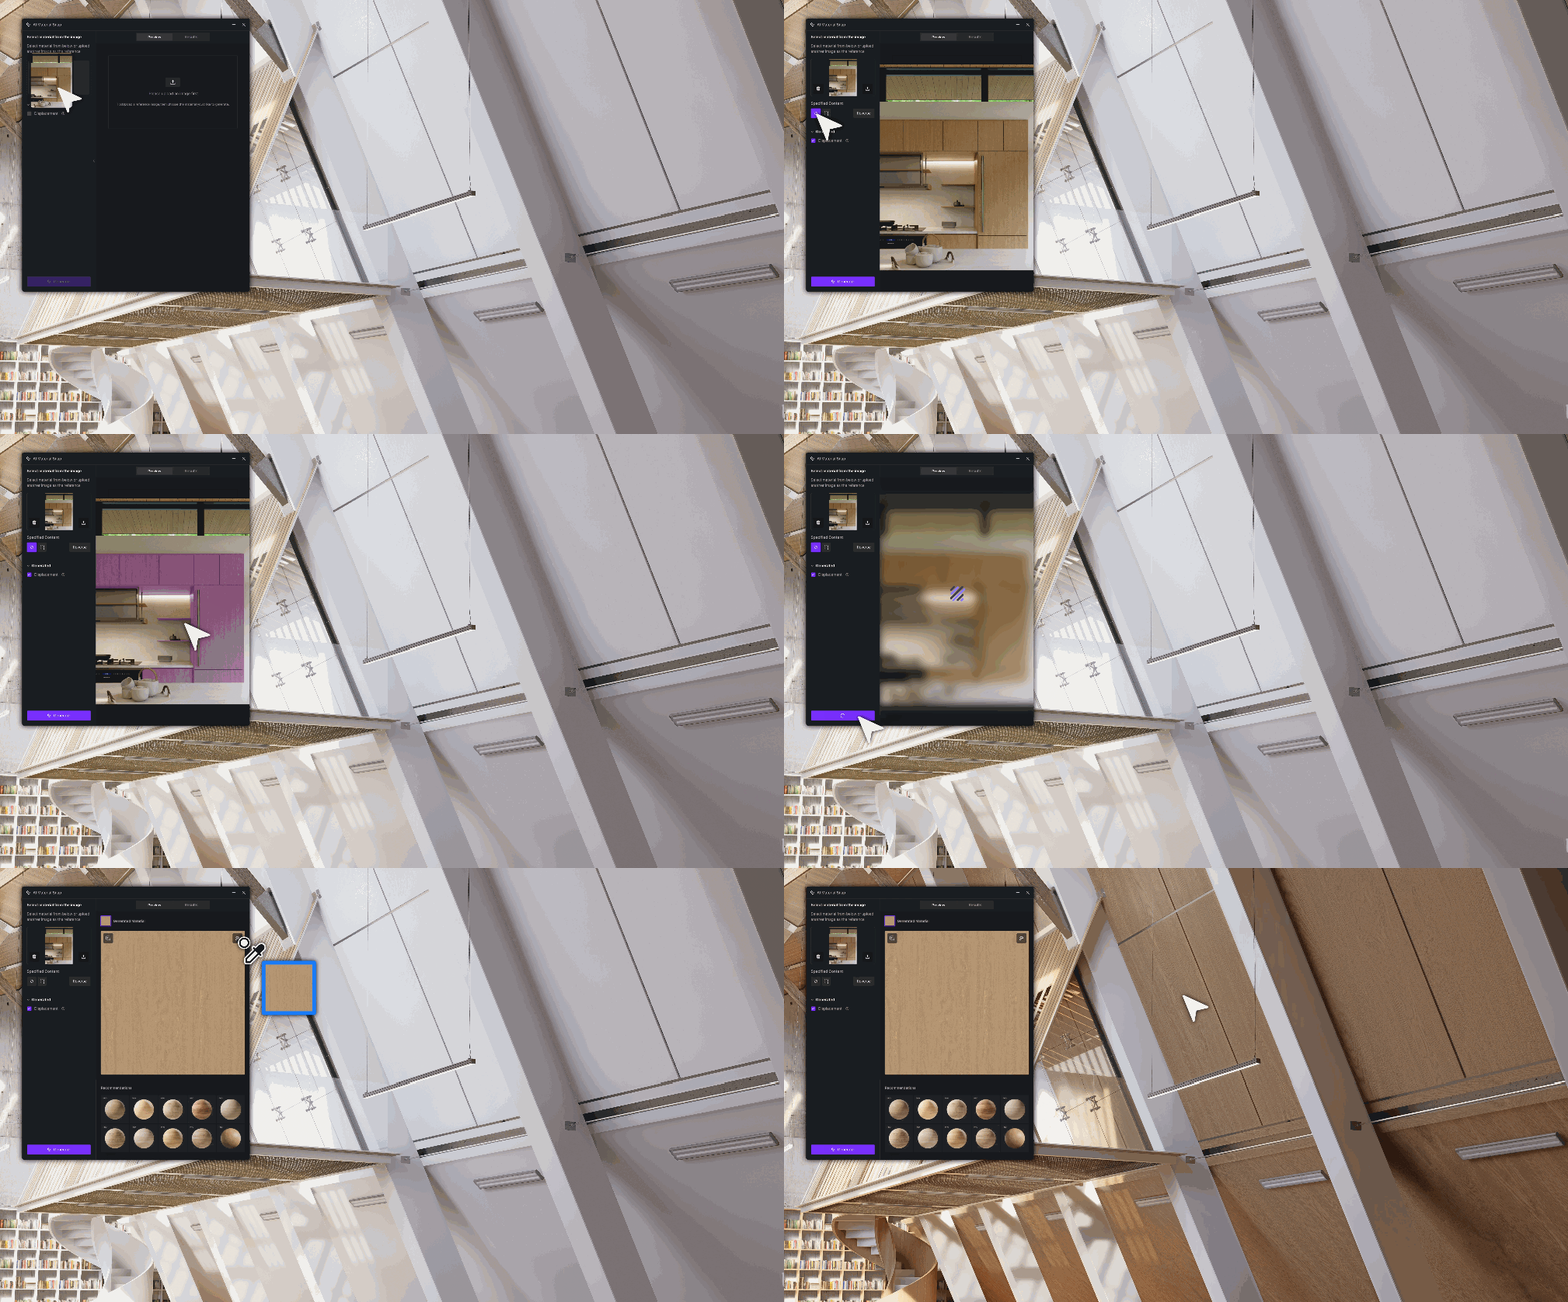
- 스마트 단축키—확실한 결과를 얻으려면 다음 단계로 넘어가세요 D5 자산 라이브러리.사전 최적화된 수천 개의 머티리얼을 바로 사용할 수 있으며, 각 머티리얼에는 정확한 맵이 이미 포함되어 있습니다.간단히 적용하고 비전에 맞게 조정하세요.
기억해, 리치 물리적으로 정확한 재료 포토리얼리스틱 렌더링의 경우 타협할 수 없습니다.이러한 팁과 D5 Render를 사용하면 정말 인상적인 이미지를 만들 수 있습니다.
4.강렬한 빛을 길들이기: 눈부신 하이라이트는 이제 그만
완벽한 포토리얼리스틱 렌더링을 찾고 있지만 자동 노출은 오히려 불리합니다.우리 모두 경험해 본 적이 있습니다. 장면이 너무 밝아지면 디테일이 밋밋하고 비현실적인 흰색으로 흐려집니다.이렇게 '그을린' 모습은 CG 이미지를 한 장 찍어낸 것과 같습니다.
✅ 수정 방법 D5 렌더
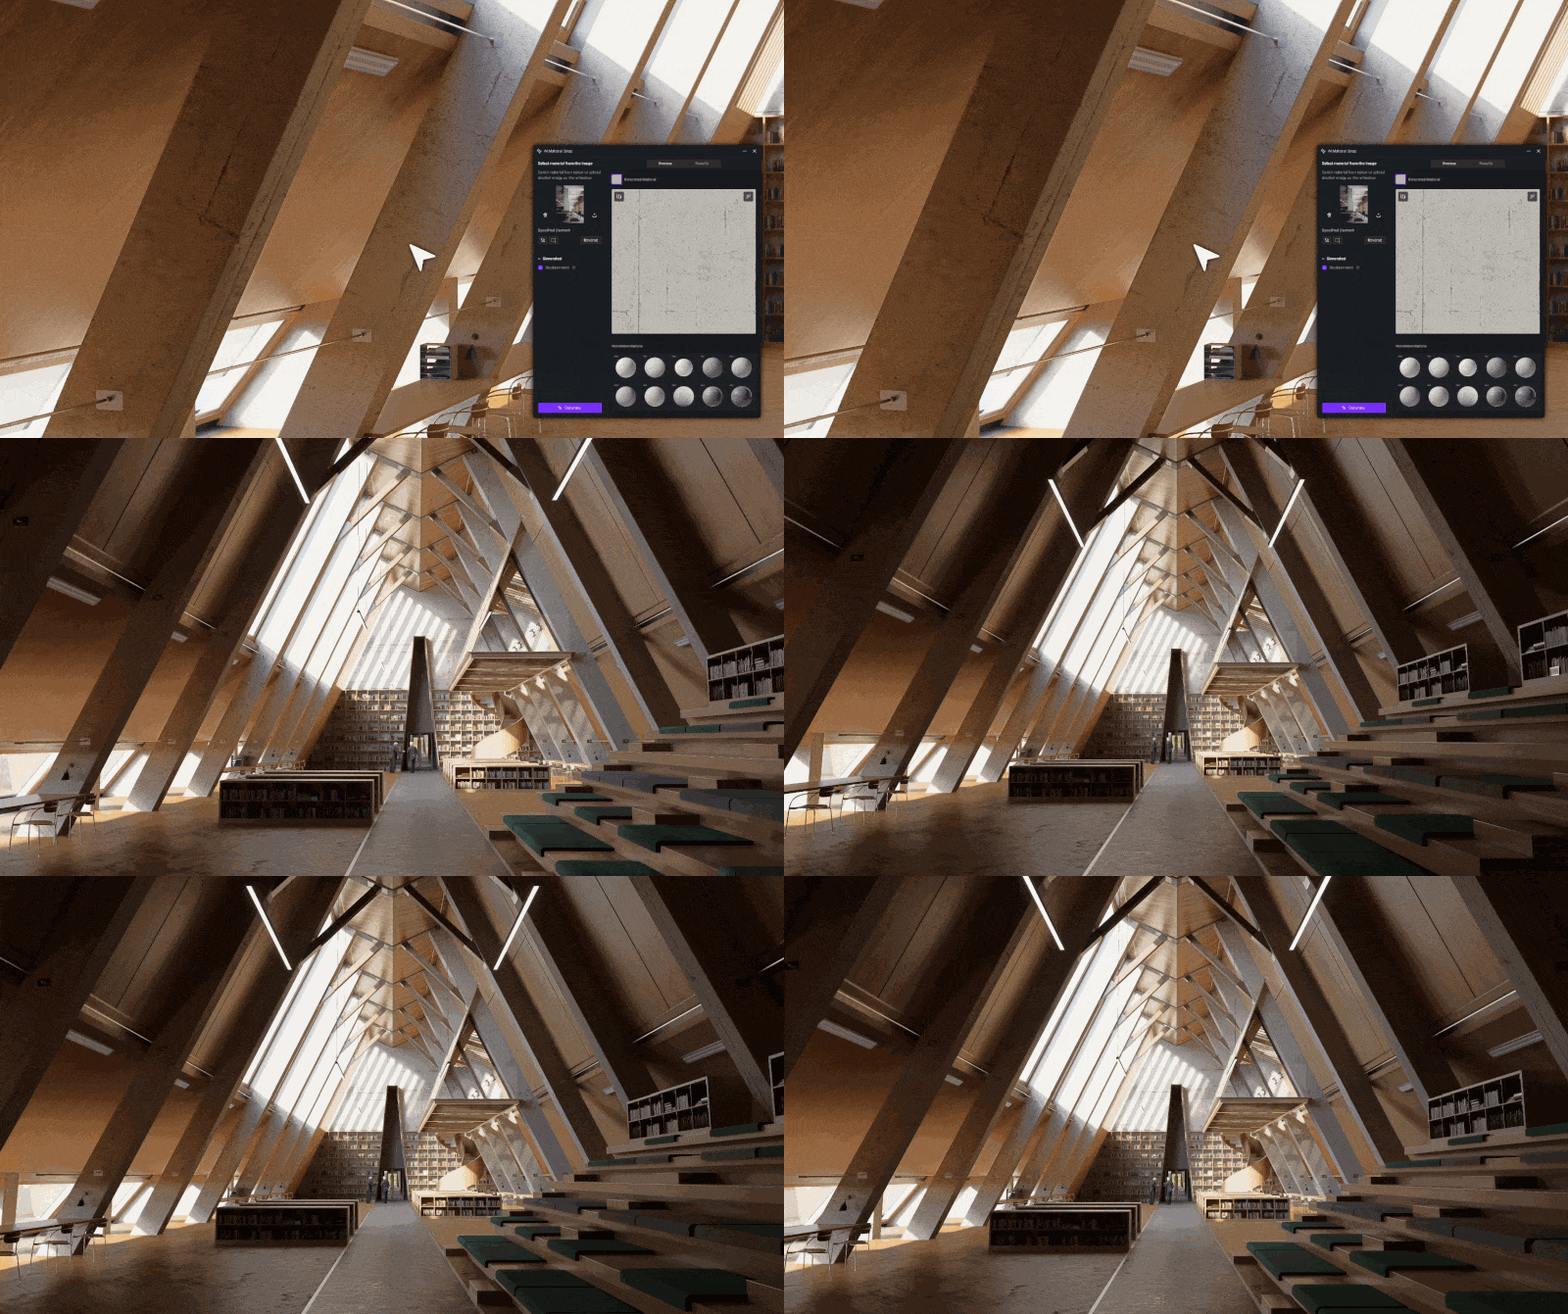
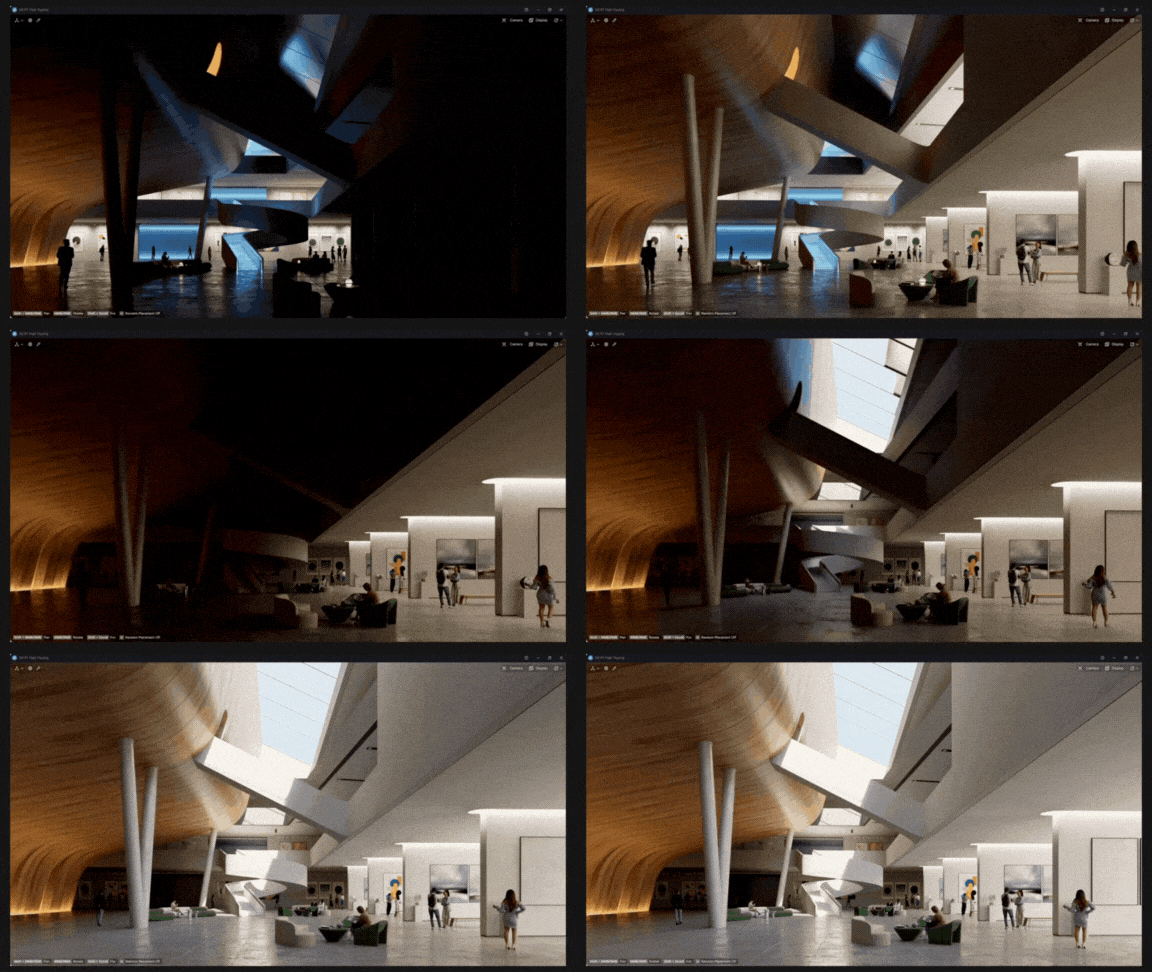
- 먼저 노출 고삐를 두드려: 가장 밝은 영역을 완벽하게 제어하려면 수동 노출로 전환해 보세요.이미지의 가장 밝은 부분 (예: 창문이나 하늘) 이 흰색으로 바뀌지 않고 디테일이 유지될 때까지 주 노출 슬라이더를 아래로 당기세요.이 한 번의 변화가 세상을 변화시킵니다.
- 다음으로 태양을 부드럽게하십시오—강한 태양은 심각한 문제를 야기합니다.햇빛 강도를 적당히 유지하십시오. 값이 2를 초과하는 경우는 거의 없습니다.그런 다음 태양 디스크 반경을 5 이상으로 늘리십시오.이렇게 하면 그림자가 아름답게 부드러워져 훨씬 더 자연스럽게 느껴집니다.
- 마지막으로 하늘을 미세 조정하세요—헤드 투 더 지오&스카이 또는 사용자 지정 스카이 패널을 사용하여 인위적이지 않고 실제처럼 느껴질 때까지 조명과 대비를 조정합니다.
👉 포토리얼리스틱 렌더링을 위한 사진 기법: 프레이밍, 컬러 밸런스 및 노출
.gif)
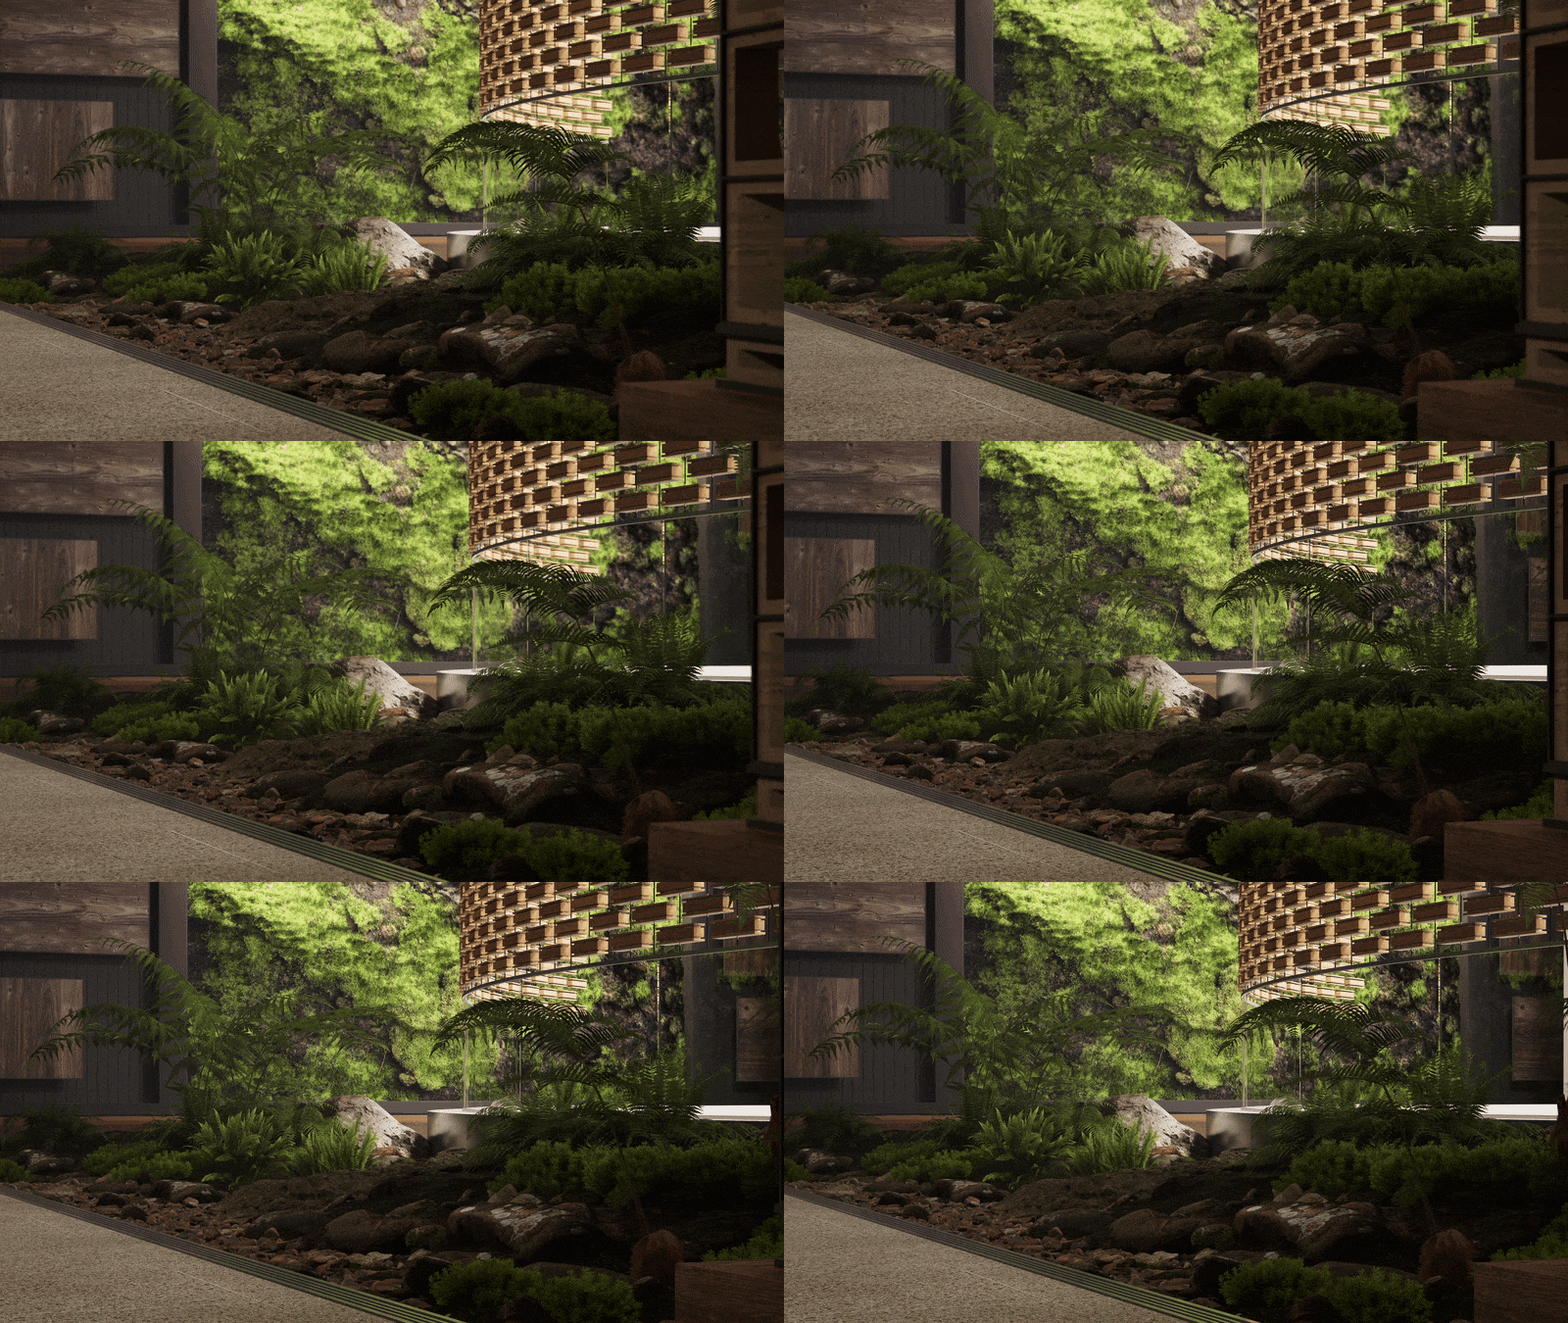
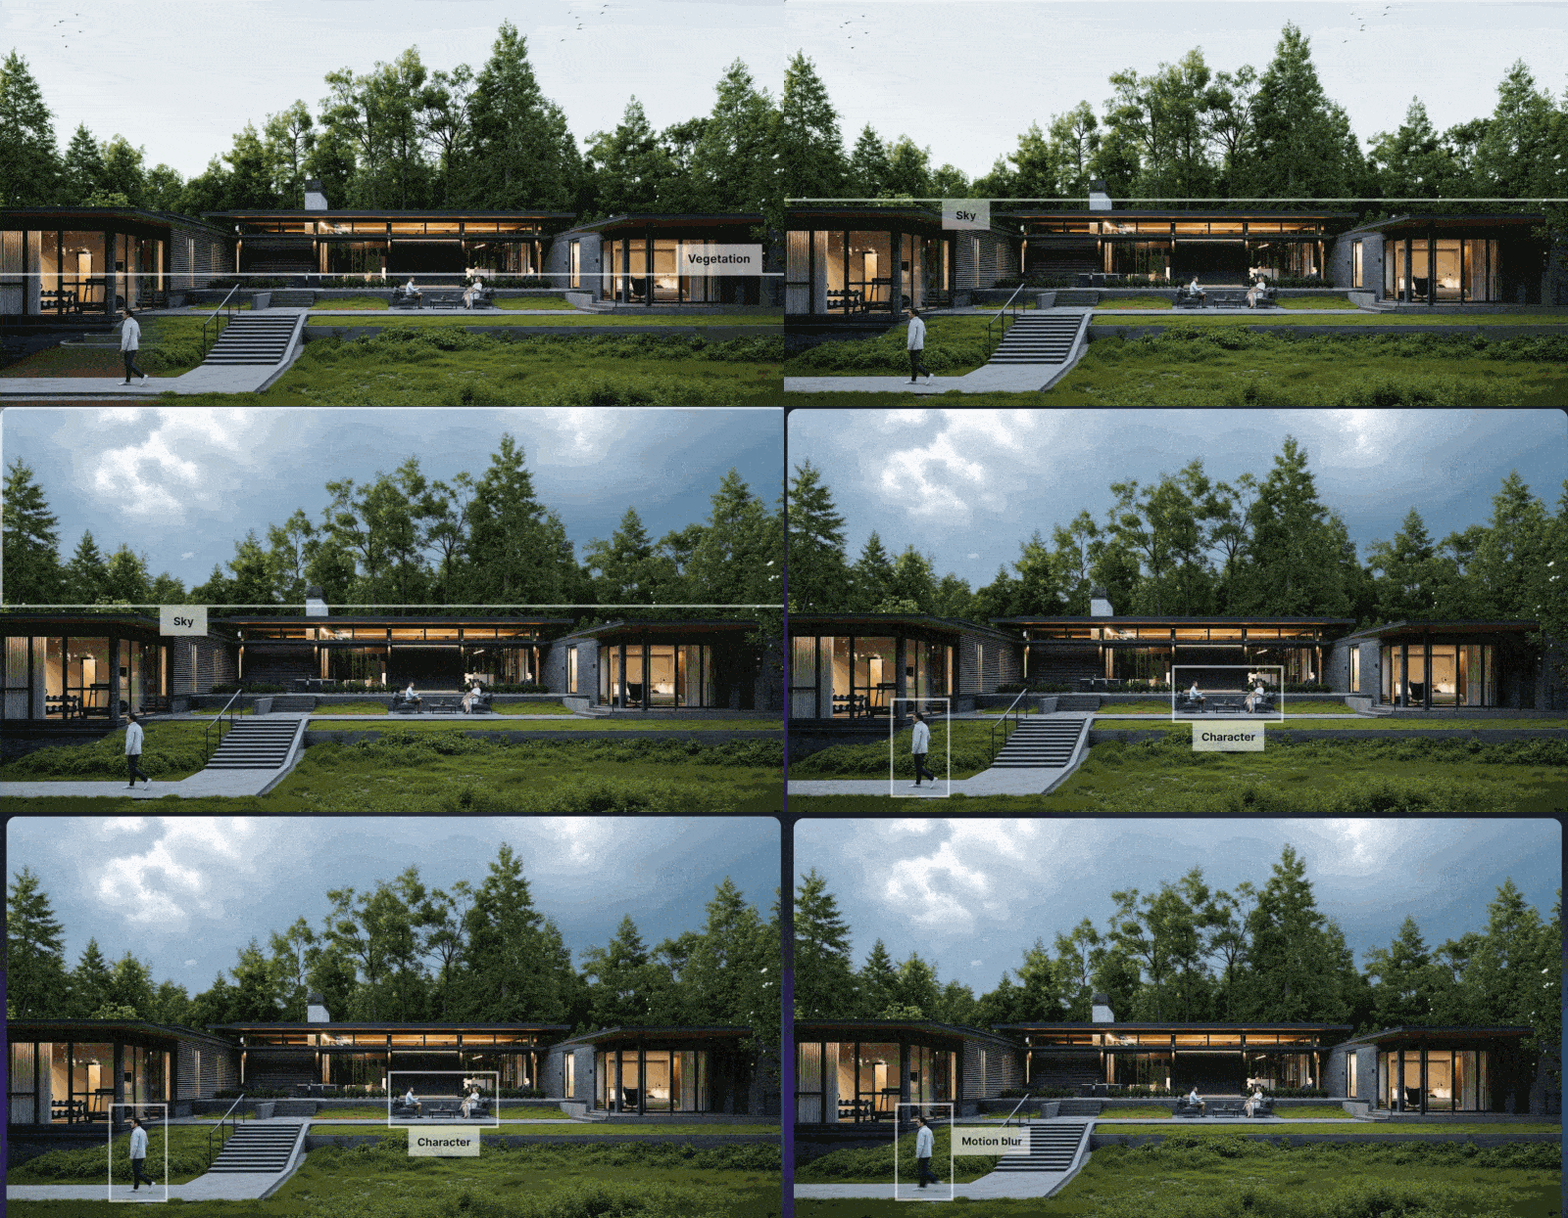
노출을 수동으로 제어하고 기본 광원을 부드럽게 처리하면 전체 이미지에서 중요한 질감을 유지할 수 있습니다.이 간단한 워크플로우는 가장 깊은 그림자부터 가장 밝은 하이라이트까지 완벽하게 포토리얼리스틱 렌더링을 구현할 수 있는 획기적인 제품입니다.

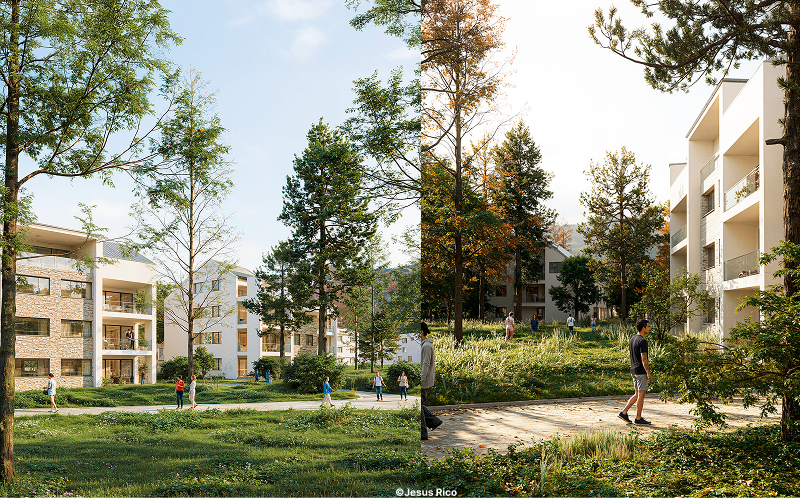
5.반복적이고 지나치게 푸른 잔디를 없애고 사실적인 렌더링을 구현하세요
가보셨을 수도 있습니다. 아름다운 장면은 너무 완벽하지만 부자연스럽게 초록색이고 또렷하게 반복되는 패턴으로 배열된 잔디로 인해 망가졌습니다.이는 사실적인 렌더링을 구현하기 위해 초보자가 흔히 겪는 장애물입니다.
✅ 수정 방법 D5 렌더
- 먼저 잔디 소재 자체를 토닝하는 것부터 시작하세요.—기본 색상을 어둡게 하고 블렌드 양 슬라이더를 사용하여 채도가 높은 일렉트릭 그린 룩을 줄이세요.채도 값은 약 0.1 이하로 매우 낮게 유지하는 것이 좋습니다.
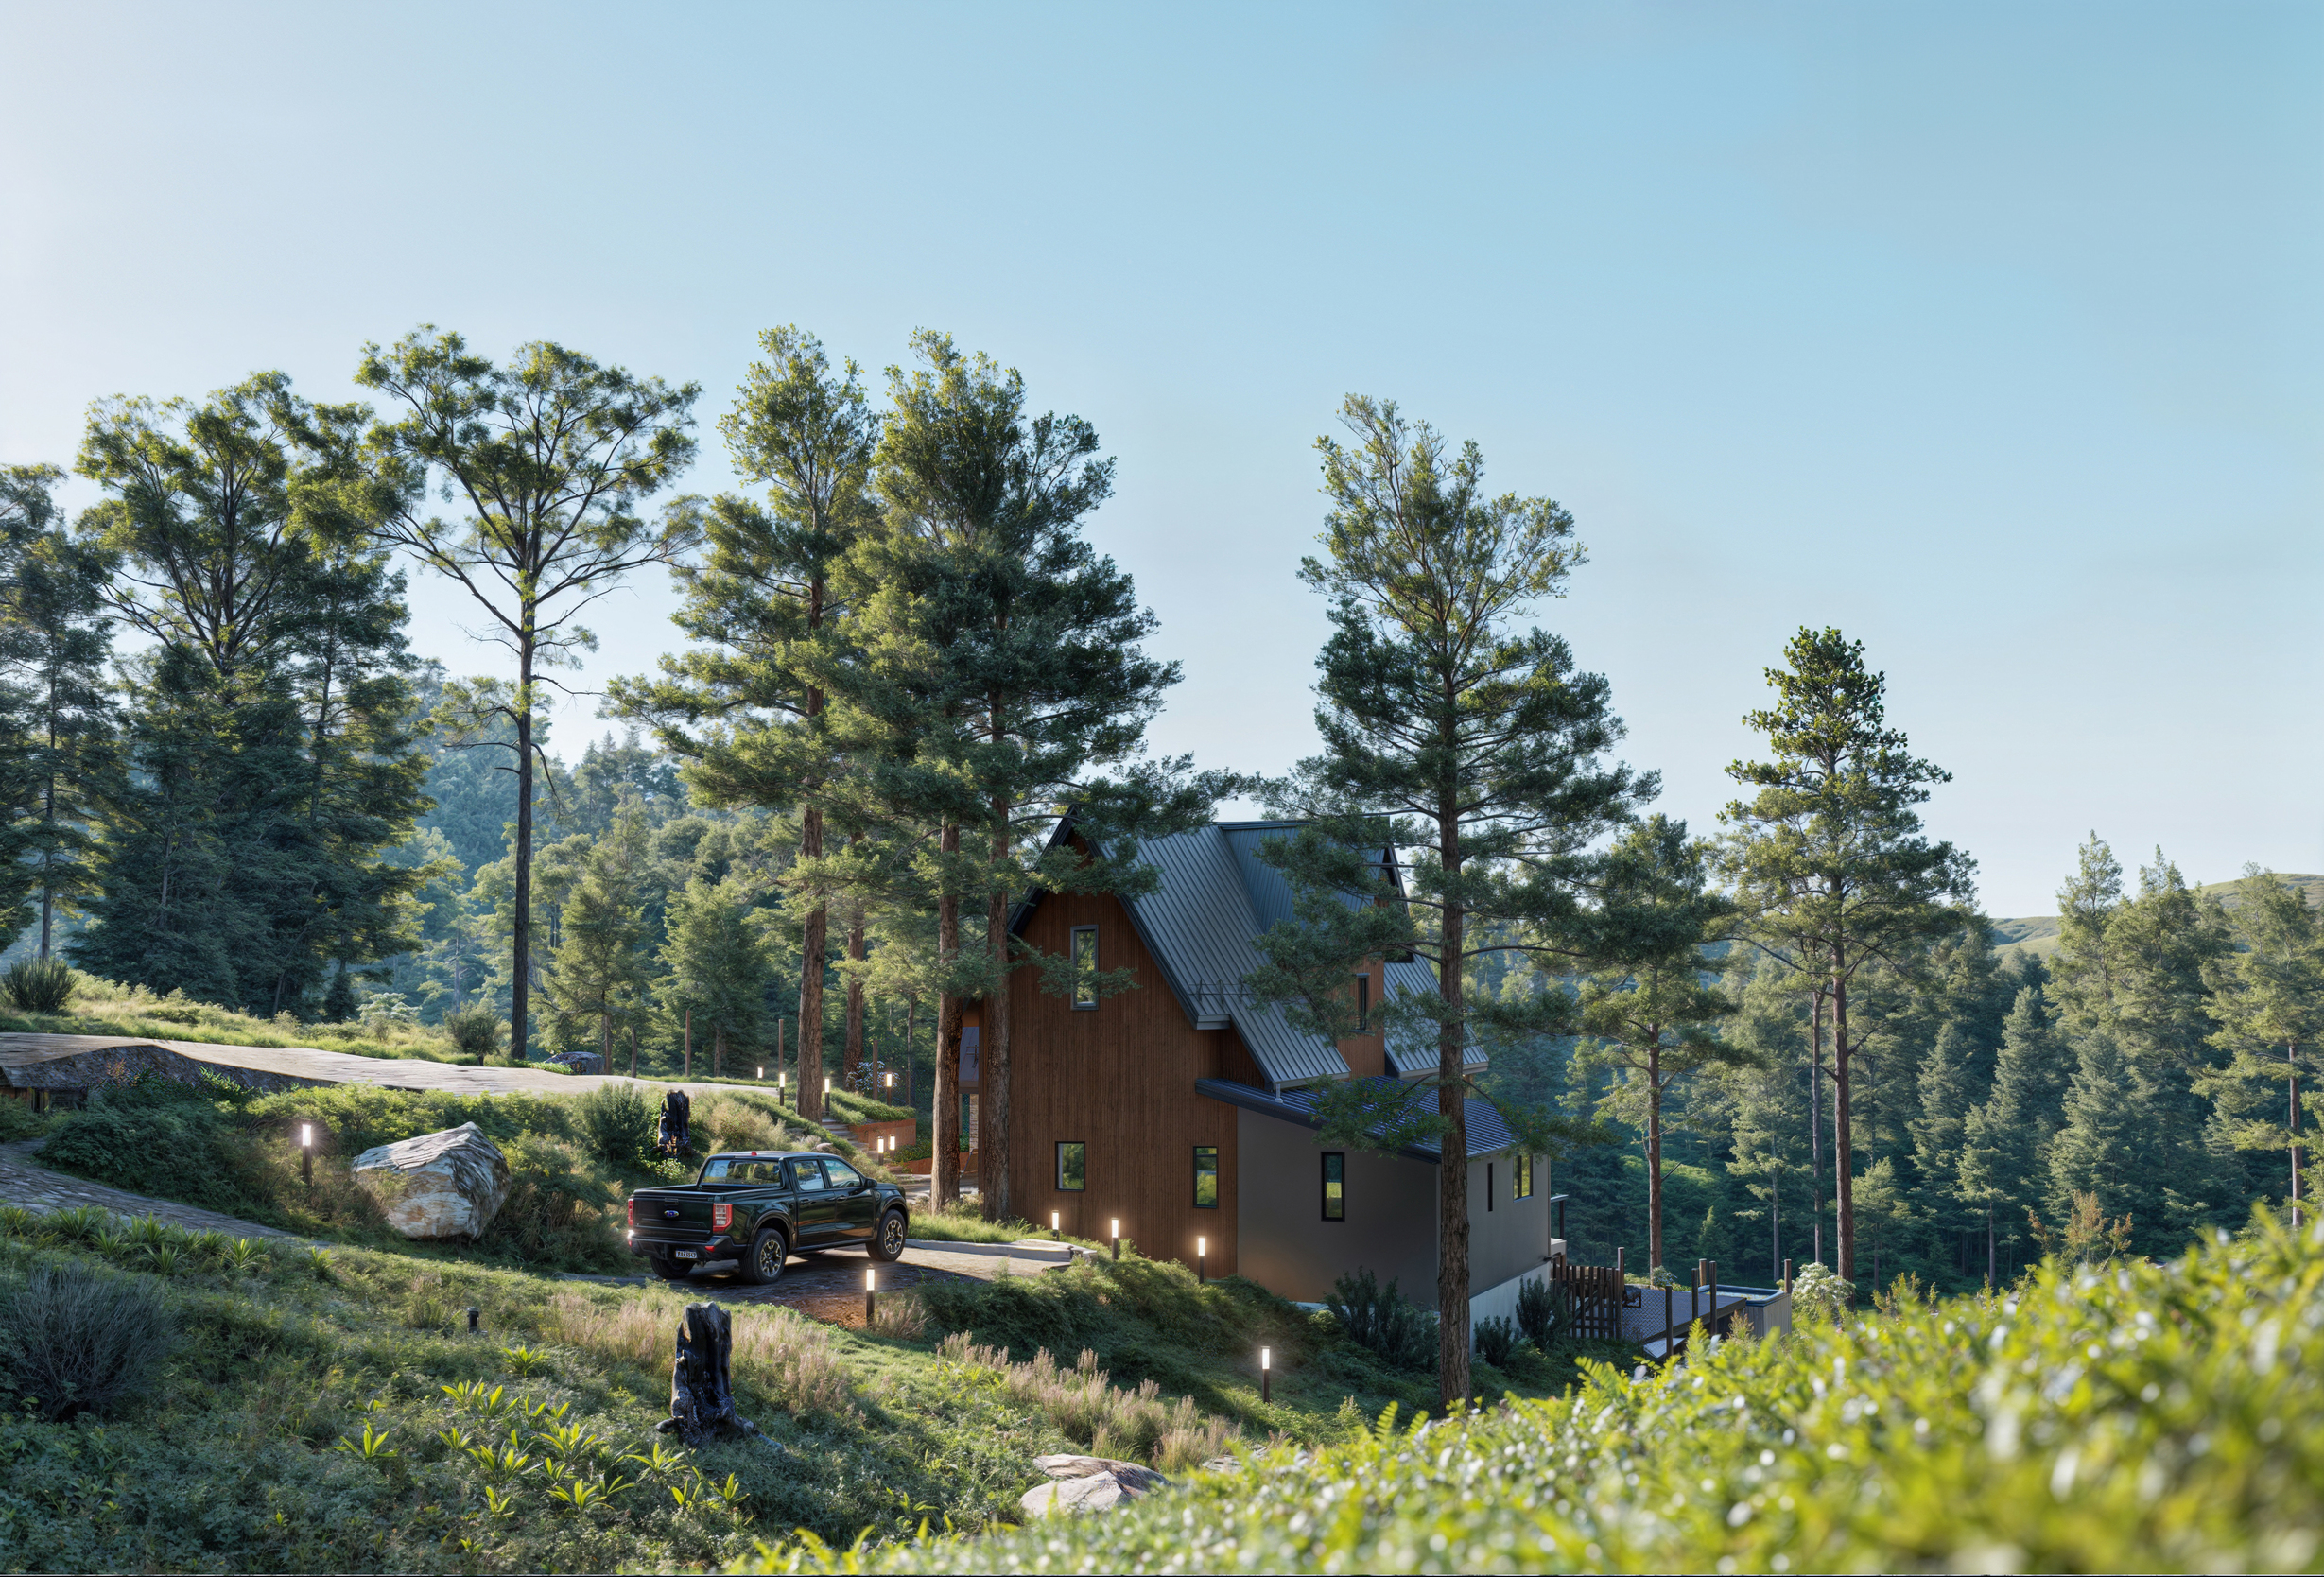
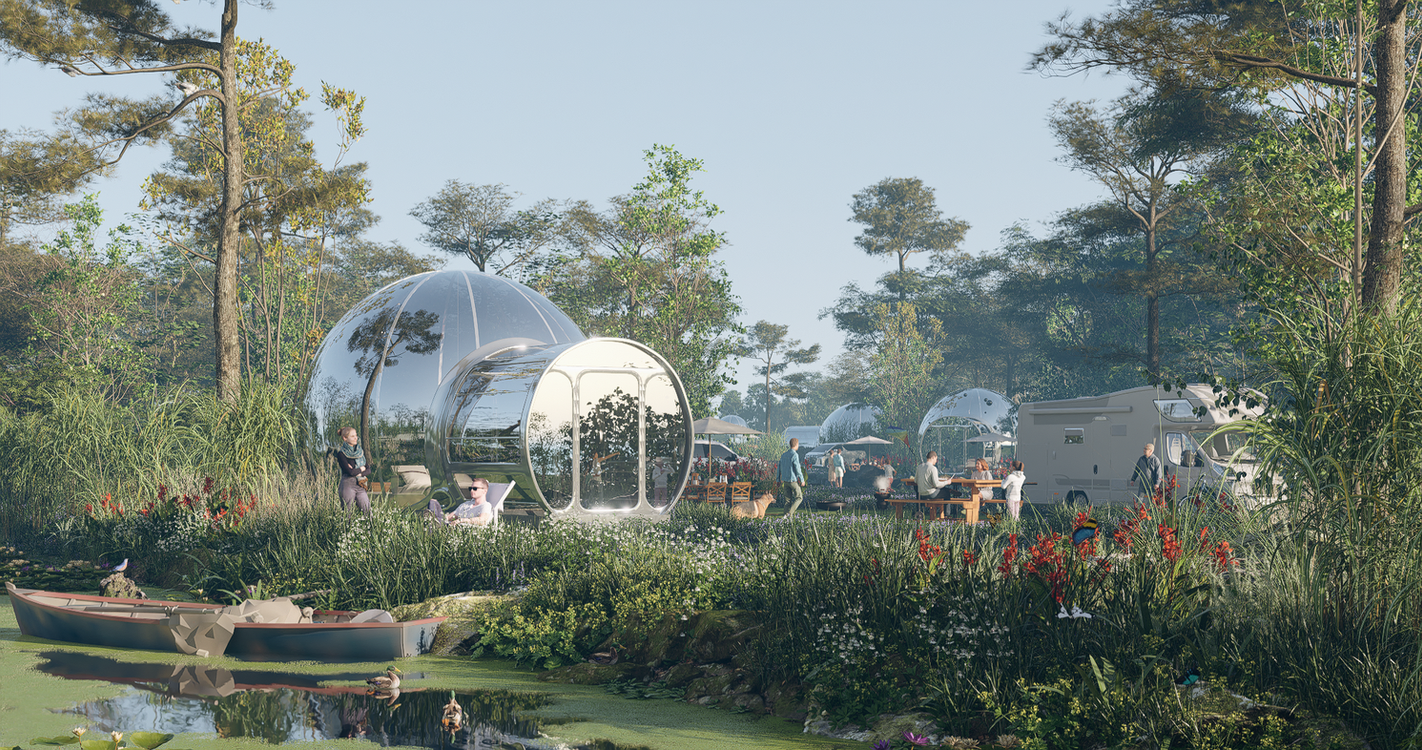
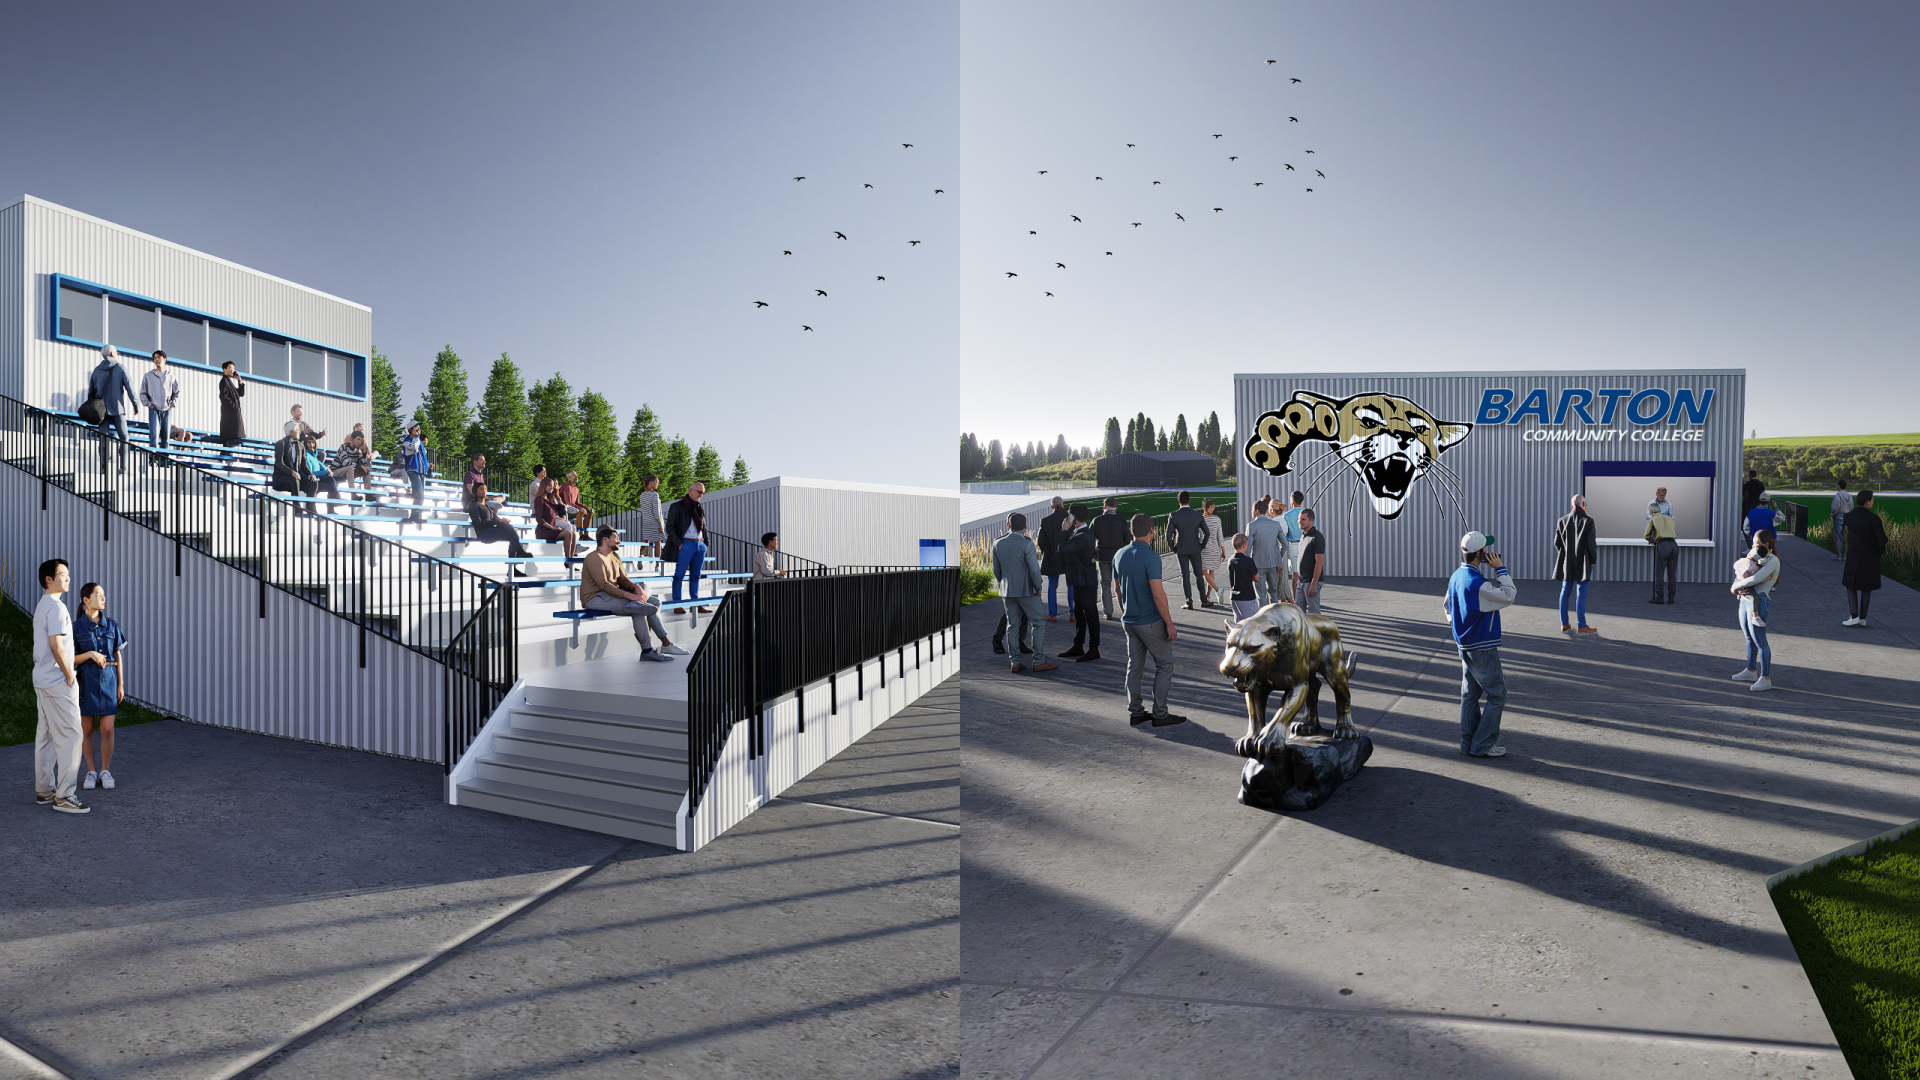
- 다음으로, 균일성을 깨십시오.—한 종류의 잔디만 사용하는 대신 다른 수종을 혼합하십시오!다음 제품을 사용하세요 브러쉬과 스캐터 툴 다양한 풀, 잡초 및 지피를 결합합니다.즉각적인 다양성을 원한다면 D5의 광범위한 애셋 라이브러리에서 “Natural Meadow”와 같은 스캐터 프리셋을 사용해 보세요.
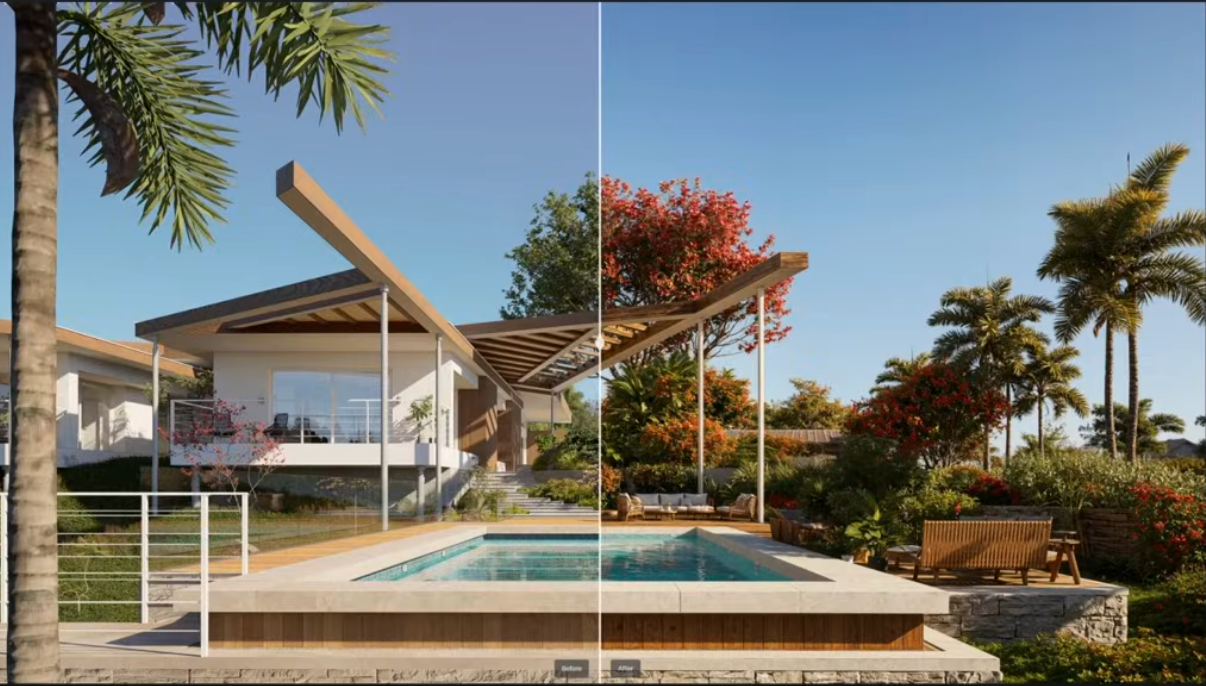
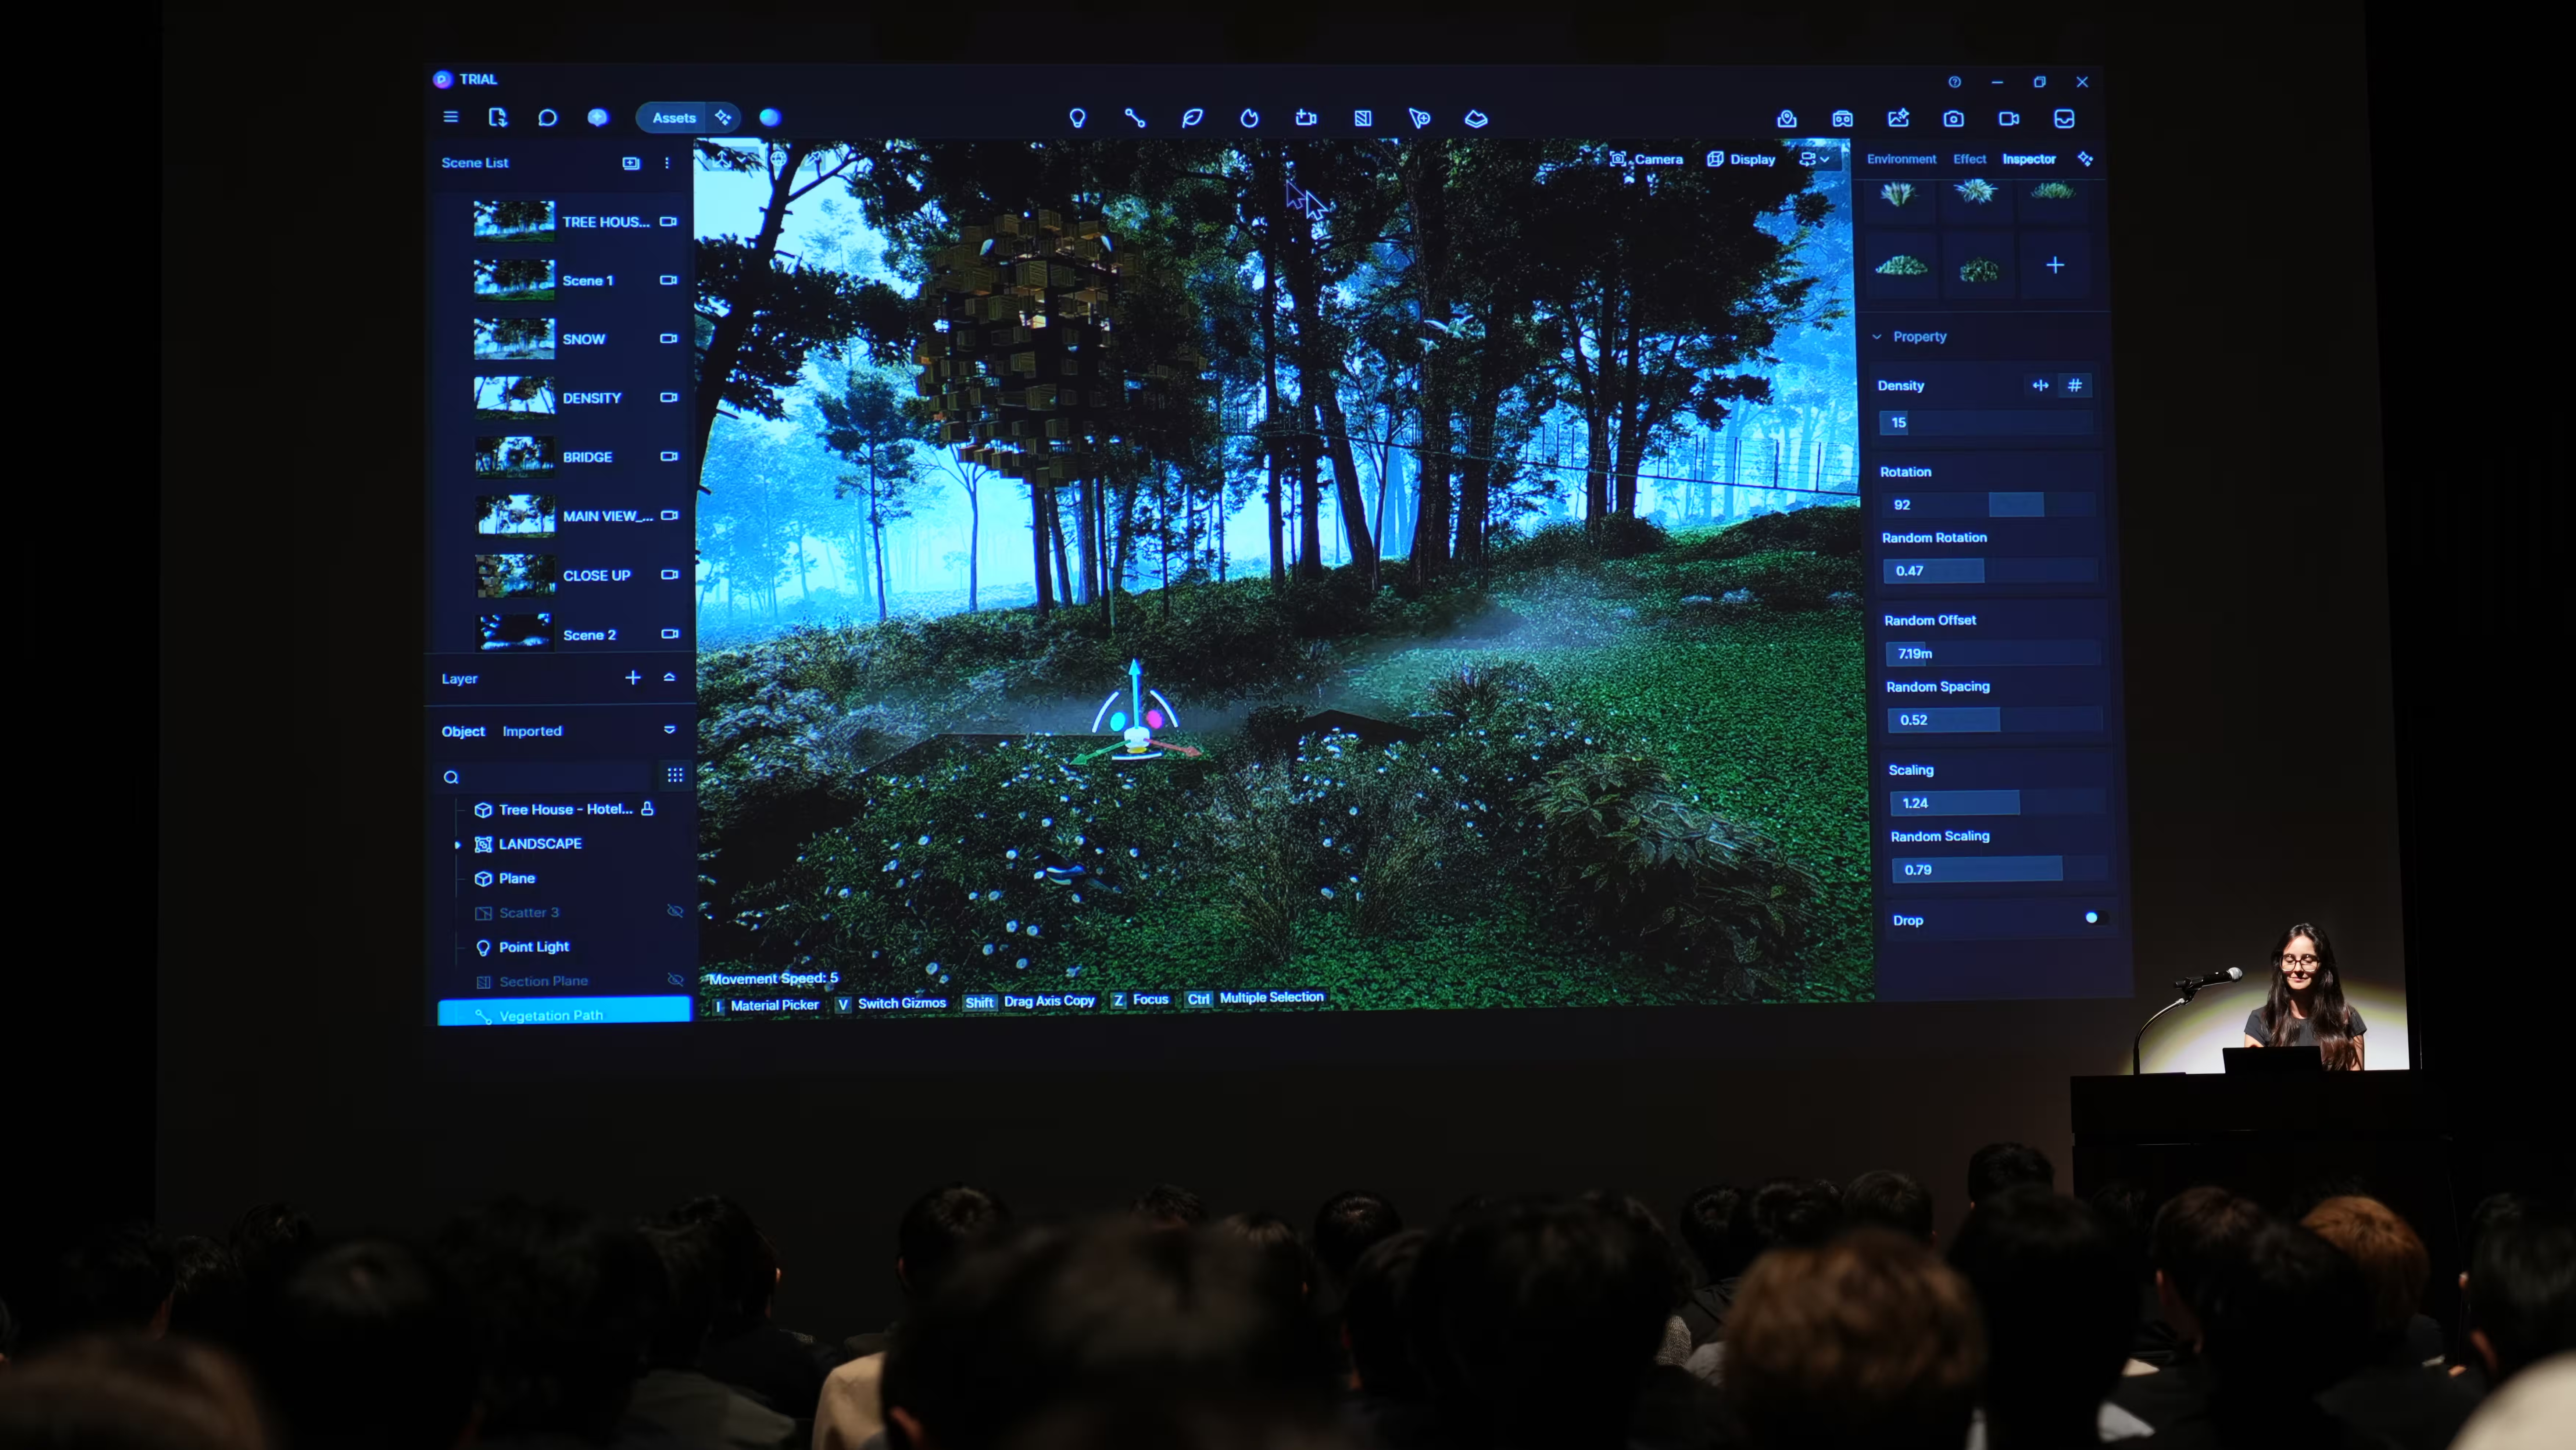
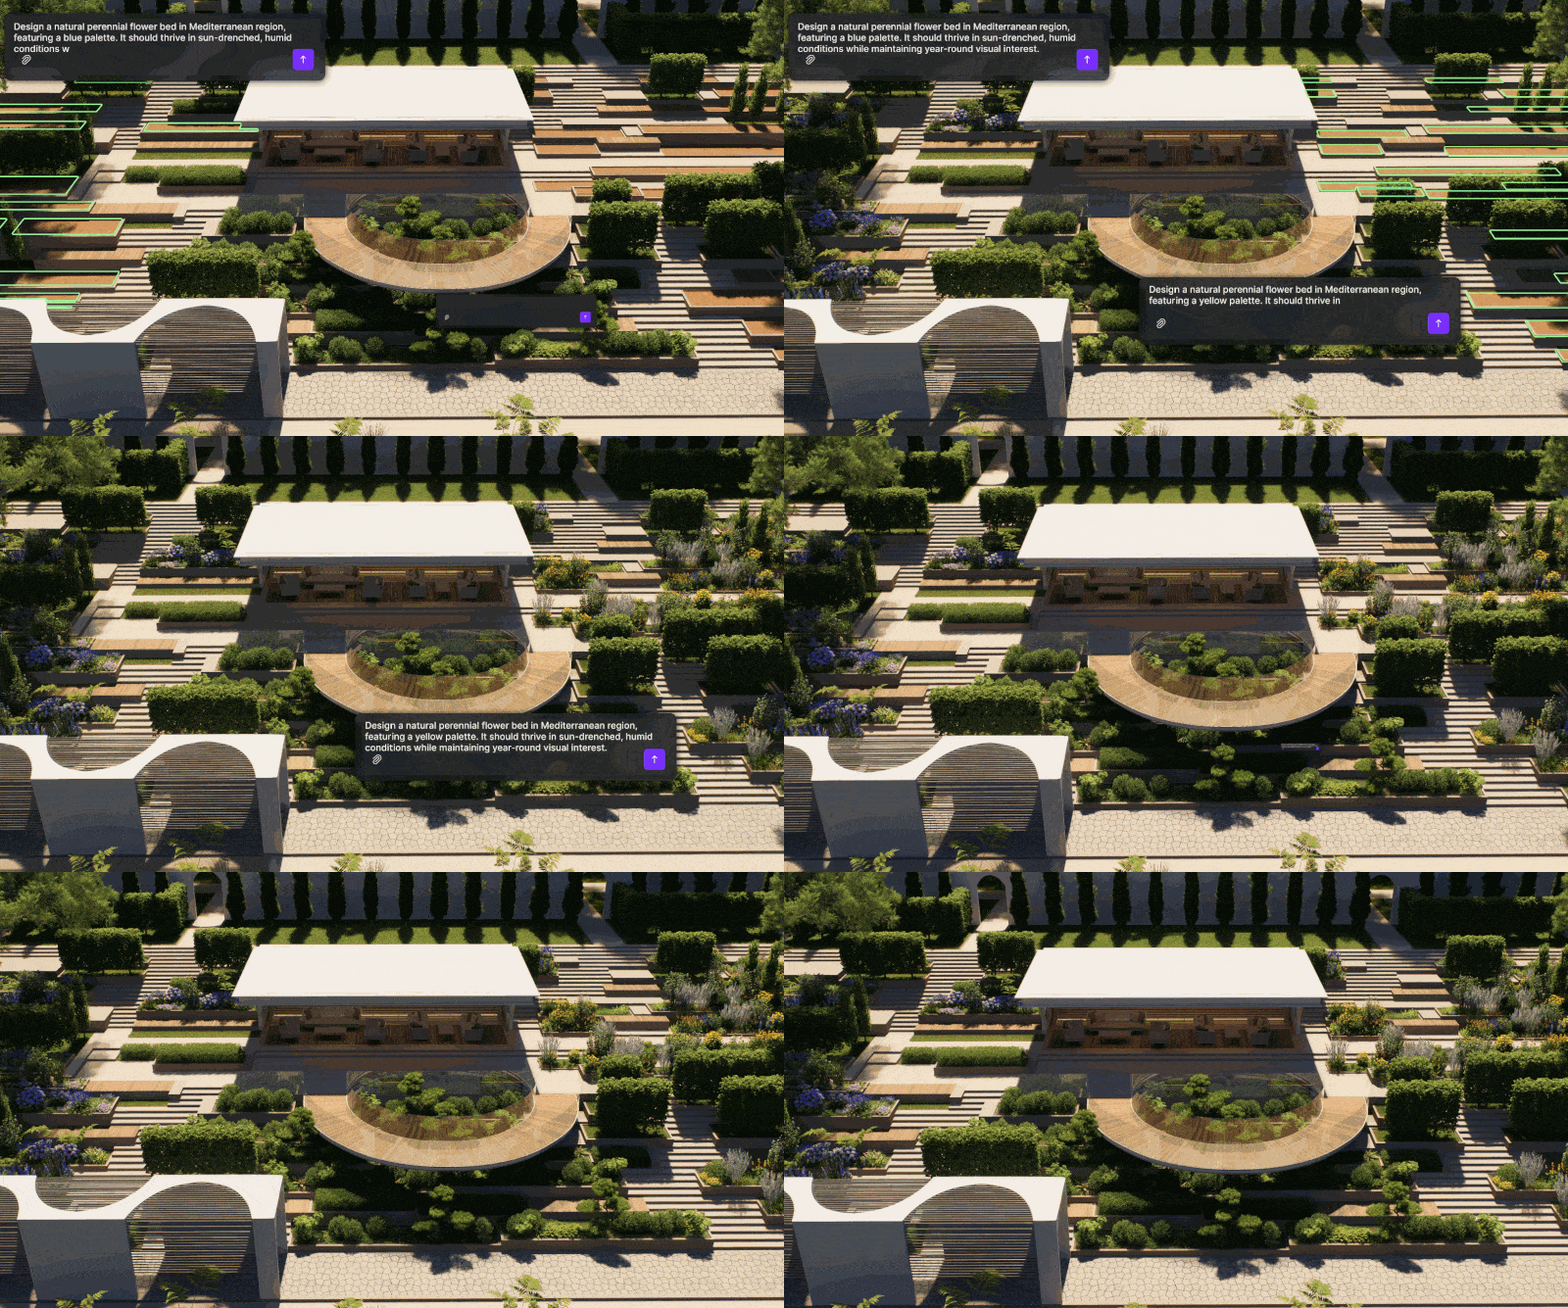
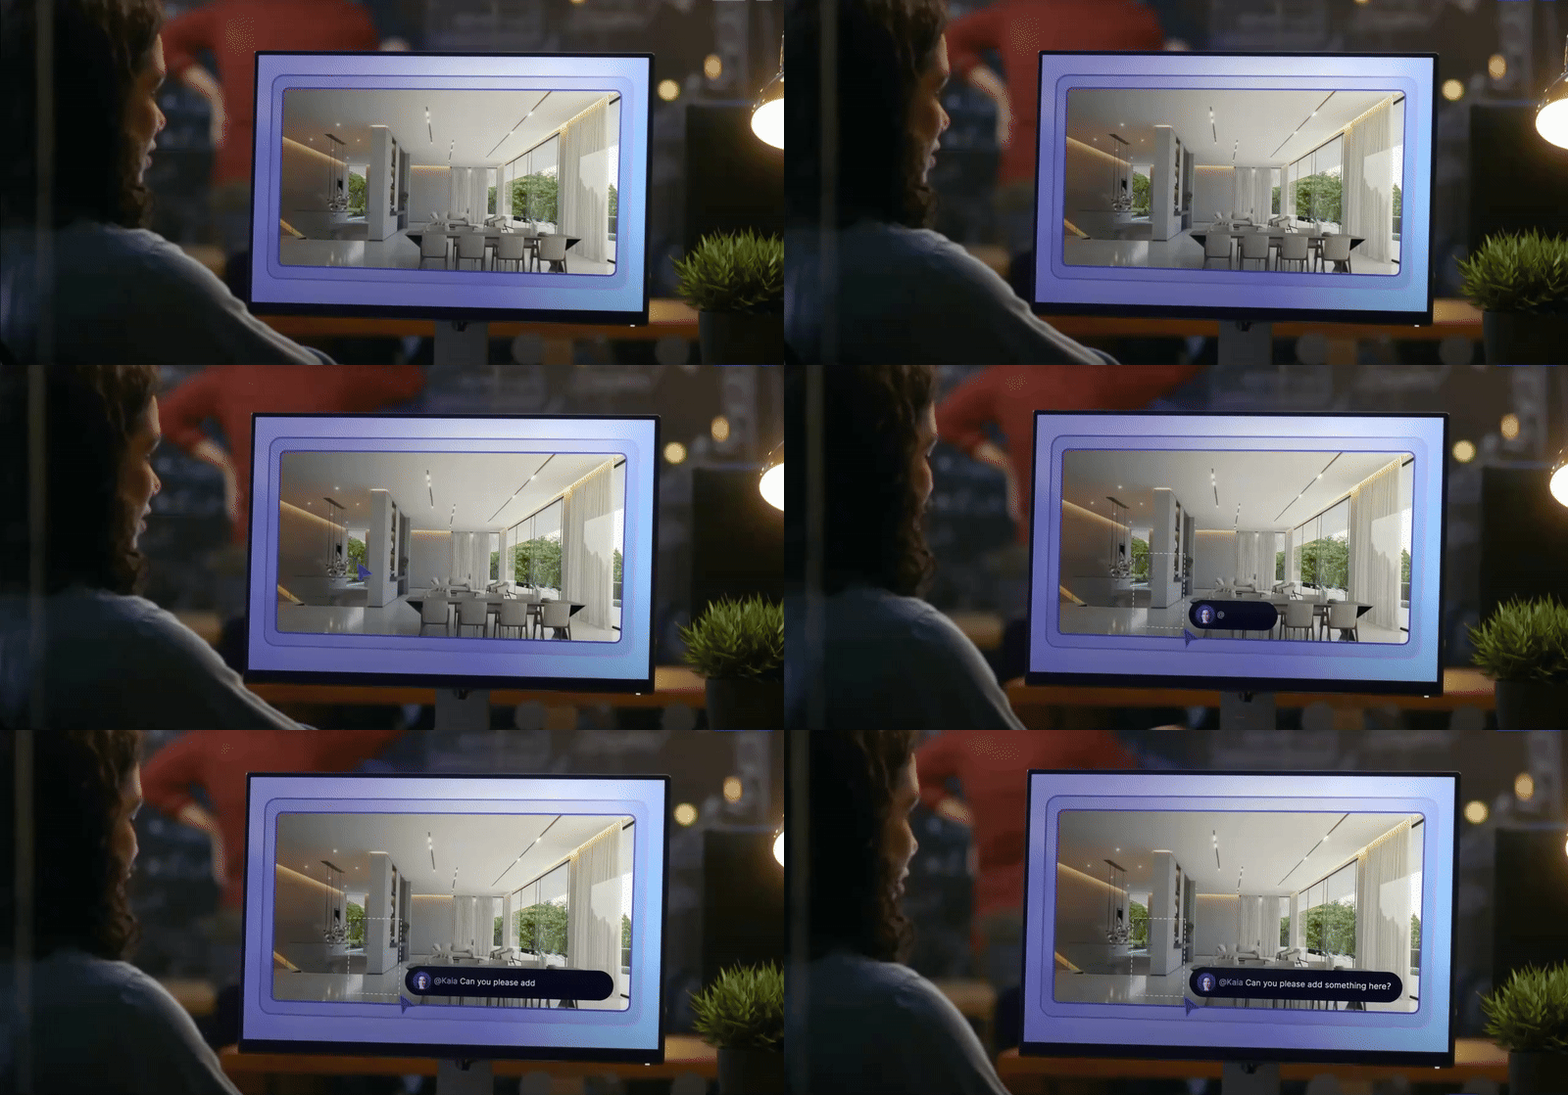
프로 팁: 식물 조합을 만드는 데 자신이 없는 초보자라면, D5 렌더s 최신 AI 에이전트 스마트 플랜팅 툴 한 번 해봐.클릭 한 번으로 생태학적으로 정확하고 균형 잡힌 경관을 생성하므로 지능적으로 종을 짝짓고 지형과 미기후 조건에 맞게 조정하여 수작업에 드는 시간을 절약할 수 있습니다.
👉 AI 에이전트란 무엇일까요?D5 Render는 어떻게 조경 설계를 자동화할까요?
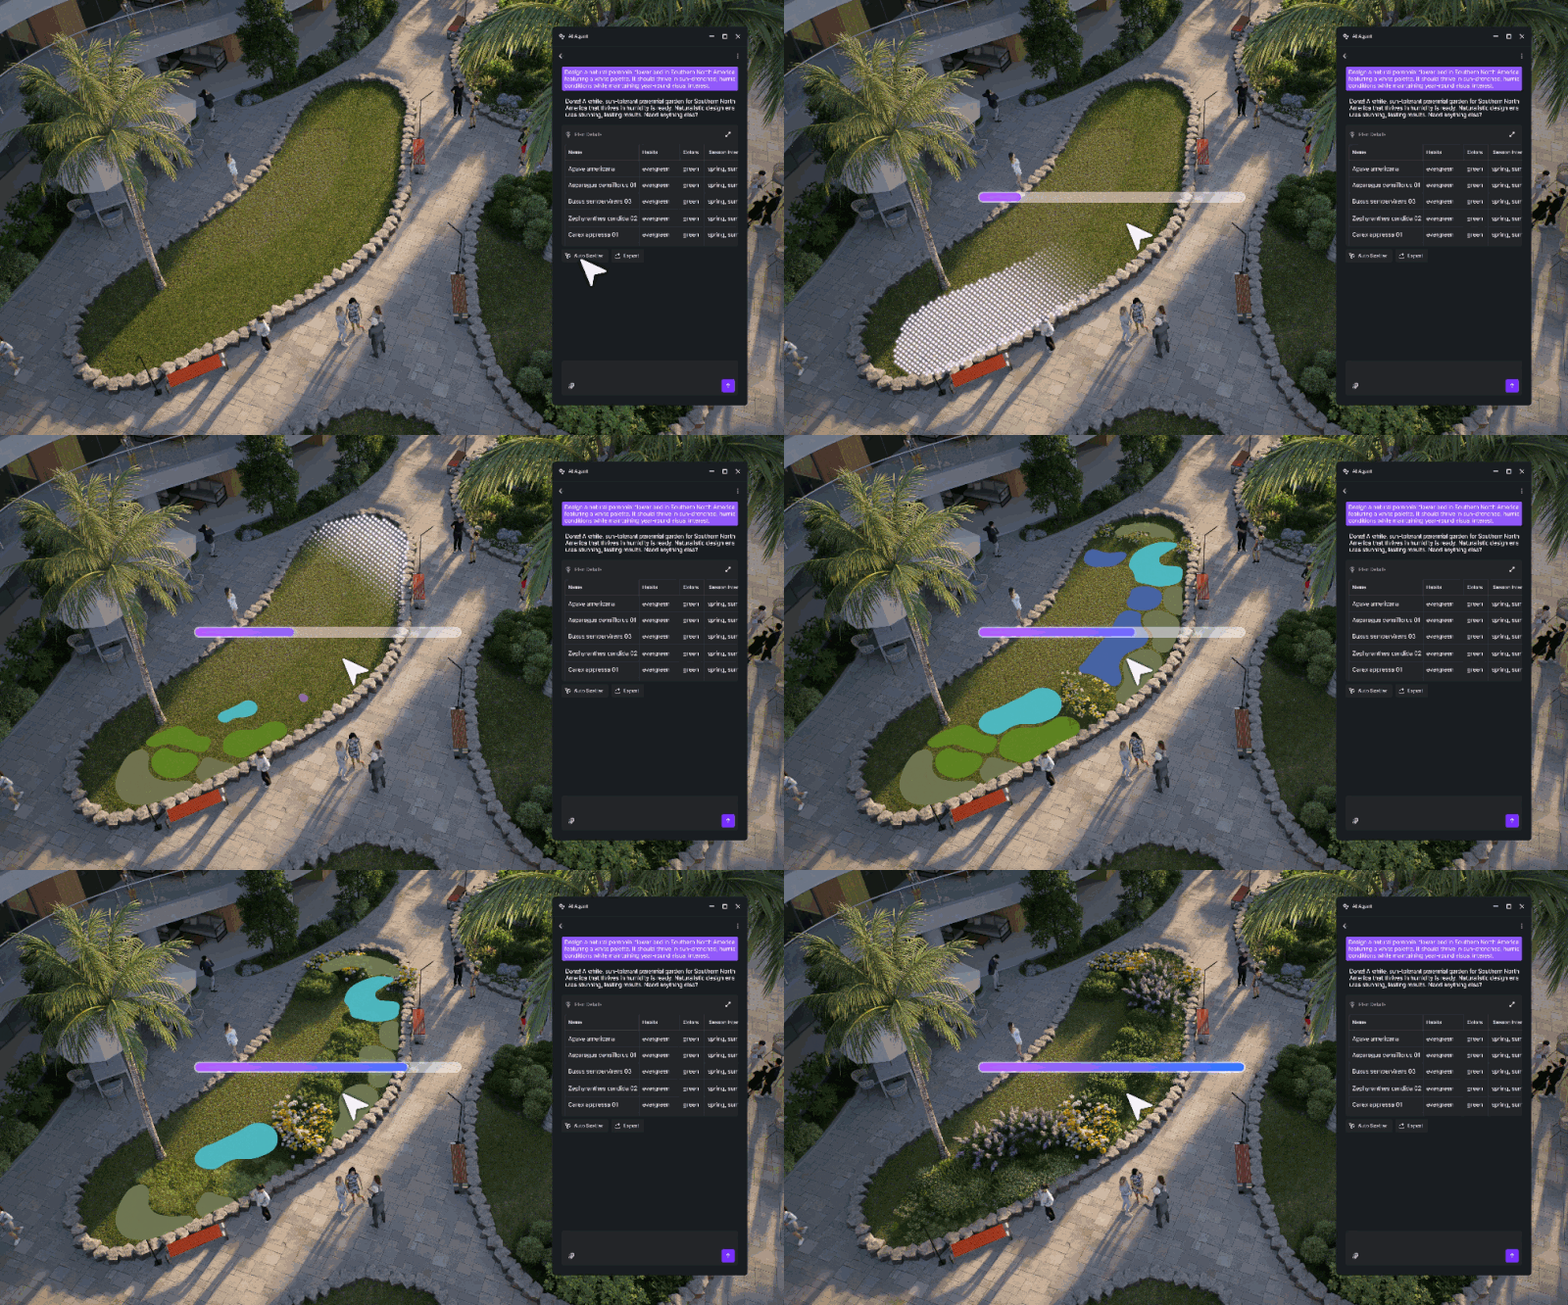
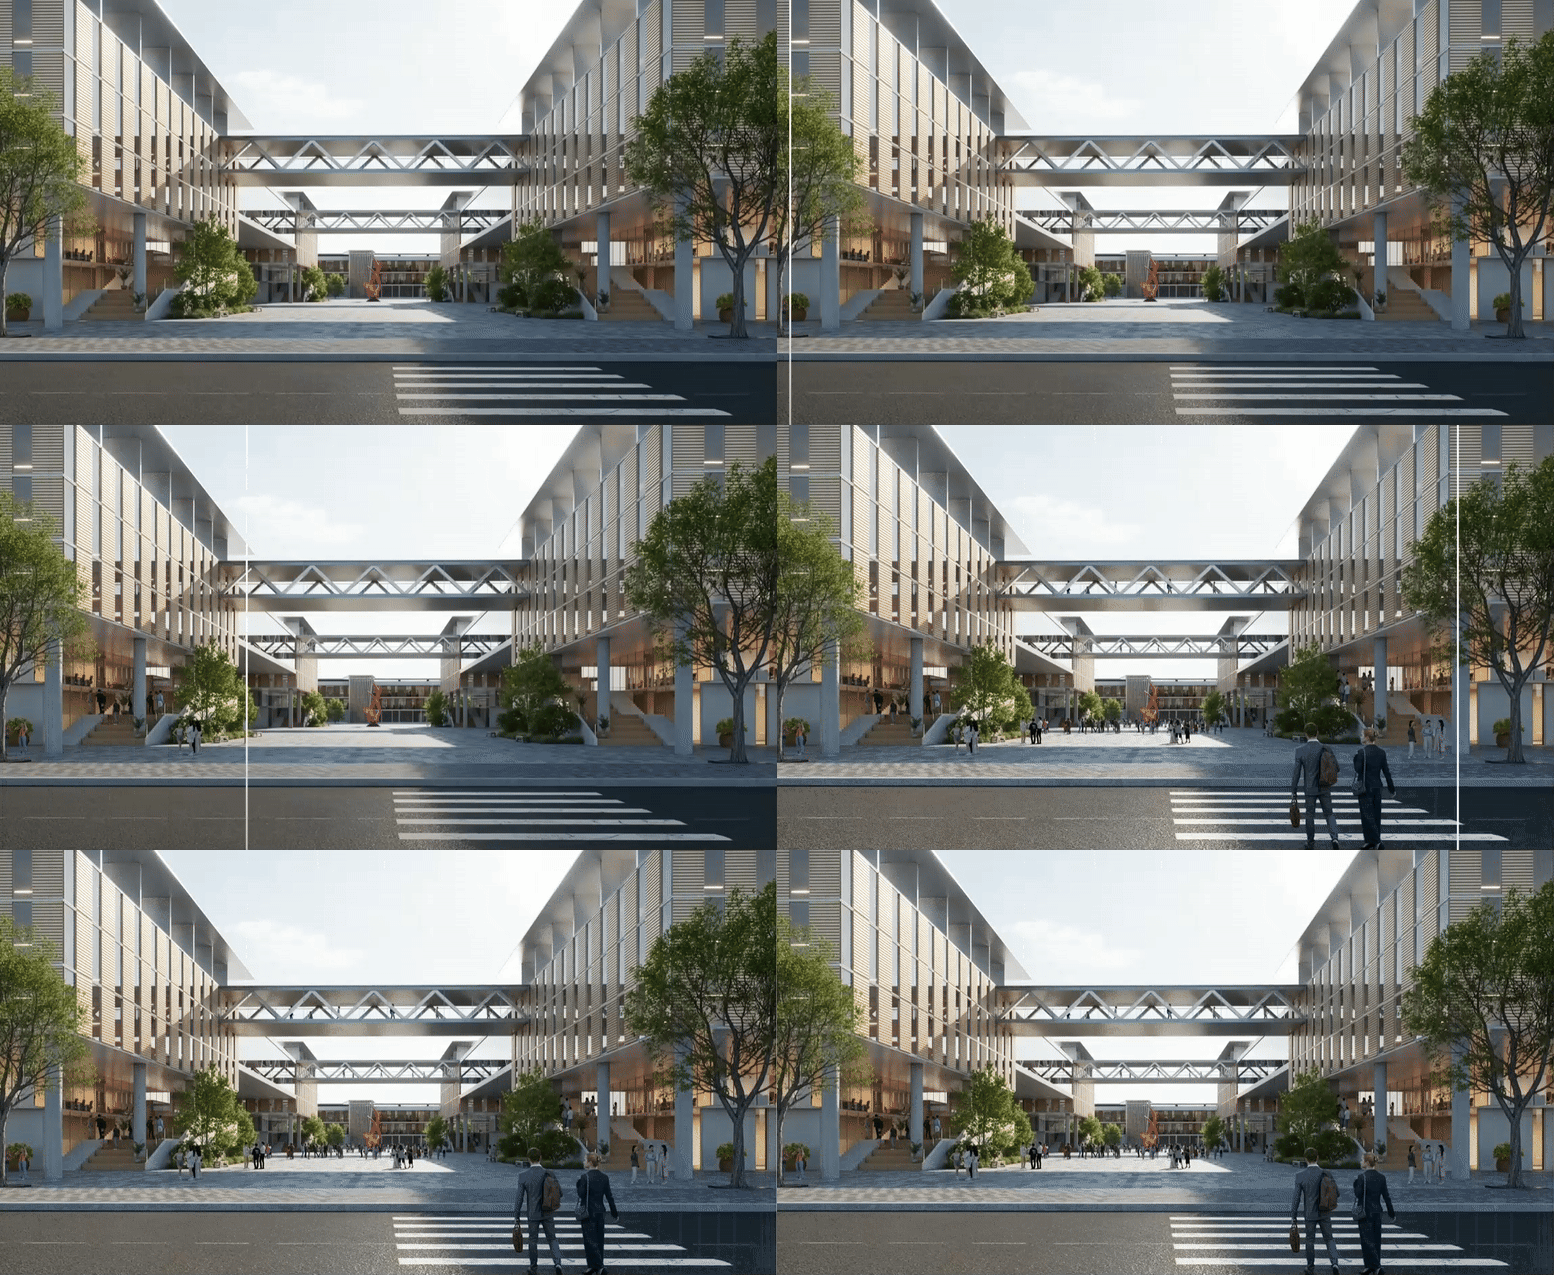
- 드디어, 경로를 따라 식물을 배치할 때는 항상 오프셋, 간격 및 배율을 무작위로 지정합니다.이 간단한 단계만 거치면 복사하여 붙여넣은 것처럼 보이지 않으므로 장면을 포토리얼리즘에 훨씬 더 가깝게 만들 수 있습니다.
👉 D5 렌더로 완벽한 잔디 잎을 만드는 방법은 무엇입니까?
🎁 보너스: D5 Render의 씬 및 레이어로 더 스마트하게 작업하세요
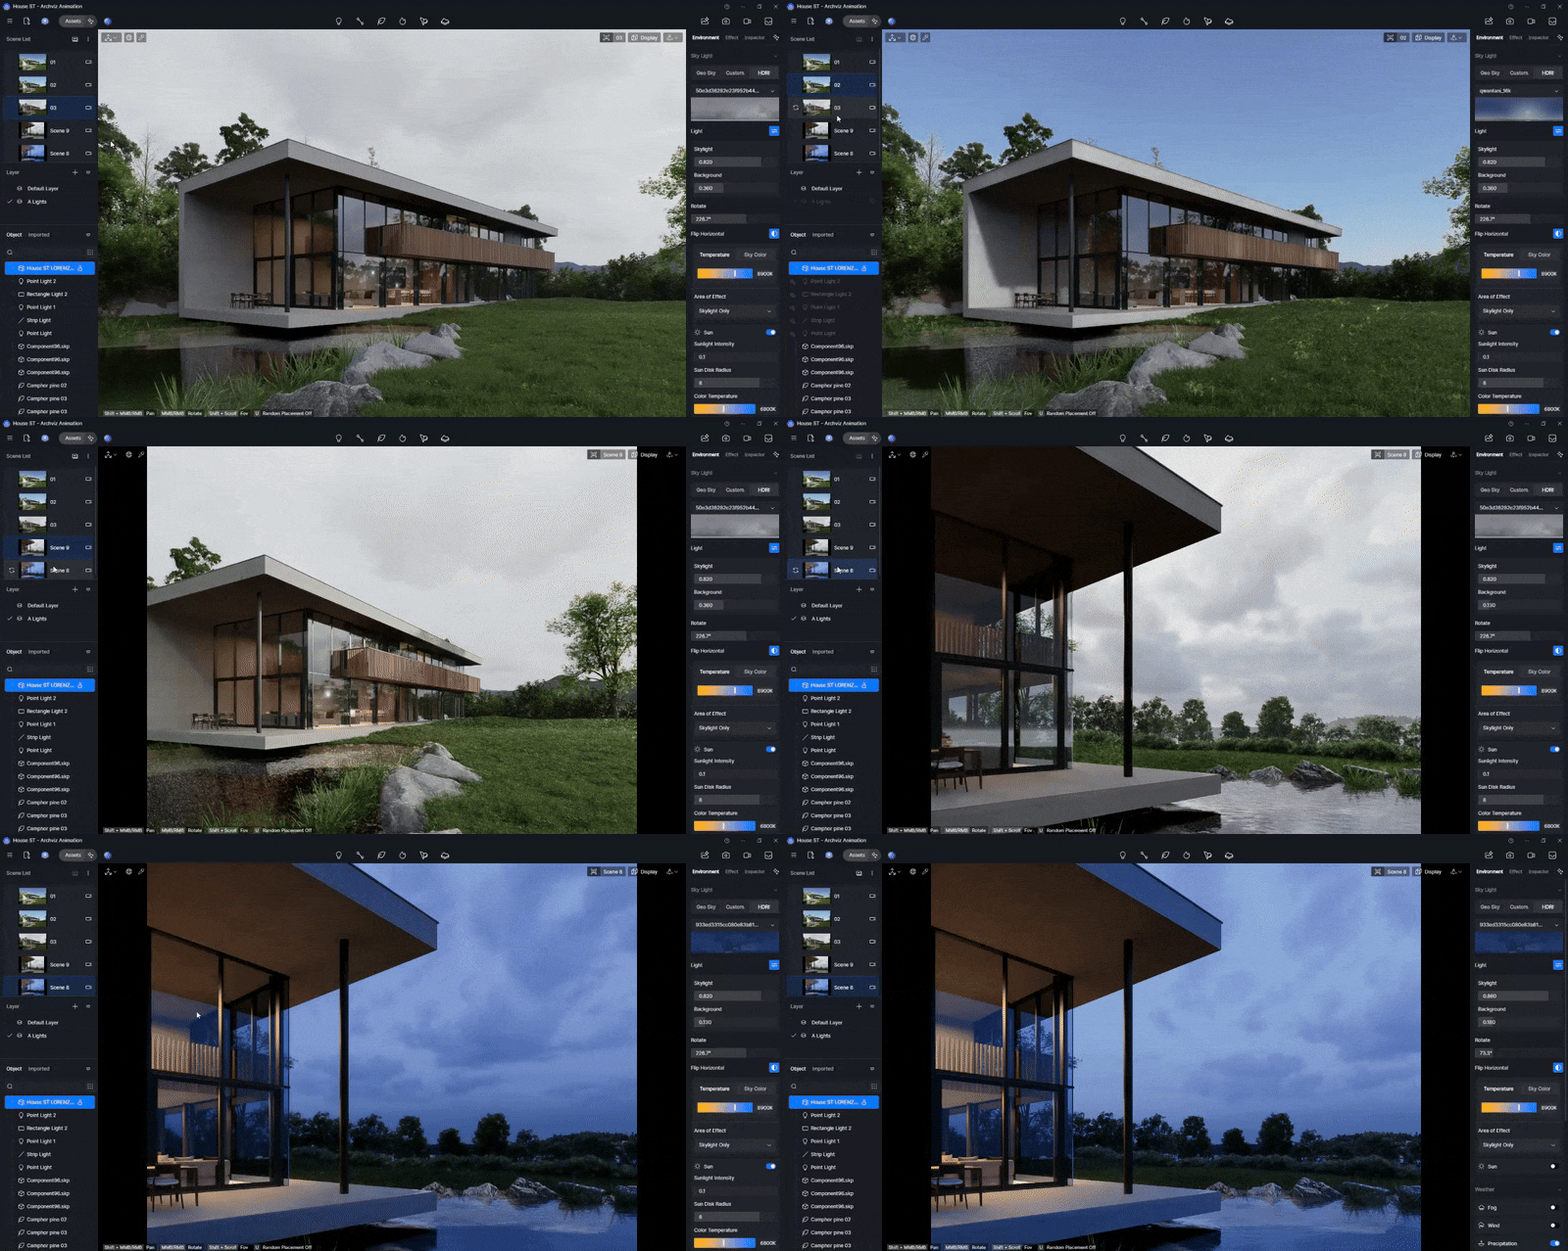
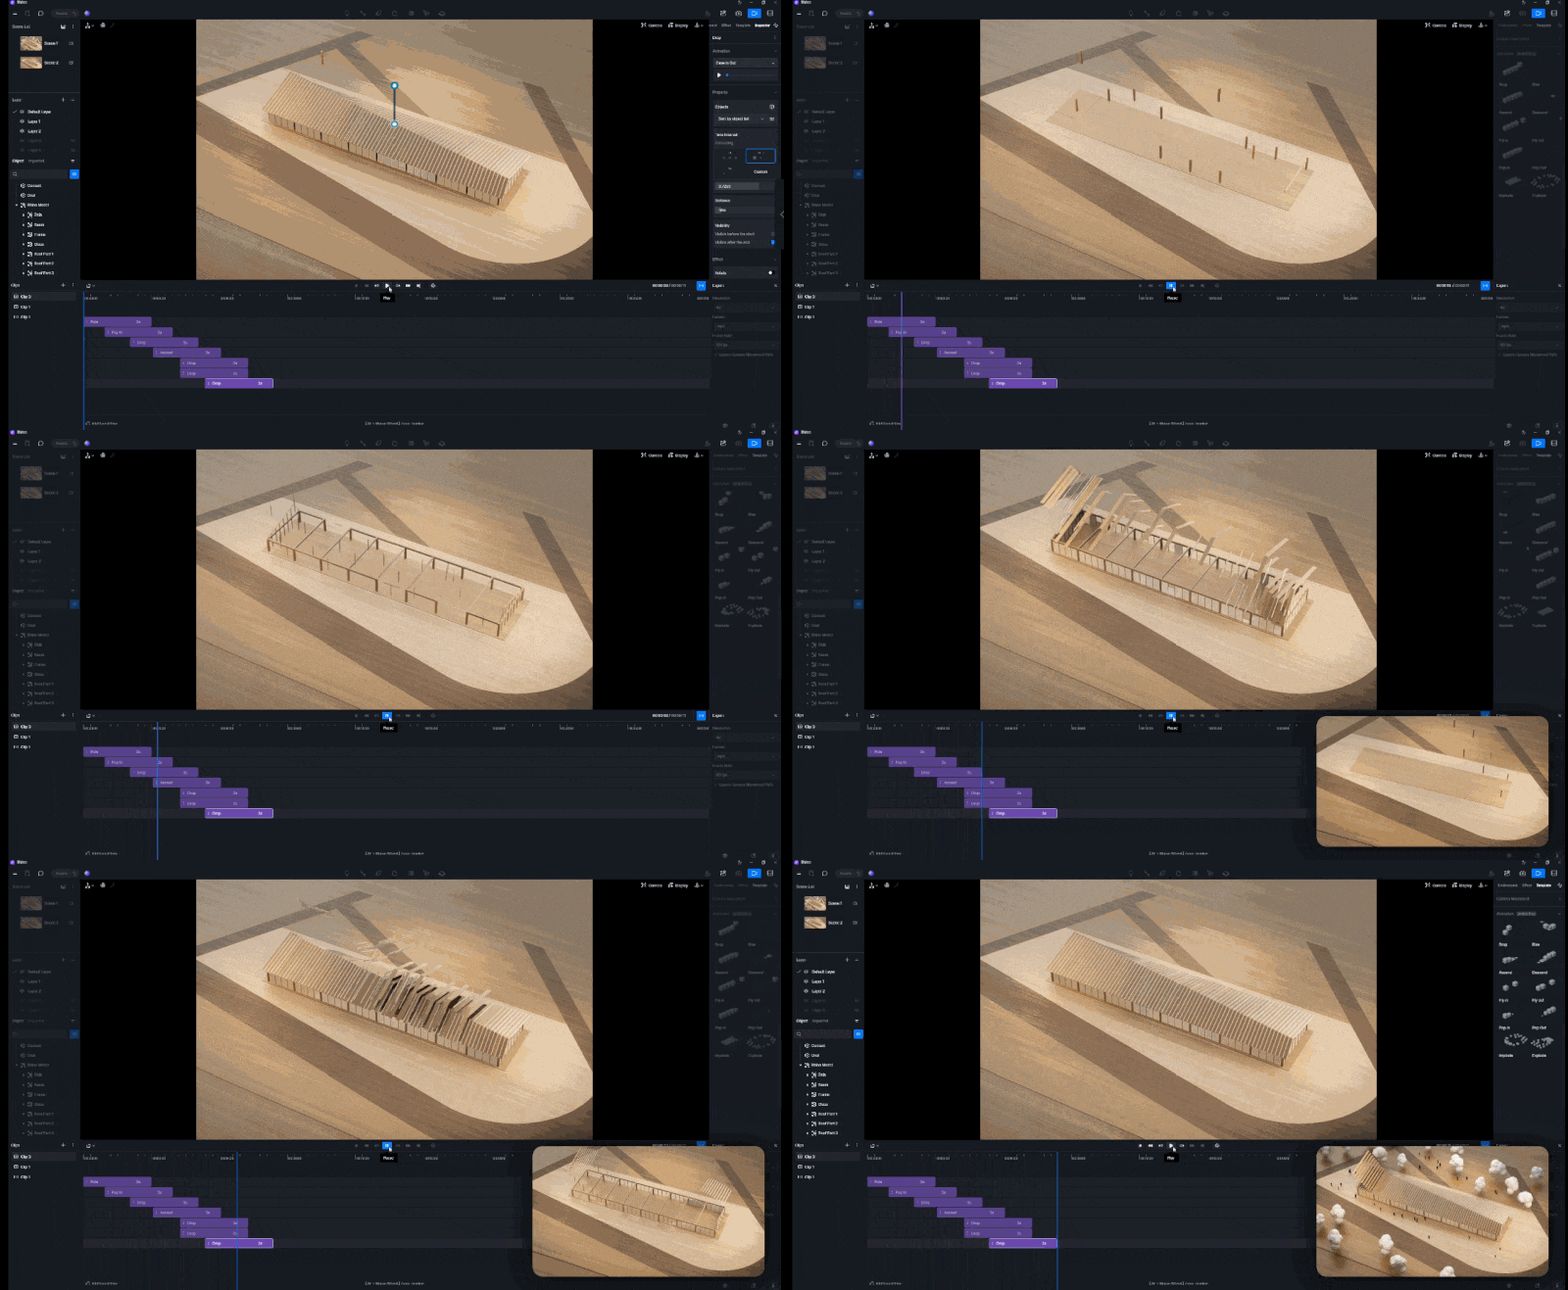
모델이 준비되면 다음을 사용하여 다양한 분위기를 효율적으로 탐색할 수 있습니다. D5 렌더의 씬과 레이어.
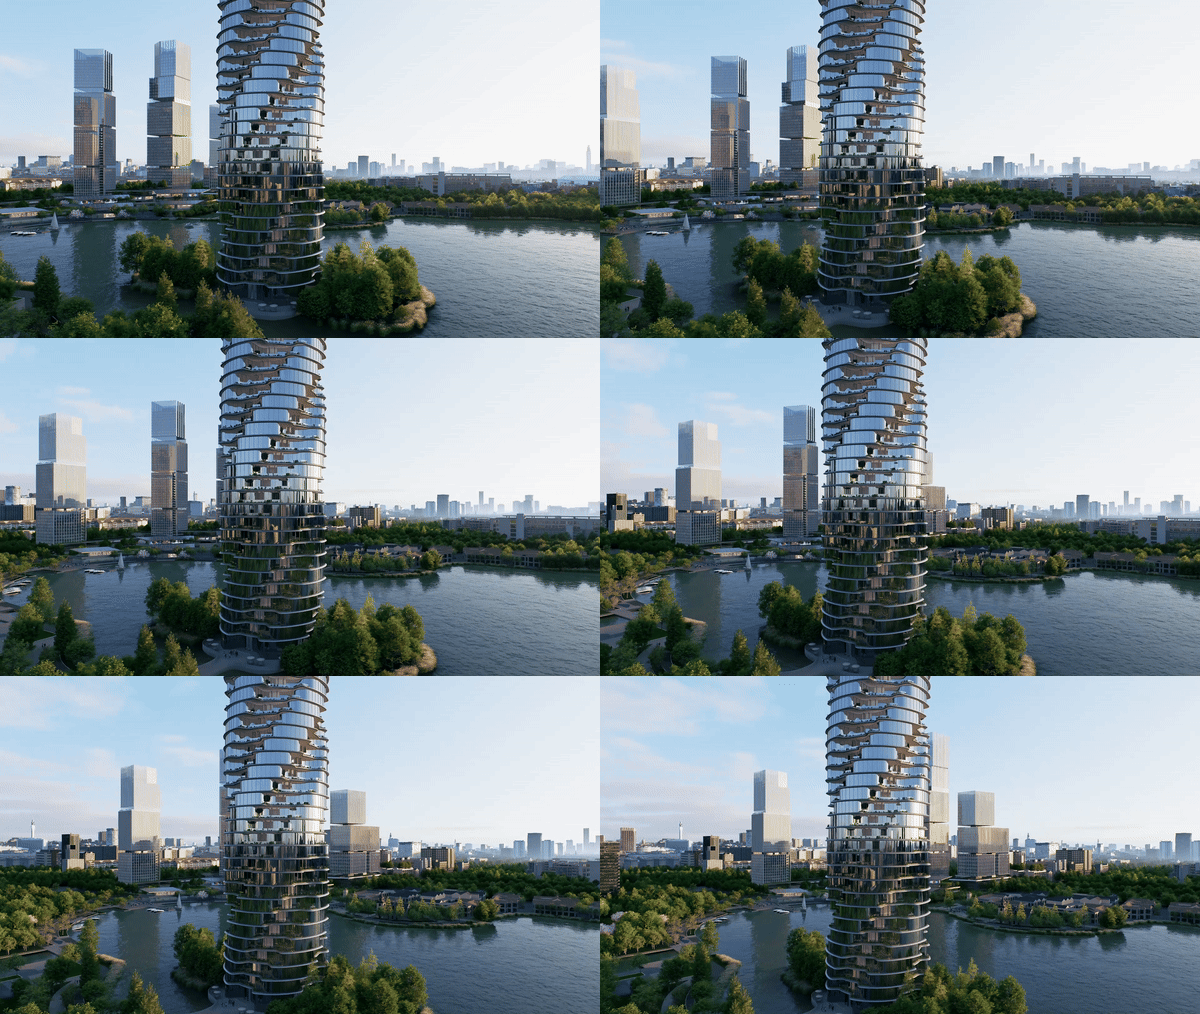
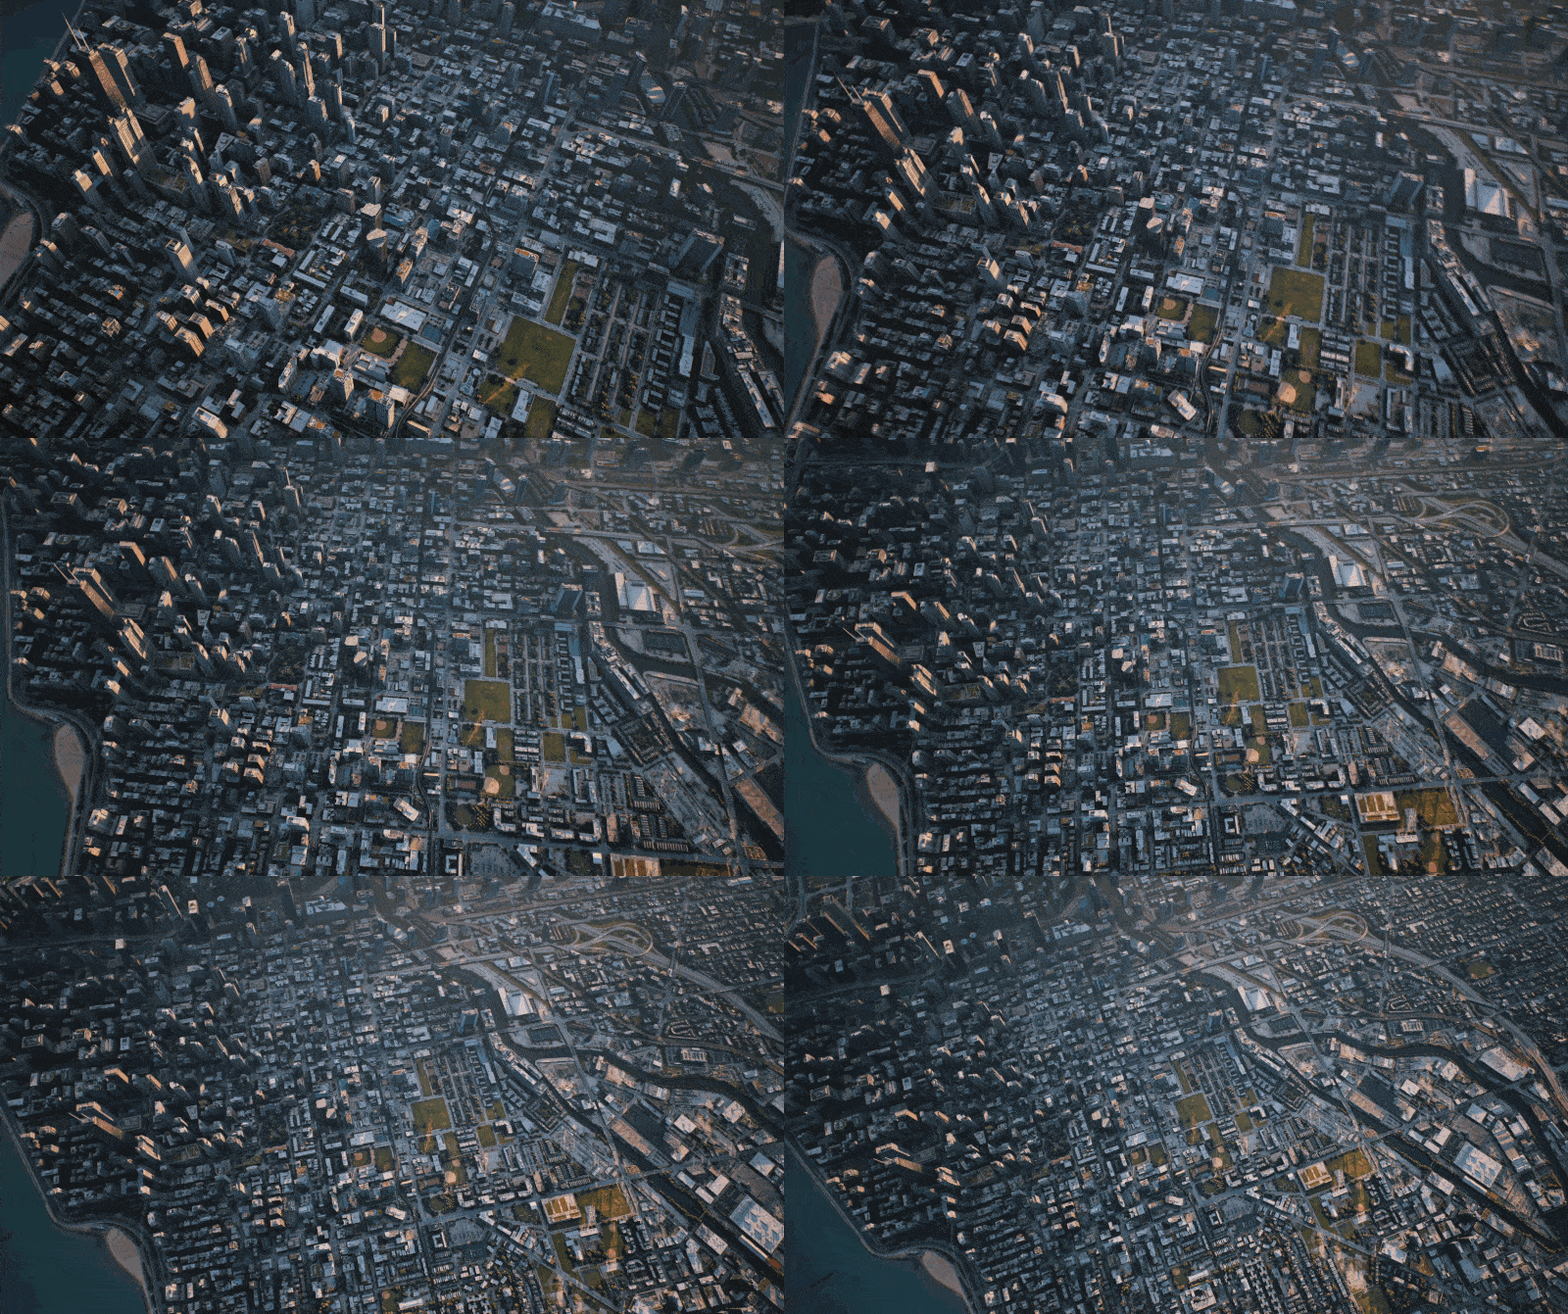
Scene List를 사용하여 화창한 날씨, 흐린 날씨, 골든 아워와 같은 여러 조명 설정을 동일한 카메라 각도로 저장할 수 있습니다.그런 다음 초목과 같은 요소를 즉시 켜거나 끄는 레이어를 사용하여 가시성을 손쉽게 관리할 수 있습니다.
클릭 한 번으로 A/B 테스트 분위기에 결합하여 워크플로를 가속화하고 고객에게 가장 적합한 비주얼을 자신 있게 선택할 수 있습니다.
결론: 포토리얼리스틱 렌더링을 향한 여정이 여기서 시작됩니다!
봐요?초보자가 흔히 겪는 이러한 장애물은 해결 방법을 알고 나면 그리 겁이 나지 않습니다.자연스러운 지평선, 사실적인 카메라, 풍부한 재료, 균형 잡힌 조명, 다양한 식물에 초점을 맞추면 이미 사실적이고 몰입감 넘치는 렌더링을 만들 수 있습니다.
건축 비주얼에 생명을 불어넣을 준비가 되셨나요?다음 다섯 가지 수정 사항을 실천에 옮겨 보세요. D5 렌더.작게 시작하여 자유롭게 실험하고 렌더링이 선명한 CG에서 사실적인 것으로 바뀌는 것을 지켜보세요.이게 다 됐어요 👏

더 많은 렌더링 팁을 보려면 계속 읽어보세요
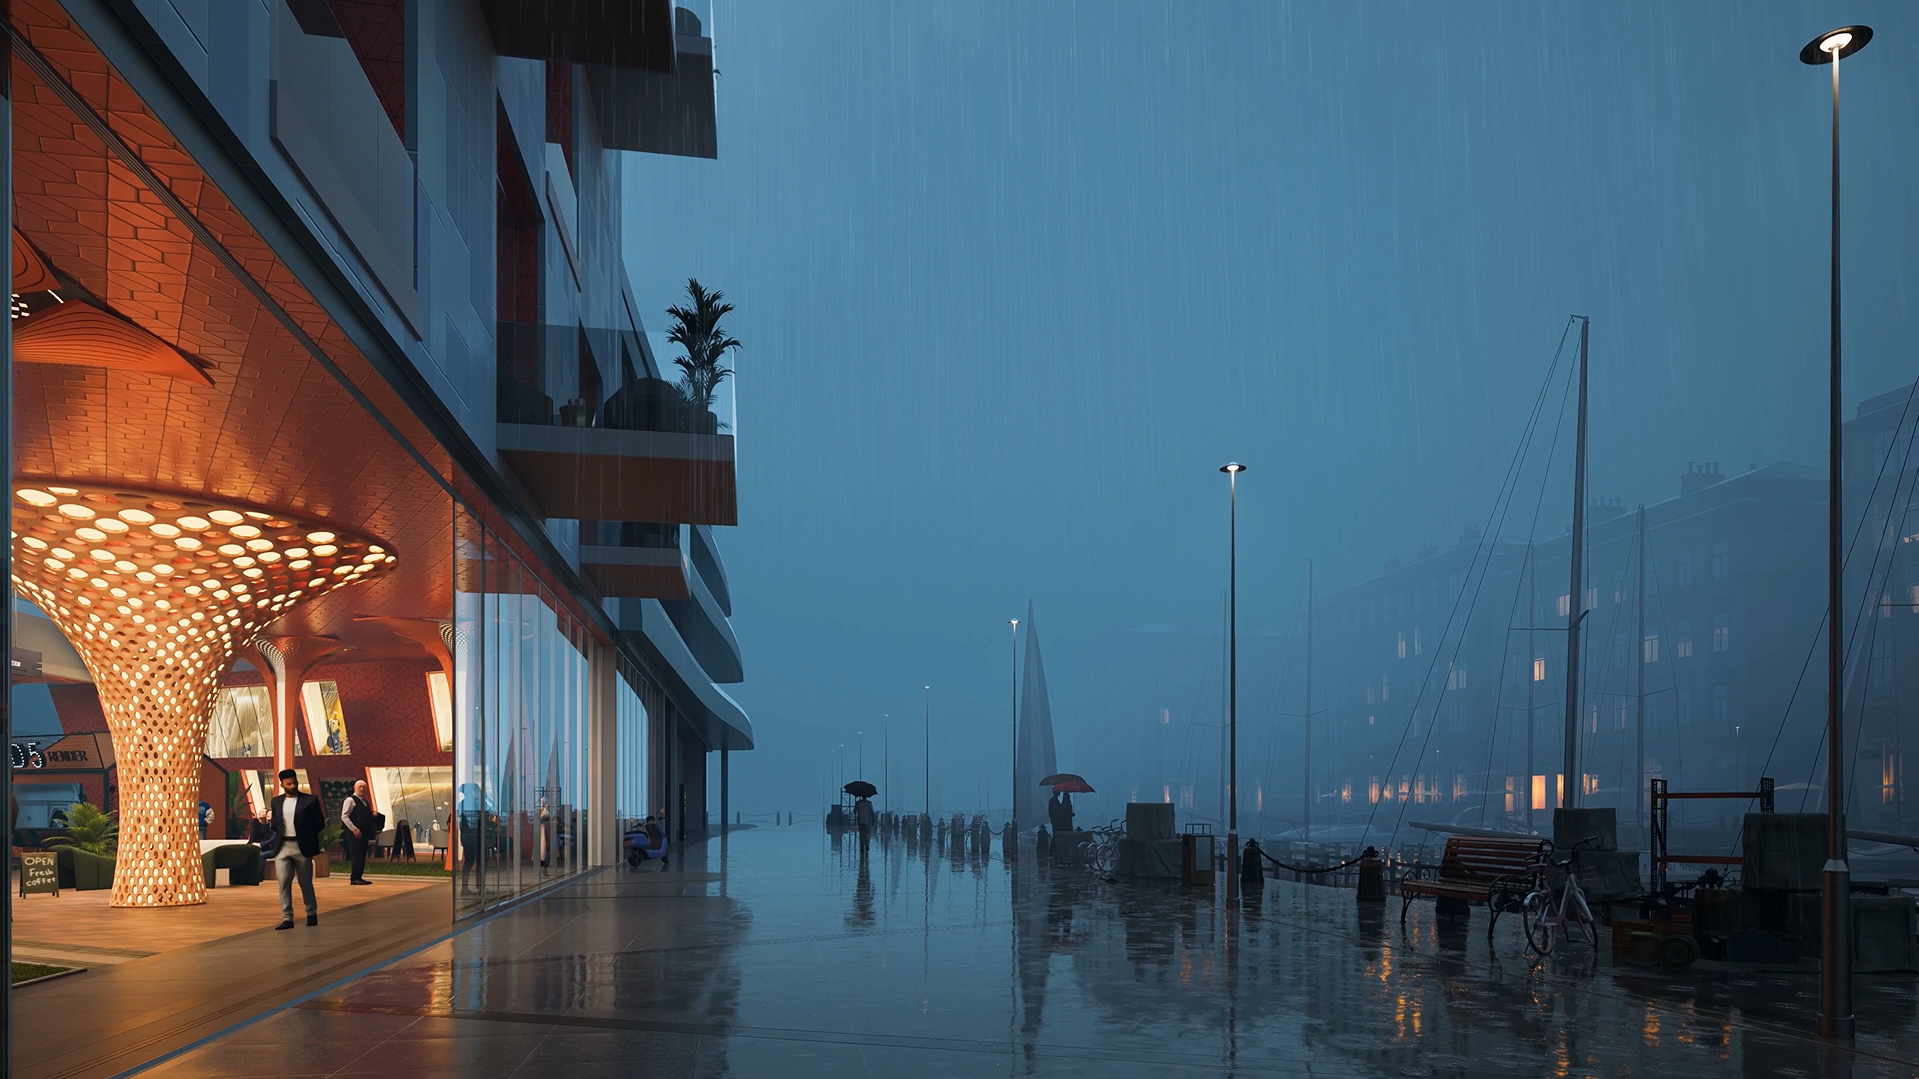
D5 렌더에서 사실적인 비 배경을 만드는 방법은 무엇입니까?
2025년 D5 렌더를 사용한 포토리얼리스틱 렌더링의 5가지 비밀
시각적 프레젠테이션으로 고객을 확보하고 싶으신가요?이 4D5 렌더 프로 팁을 사용해 보세요
건축가를 위한 AI 인핸서: AI 기반 정밀도로 렌더링 품질 향상
FAQ: 일반적인 포토리얼리스틱 렌더링 문제에 대한 솔루션
Q. 건축 렌더링에서 거친 수평선을 피하려면 어떻게 해야 합니까?
거친 수평선은 컴퓨터로 생성한 이미지를 보여줍니다.이 문제를 해결하려면 지형 조각 도구를 사용하여 부드러운 언덕과 자연 지형 또는 장소를 추가하세요. 백드롭 비행기 깊이를 만들기 위해서죠.
D5 렌더의 직관적인 터레인 스컬프팅 및 에셋 라이브러리를 사용하면 초보자도 쉽게 이러한 조정을 수행할 수 있습니다.터레인을 매끄럽게 블렌딩할 수 있는 기능과 배경 요소를 사용하면 복잡한 워크플로 없이 사실적인 수평선을 빠르게 만들 수 있습니다.
Q. 좋은 모델에도 불구하고 왜 렌더링이 “어색해” 보이나요?
렌더링이 여전히 비현실적으로 느껴진다면 잘못된 카메라 설정이나 각도 때문일 수 있습니다.자연스러운 초점 거리를 사용하고 눈높이에 맞춰 구도를 잡으면 큰 차이를 만들 수 있습니다.
D5 렌더 실제 사진 촬영 원리를 모방하는 데 도움이 되는 초보자용 도구를 제공하며, 카메라의 원근법과 피사계 심도를 쉽게 설정할 수 있는 옵션을 제공합니다.
Q. 3D 렌더링에서 재료를 더 사실적으로 보이게 하려면 어떻게 해야 합니까?
플랫 머티리얼리즘은 포토리얼리즘을 구현할 때 가장 흔히 발생하는 문제 중 하나입니다. D5 렌더 사전 최적화된 고품질 머티리얼의 광범위한 라이브러리와 함께 기본 색상, 노멀, 러프니스 등 전체 맵 제품군을 제공하여 이 문제를 해결합니다.
이러한 맵이 없더라도 D5의 AI 생성 머티리얼 텍스처 맵은 즉시 생성합니다.이러한 기능을 사용하면 빛에 반응하는 사실적인 표면을 구현하여 복잡한 설정 없이 렌더링에 깊이와 풍부함을 더할 수 있습니다.
Q. 랜드스케이프 렌더링에서 반복적이고 지나치게 푸른 잔디를 없애려면 어떻게 해야 할까요?
잔디 패턴이 반복되면 장면이 부자연스러워 보이는 경우가 많습니다. D5 렌더 스캐터와 같은 도구를 제공하고 브러시 도구, 다양한 유형의 식물을 혼합하고 그 배치를 무작위로 지정할 수 있습니다.
또한, 스마트 플랜팅 툴 AI를 사용하여 생태학적으로 정확한 경관을 생성하고 식물 종과 지형 조건을 자동으로 변경합니다.이를 통해 시간을 절약하고 잔디와 식물을 더욱 자연스럽고 다양하게 꾸밀 수 있습니다.
Q. 다양한 조명 및 분위기 설정을 빠르게 테스트할 수 있는 방법이 있나요?
조명 설정 간 전환에는 시간이 걸릴 수 있지만 D5 렌더의 씬 목록 및 레이어를 사용하면 여러 조명 구성을 저장하고 초목과 같은 요소의 가시성을 쉽게 전환할 수 있습니다.이 기능을 사용하면 다양한 대기를 빠르게 비교하고 디자인에 가장 적합한 분위기를 찾을 수 있습니다.
Q. 더 사실적인 렌더링을 위해 조명을 제어하려면 어떻게 해야 합니까?
하이라이트가 끊어지거나 조명이 거칠면 렌더링의 사실성이 손상될 수 있습니다. D5 렌더의 수동 노출 제어 및 일광 조정을 통해 장면의 조명을 미세 조정할 수 있습니다.노출 슬라이더를 낮추고 햇빛 강도를 조정하면 밝은 영역의 디테일을 보존할 수 있습니다.Sun Disk Radius를 조정할 수 있어 그림자가 부드러워지고, Custom Sky 패널을 사용하면 하늘을 미세 조정하여 균형 잡힌 사실적인 분위기를 만들 수 있습니다. 조명의 요령을 아직 배우고 있는 초보자에게 적합합니다.

.png)



.png)
1%20(2).png)


%20(1).png)
.png)








.png)





.png)


