Displacement, one of the built-in material templates in D5 Render, can help simulate the 3d bump effects. When you need to create embossed stones, brick walls or other rugged materials, this template will play a big role. Today, we will show you how to create your own displacement textures.
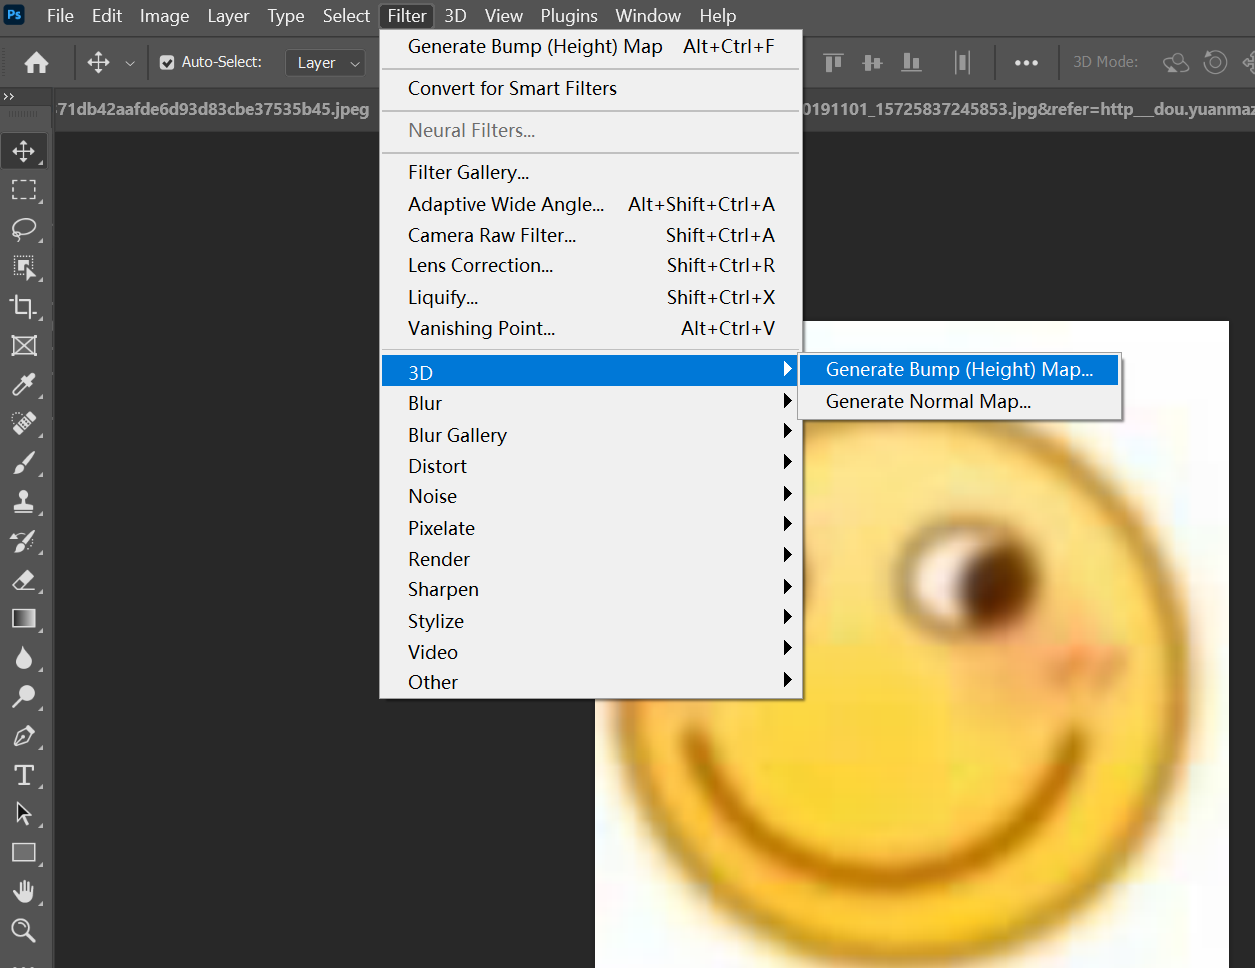
Take this emoji for example.

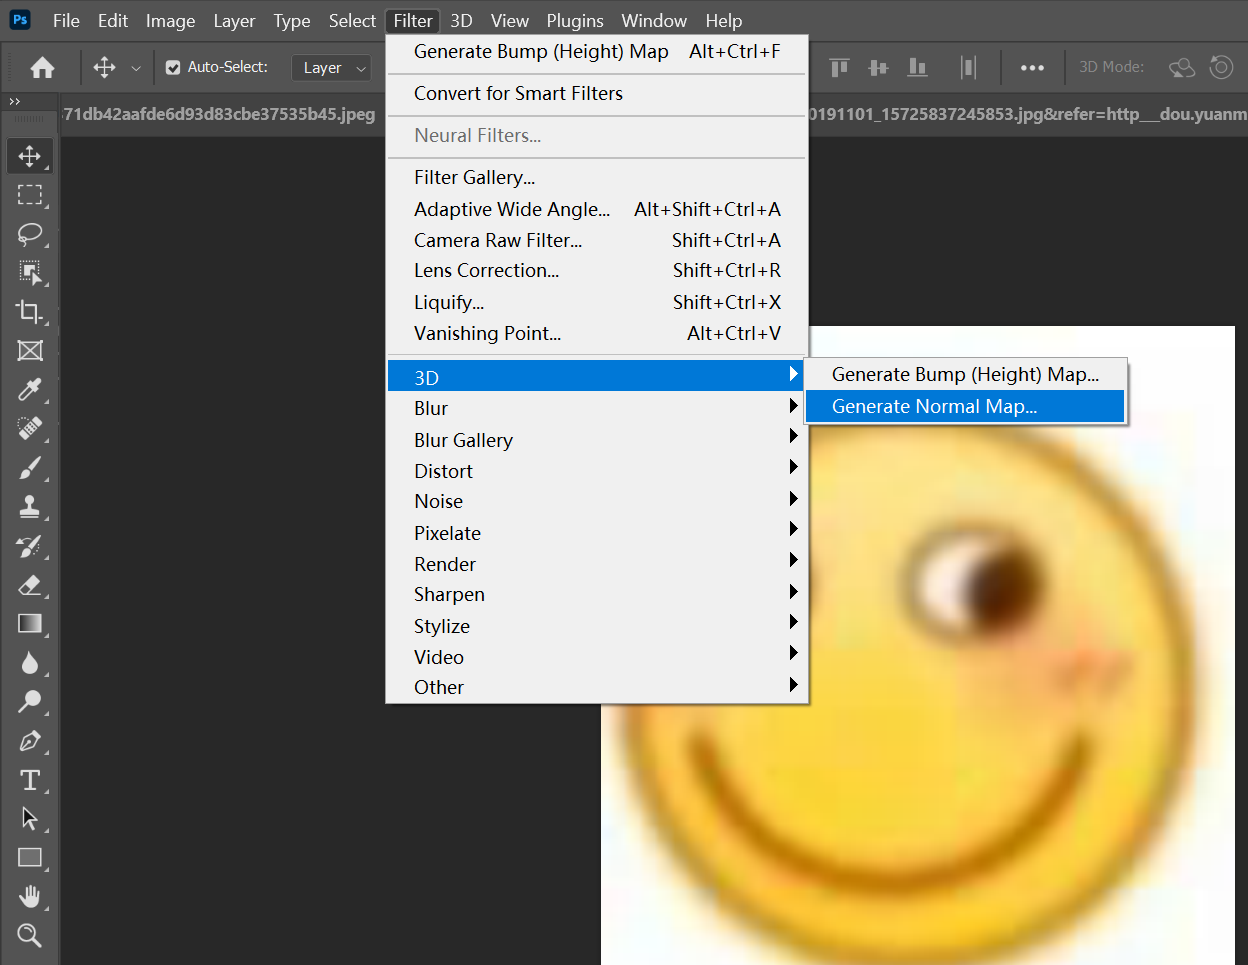
First, open the image on which you want bumps in Photoshop. Choose Filter > 3D > Generate Bump (Height) Map.
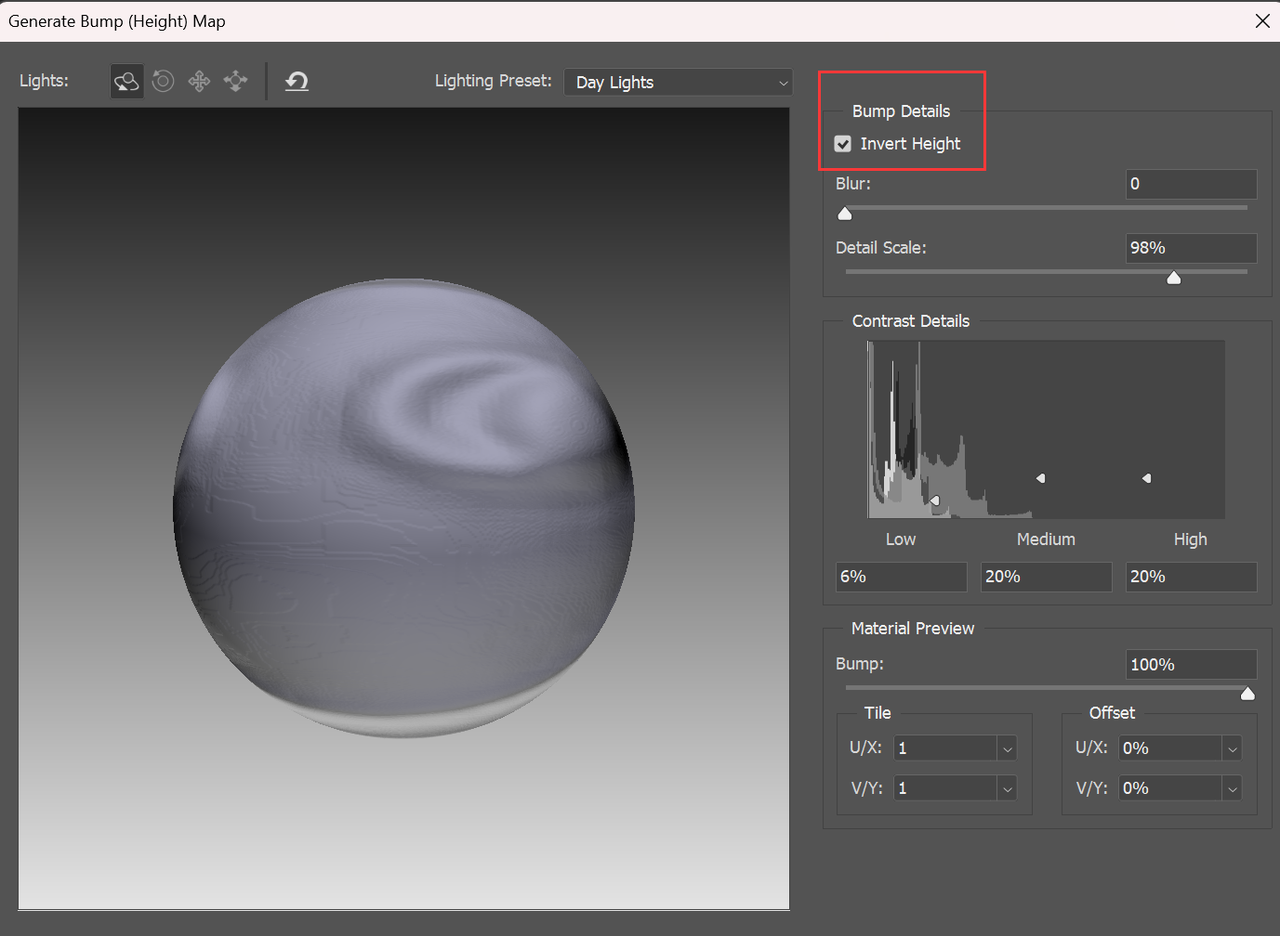
Adjust the parameters in the pop-up window according to your need, and you can see the change in the left window.
Before getting down to making the map, you need to understand the logic here: the whiter the area, the more it bulges.
Then go to Filter > 3D > Generate Normal Map (generally speaking, the default parameters do not need to be modified) to create a normal map for it.
Now we have three texture maps:Normal map which controls how bumps and dents reflect light;Displacement map which simulates model bumps and dents;Base color map. Export them as .png files.
In D5 Render, select a material and then change it into the Displacement template.Put the three texture maps into the corresponding slots.
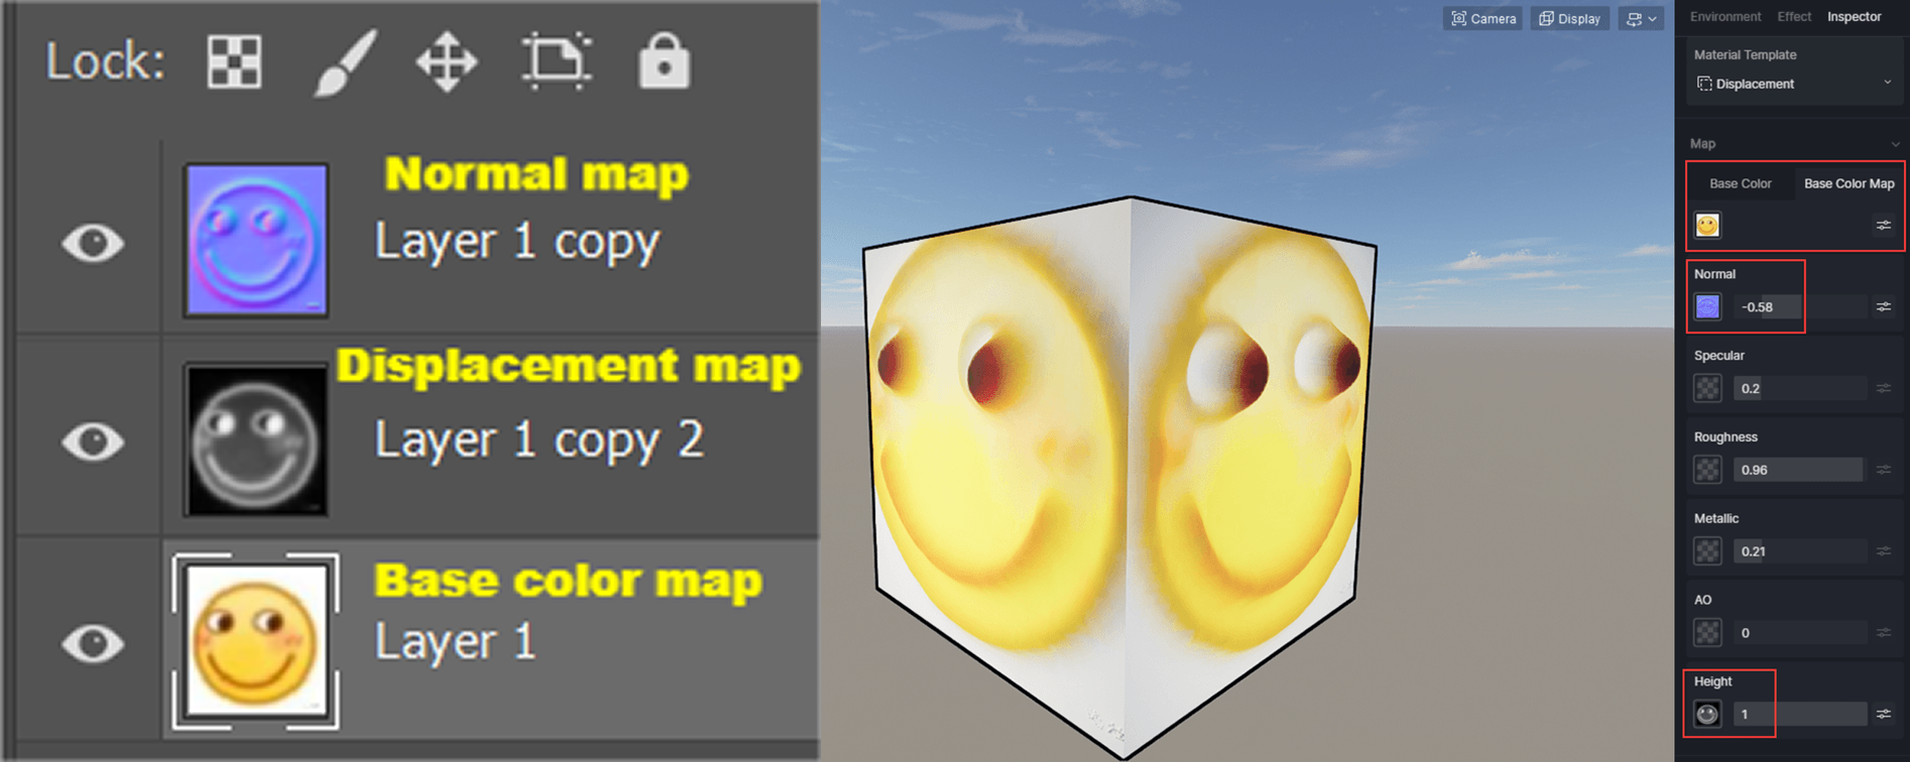
We can see that the displacement effect looks realistic with appropriate light reflection.
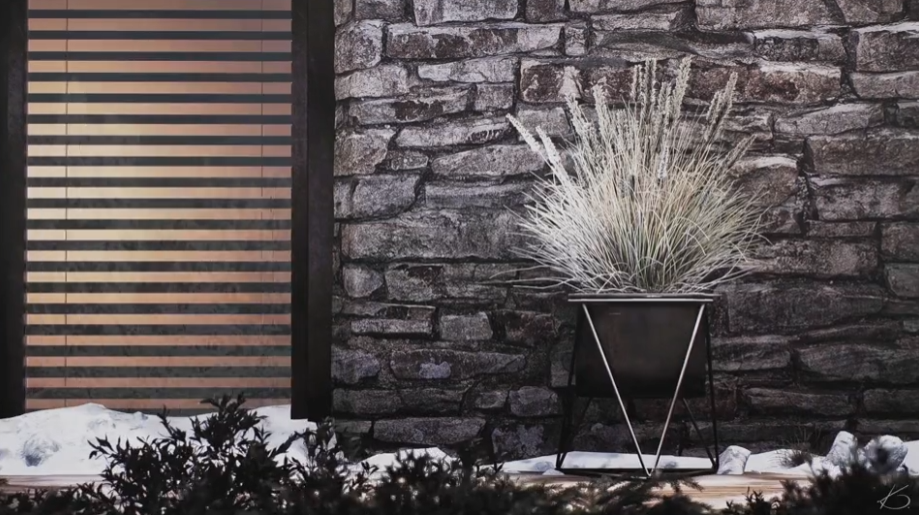
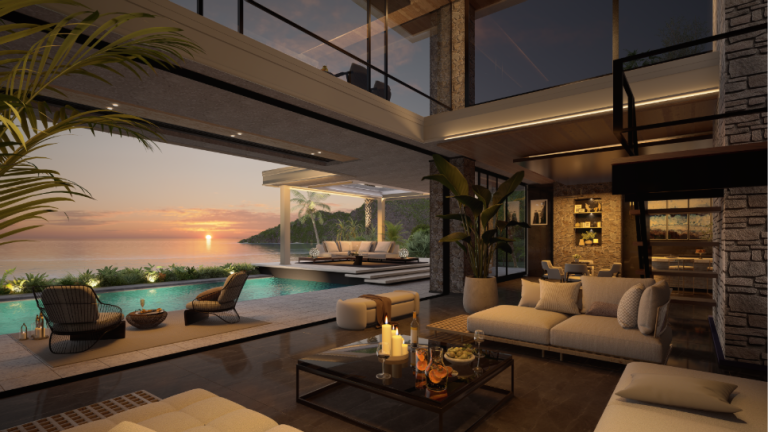
Now you know how the Displacement material works and how to make one. Let’s see some nice works containing displacement textures: