In this article, we want to illustrate how to create realistic lighting with D5 Render for an atmospheric room modeled in SketchUp.
Import .skp models and lights into D5 Render
First things first, check your models after they’re completed. You can directly open the .skp file in D5 Render. Or, you can use the live-sync plugin D5 Converter-SketchUp to import models, lights and materials from SketchUp into D5 Render. When the plugin is enabled, any changes made to the .skp models can be instantly updated in D5, giving you full control over your model.

Once the model is settled, you can start to create realistic lighting for the scene in D5 Render with its powerful environment and lighting systems.
Lighting adjustment
Skylight
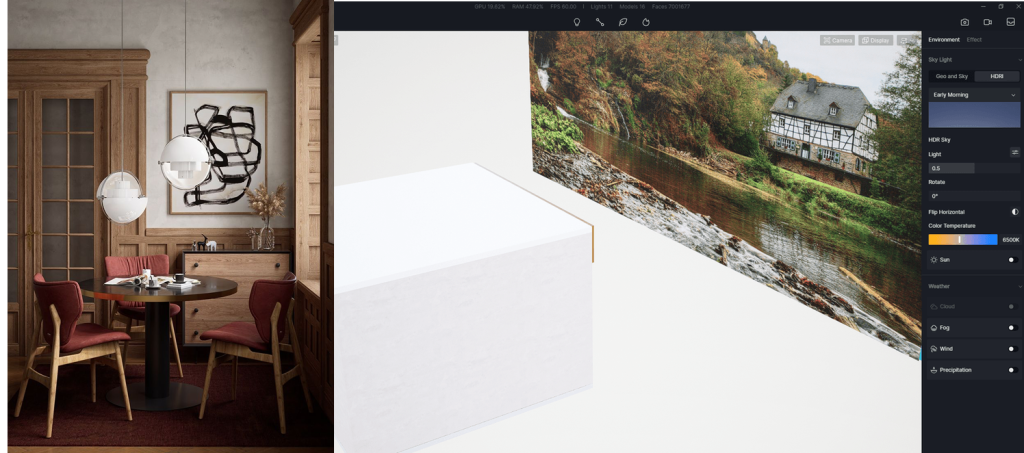
D5 Render has both Geo&Sky and HDRI to create an appropriate skylight environment.
Geo&Sky can simulate sunlight in the real world, thus suitable for bright and sunny scenes, while HDRI can help you make more possible weather.
Click here to learn more about Geo and Sky.
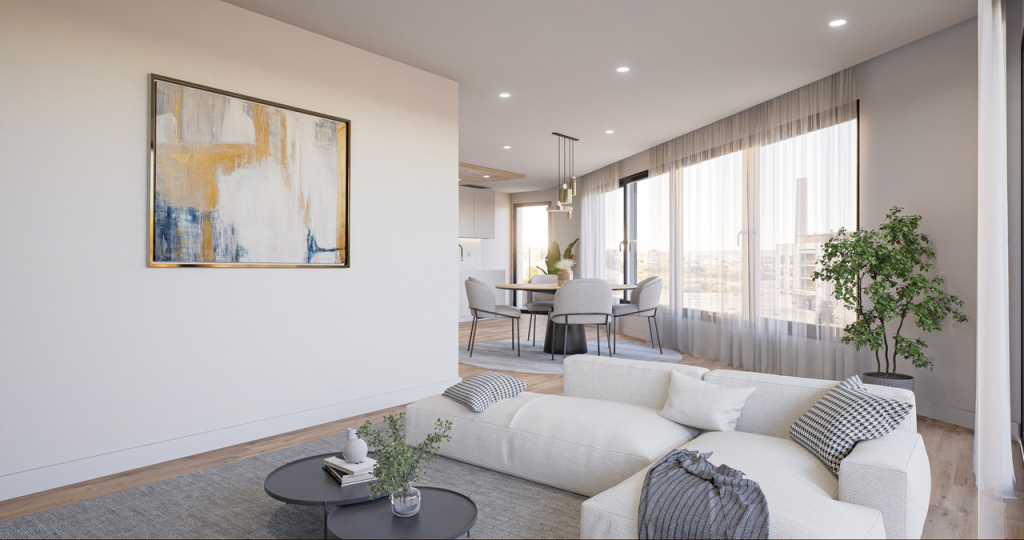
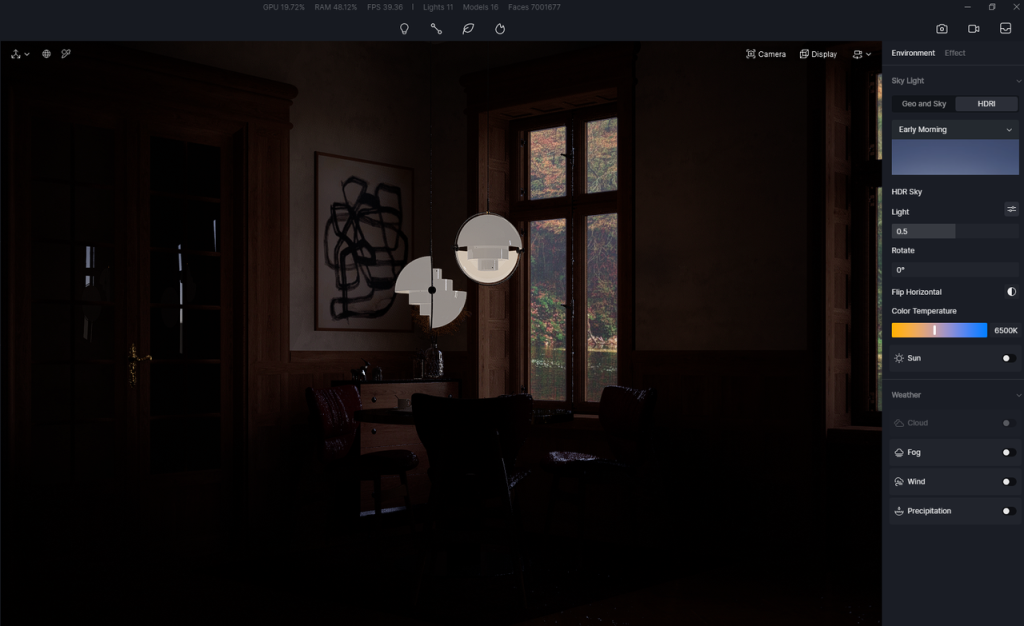
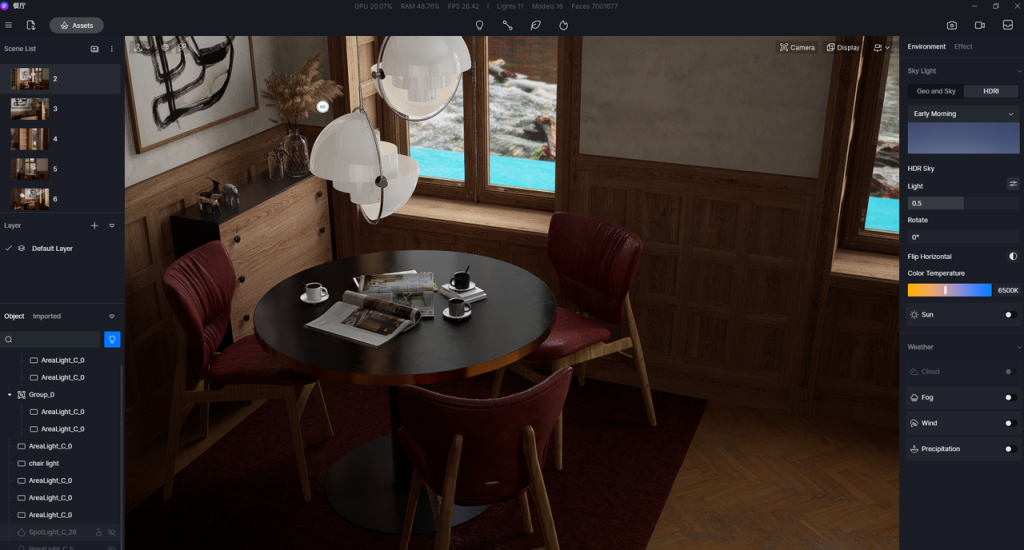
For example, if you want a cozy room on a cloudy day, you can use the built-in D5 HDRI “Early Morning” and adjust the light intensity and color temperature to create a warm, vague tone. There is no need to turn on Sun for cloudy weather, so artificial light becomes critical to decide if this scene is realistic or not.
Artificial light
D5 Render has four types of artificial lights:
- Point light, which emits light in a manner similar to a light bulb;
- Rectangular light, which can be used simulate any rectangular luminous object and is especially helpful to light up some large space;
- Strip light, which is like a long light tube;
- Spotlight, which emits light from a point and thus can highlight a certain object.
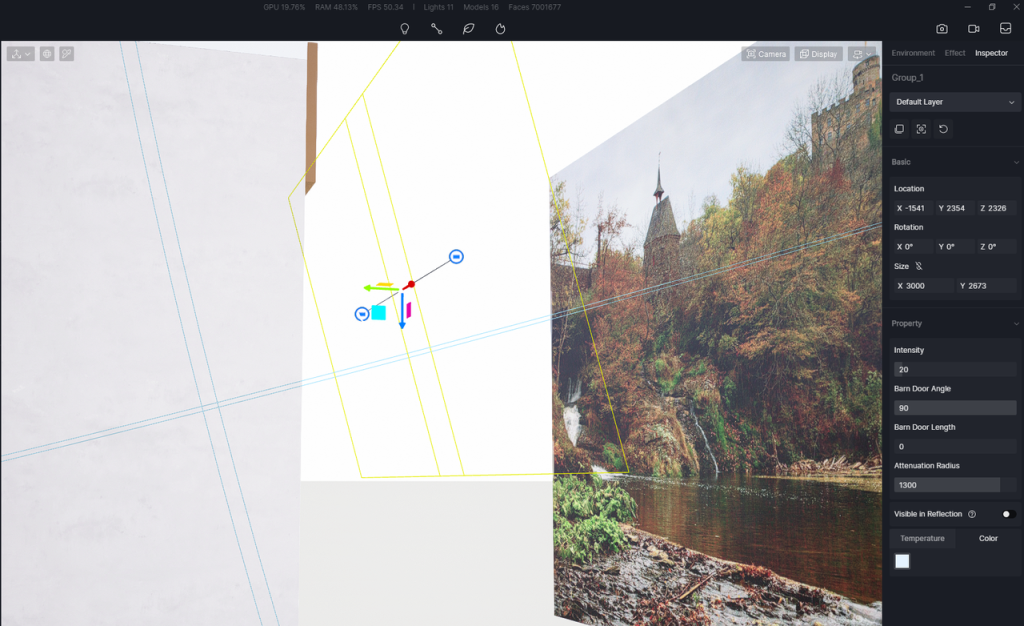
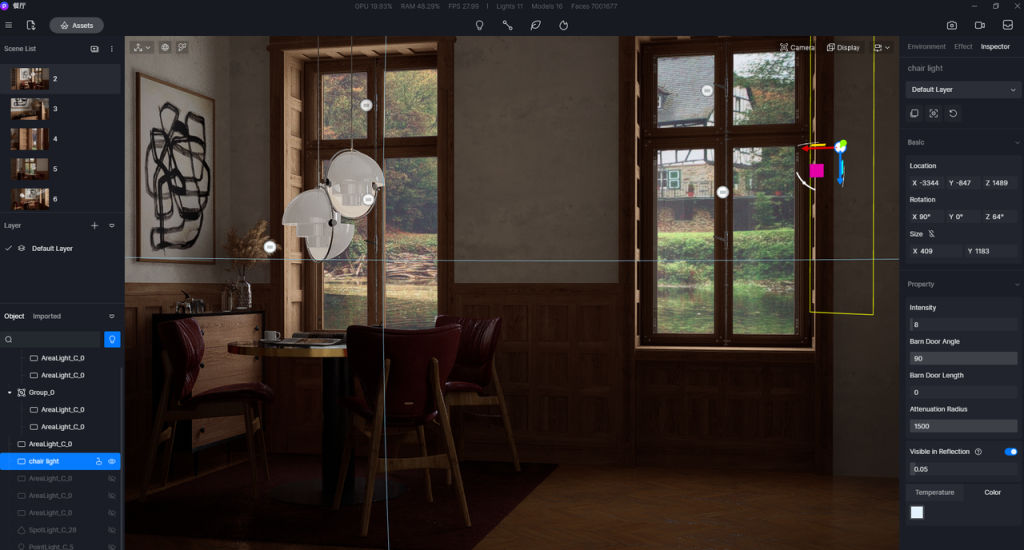
First, to illuminate the whole room, you can put a rectangular light at an angle outside of the window and adjust its Attenuation Radius to cover the house. The lighting intensity doesn’t need to be very high, as you can add more lights later. Now the room is basically visible.
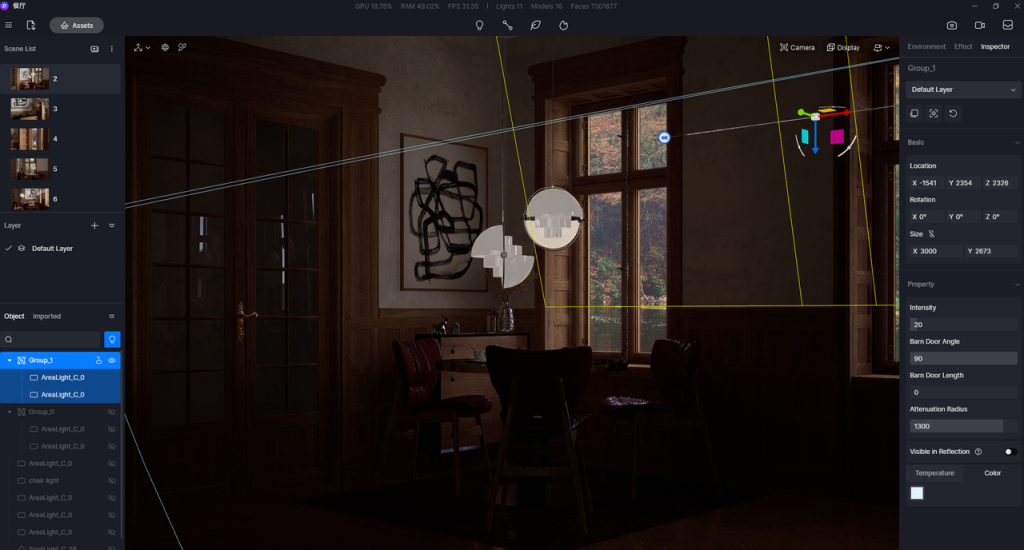
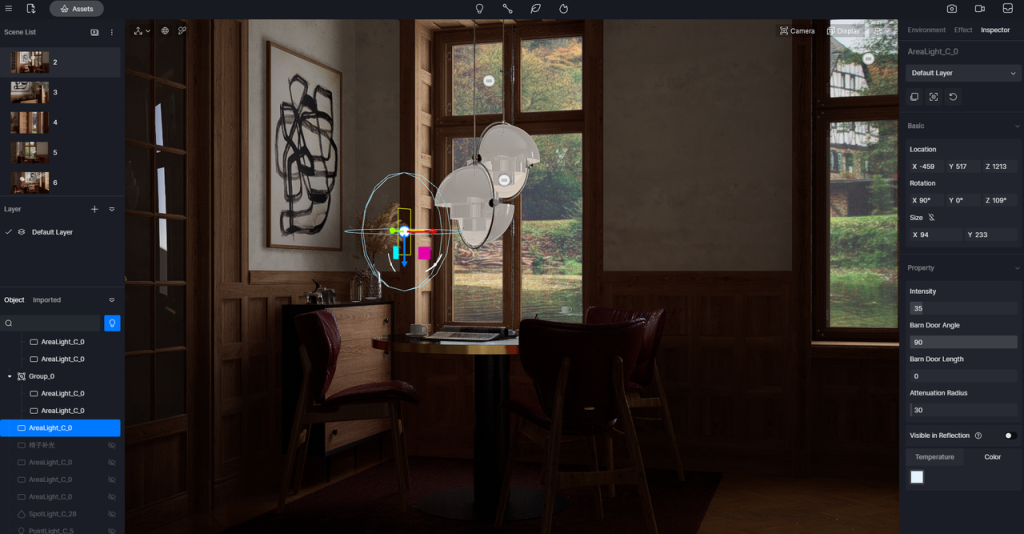
Then you can put two more rectangular lights on the windows. As they are where the light comes through, this will cast shadows on the wall and floor.
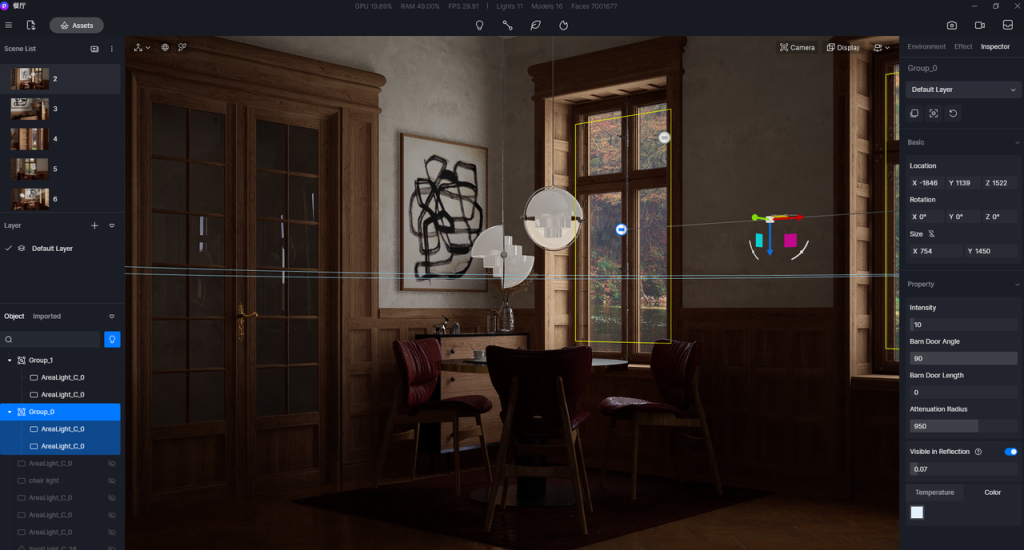
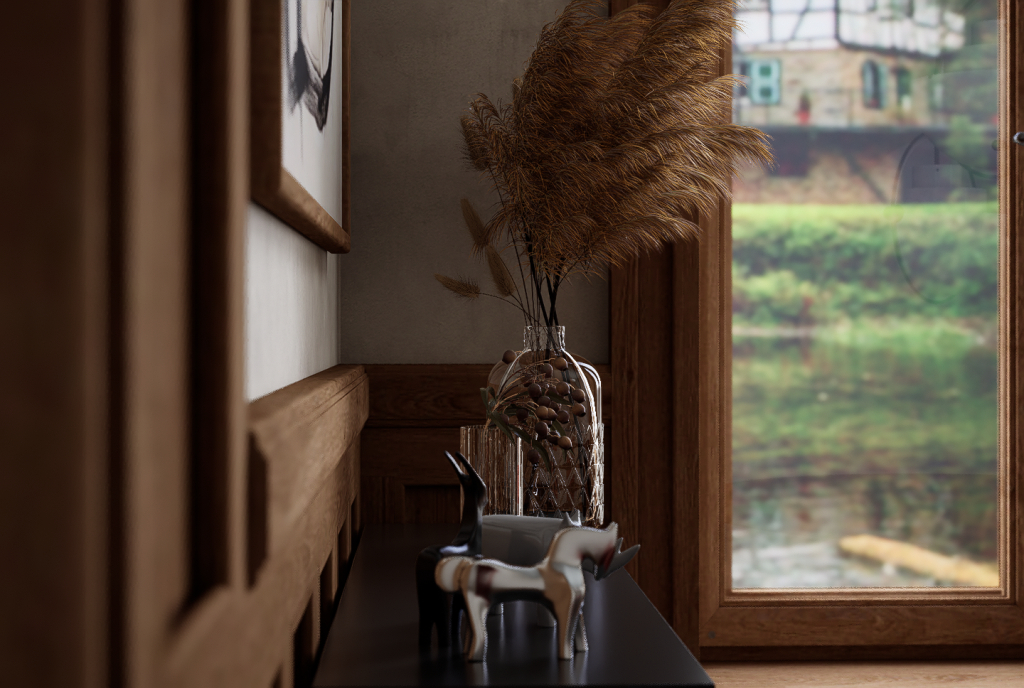
The main body of this image is the desk and chairs. So this part should be brighter than the rest of the room. To achieve this effect, you can put a small rectangular light next to the vase, adding more contrast between light and dark. Then set another rec light on the opposite to light up this area more.
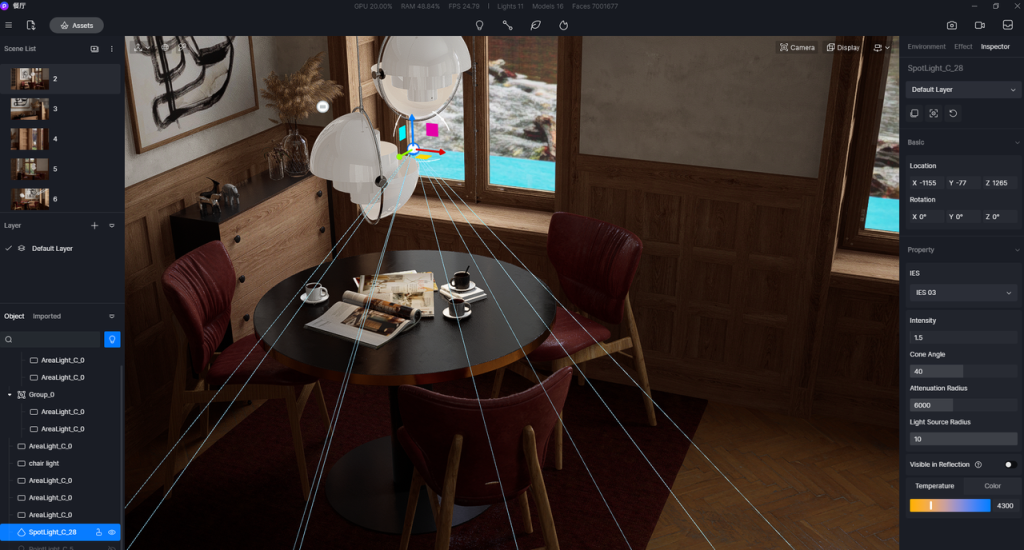
Now the overall lighting has been done. It’s time for details. First add a spotlight above the table. Turn down the Cone Angle a bit, which ensures only the area around table will be affected. Then give the spotlight a yellow tone so the books and cups will look warm.
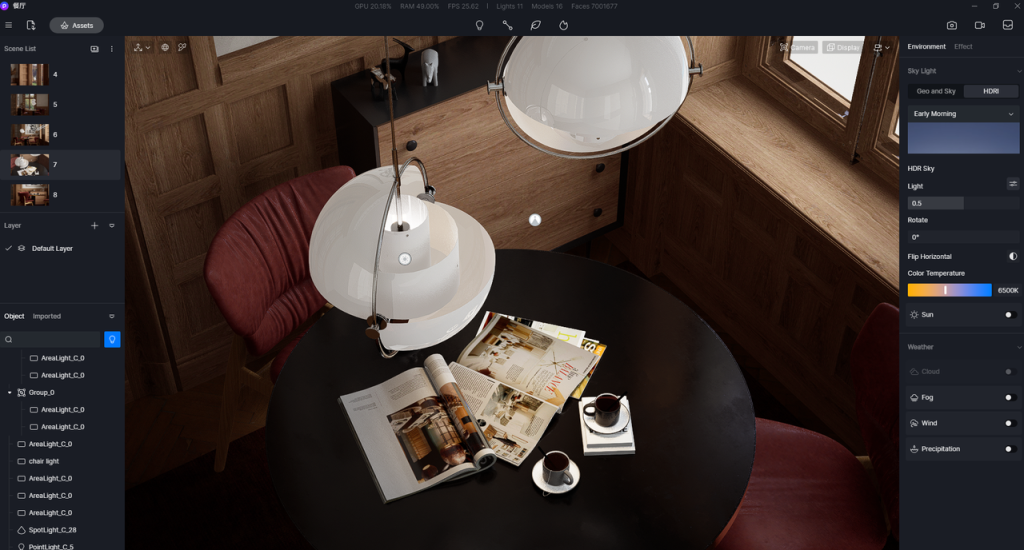

Add a point light into the hanging lamp, so its interior will also look a bit bright.

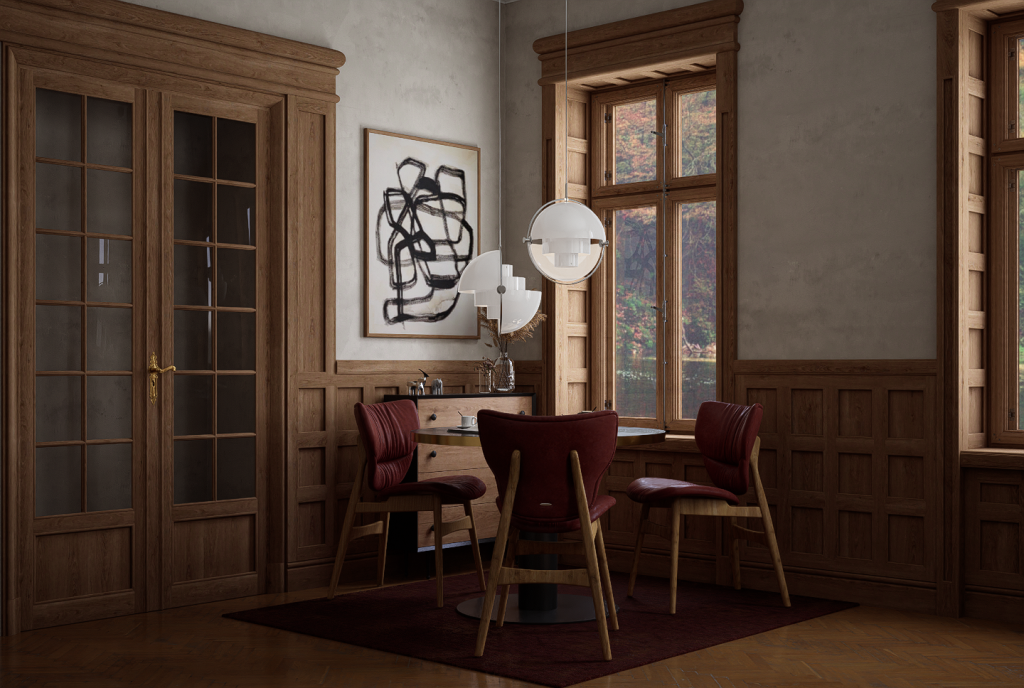
Done! This is how the room looks after these lights are added:
Download the demo scene for free on D5 Forum
We’ll share more tips of lighting in D5 Render. Please stay tuned.
SketchUp Interior Render Showcase