When it comes to SketchUp real-time 3d rendering, D5 Converter could be the best livesync plugin for you to work with. You’ll not only enjoy the convenience of model/material/light/camera synchronization, but also benefit from the powerful rendering software, D5 Render.
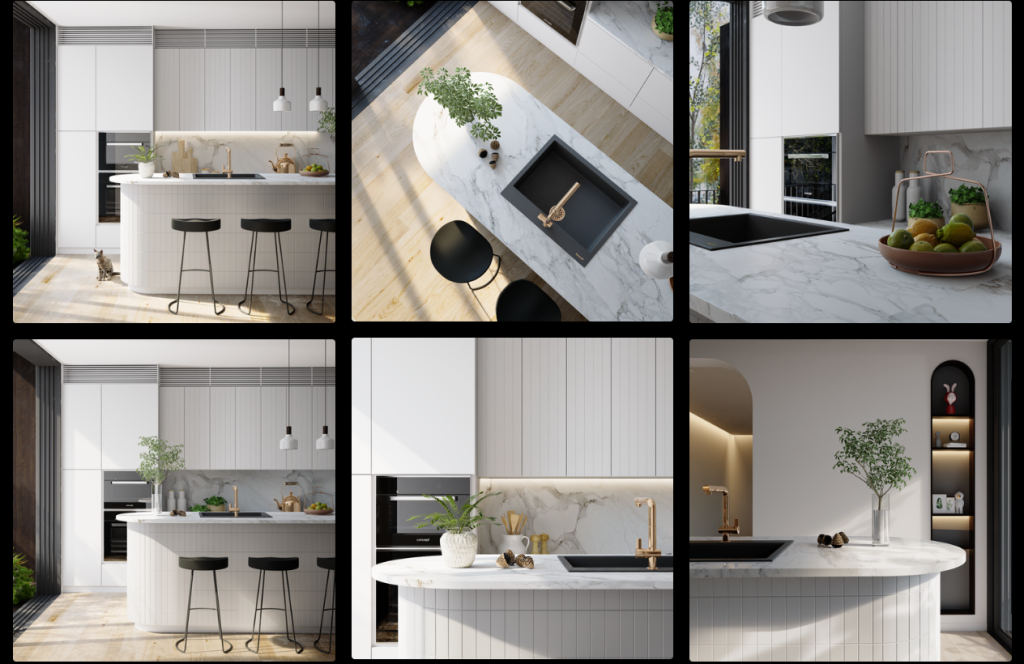
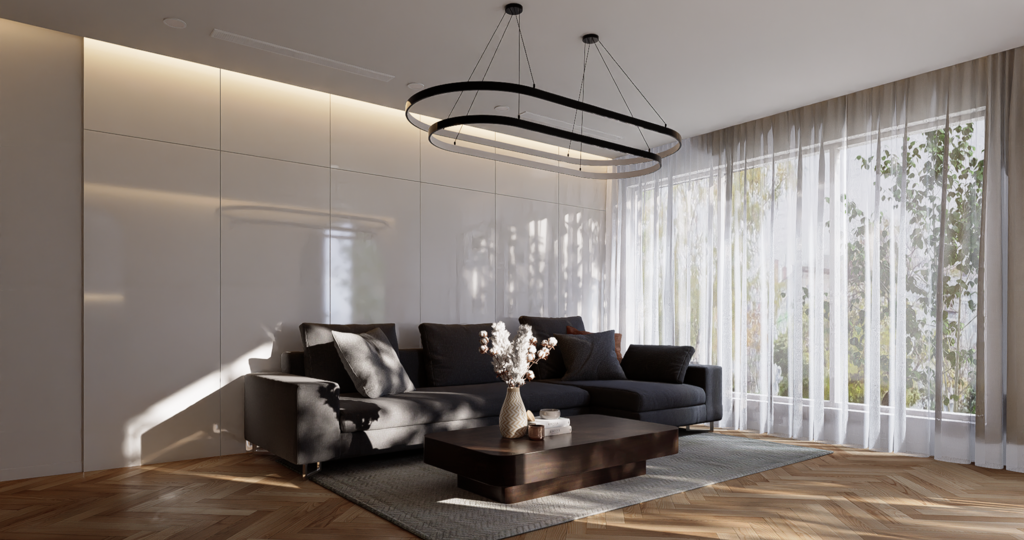
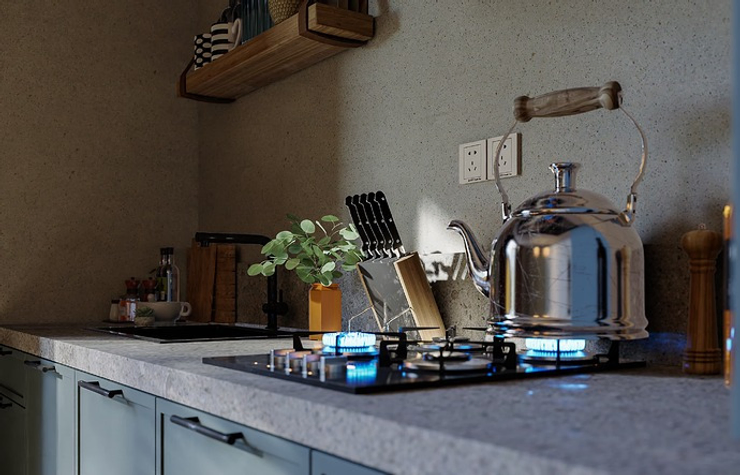
This article is a guide on how to speed up your SU to D5 workflow with tips and tricks to help you make better scenes with ease. This interior kitchen rendering by Quoc Phan will be used as demo scene.
Tips
1. How to hide horizon line & add beautiful reflections
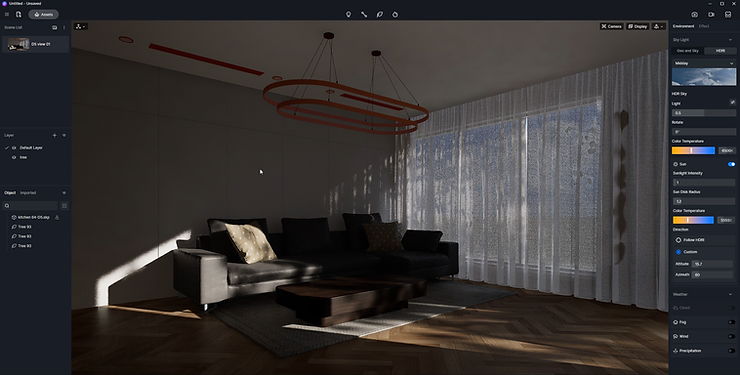
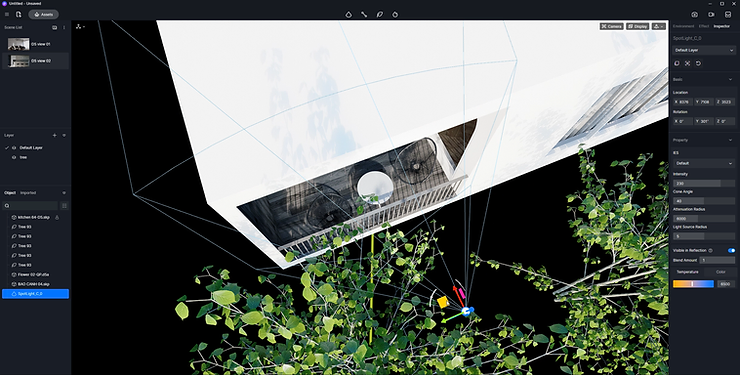
While a nice open view out of the window makes a good scene, sometimes it can also be more atmosptheric to see the outline of trees outside and have its amazing reflection casted on the furniture indoors. For apartments and residences, it makes sense to have plants growing outside the window in real life. Why not try it in your renderings?
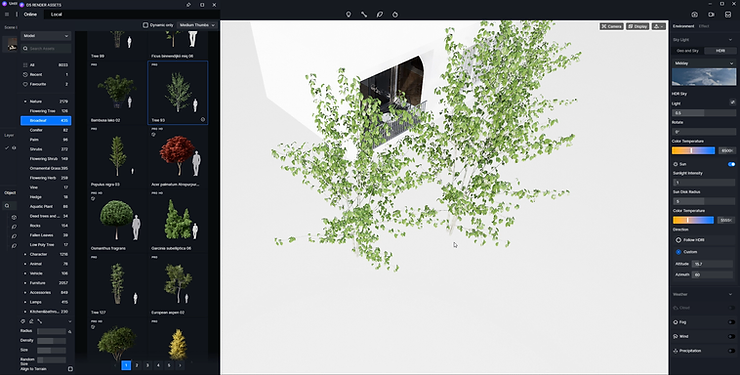
Select a tree or more to place outside, and make sure you get the right angle in the scene where the plants are visible from inside. You can make it cover the whole window or you can leave just a part of it sticking out from the side.
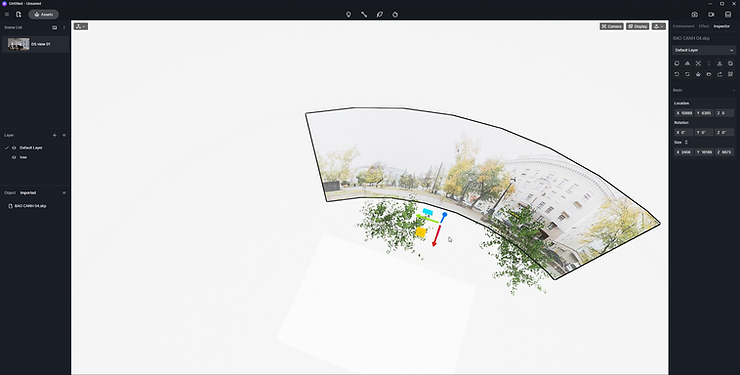
Another method is to import a map so you have a fake background to display through the window. You can use the Basic Models in D5 Asset Library and change its material template to video and insert a video as the background.
Find the right position and angle, and turn off Auto-exposure. Then you can adjust the exposure manually to have a more precise control of how exposed the scene you want.
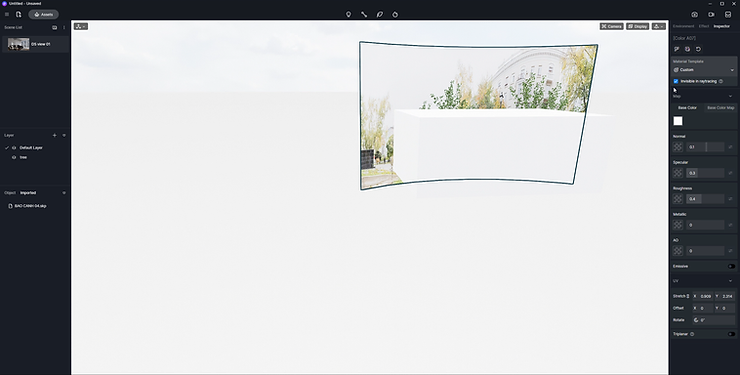
Press “I” and check “Invisible in raytracing”, which means the material will not participate in lighting (diffuse light) calculations, so it no longer cast shadows and bounce light.
2. How to make realistic materials with scratches?
Imperfections of the materials are a must to create photorealistic renderings especially for interior scenes. Furniture and a lot of other models will look better if they have scratches or dirt on the surface, just as in the real world. To do so, you just need to insert a black-and-white map.

You can even make one yourself in Photoshop. To use it as a specular map, you should know the basic rules: white area in this map would be the part that reflects the light, and the black part does not.
You can learn more about how PBR materials work here.
3. How to make blue flame?
Many people are curious about how to tell a story through their visuals. Well, making the models talk in your scene could be the key. For this kitchen scene, you would see a lot of cooking utensils. The blue flame coming from the stove shows a vivid cooking scene as if someone has just turned on the stove, ready to cook.
While D5 provides fire particles, you can try this simple trick: add a fire shapeopacity map like this and insert the blue one to base color map slot.
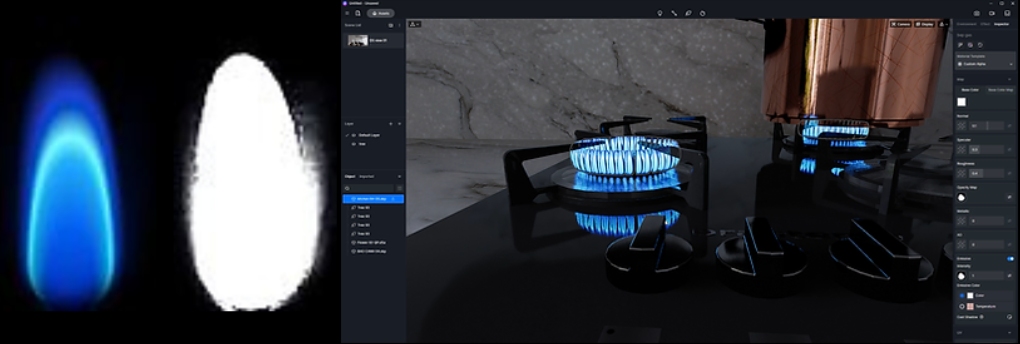
To see how the maps work and try it for yourself, you can download this free SketchUp – D5 scene file from Scene Express and take a closer look at what QP has done.
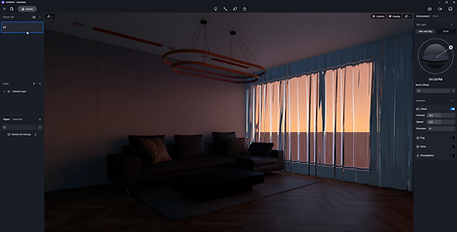
4. How to adjust curtain material?
Curtains are attached to windows where interior space meets exterior surroundings through glasses, so they should be in harmony with the lighting and everything around it. Remember, if you want to make realistic curtains in your scene, mere adjustment of the curtain material will not be enough.
-Import model
-Set basic color as white for the glass material-Adjust roughness, transparency and other parameters as you like.
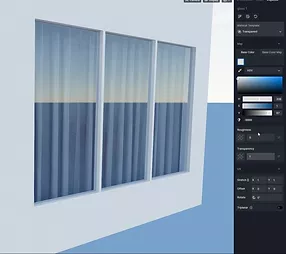
-Apply the White Gauze Curtain material to the curtain model

-Apply the White Gauze Curtain material to the curtain model
5. How to manage your resources?
Make the most of D5 Asset Library and your own Local Library.“Save to local” is a useful feature for you to collect and manage models or textures. Everyone has a few go-to items, and you can just drag and drop them to use with your local library.
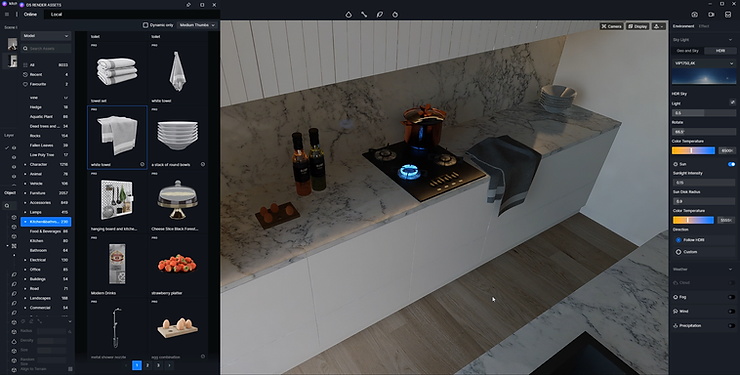
Layer Command in D5 also helps a lot because it allows you to categorize your assets in a more logical manner.
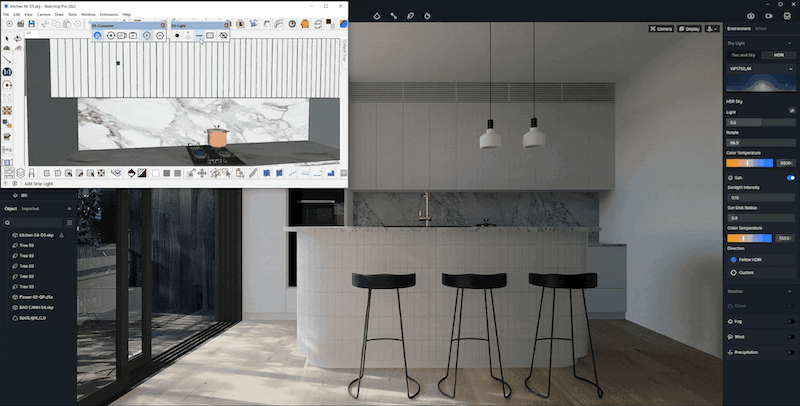
6. How to set the lighting for your scene?
A lot of you might not know, but to light up the scene, HDRI is not your only choice.
In Environment panel, you can use default HDR sky or import custom ones. Next, go to Effect, and there are more postprocessing parameters for you to adjust, including exposure, highlight and contrast. Finally, as finishing touch, you can manually add light sources to illuminate certain areas, or add rectangular light outside the window, scaling it properly to light up the whole interior space.
Sync SU with D5 Render
Learn about how to easily sync SketchUp with D5 using the D5 Converter-SketchUp, from installing to adjusting lights and materials:
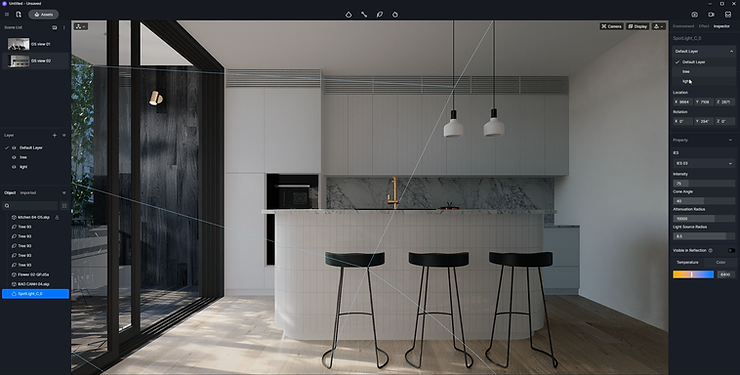
Light Sync
Click on the button to select a D5 light source (point light, spotlight, strip light, rectangular light) in a new window and add it to the scene.

The location and related parameters of the added light will be synchronized to D5 Render in real-time.
Camera Sync
Model/Material/Scene Sync
After the current model has been edited in SketchUp, quickly sync the new model and materials to D5 Render by the Sync button, while keeping the materials and scene parameters that had been adjusted in D5 Render
You can also sync the scene list in SketchUp to D5 with this free plugin.

Showcase | SketchUp + D5 Render