Real-time rendering is a process in which GPU produces images while calculating huge amounts of data, so you can have a preview of the results while adjusting in the interface. It enables you to see the changes as soon as they are made, and your operations are usually conducted with a minimum frame rate of 30.
For C4D users, for a long time they could only turn to offline renderer because there wasn't much choice. While now equipped with raytracing technology for acceleration, rendering engines like Octane and Redshift still have a hard time offering a smooth rendering experience because of the low FPS that hinders the process.
Now with D5 Render's integration with Cinema 4D, it's obviously a great oppurtunity for C4D users to enter the real-time rendering world.
Learn more: Workflow | D5 Sync for Cinema 4D
Why Real-time Renderer for Cinema 4D?
Enter the World of Real-Time Rendering
Compared with traditional renderer, D5 Render is such an "intuitive" tool with its real-time rendering feature for C4D users.
Material
Forget about the complex material nodes, nerve-wrecking lighting settings, and the frustrating trial and error you have to go through in those renderer. In D5, with fewer parameters, fewer adjustments, you get to achieve results of similar or even better quality within a shorter time.
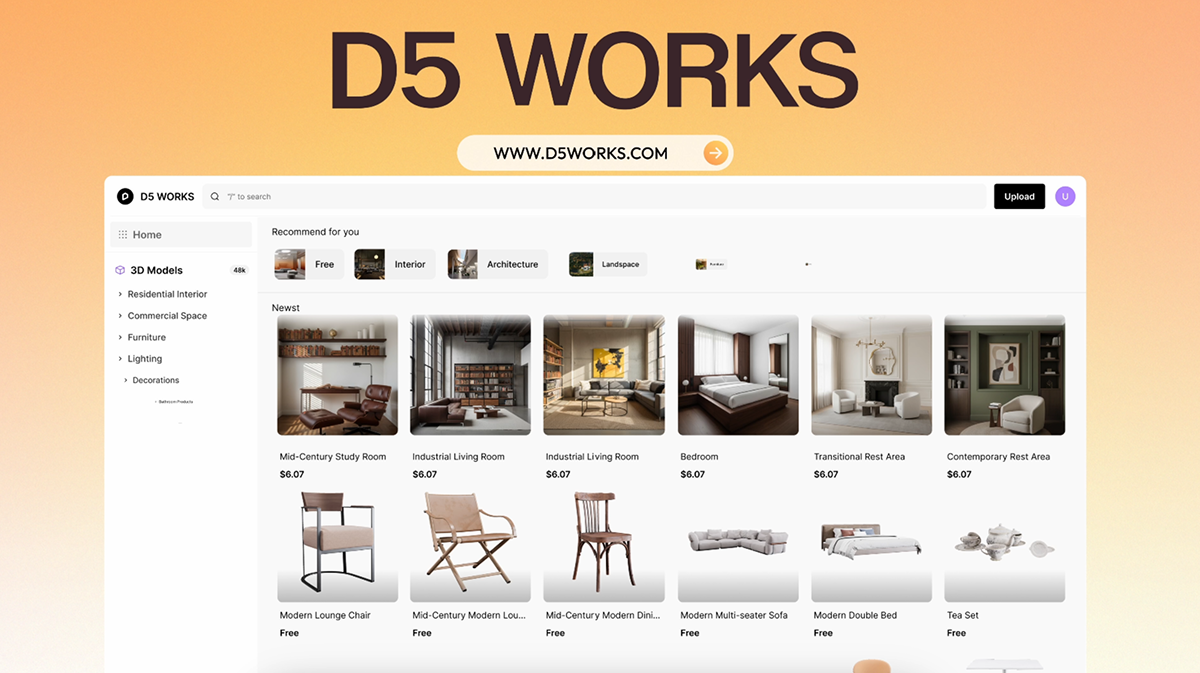
D5 Render adopts the mainstream PBR material system. It simplifies the process of editing materials as much as possible through preset parameters for various material templates. You can find over 2,000 preset materials in D5's built-in Asset Library and directly apply them to the models in your scene with just one click.
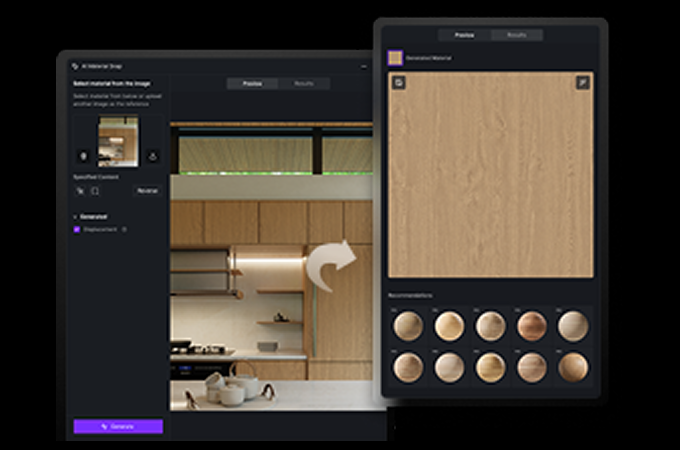
Synchronization of materials from C4D, Octane, Corona and Redshift is supported in D5, yet you'll still find it easy and fun to edit materials in D5 yourself. Even for normals and reflections that are usually resource-consuming on computations, results can be shown immediately on the model's surface as you adjust parameters.
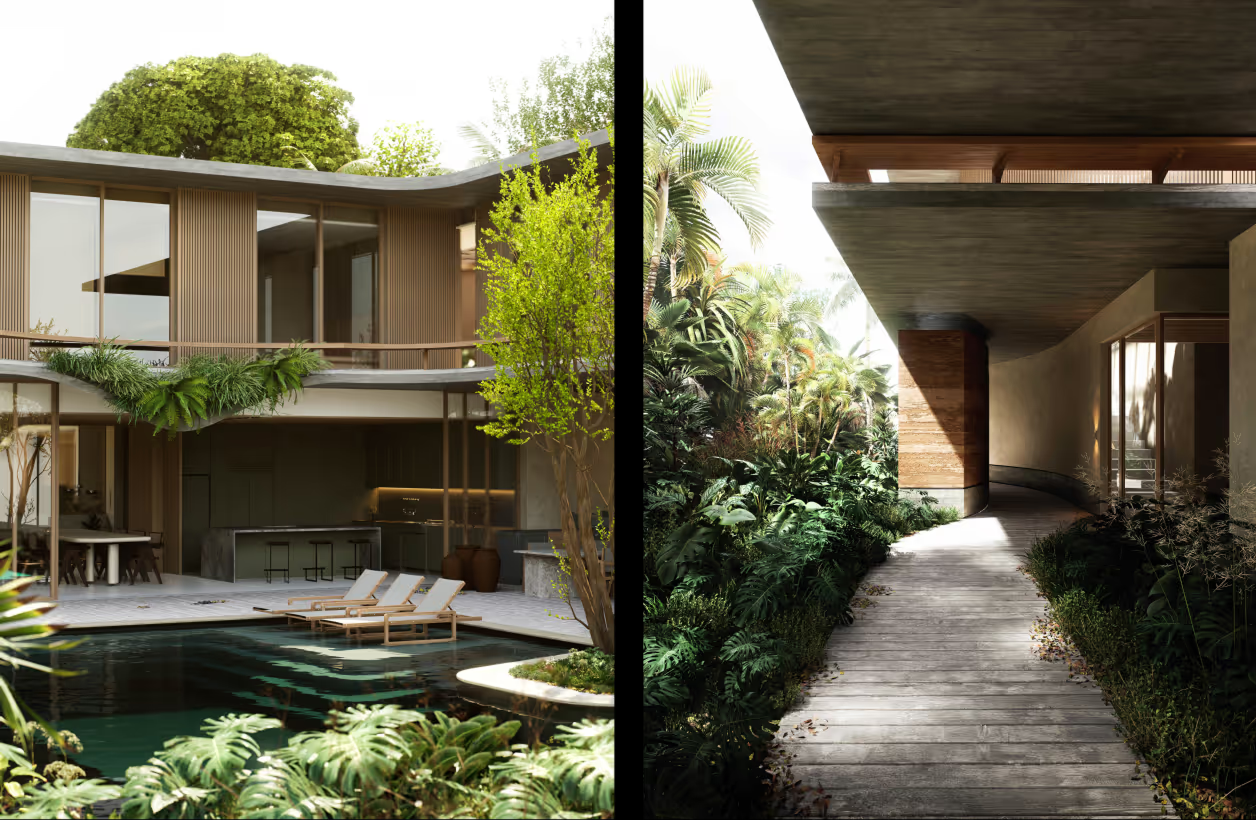
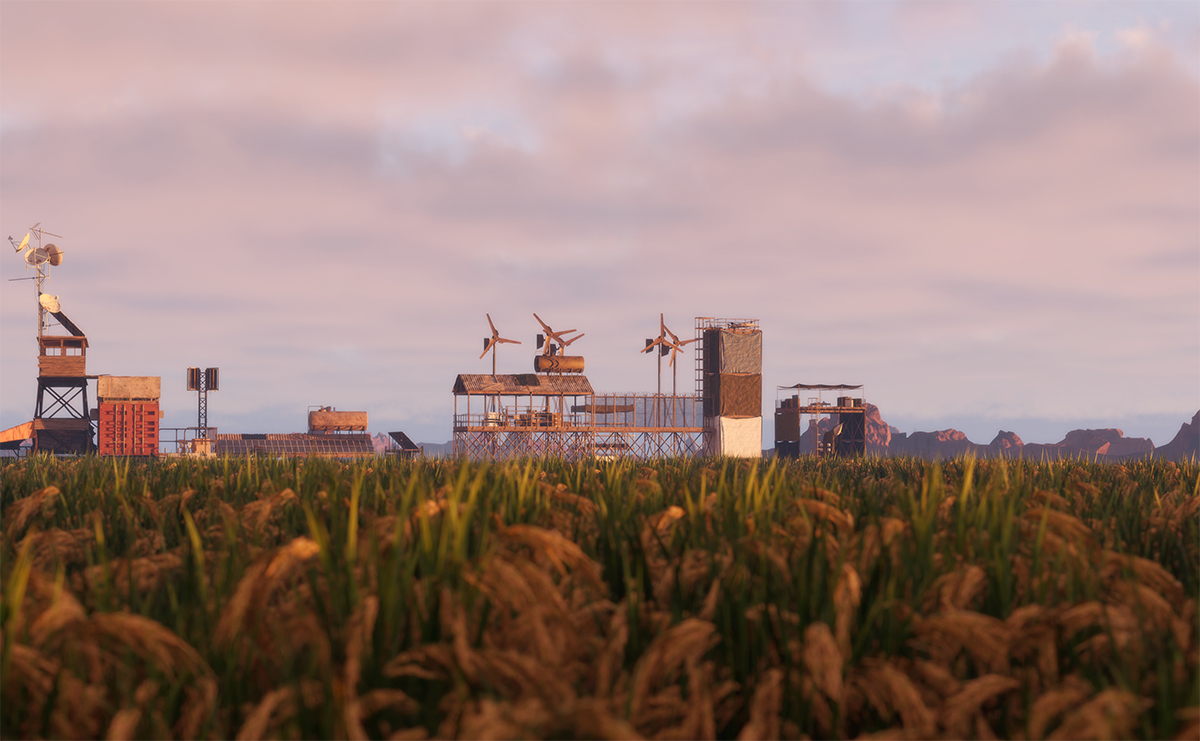
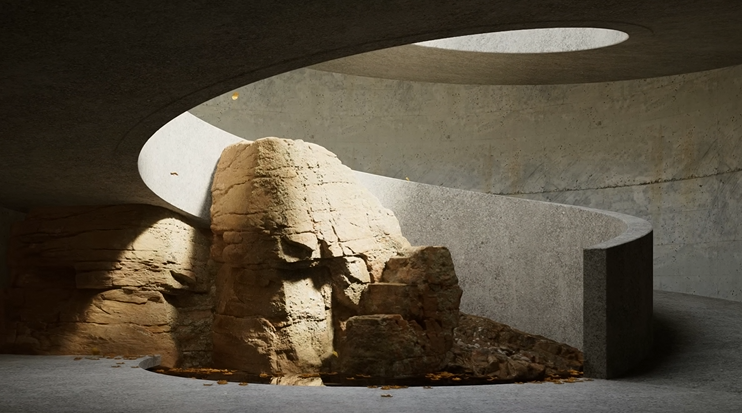
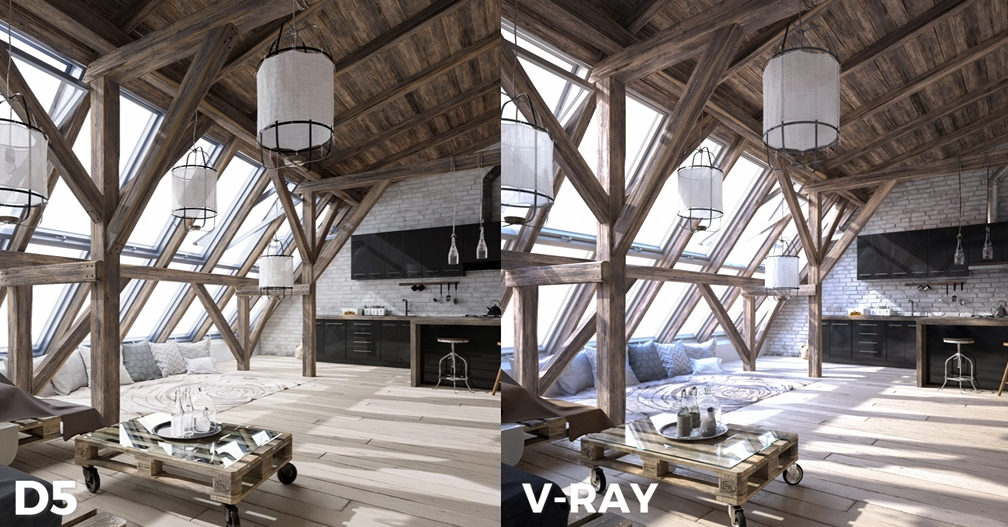
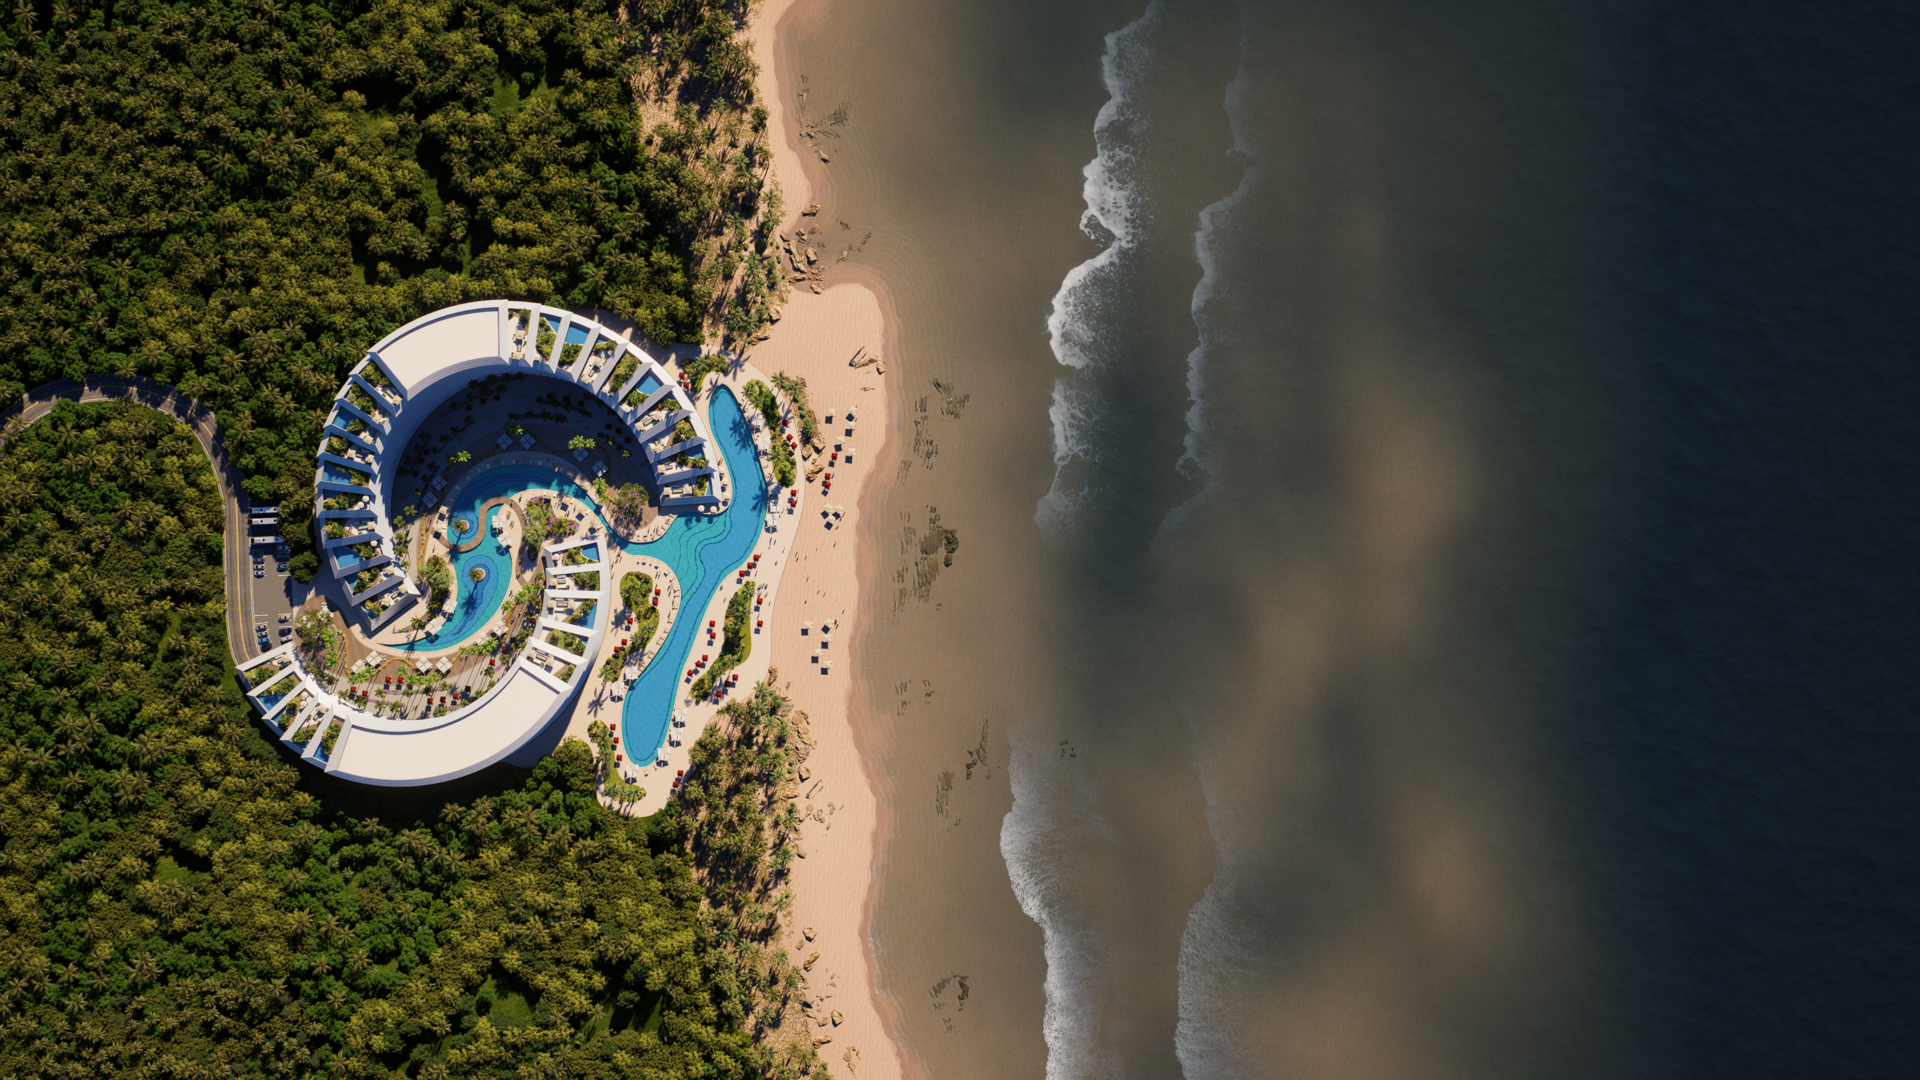
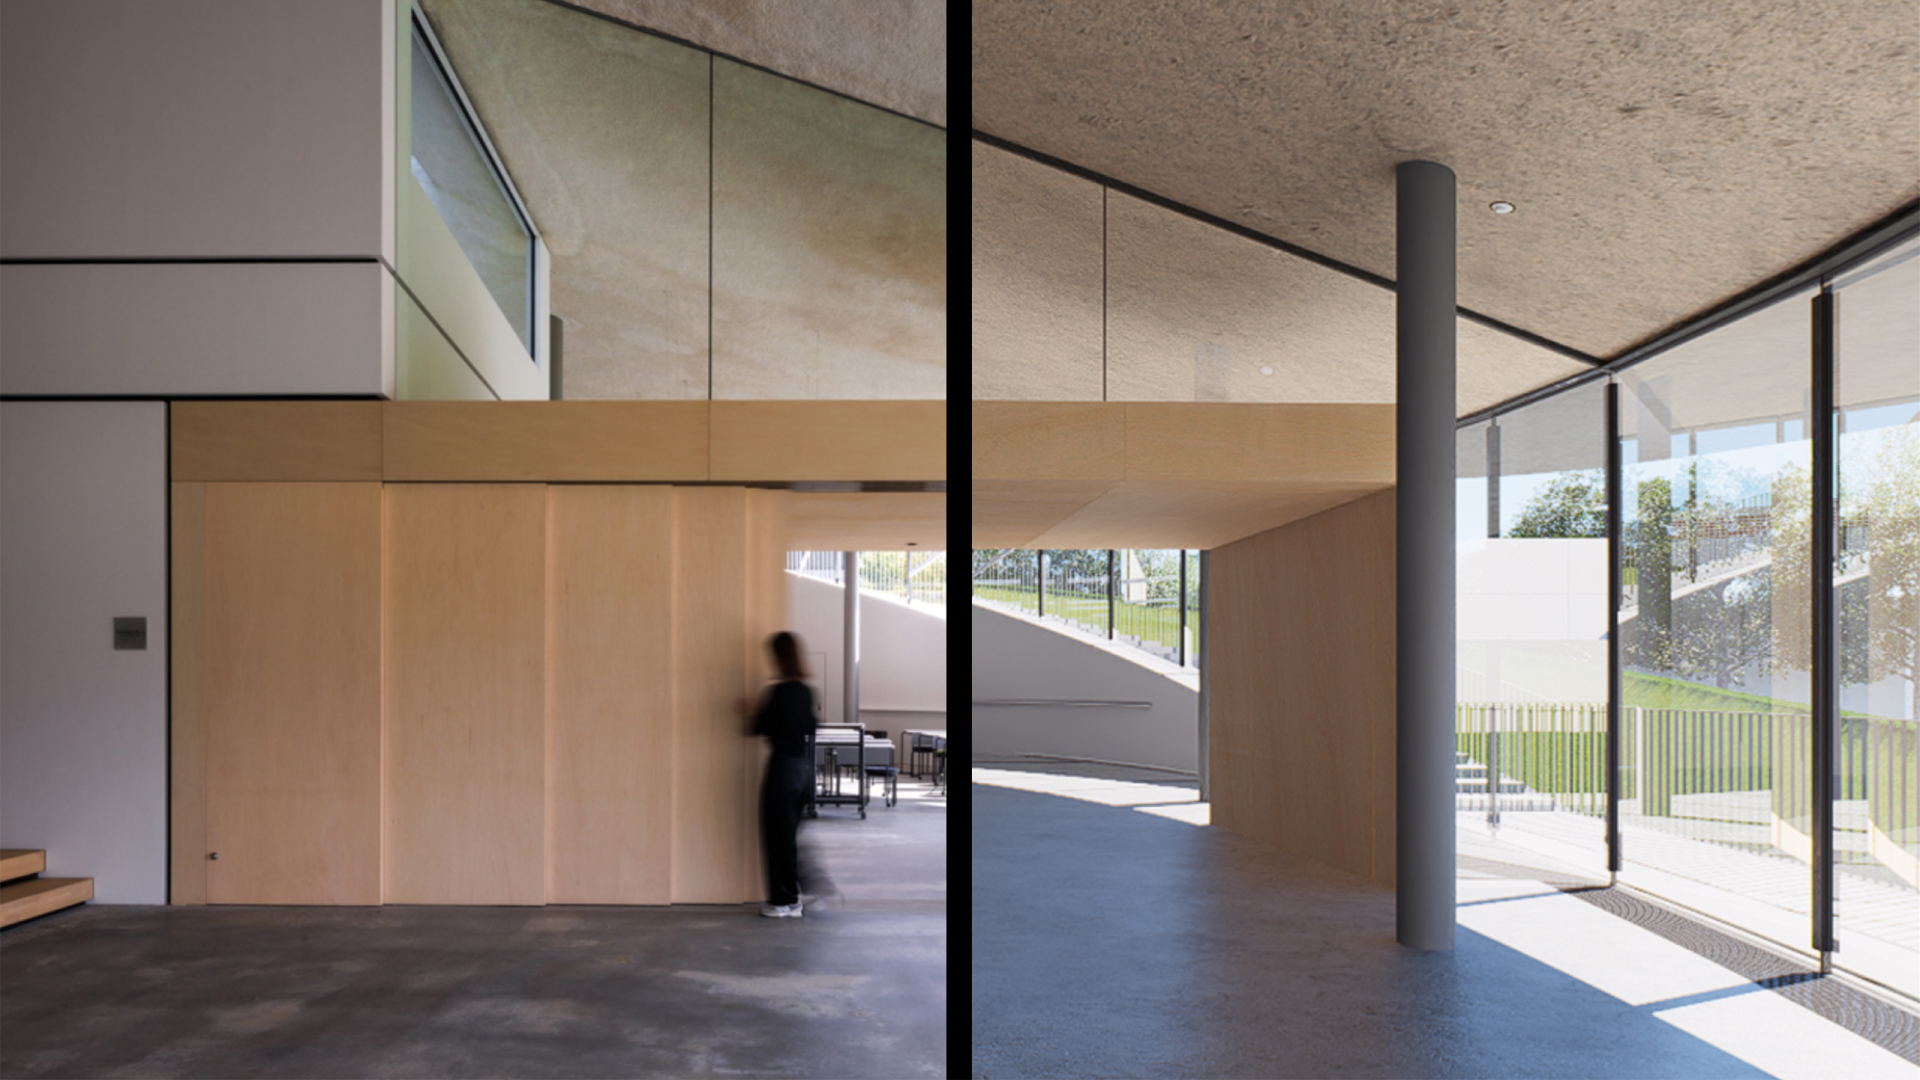
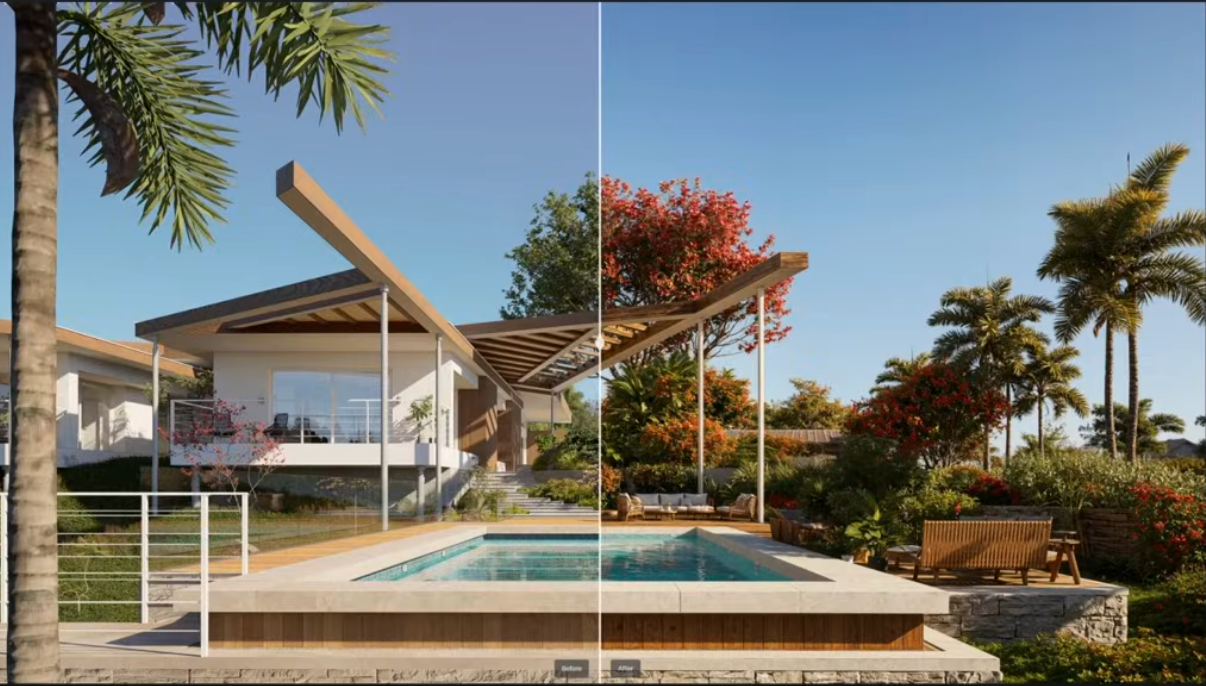
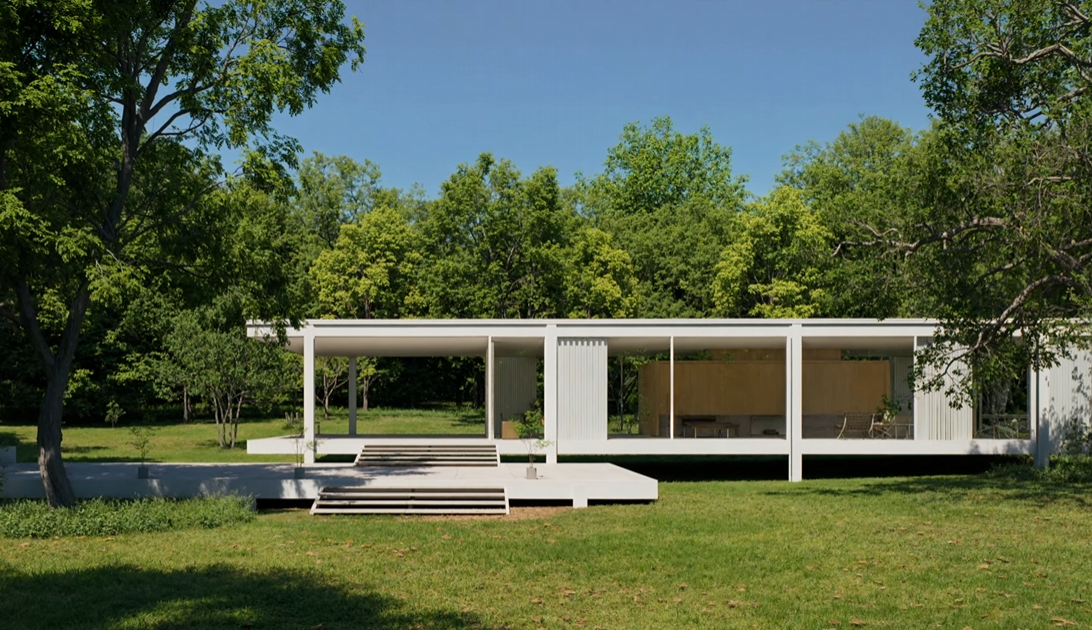
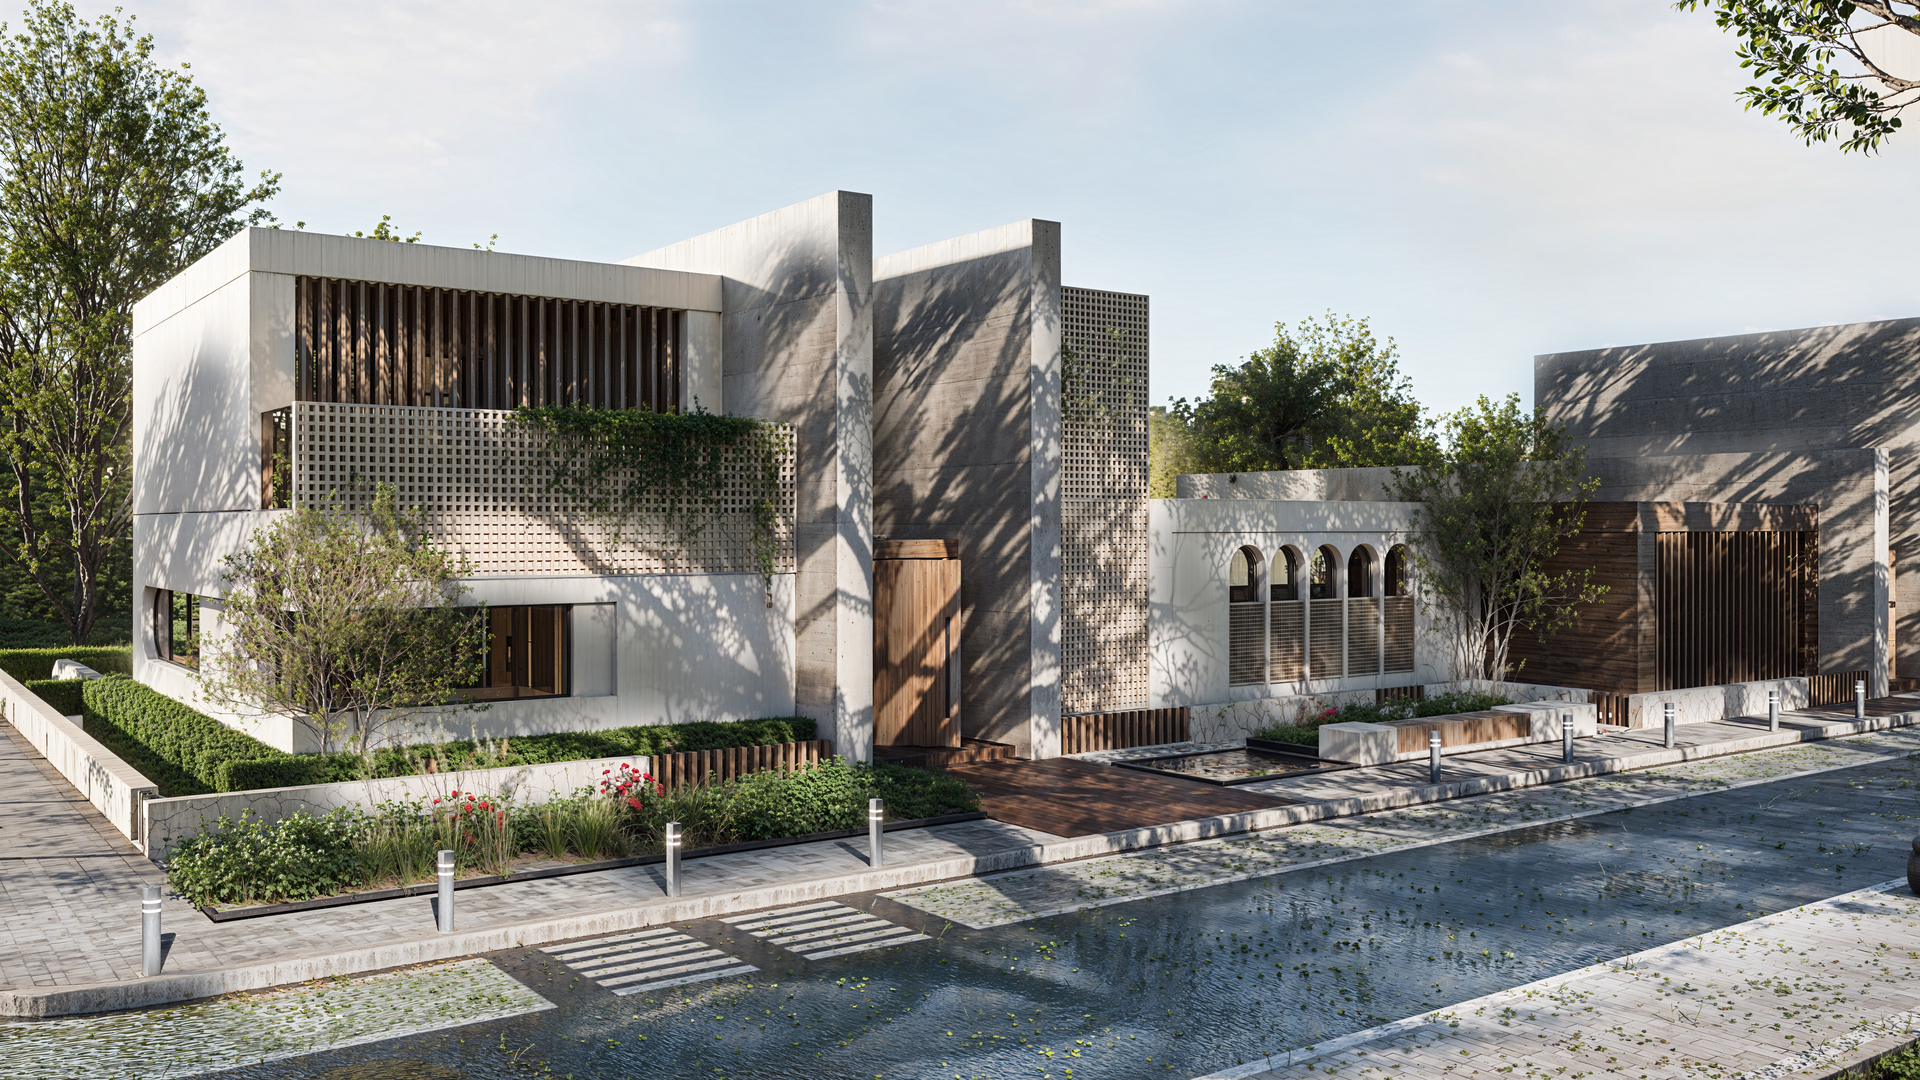
Judging from the works posted by D5 users, you can tell that D5 Render's equipped with a production-class material system with amazing performance in output.
Speed
In offline rendering software, all those effects, reflection, transparencies and complex lighting often come with a price, which is multiplied rendering time.
That is not the case in D5:
Ray tracing technology is a fundamental part of D5 Render that enables GPU to render complex models and scenes with physically accurate shadows and reflections. Normally the most basic one can also handle D5 well and surprise you with its amazing rendering speed.
Even for scenes heavy on reflection, it takes Nvidia 3060 only 36.8 seconds to render an image in 2K resolution, and 15 minutes for an 8-second video.
Check the Benchmark results submitted by D5 users
The ongoing evolution in technologies is going to continue, and it would definitely speed up your workflow if you're better equipped.
For anyone that owns a graphics card supporting ray tracing, such as Nvidia RTX series, AMD RX 6400 and above, or the coming Intel ray tracing GPU, D5 Render is bound to be your best choice.
Free
D5 Render releases a new version every three months to meet the needs of its users from all walks of life.
With previous updates, D5 Render has become a fully functional, stable and reliable real-time rendering software. On top of that, D5 is also free to download with 90% of all its features accessible to everyone. In today's design and art market, it's not always easy to find a tool that offers a free version for commercial projects. Luckily enough, D5 is here to help. If you are using C4D, and would like to switch to another rendering software, don't hesitate to give D5 a try.
D5 Render Free Download
Product design and rendering
An important part in product rendering has to be setting up a background with appropriate lighting that goes well with the product itself. Rendering with D5, you can save the scene you carefully crafted as your go-to scene for future projects. In this way, next time you need to render a new product, you just drag and drop the model into that perfect scene. What a time-saver!
How to Enable Real-time Rendering for C4D
Download D5 Render
Go to D5 Render official website > Download and find the livesync plugin for Cinema 4D.
Or you can also go to Welcome Page > Workflow to download.
Supported versions: The current plugin D5 Sync for Cinema 4D supports C4D versions 20-26 and 2024.
Free Sync Plugin Features
1. Start D5
Import your models into D5 Render to start real-time rendering.
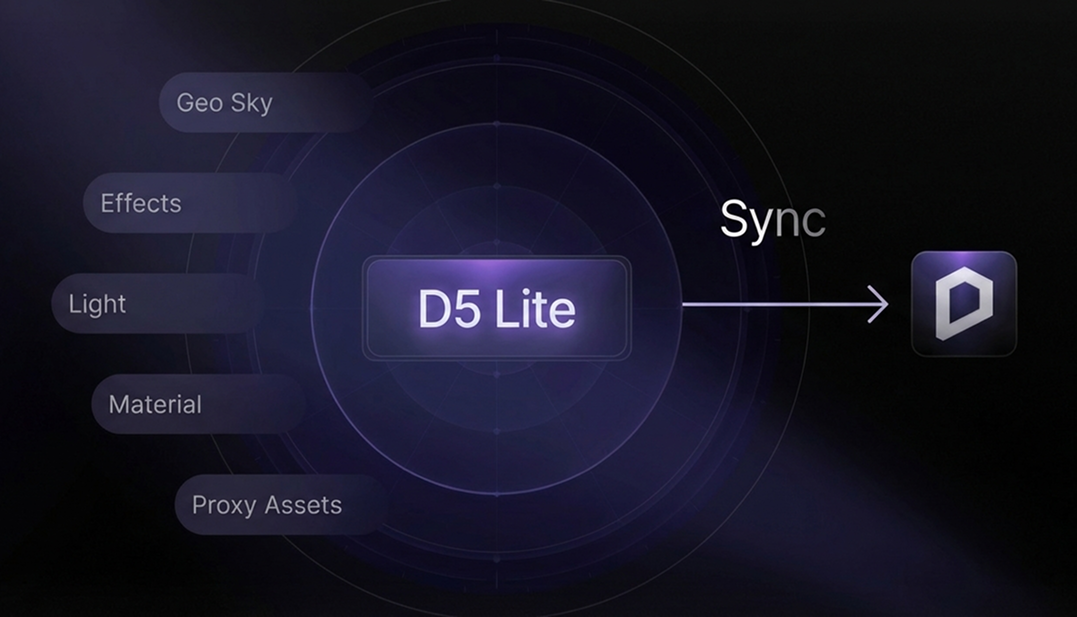
2. Model/material/scene sync
After the current model has been edited in C4D, quickly sync the new model and materials to D5 Render with the Sync button, while keeping the materials and scene parameters that have been adjusted in D5 Render.
*Octane/Redshift/C4D standard materials are supported.
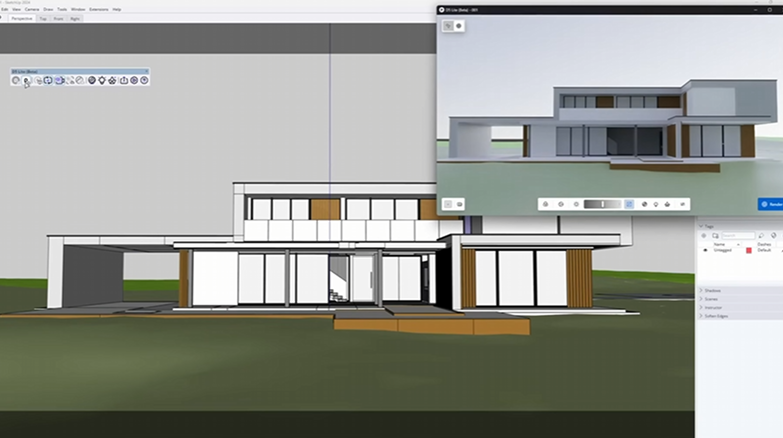
3. View sync
Keep the view of C4D and D5 Render consistent in the perspective view.
4. Camera animation sync
Supports syncing selected camera animations with keyframe information from Cinema 4D to D5 video editor with the livesync plugin.
*Supports Octane/Corona/Redshift/C4D Standard cameras.
5. Light sync
Support the sync of spotlight, point light and area light.
6. Export .d5a file
Supports converting models of .c4d format into .d5a format through D5 Sync for Cinema 4D, and then open .d5a files in D5 Render.
Check the detailed feature list
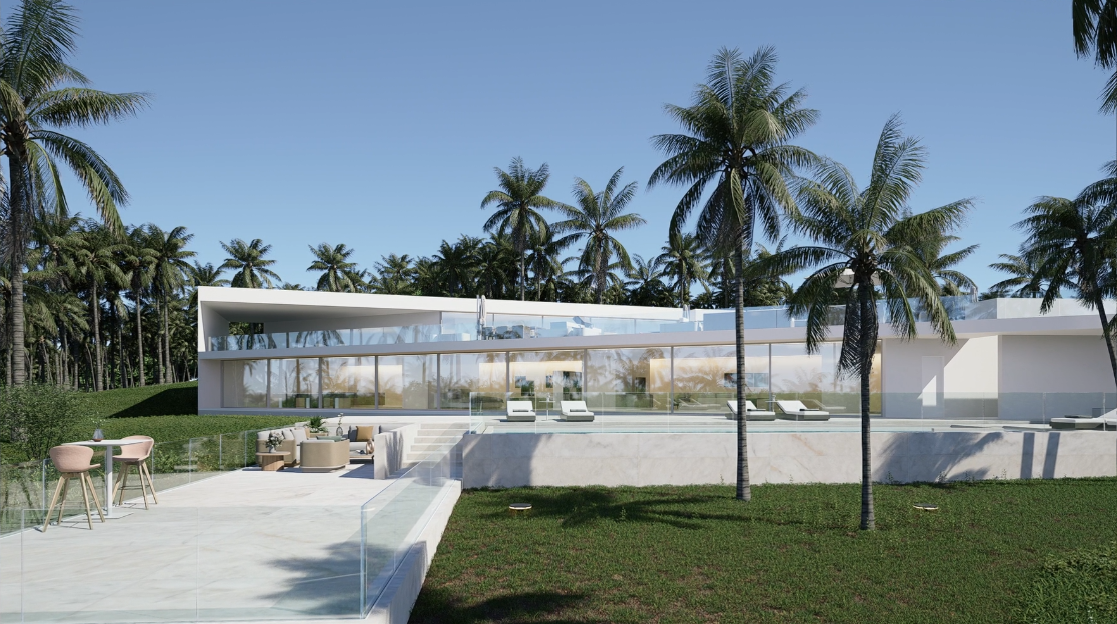
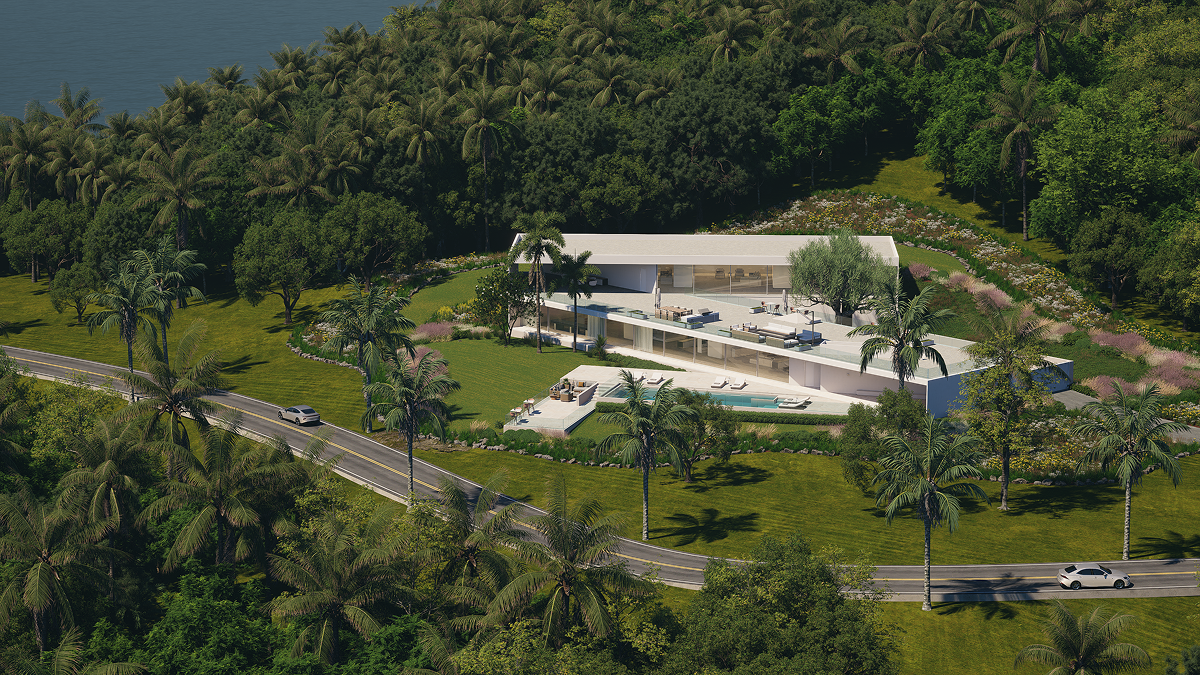
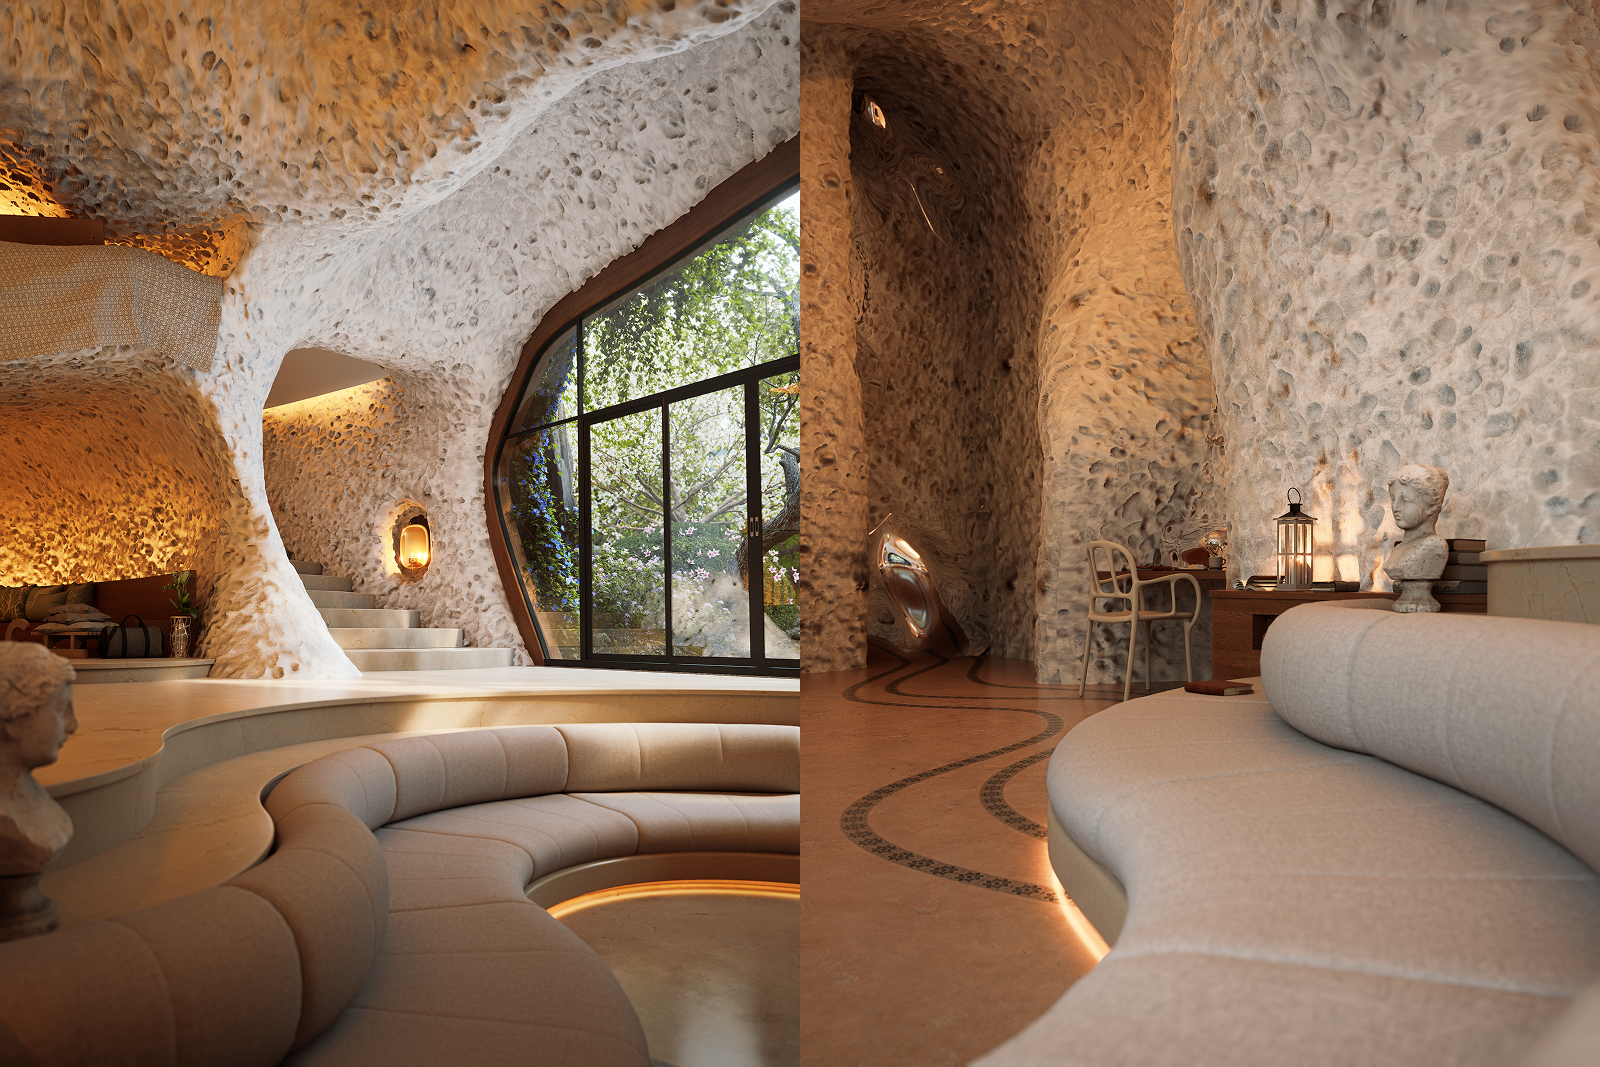
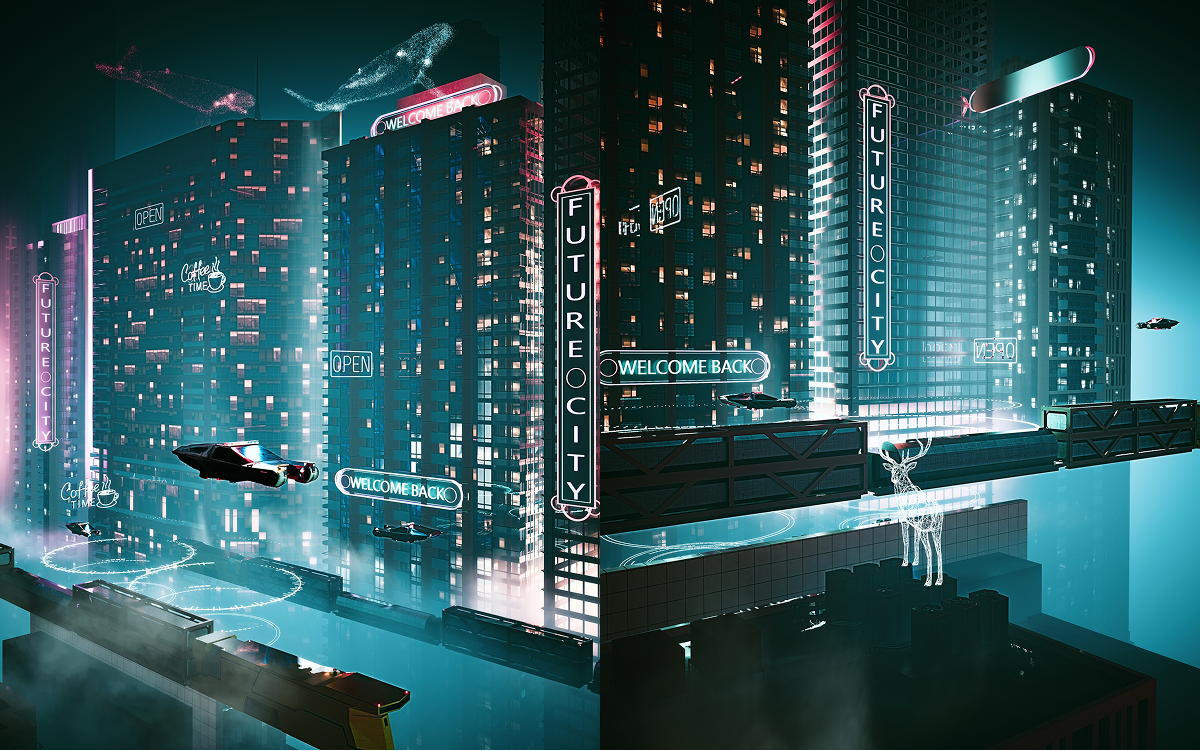
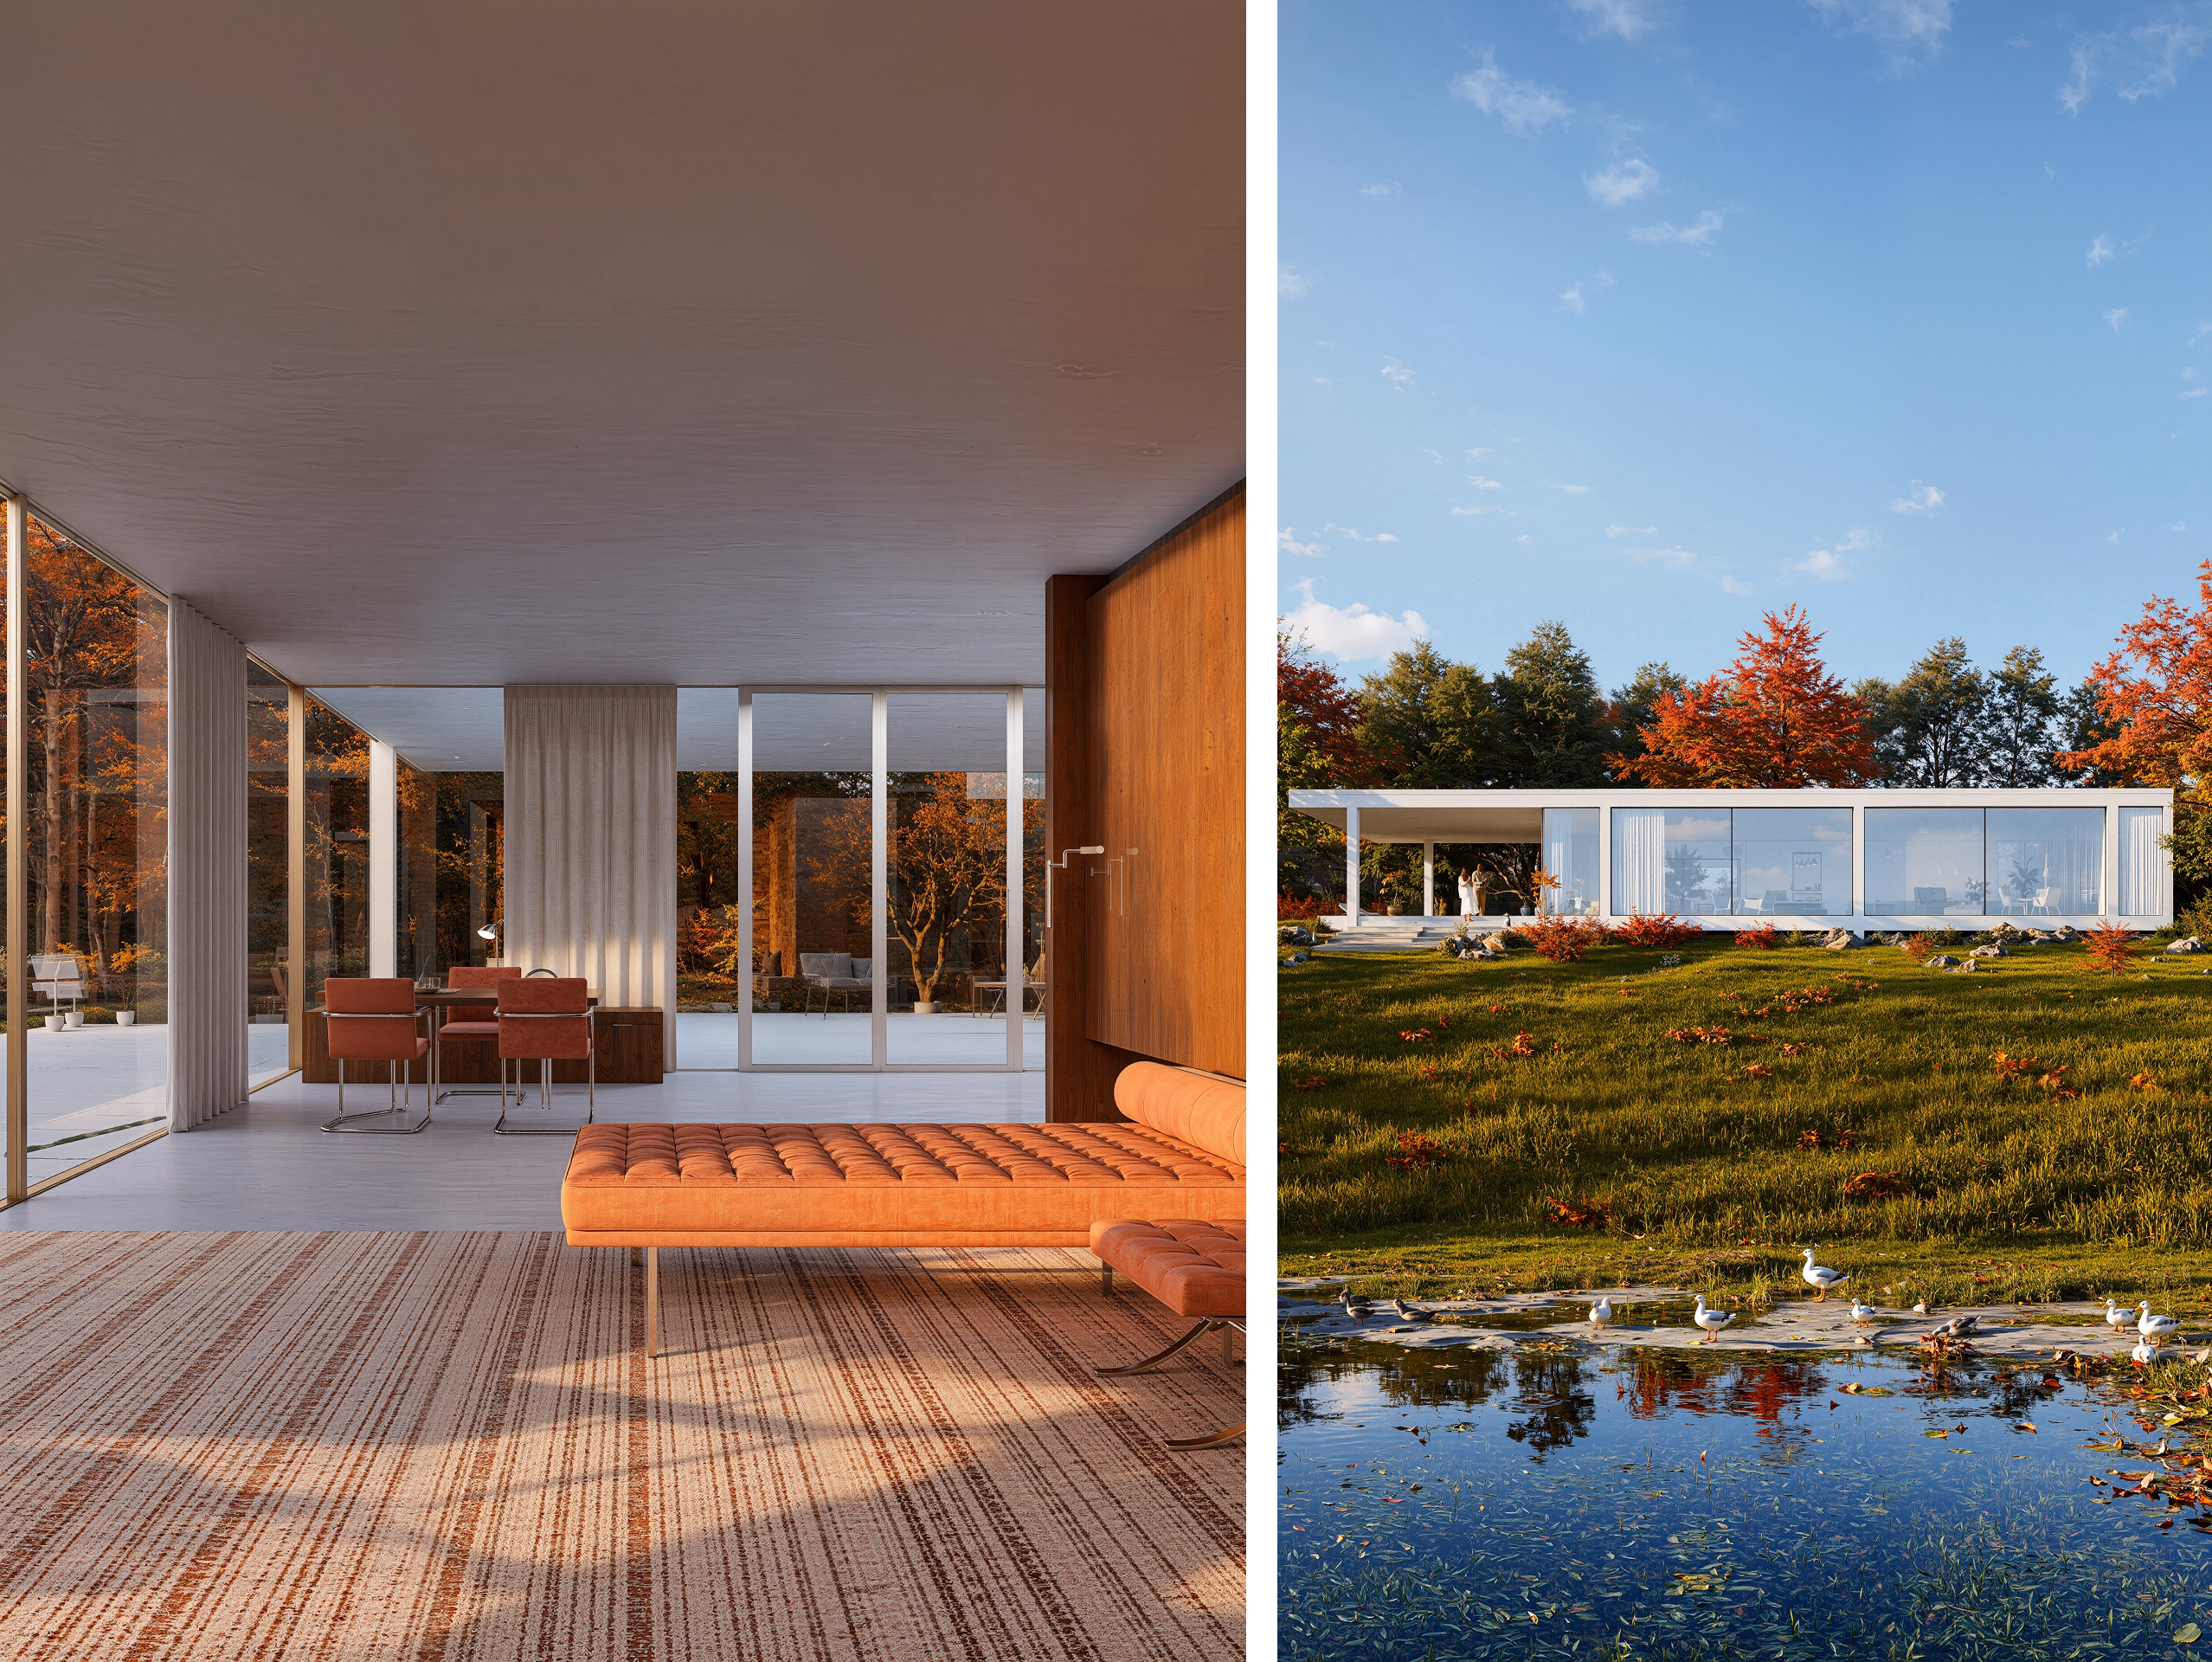
C4D - D5 Render Showcase


.avif)
.gif)
.png)


.jpg)


.png)


.png)


.jpg)


.png)

1%20(2).png)


%20(1).png)
.png)

.png)