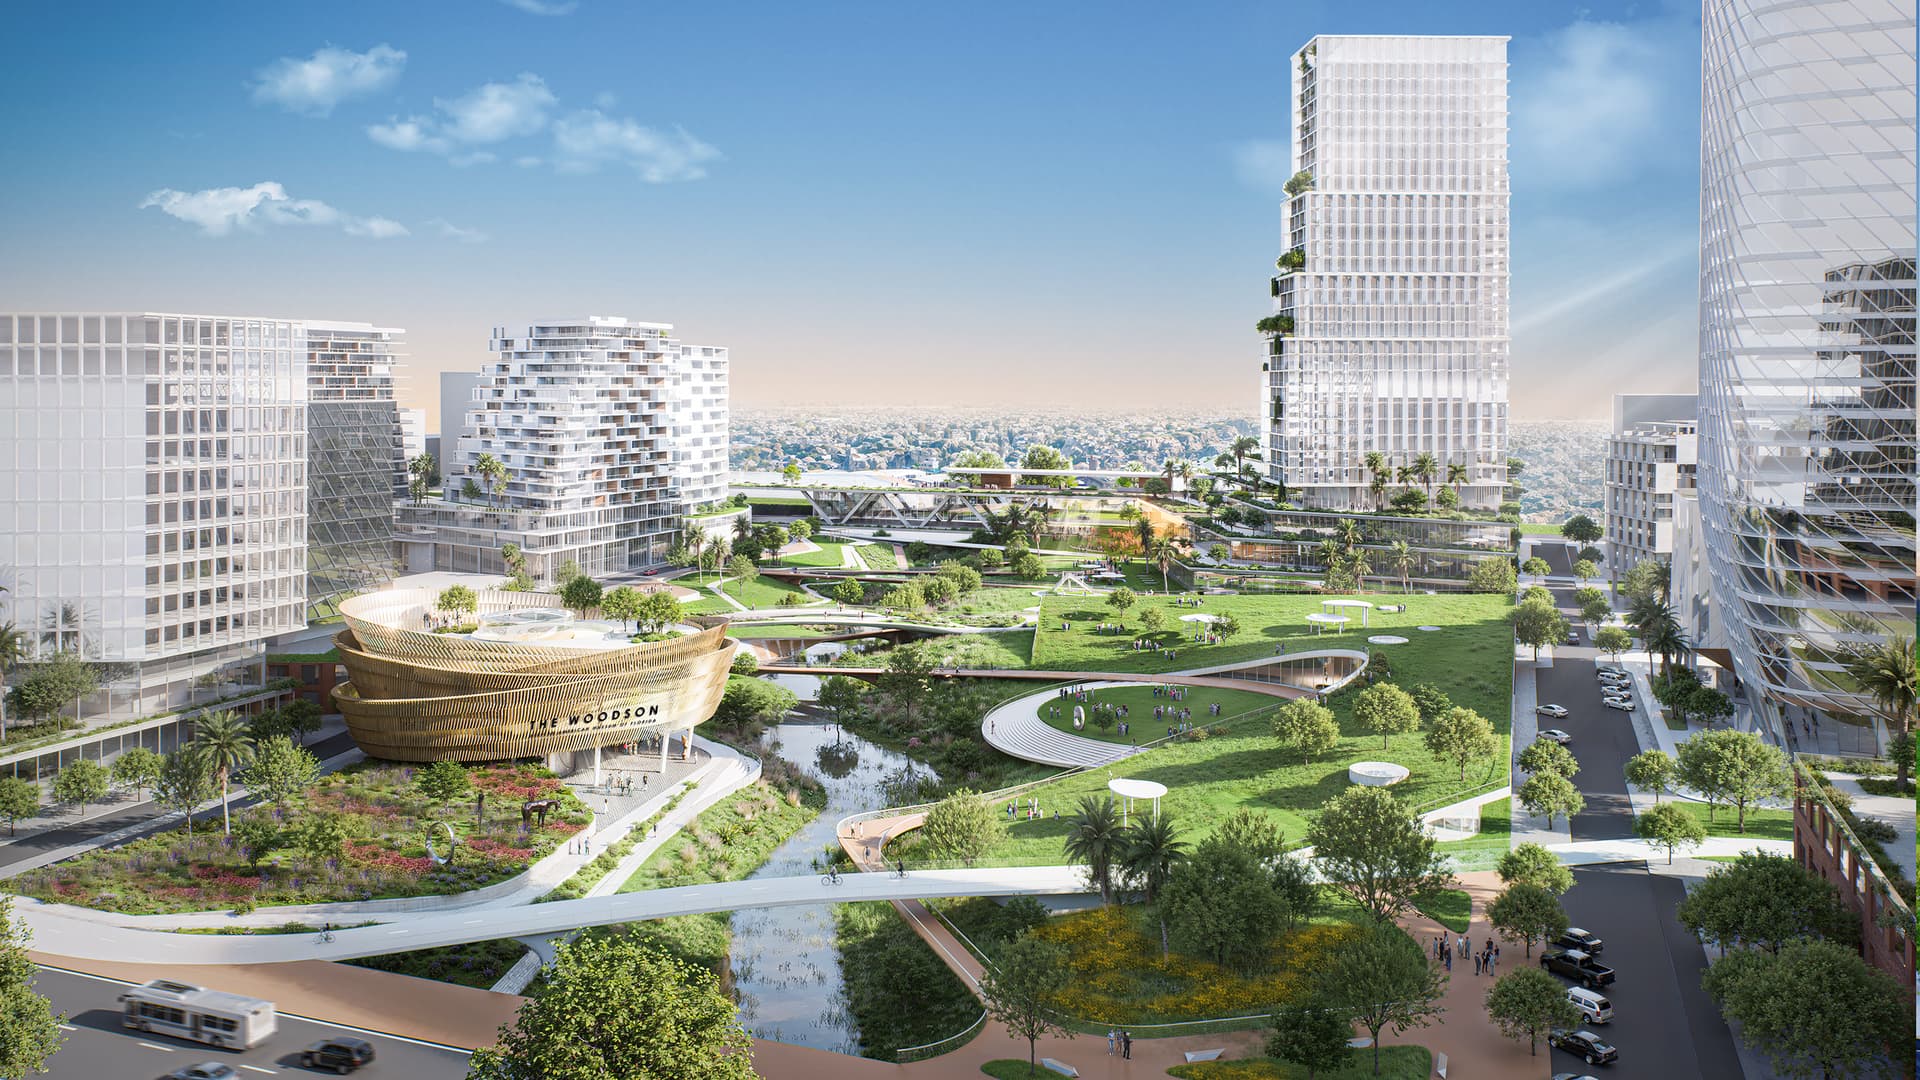
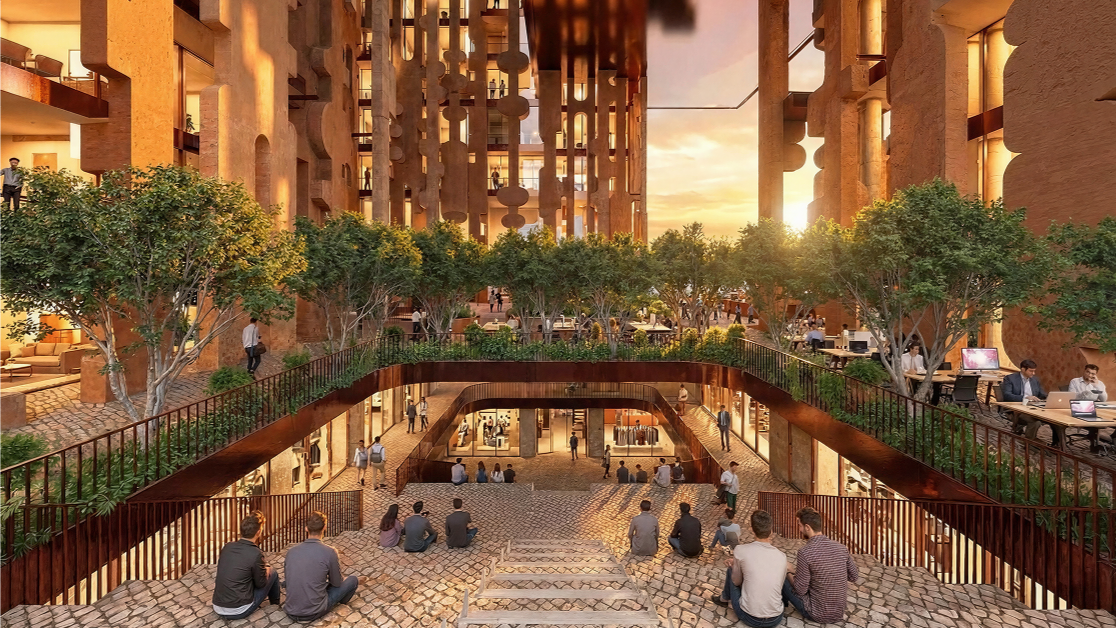
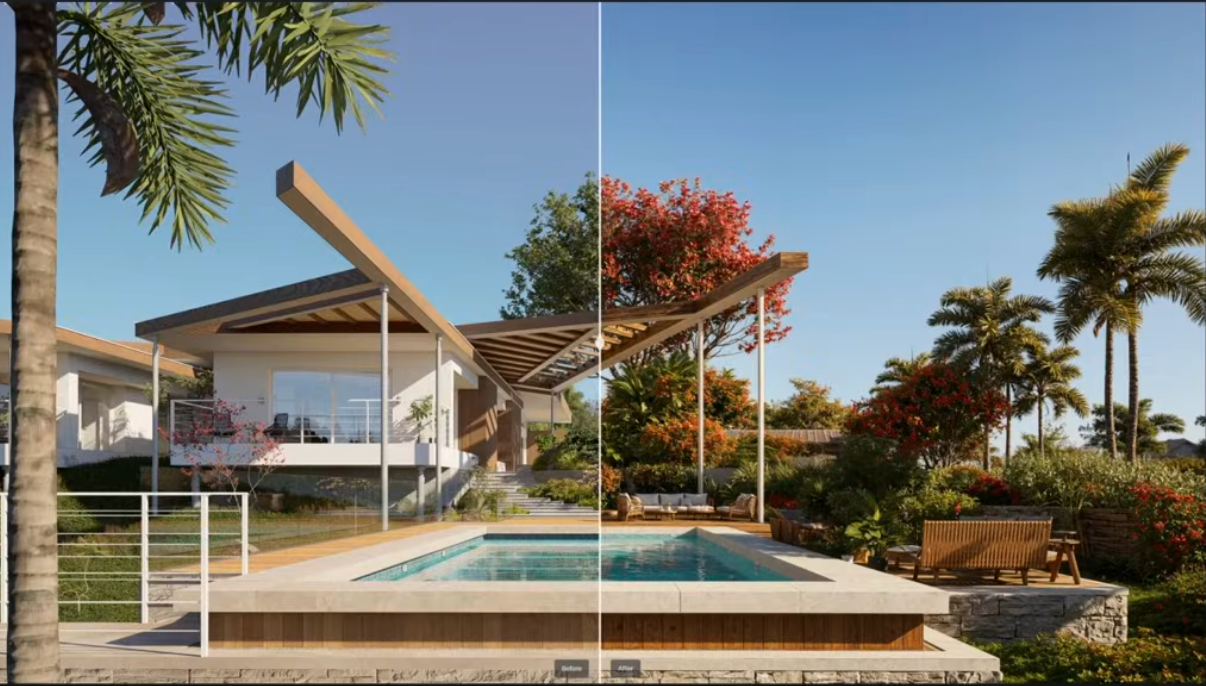
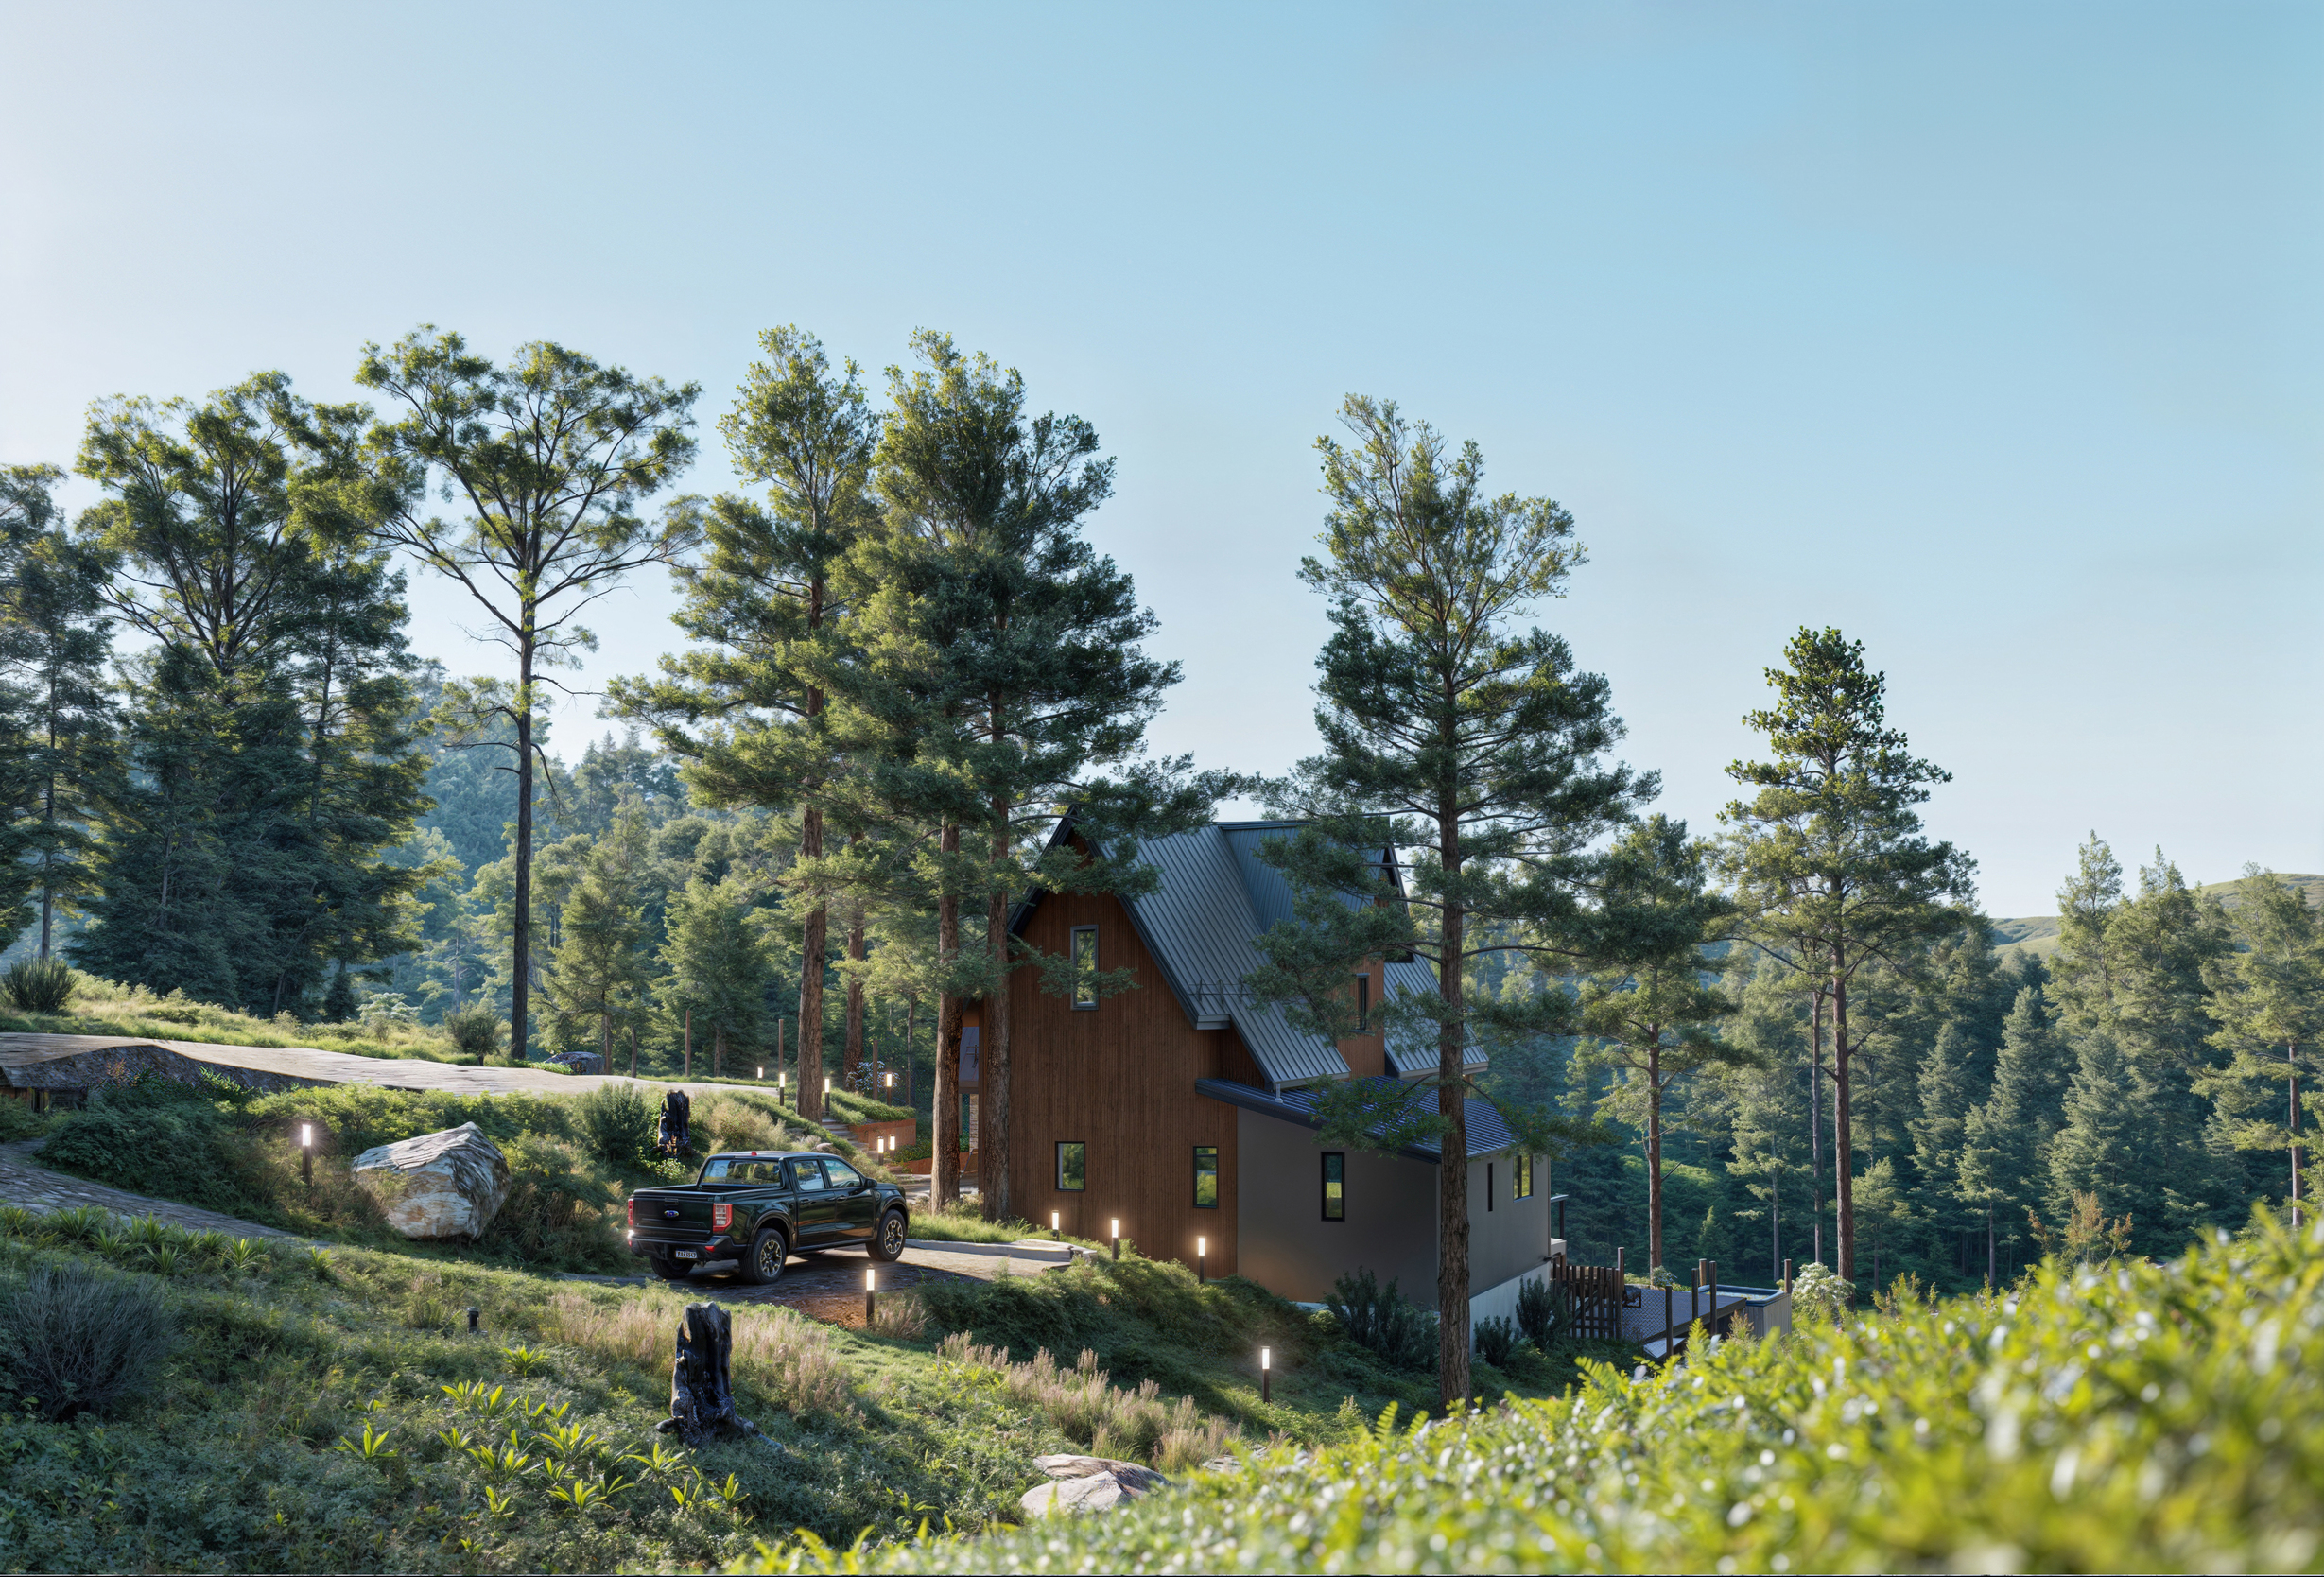
You've modeled the perfect architecture and set the ideal lighting, but your scene falls flat the moment you add grass—it looks like a plastic carpet, destroys your render times, or never quite achieves that wild, natural look.
This tutorial is your way out. We'll show you a proven three-step workflow in D5 Render that transforms this common bottleneck into one of your greatest assets. Learn to master the key tools that give you control over variety, placement, and density, turning barren ground into photorealistic meadows in no time.
Key Takeaways on Paint Realistic Grass in D5 Render
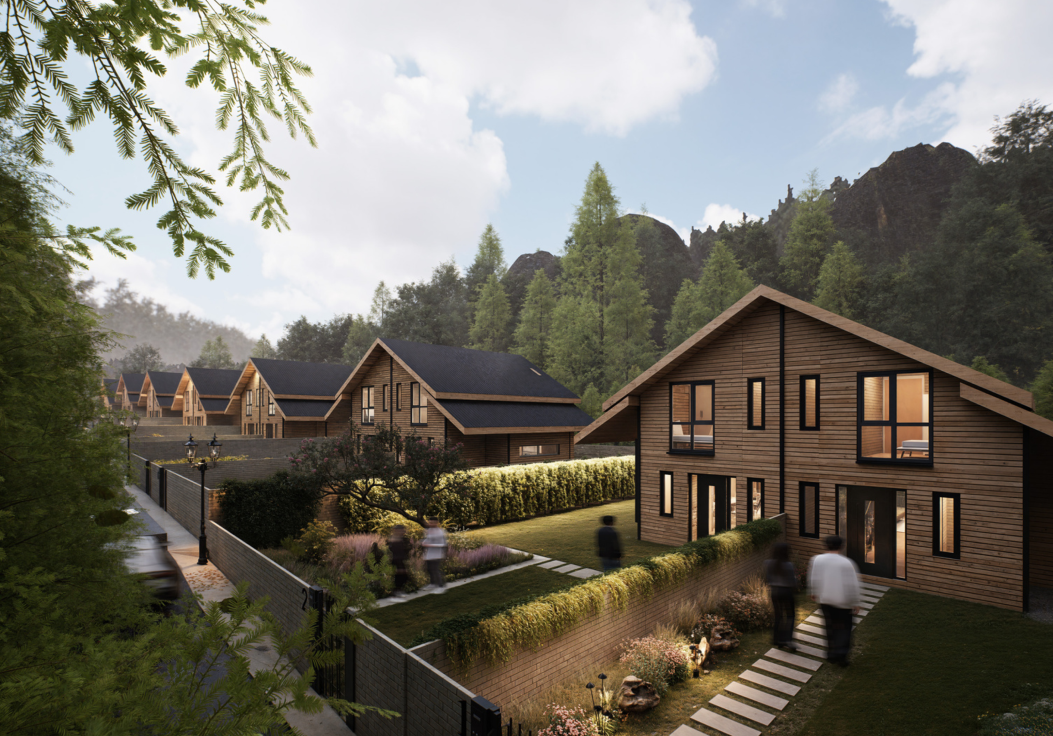
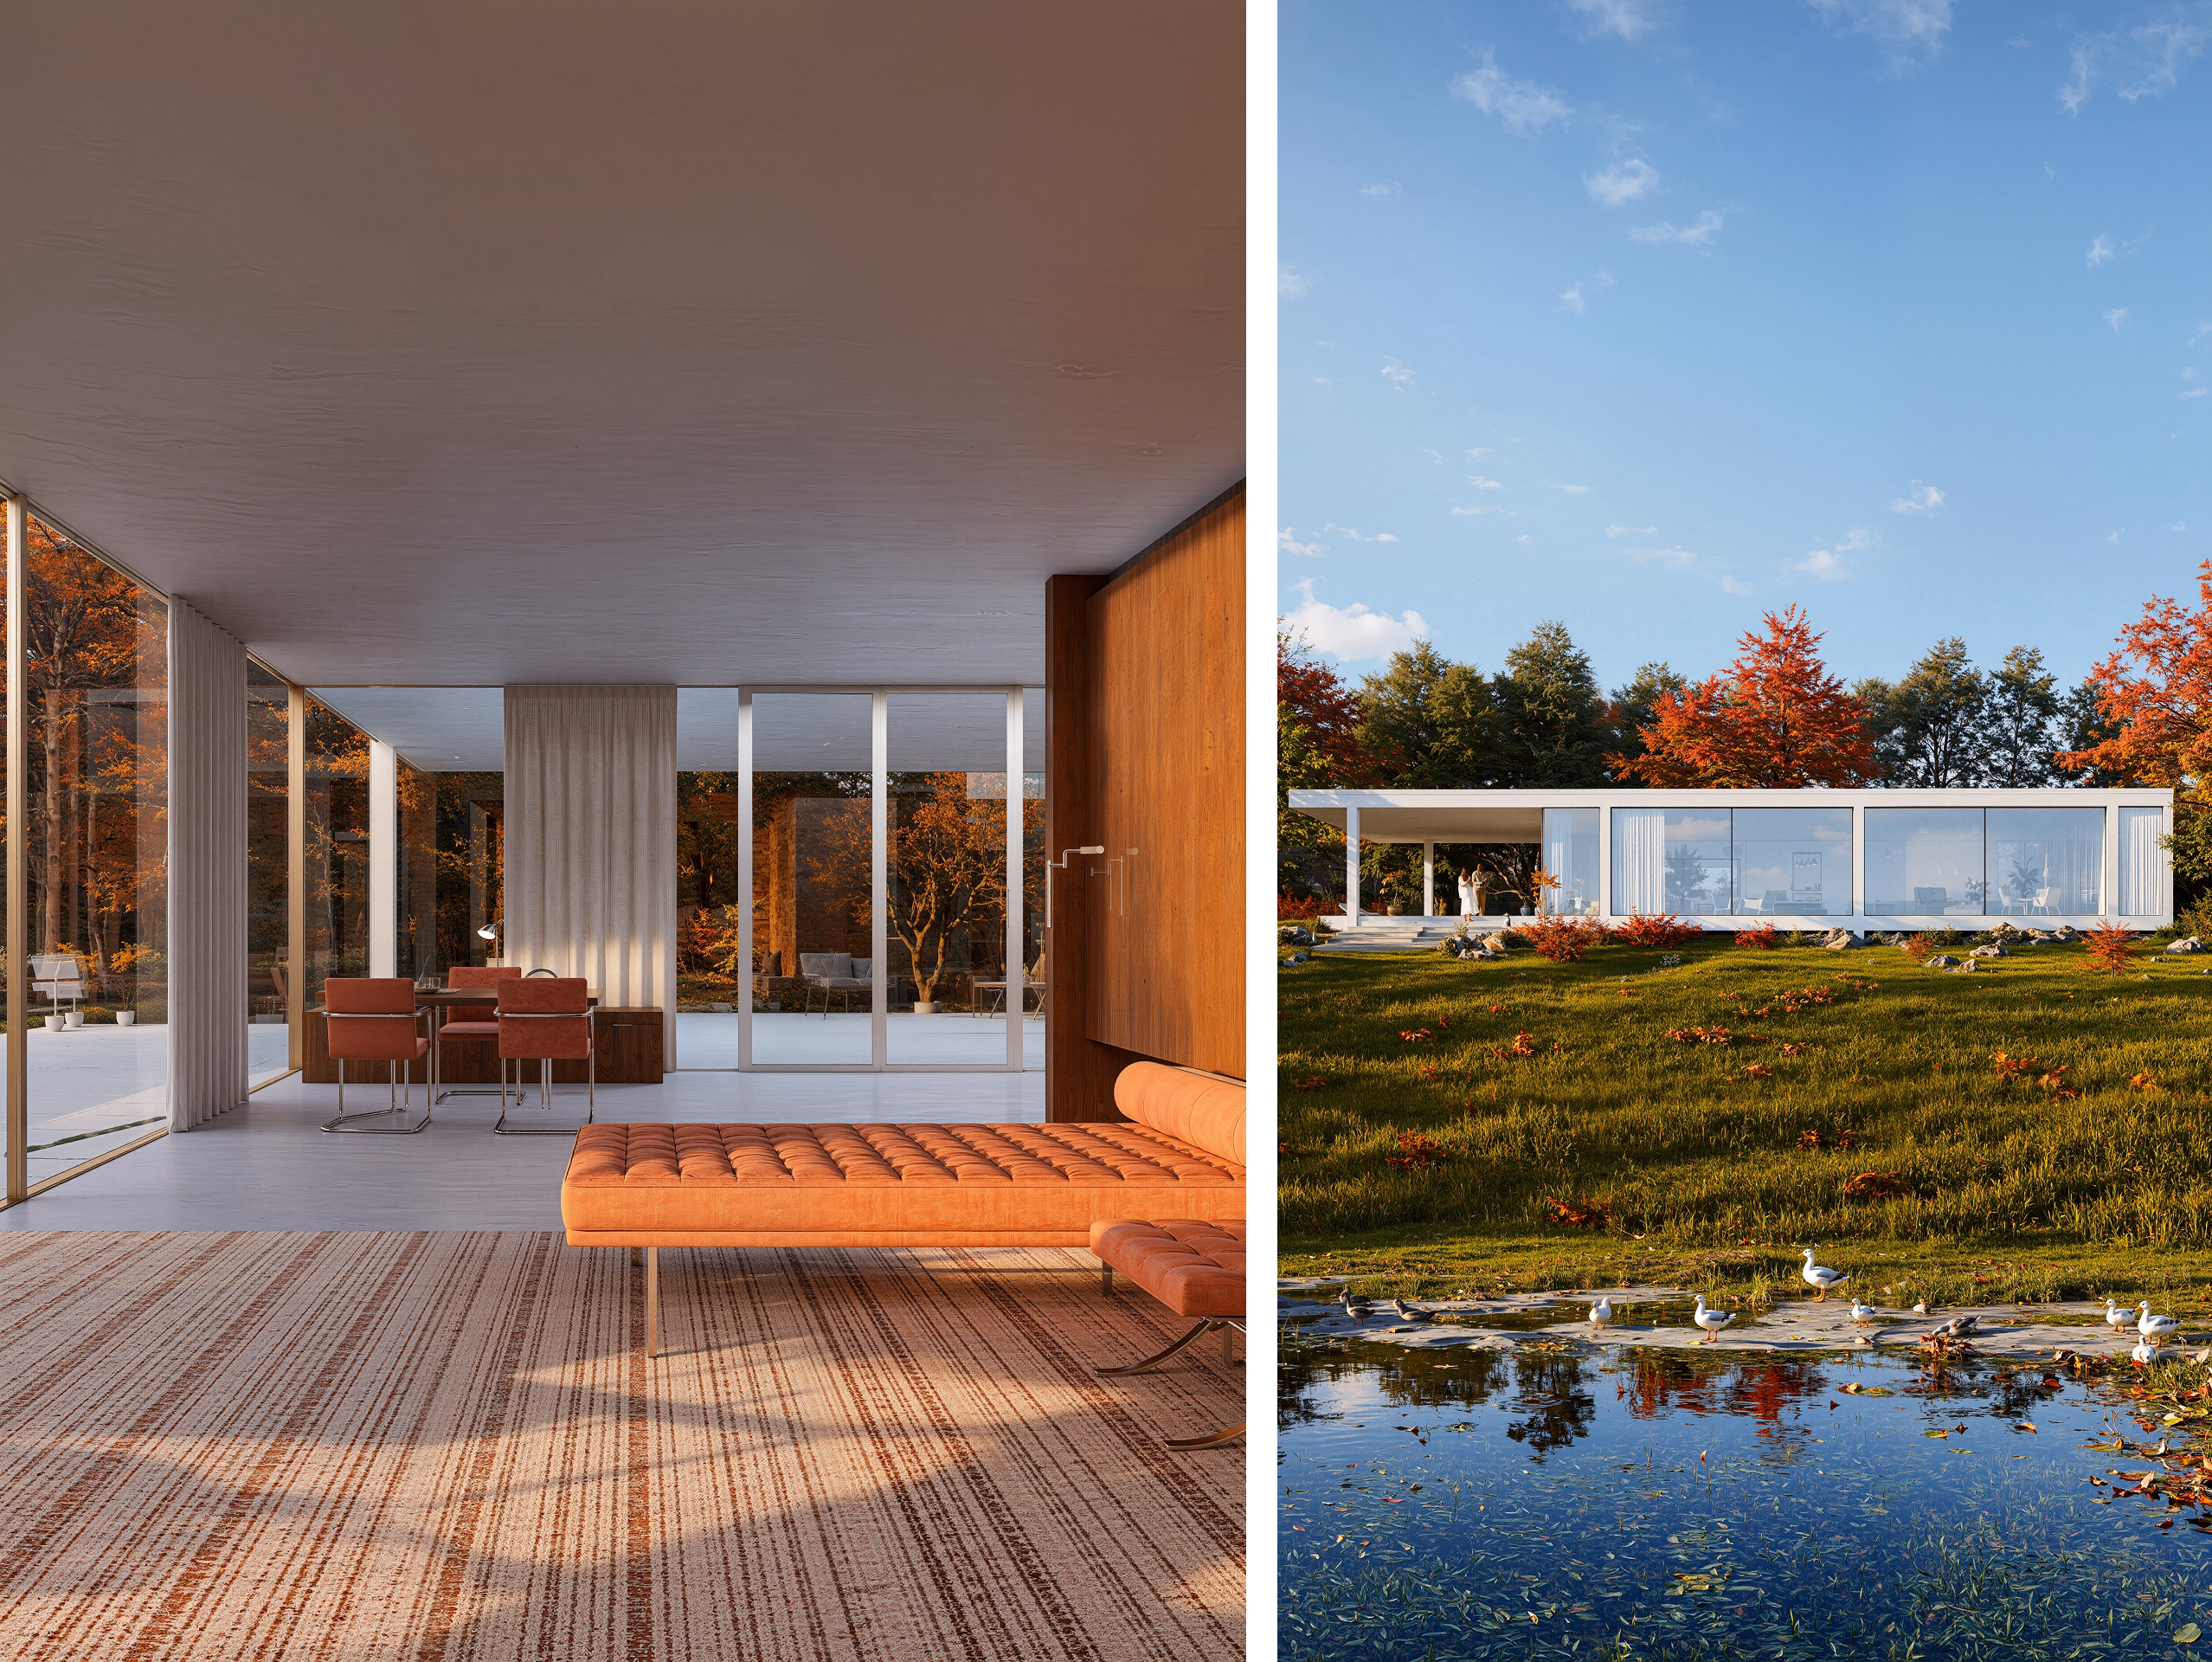
- Set a realistic base: apply a woodland/lawn material to the terrain in D5 Render and scale the UVs to create a dense ground texture for photorealistic grass.
- Build natural variety fast: use the Scatter tool to paint multiple grass models at different heights/greens, erase random patches, and add fallen leaves to break uniformity.
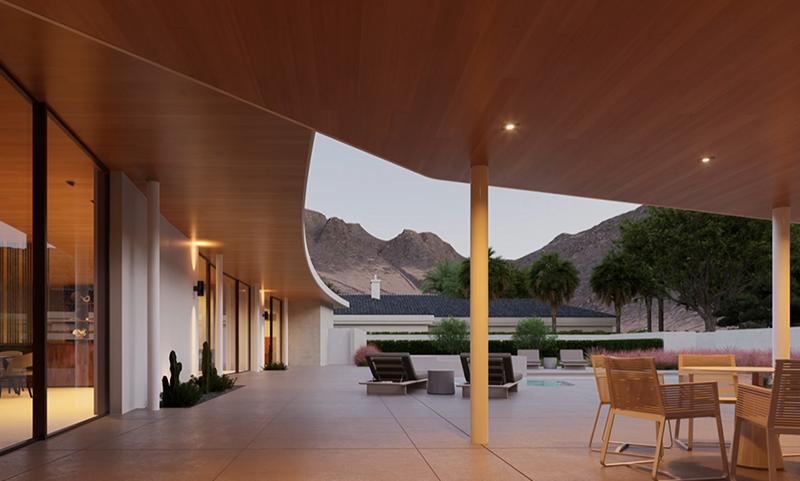
- Add layered depth for realism: line edges with shrubs, mix in mid-ground plants, and place a tall foreground tree—then leverage the D5 Asset Library for quick, real-time landscape visualization.

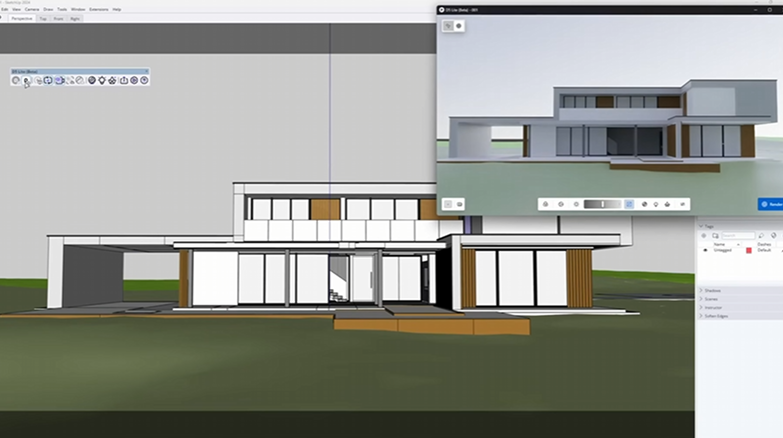
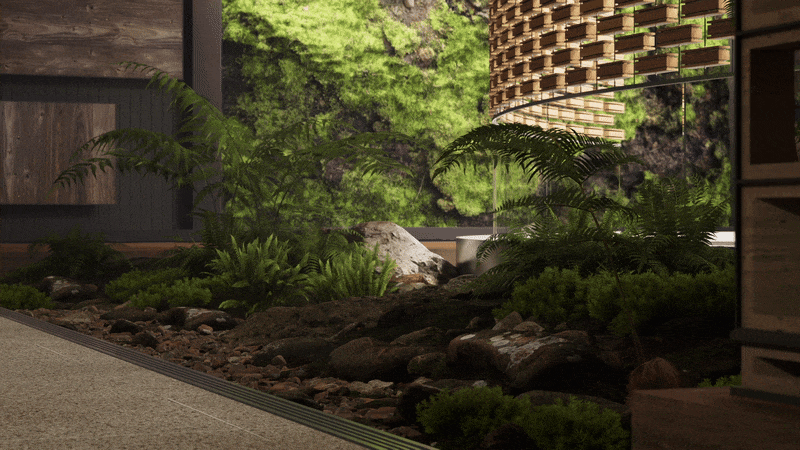
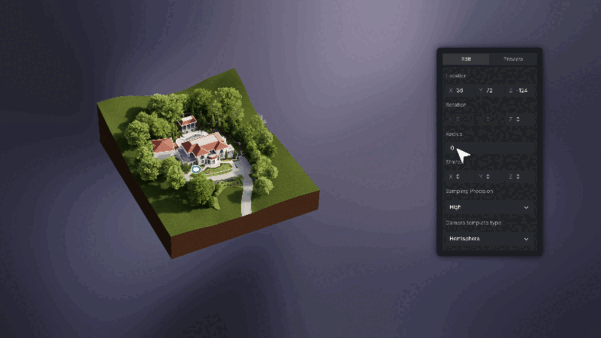
Step 01: Set a Lawn Material
First, choose a woodland material and apply it onto the model surface.

Stretch its UV to get a dense look.

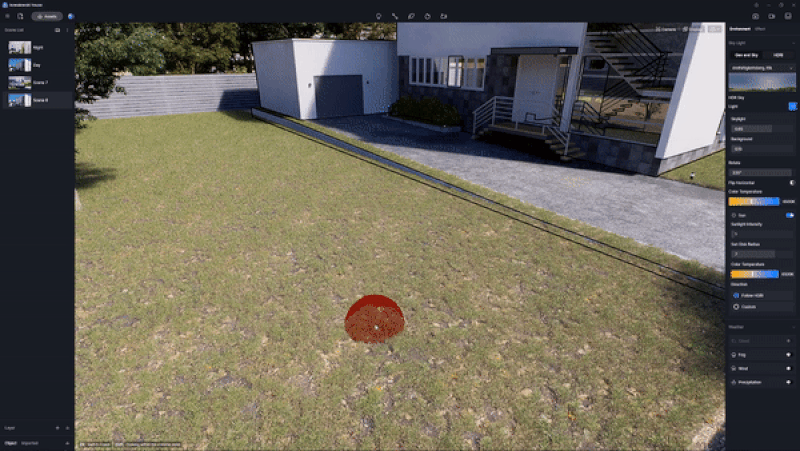
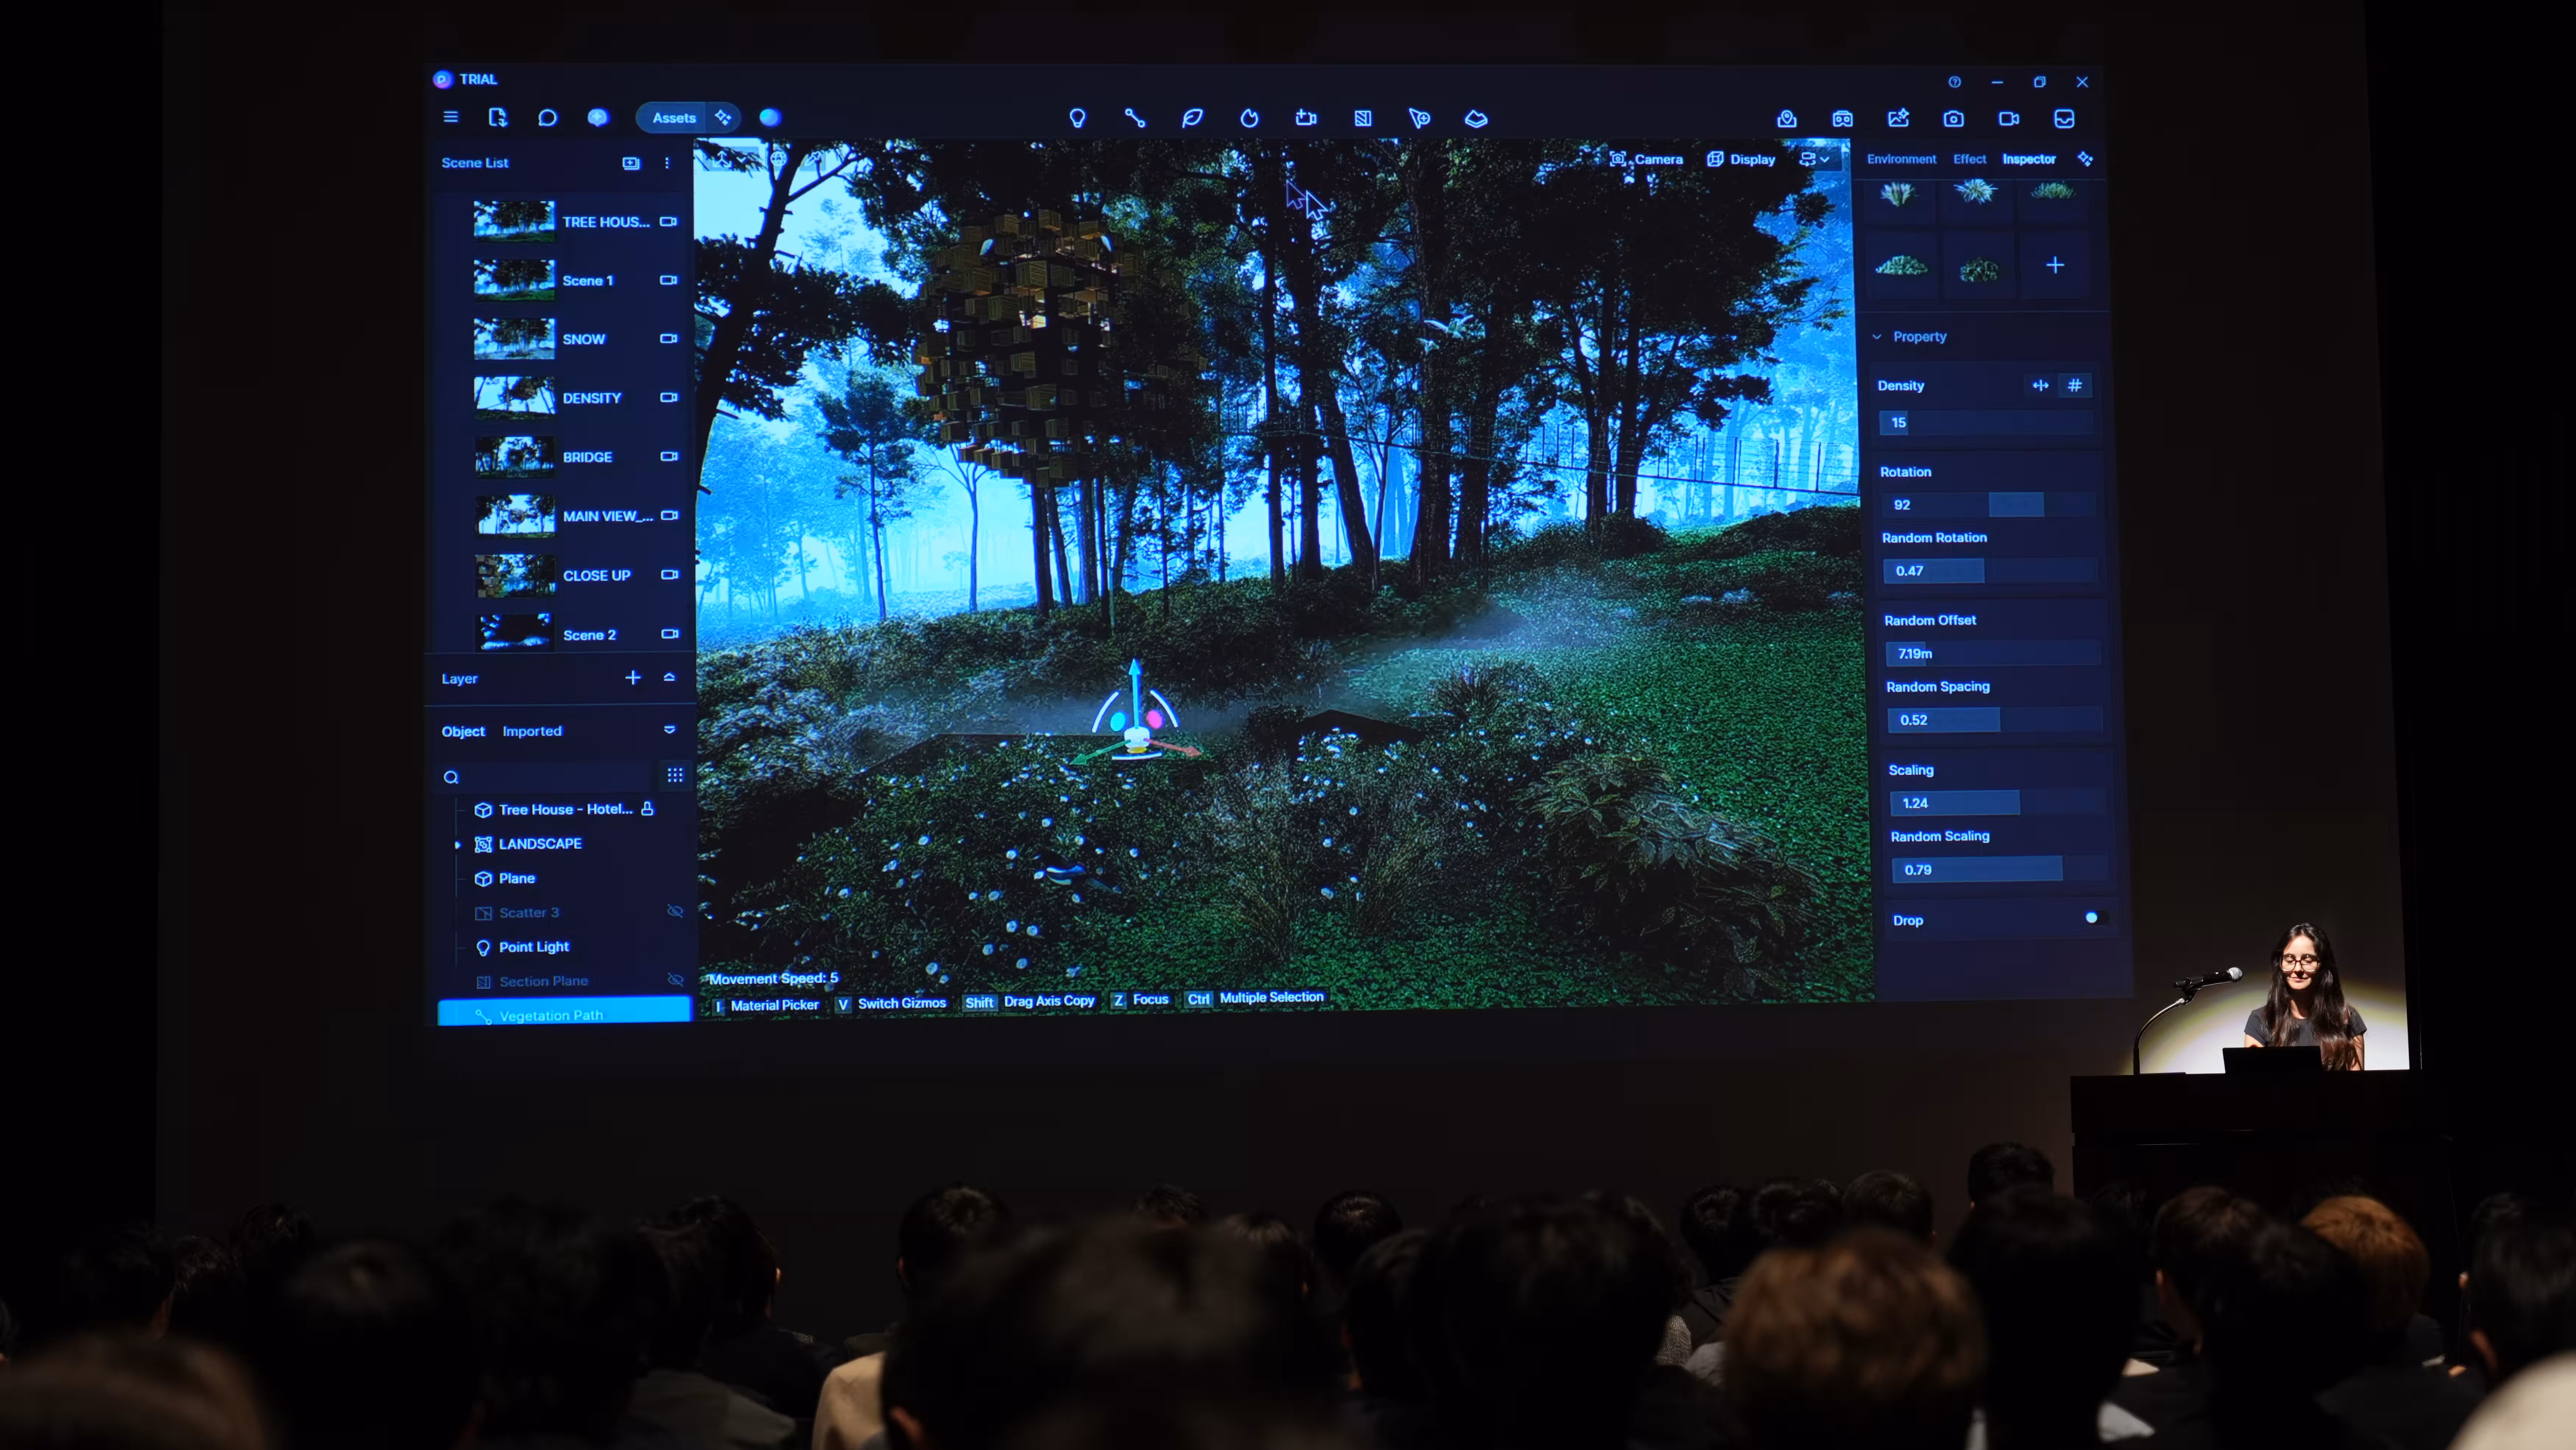
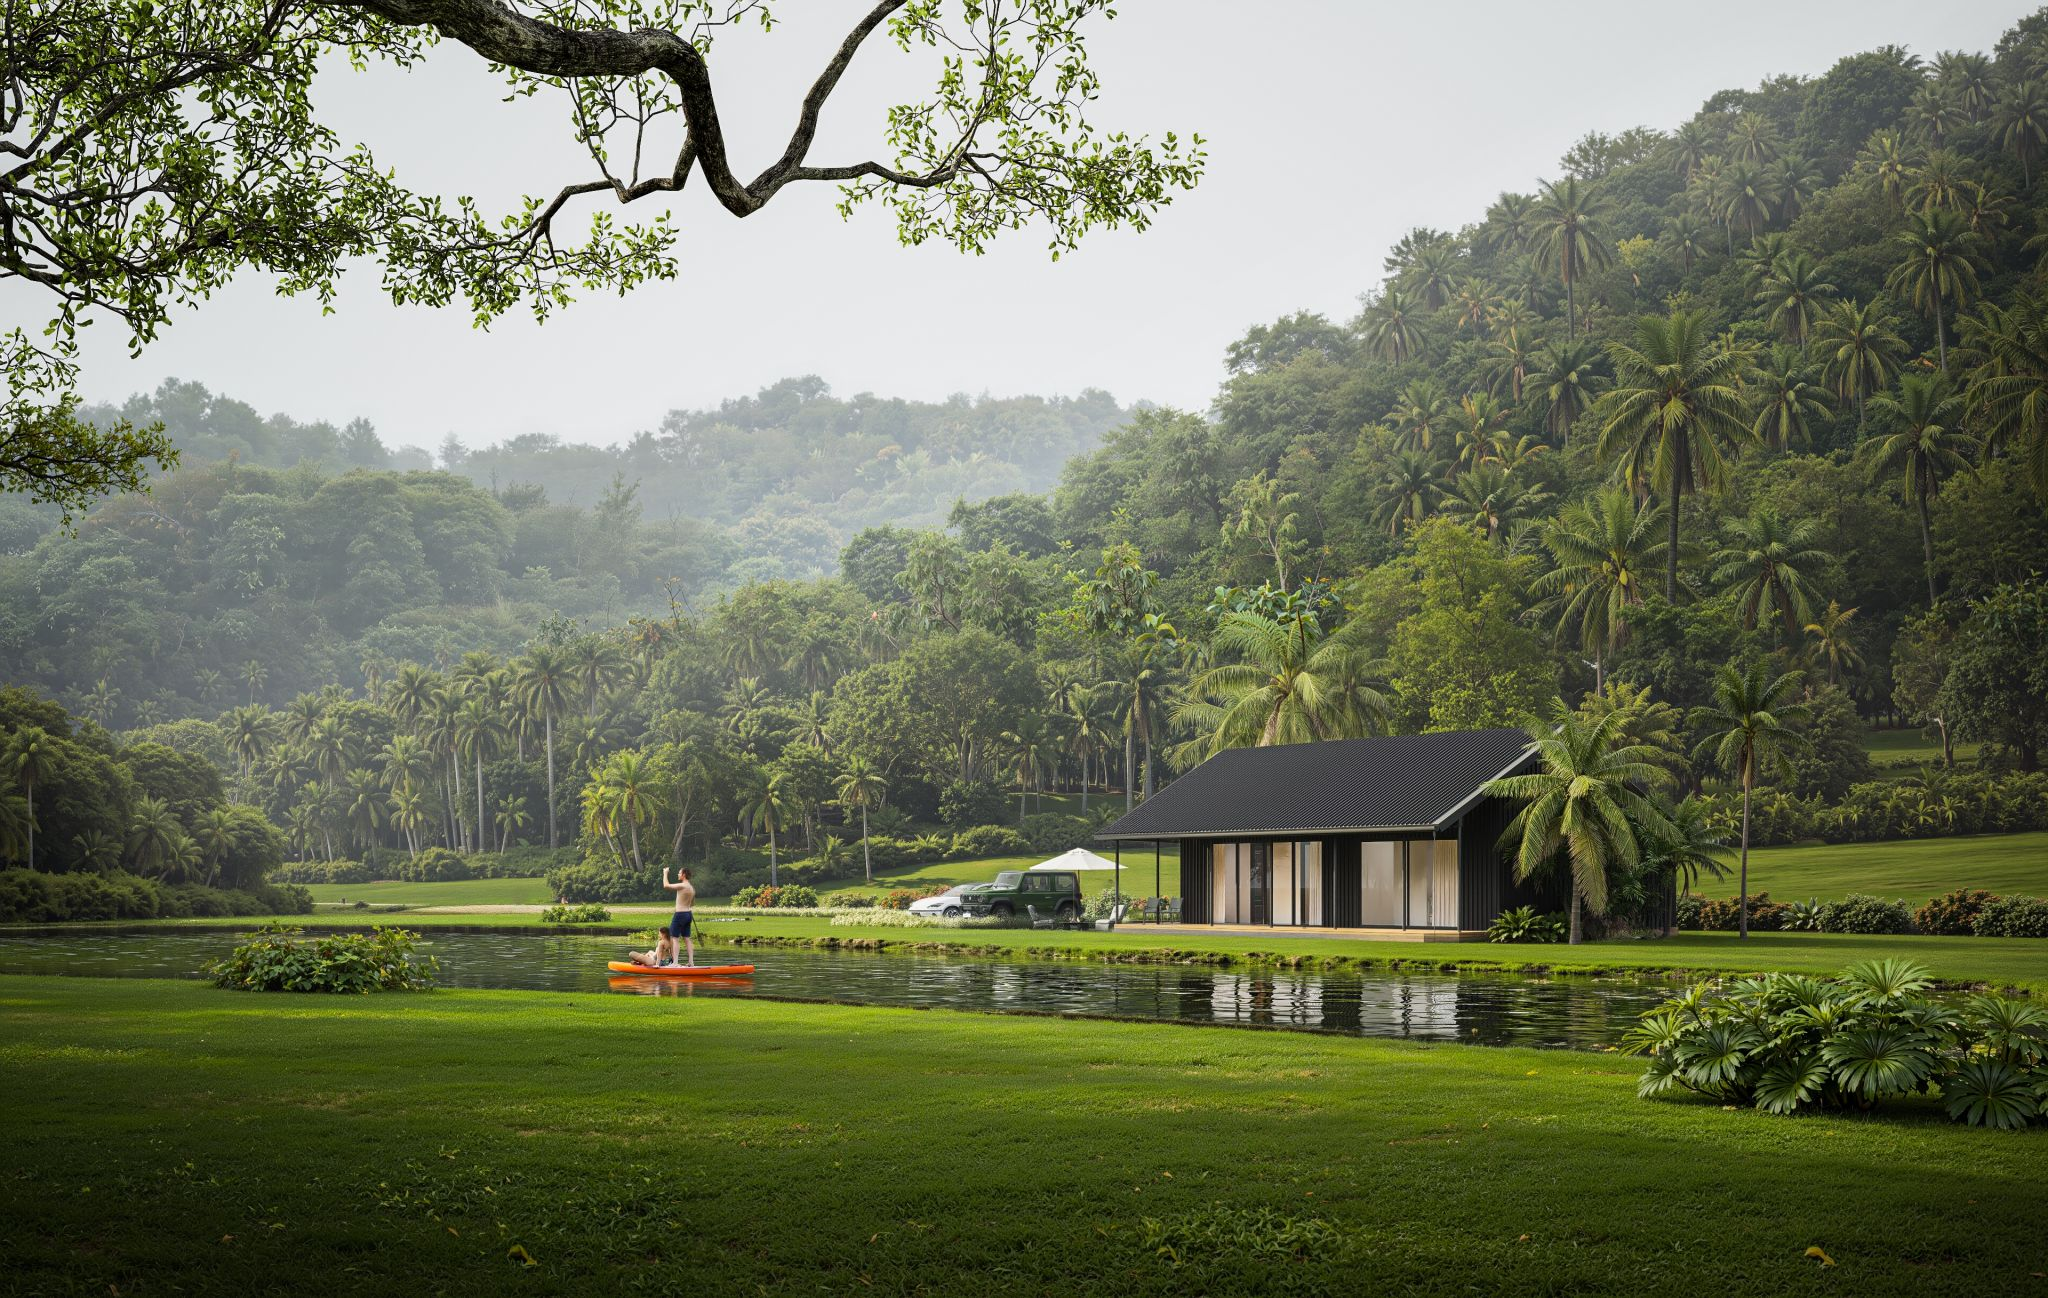
Step 02: Paint Grass Models
Then, choose a grass model to fill the lawn with the 'Scatter' tool.
Repeat the step on another kind of higher, greener grass.

Remove a bit of the lawn randomly with the Eraser tool.
You can also add some scattered fallen leaves.
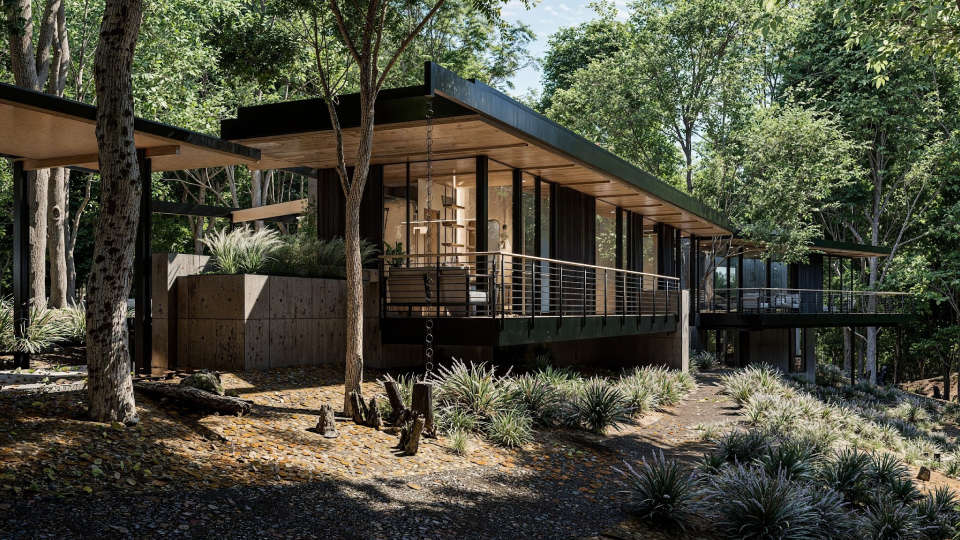
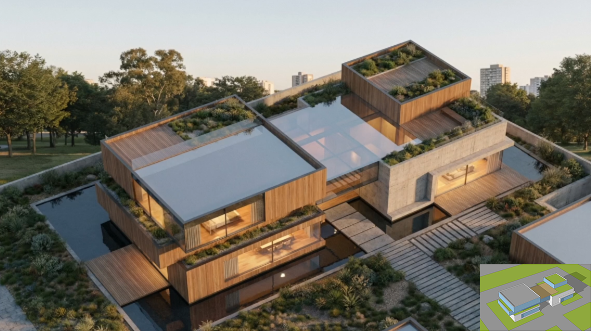
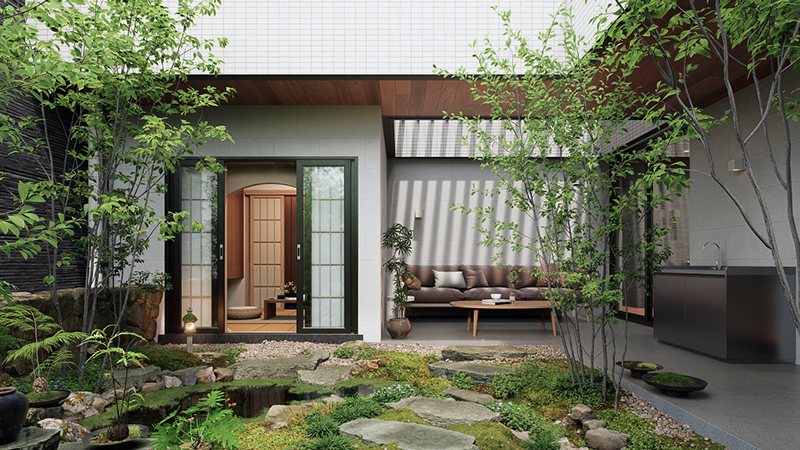
Step 03: Add Decorative Plants
Place some shrubs along the edge.
And intersperse some in the middle.
A tall tree at the foreground will make the scene look more layered.

That's it! You've just brought a lawn to life. D5 Asset Library in D5 Render makes it super easy to create 3d visualization. So, make sure to give this amazing real-time rendering software a try!


.png)


.png)
1%20(2).png)


%20(1).png)
.png)
.png)


.png)