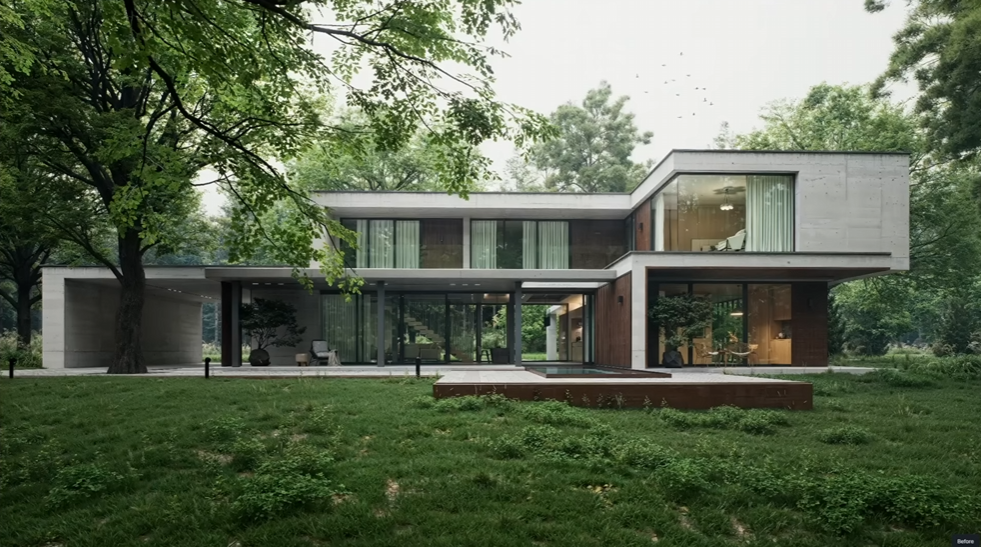
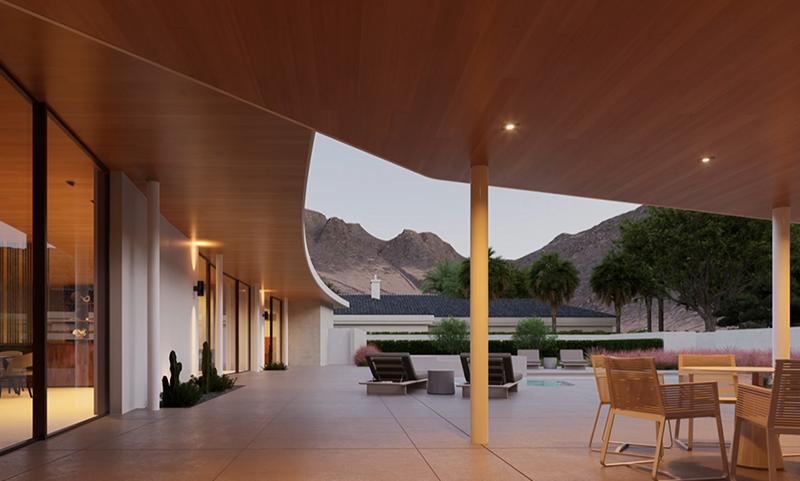
洗練されたアーキテクチャのレンダリングを作成するということは、以前は長時間の反復作業が必要でした。つまり、思い描いていたものに近づくために、マテリアルと格闘し、ライトをダイヤルインし、次から次へとレンダリングを実行するという作業でした。
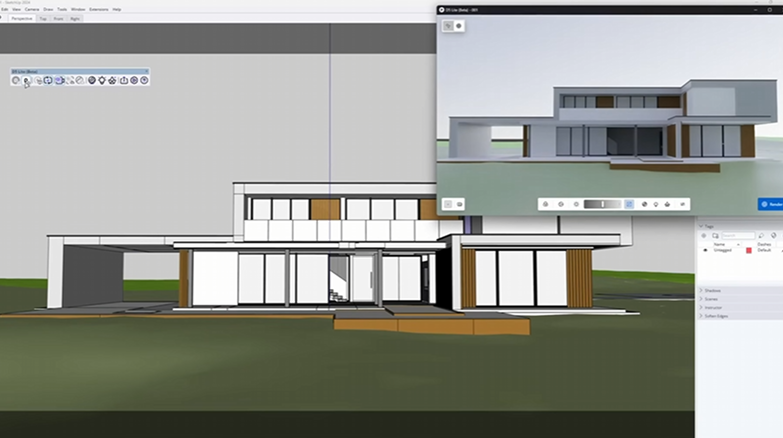
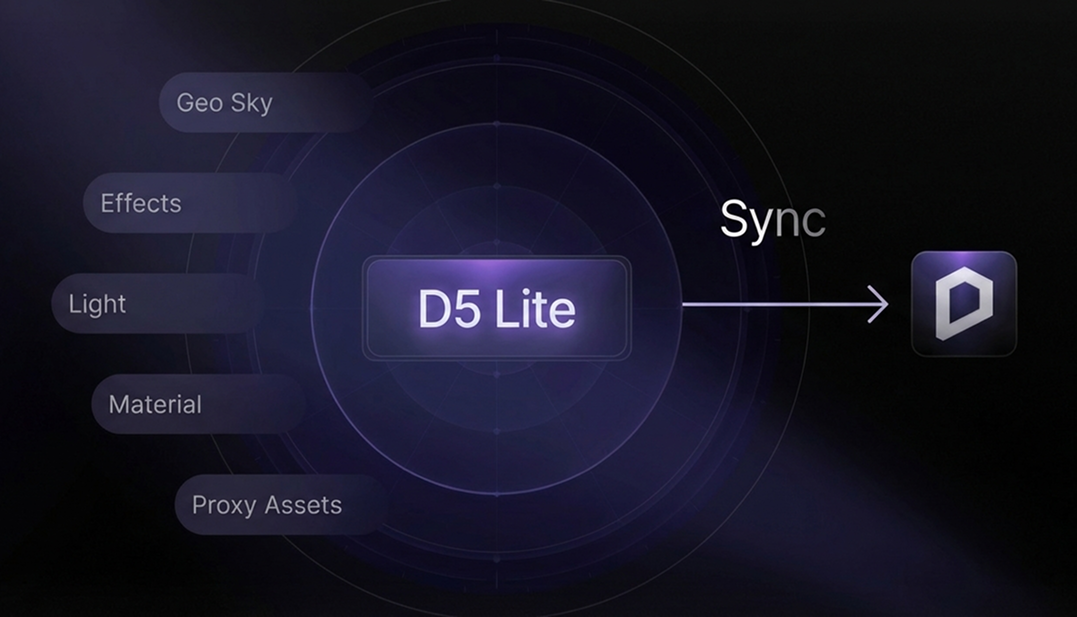
そのプロセスは急速に変化しています。と D5 レンダリングの最新リリースでは、モデルの初期インポートから最終的なポストプロダクションまでのビジュアライゼーションワークフロー全体が 1 か所にまとめられました。 D5 ライト 初期段階のリアルタイムモデリングプレビューを処理し、品質をさらに向上させる準備ができたら、D5 Renderが引き継ぎます。
このチュートリアルでは、AI アシストマテリアル、環境と照明のセットアップ、シーンの作成、ポストプロダクションなど、ワークフロー全体を段階的に説明します。最初から最後まで、プロセス全体には約 15 分かかります。それでは早速始めましょう。
💡 重要なポイント:15 分間のアーキテクチャレンダリングをマスターする
- させて 人工知能 マテリアルのマッピングや照明の調整などの面倒な作業を自動化しながら、クリエイティブなコントロールを完全に維持できます。
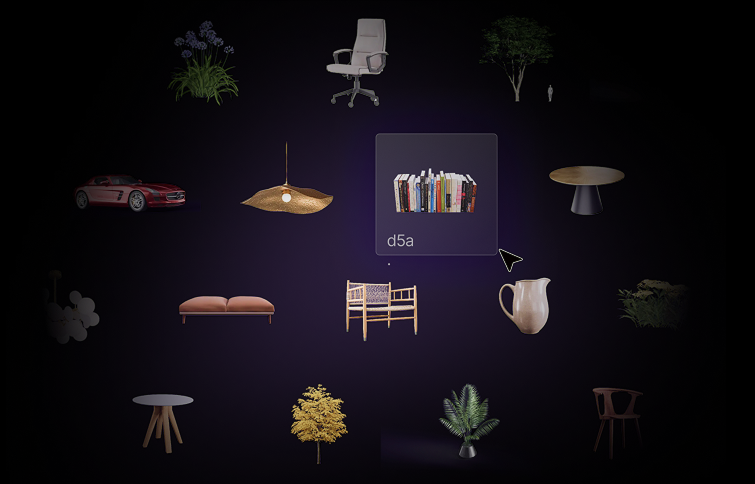
- スマートアセットツールと 14,000 種類を超えるアニメーションモデルと静的モデルの膨大なライブラリを使用して、リアルなシーンを数秒で作成できます。
- プロフェッショナルな仕上がりを実現 ビルトイン AI ポストプロセッシング すぐに共有できるインタラクティブなバーチャルツアーもあります。

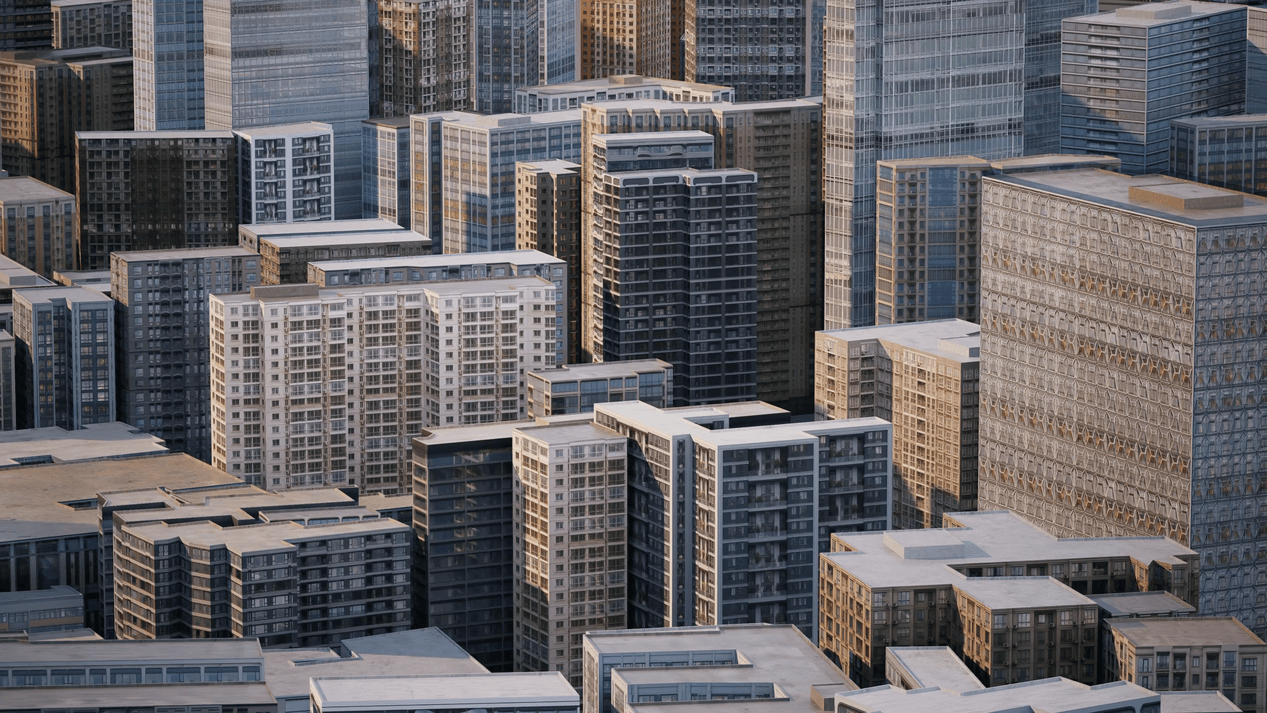
1。モデルのインポートとワークスペースの設定
で始める D5 レンダリングのダウンロード から d5render.com。40 GB 以上の空き容量があるドライブにインストールすることをおすすめします。これにより、ライブラリが大きくなるにつれて、アセット、マテリアル、プロジェクトファイルを保存するためのスペースを確保できます。
D5 Renderは、建築モデルを取り込むための3つの方法をサポートしています。
- ダイレクトファイルインポート — SKP、FBX、OBJ などの一般的な 3D フォーマットでファイルを開きます。
- ライブシンク — リアルタイムで接続 SketchUp、 Revit、 サイ、および専用プラグインを使用するその他のモデリングツール。モデリングソフトウェアで行った変更は、D5 Renderですぐに反映されます。
- D5 ライトシンク — あなたが働いてきたなら D5 ライト、プロジェクトを直接開きます。再インポートは不要です。
使いこなしのヒント:SketchUp や他のツールのナビゲーションコントロールに慣れている場合は、メニューに移動して、ワークフローに合ったレイアウトに切り替えてください。所要時間は約 30 秒で、インターフェイス全体が最初から使い慣れているように感じられます。
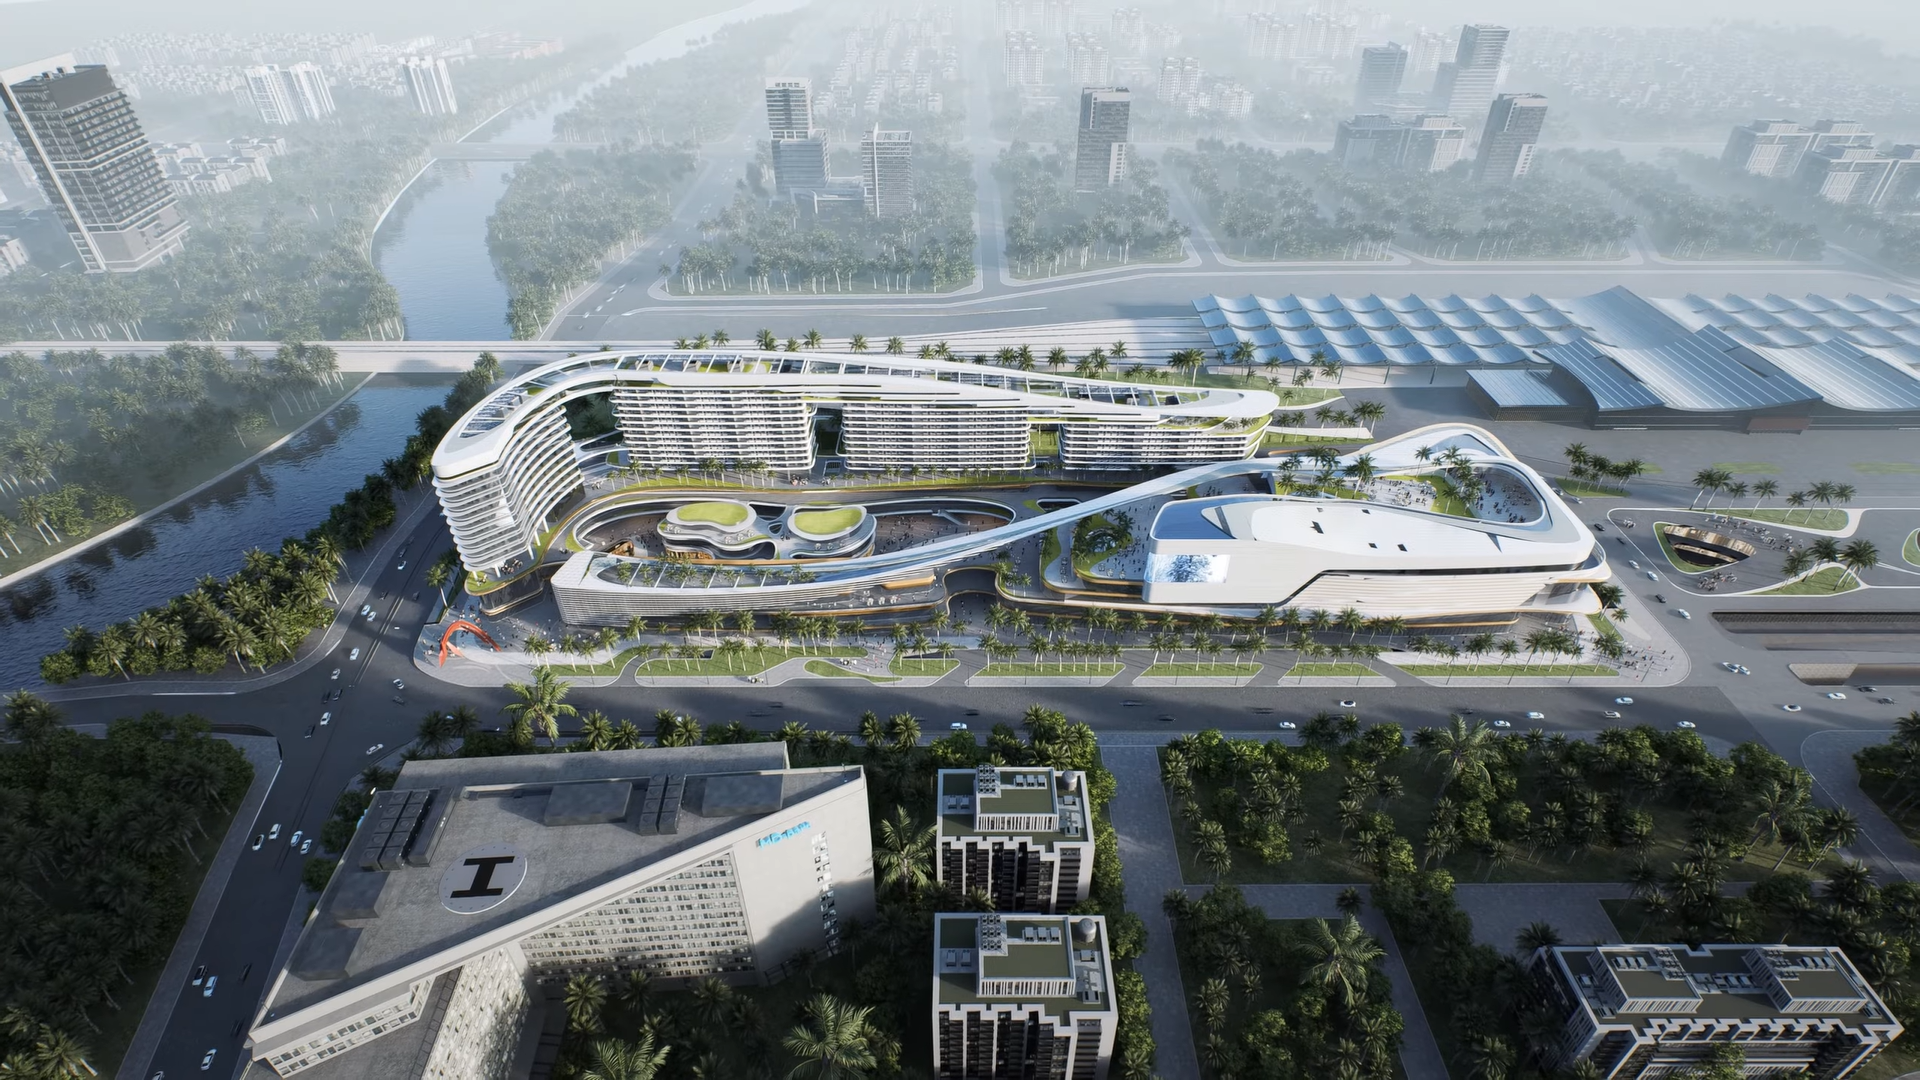
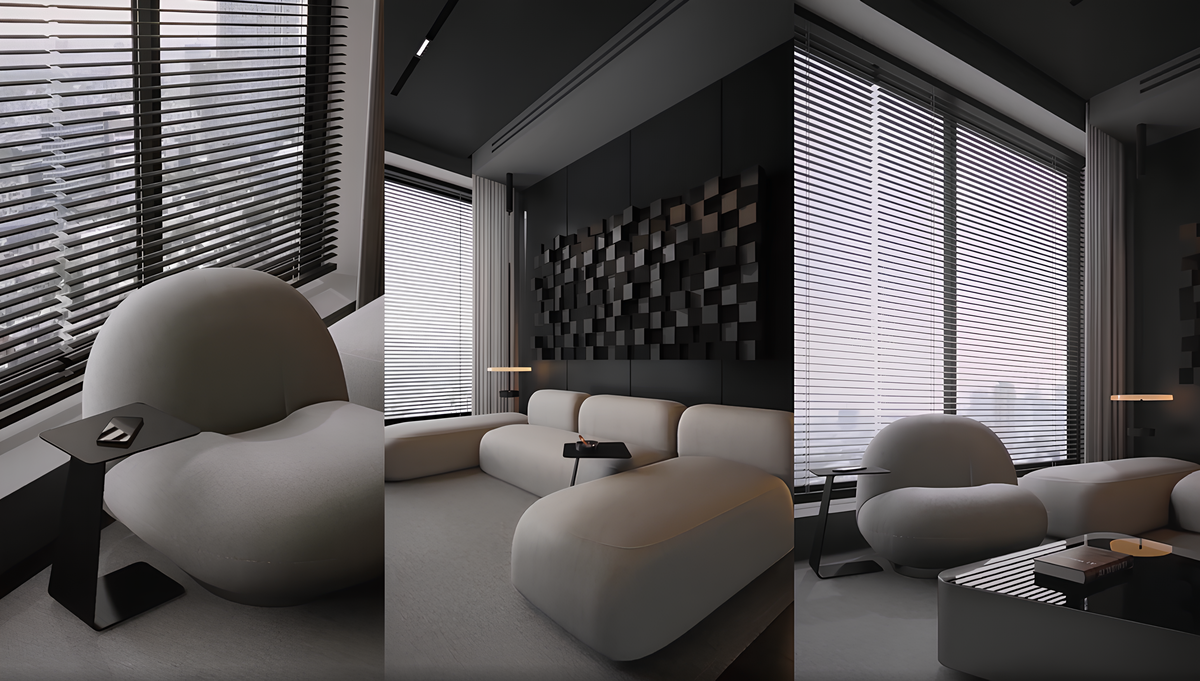
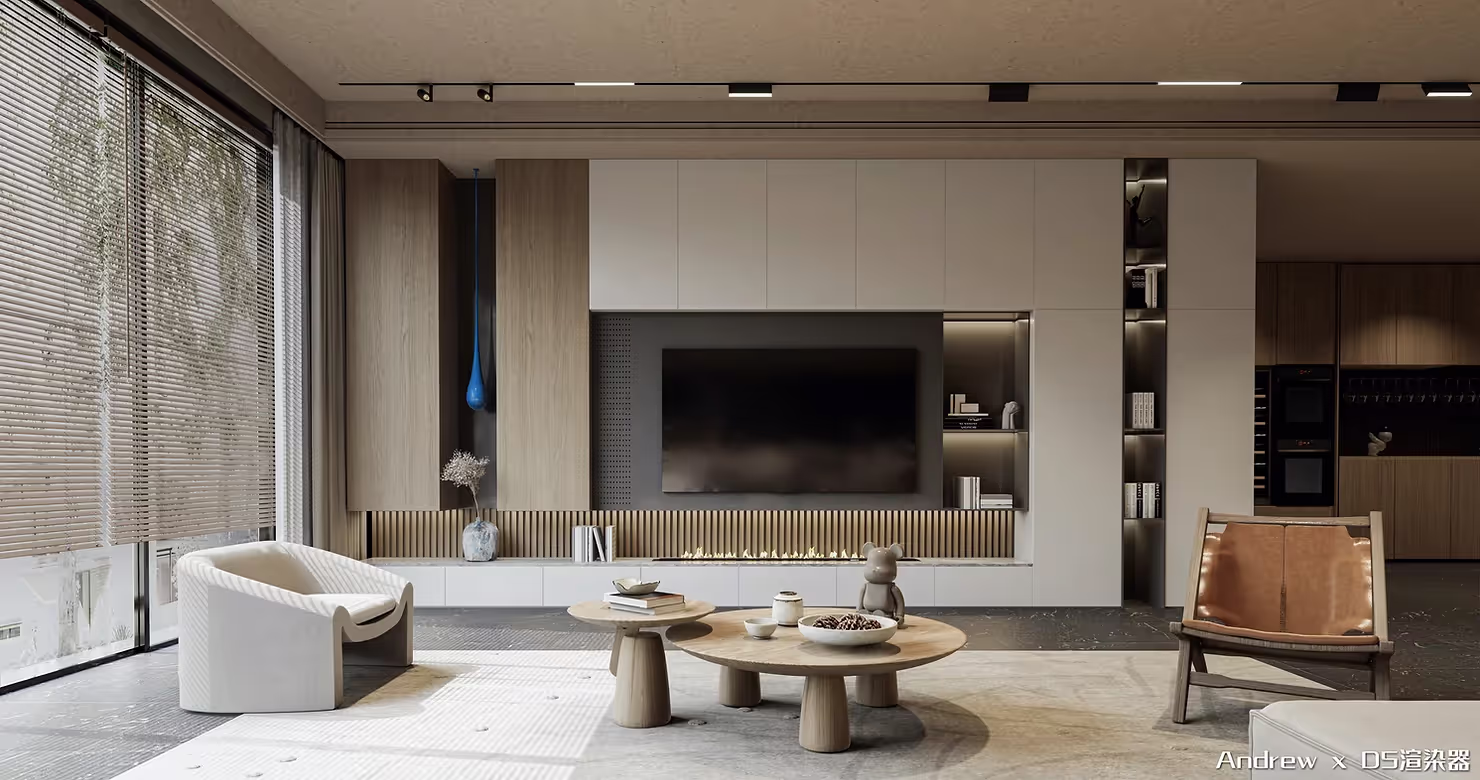
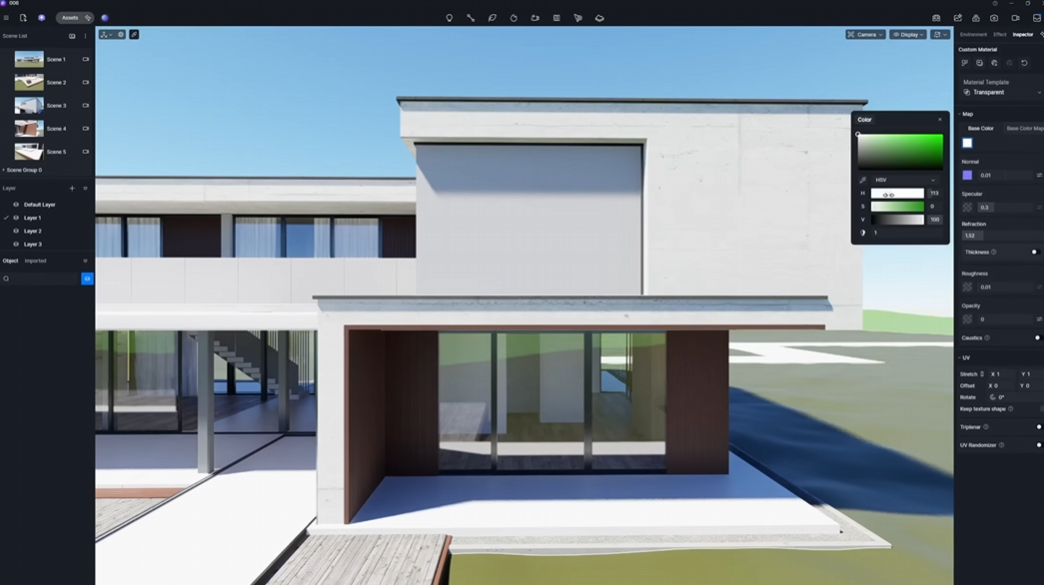
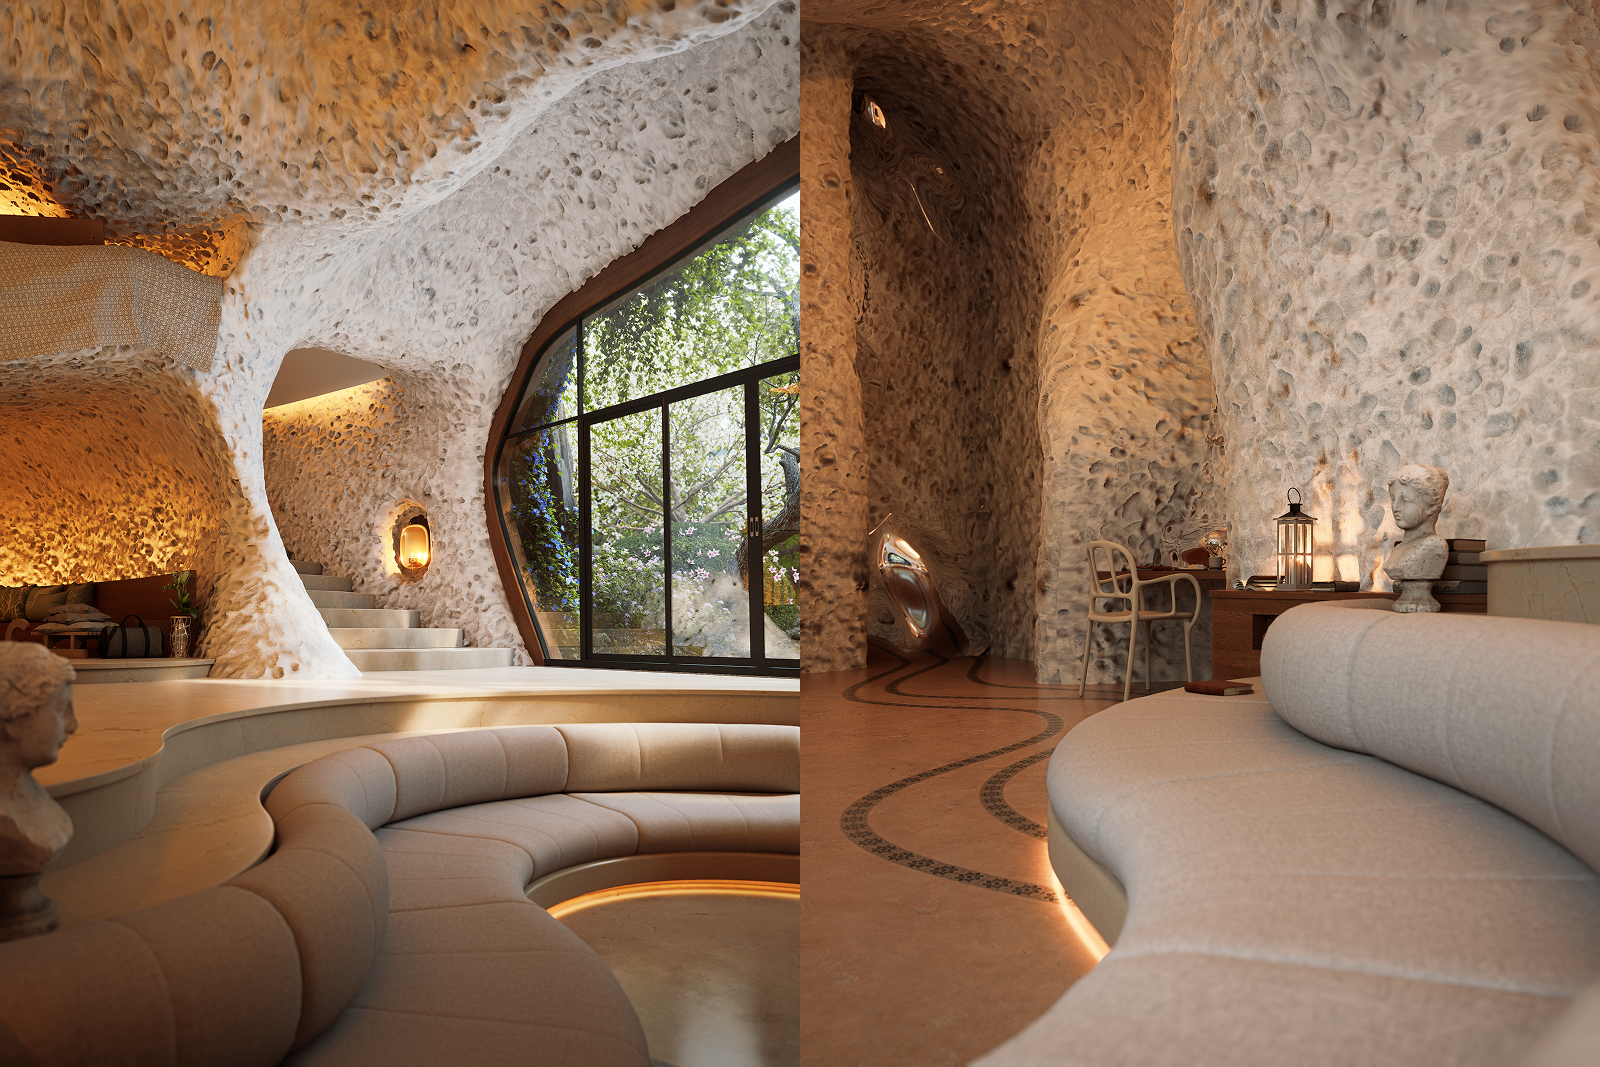
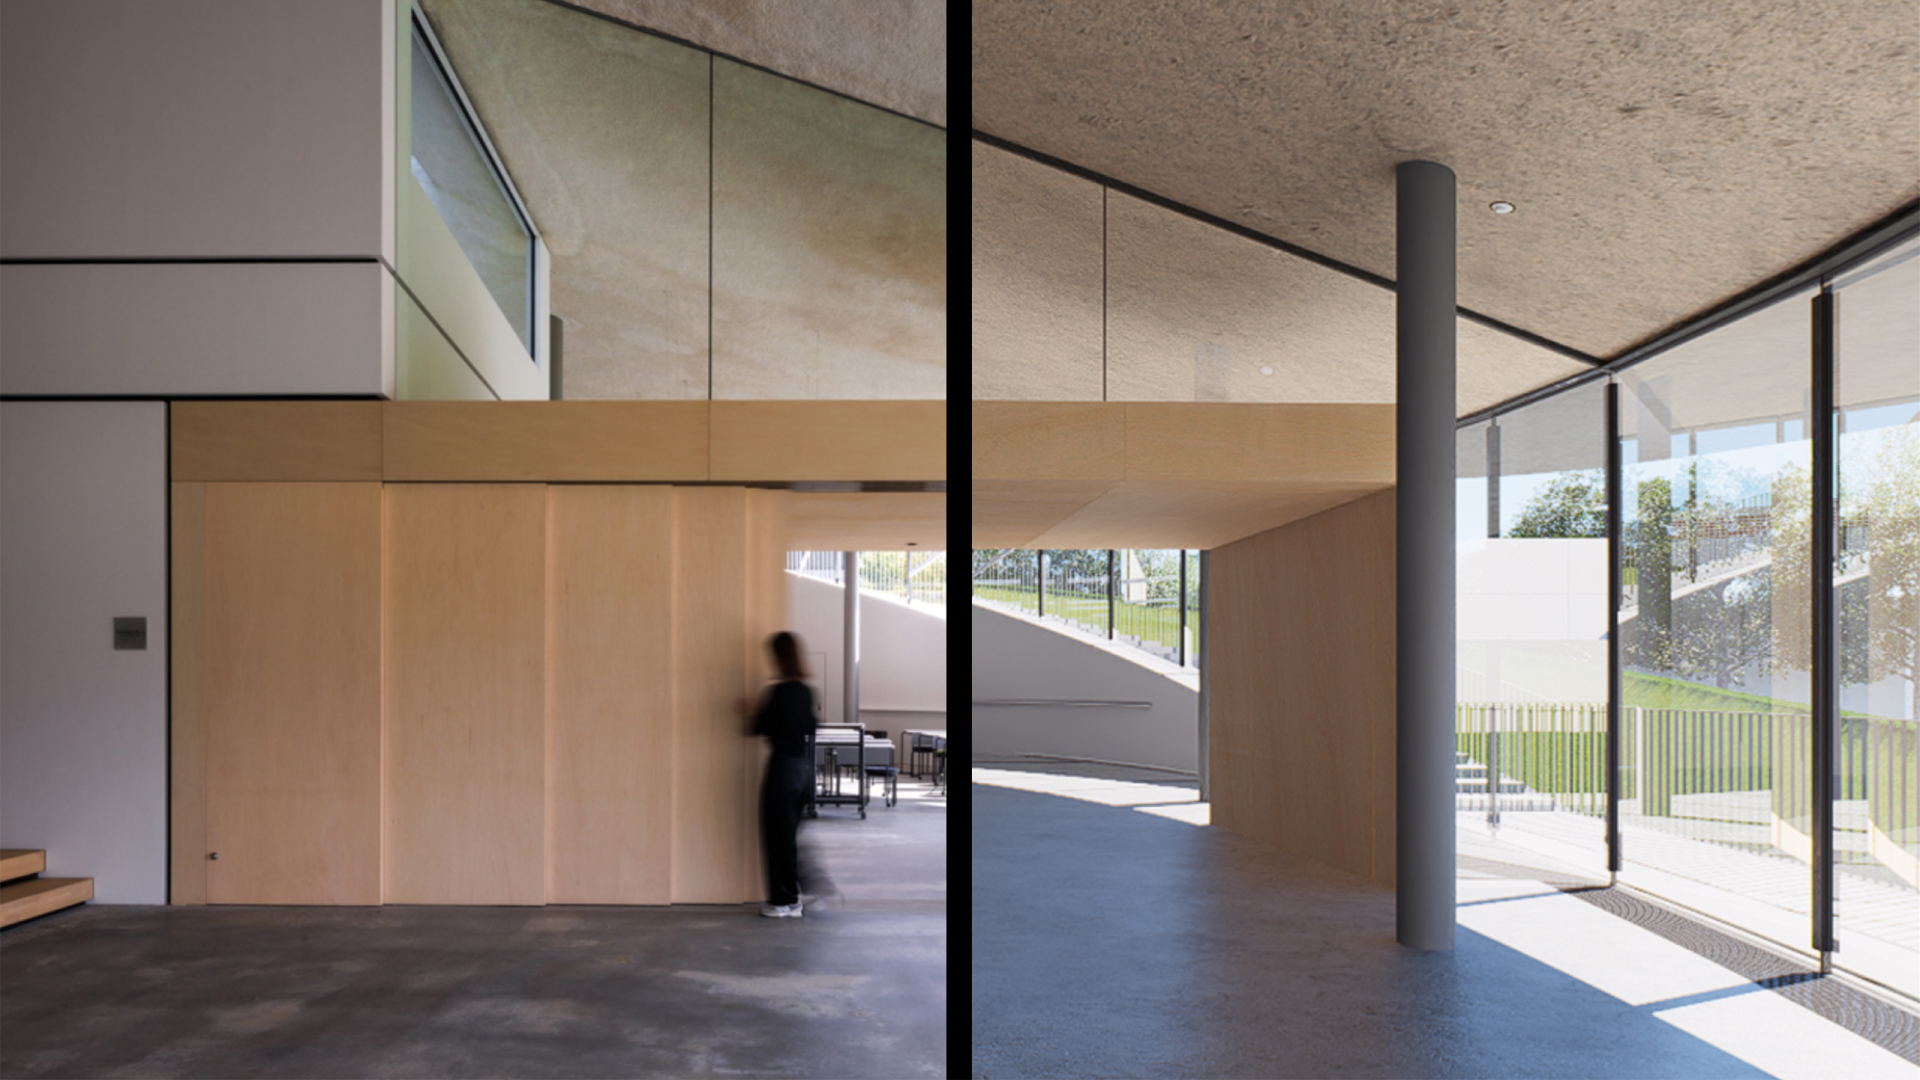
2。D5 レンダリングの PBR マテリアル:手動制御と AI 生成
D5 レンダリング 物理ベースのレンダリングを使用します PBR 材料システム、組み込みのテンプレートとすぐに使用できる資料のライブラリを備えているため、すぐに使い始めることができます。コアとなるテクスチャマップを理解することで、結果をより細かく制御できるようになります。
- 粗さ — サーフェスの滑らかさやざらつき具合を制御します。値が暗い (黒っぽい) と、より滑らかで反射率の高いサーフェスが生成され、値を小さくすると、より粗く、より拡散の多いサーフェスが生成されます。
- スペキュラー — 反射率を決定します。暗いスペキュラマップによってマテリアルが平らに見える場合は、スペキュラ強度の値を少し上げてバランスを取り戻してみてください。
- AO (アンビエントオクルージョン) — コーナーや隙間にソフトコンタクトシャドウを追加します。特に床や壁に接地材を視覚的に映し出すのに効果的です。
.png)
.png)
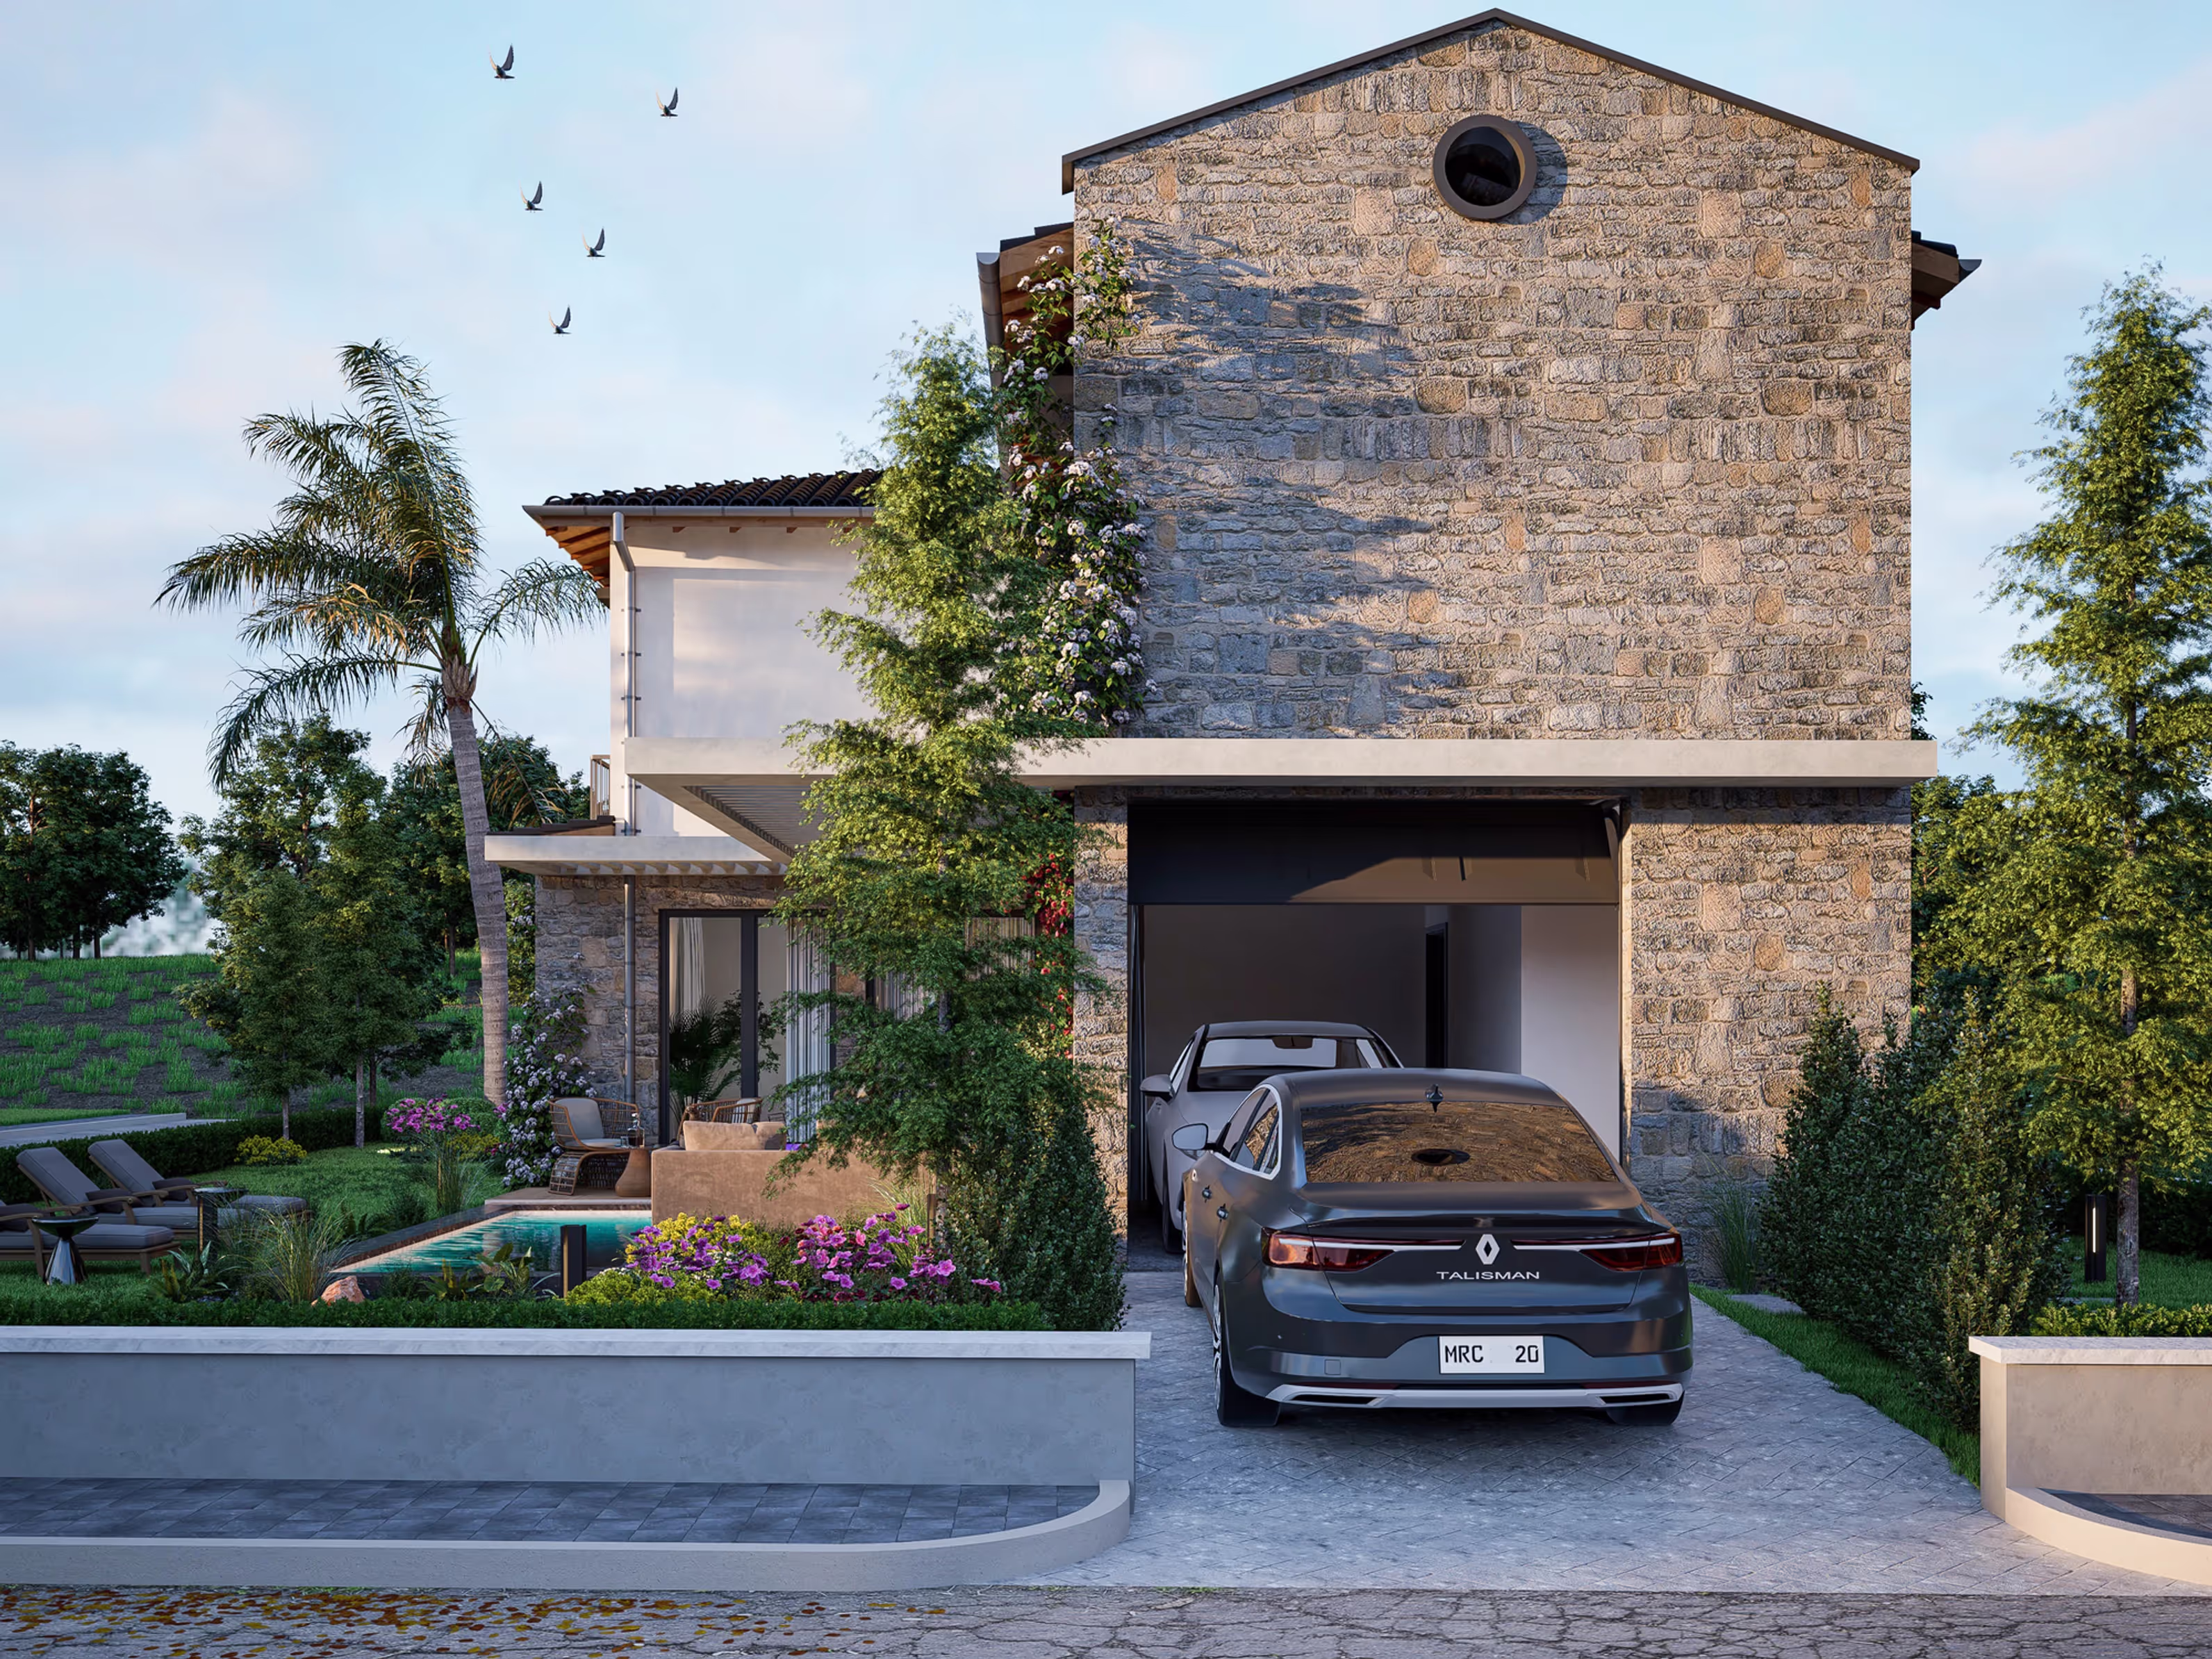
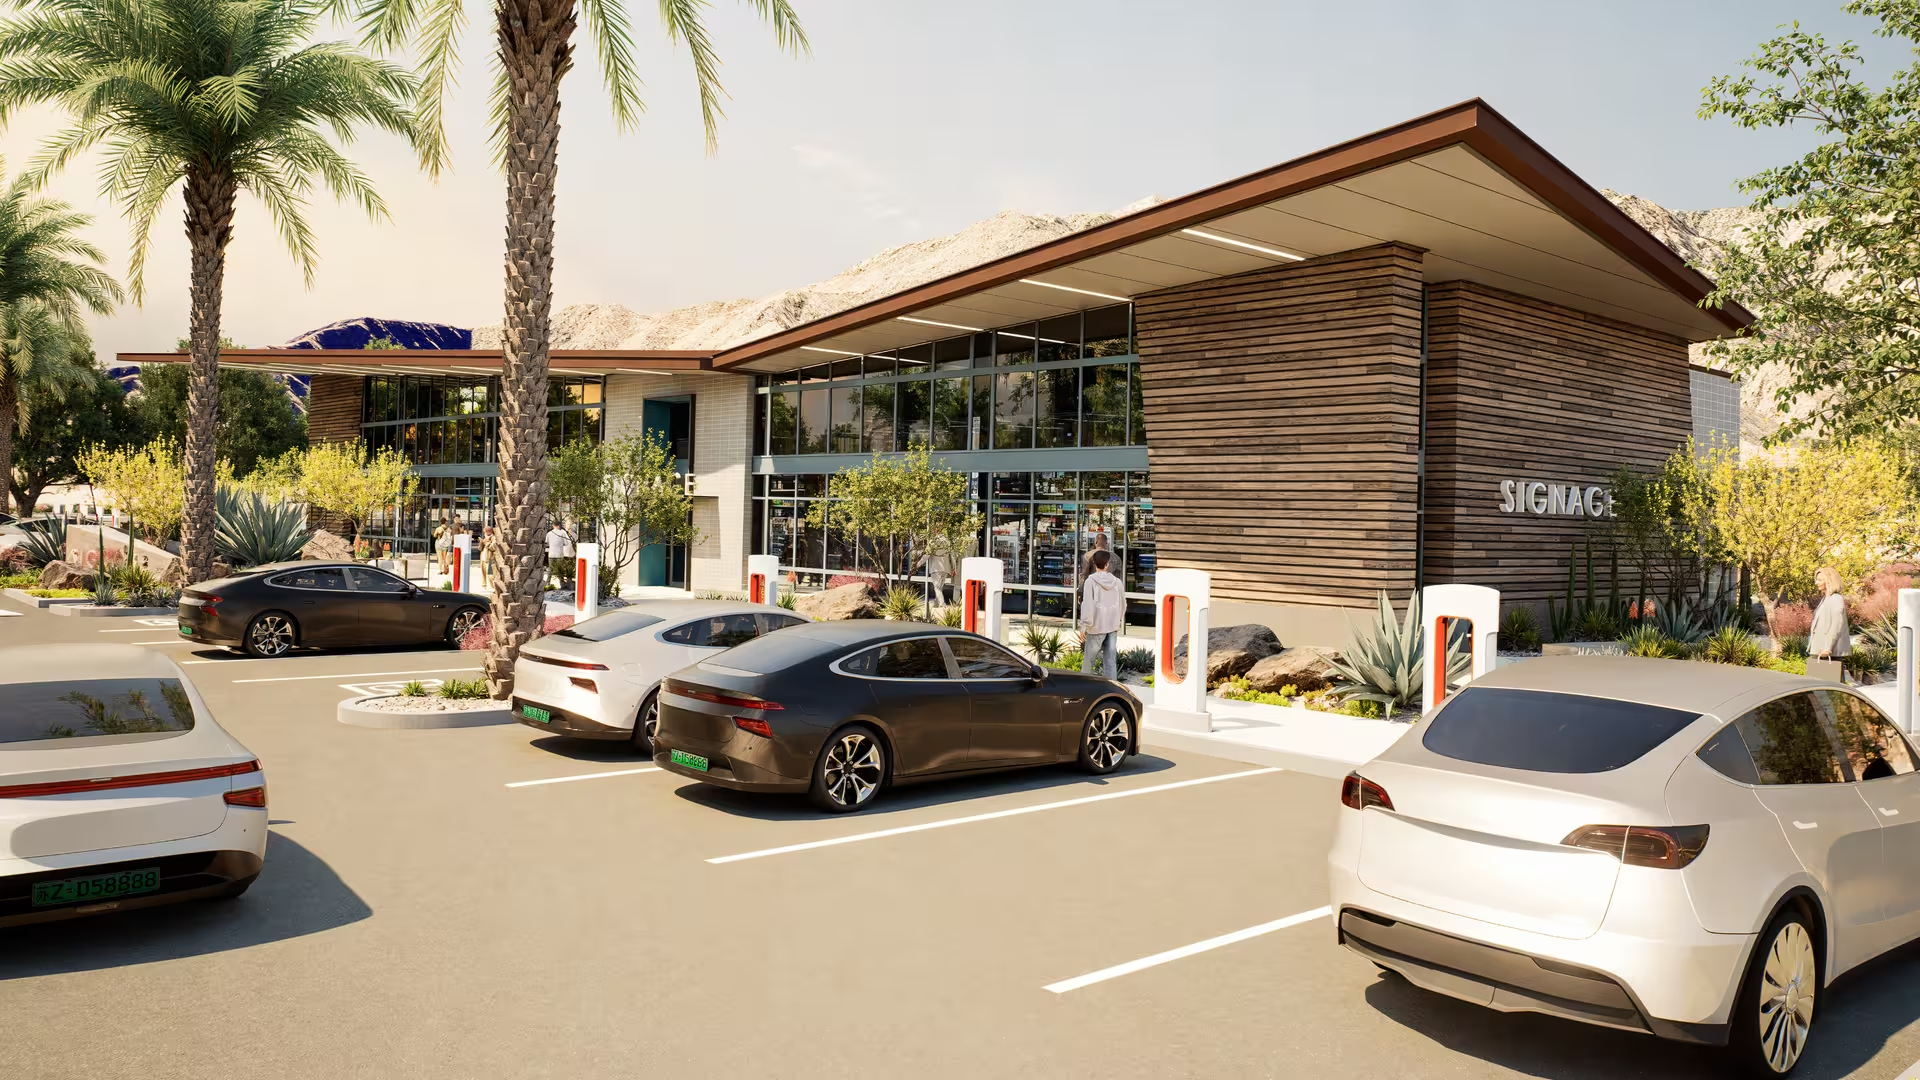
Slide to compare: PBR Materiality in D5 Render
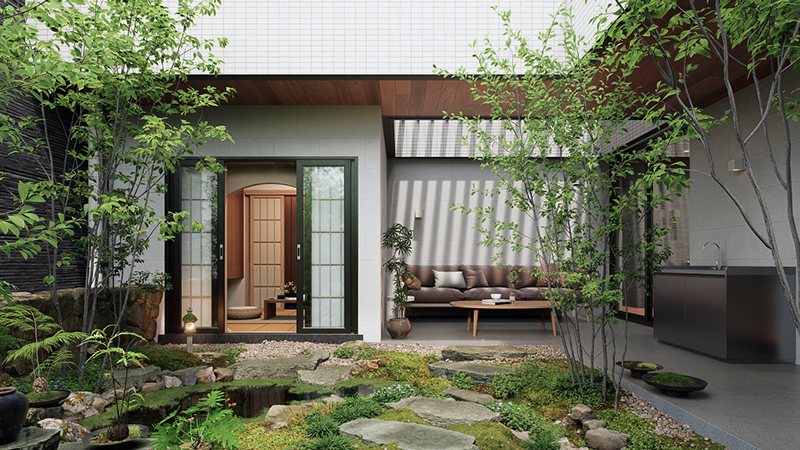
満足できる素材を設定したら、素材ピッカーを使用してサンプリングし、「」を押しますO' 別の表面に貼ることができます。一から作り直さなくても、複数の要素で仕上げを繰り返すのに便利です。
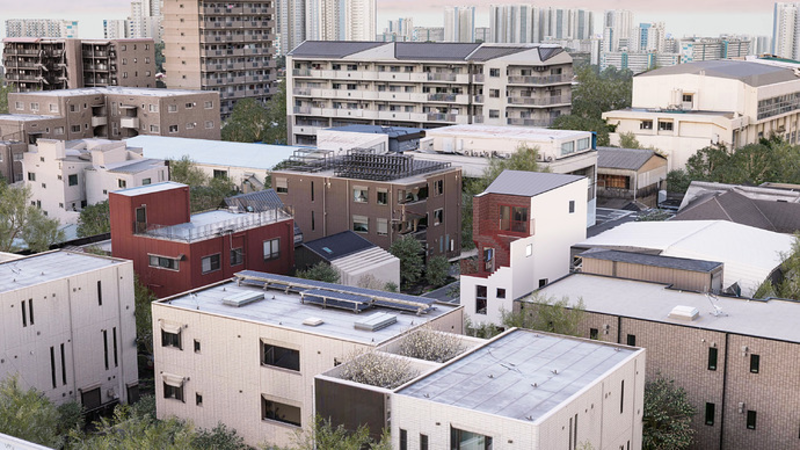
外壁の水汚れをシミュレートするには、デカールを剥がしてください D5 アセットライブラリ。サーフェスにドロップし、サイズと不透明度を調整し、必要に応じて複製して、きれいな CG の外観を崩します。ガラスの場合は、透明マテリアルのテンプレートに切り替えてください。以来 ガラス素材 非常に滑らかで反射率が高いため、ラフネス値をゼロ近くに下げ、スペキュラ強度を上げると、鮮明でリアルな反射が得られます。
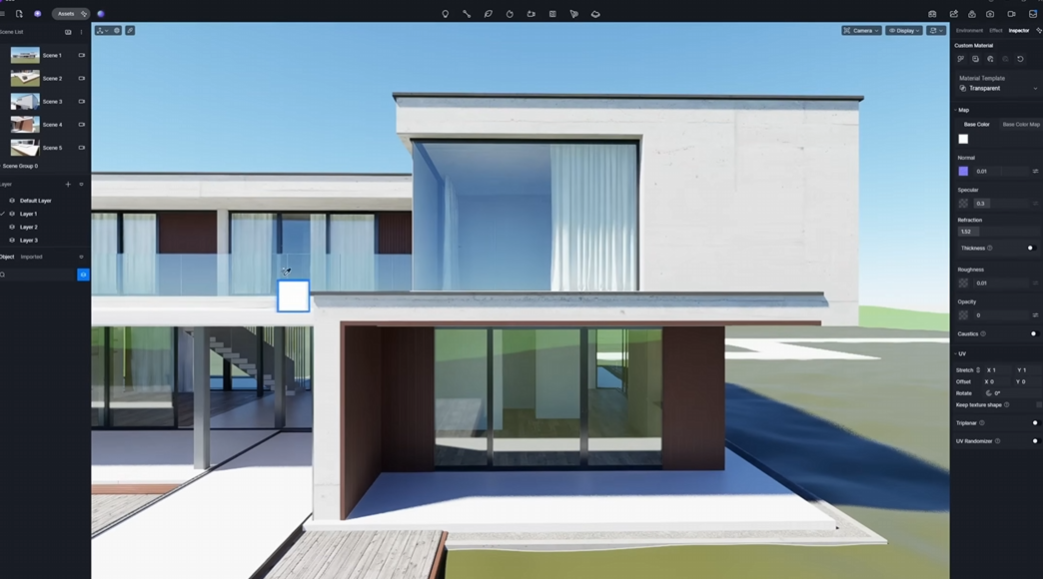
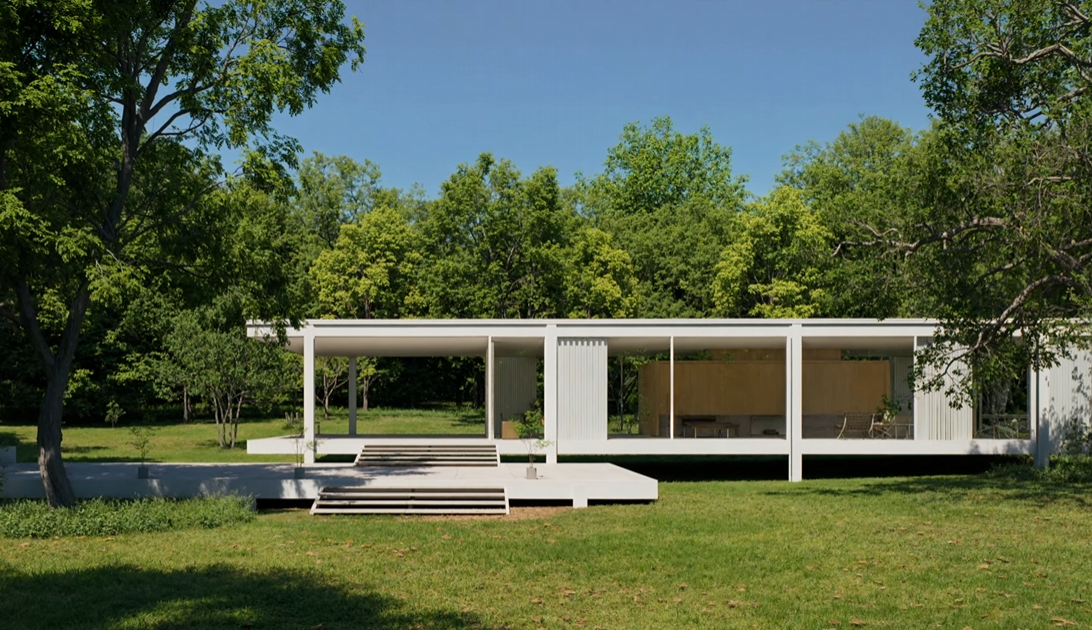
Slide to compare: Glass Materiality in D5 Render
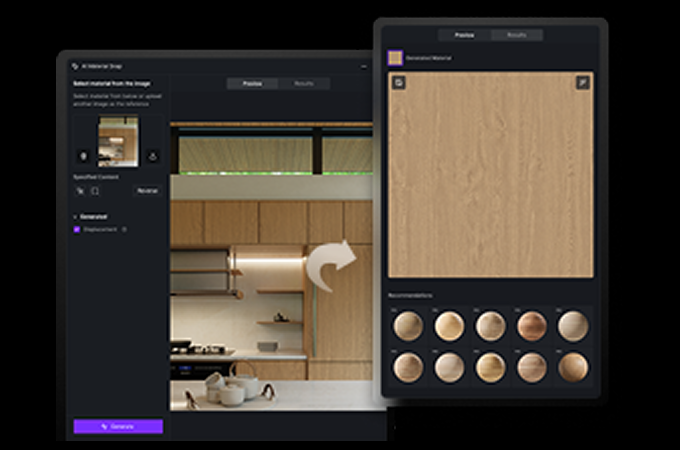
参考画像から資料をすばやく作成するには、次の方法を試してください。 AI PBR マテリアルスナップ ツール:複製したい表面の写真をアップロードすると、D5はマップされたPBRマテリアルを自動的に生成します。

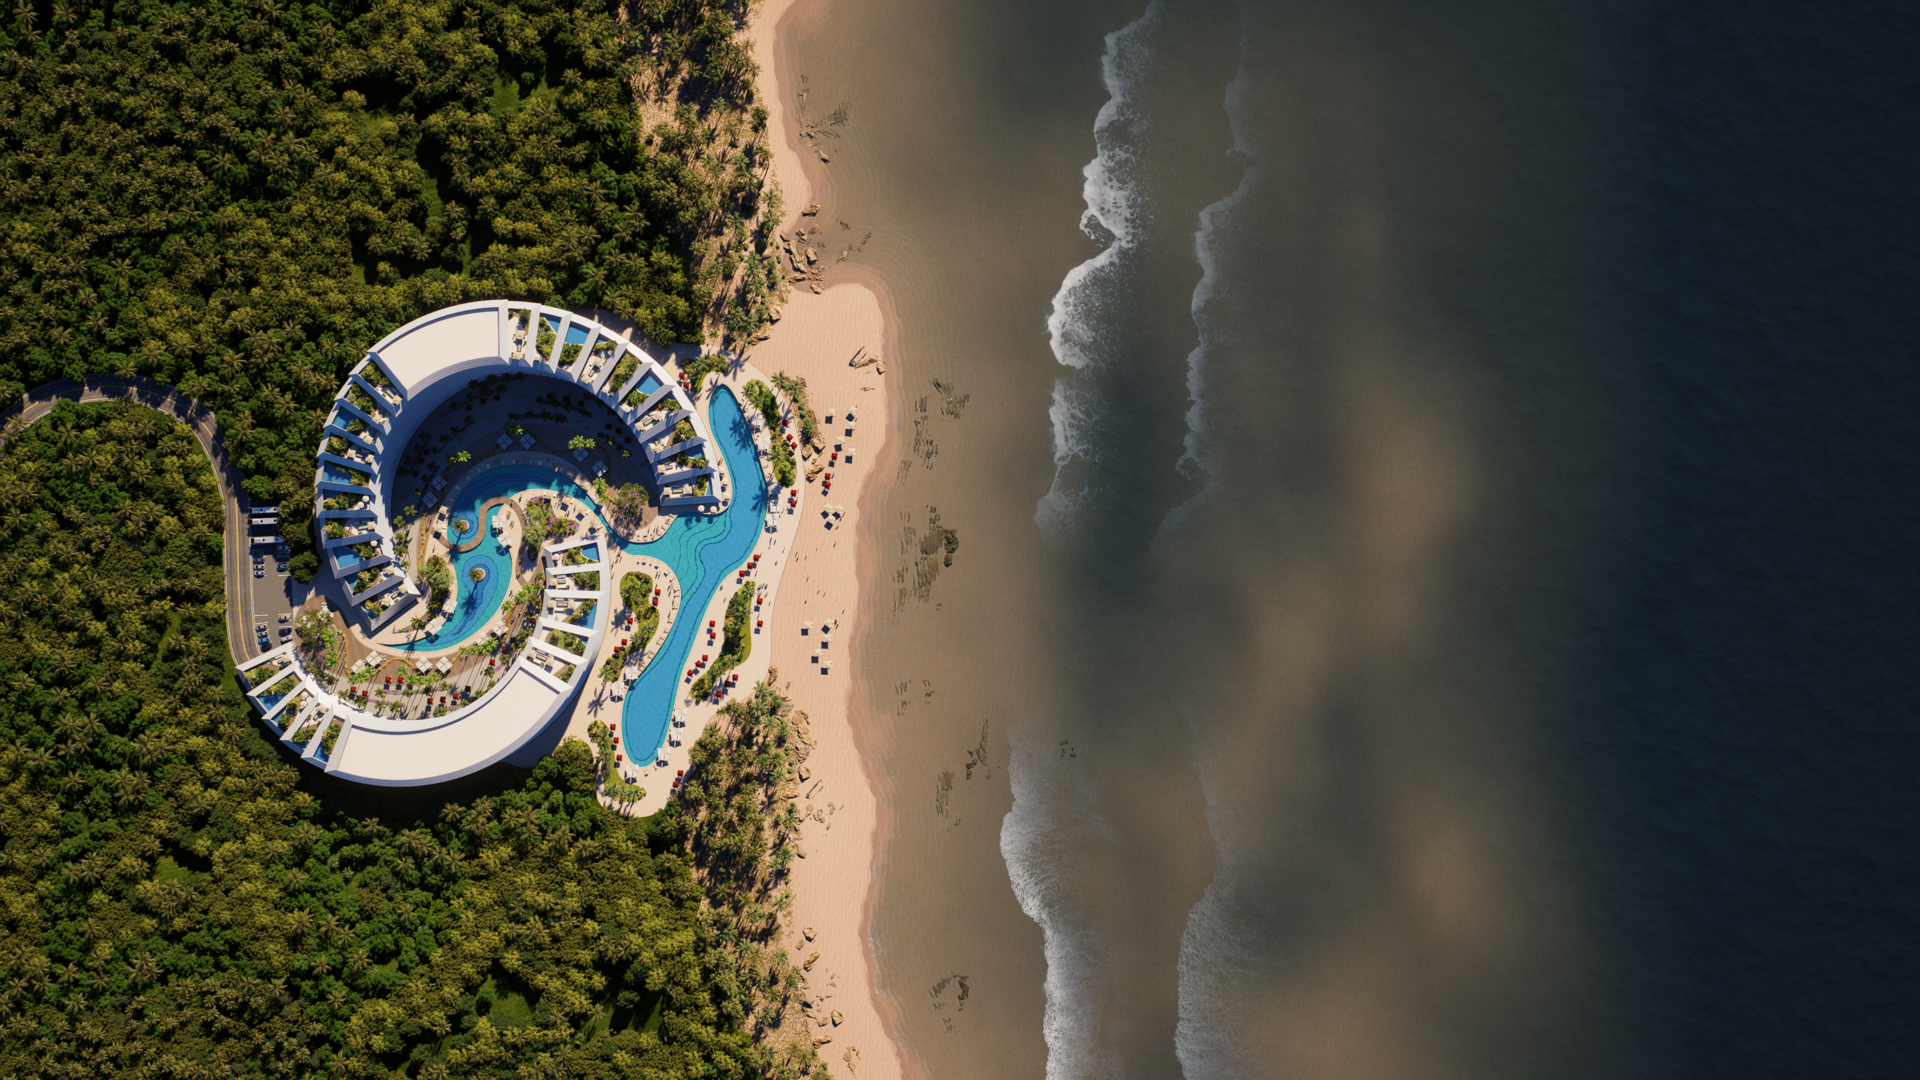
3。D5 ビルトインアセットとツールをシーンに追加する
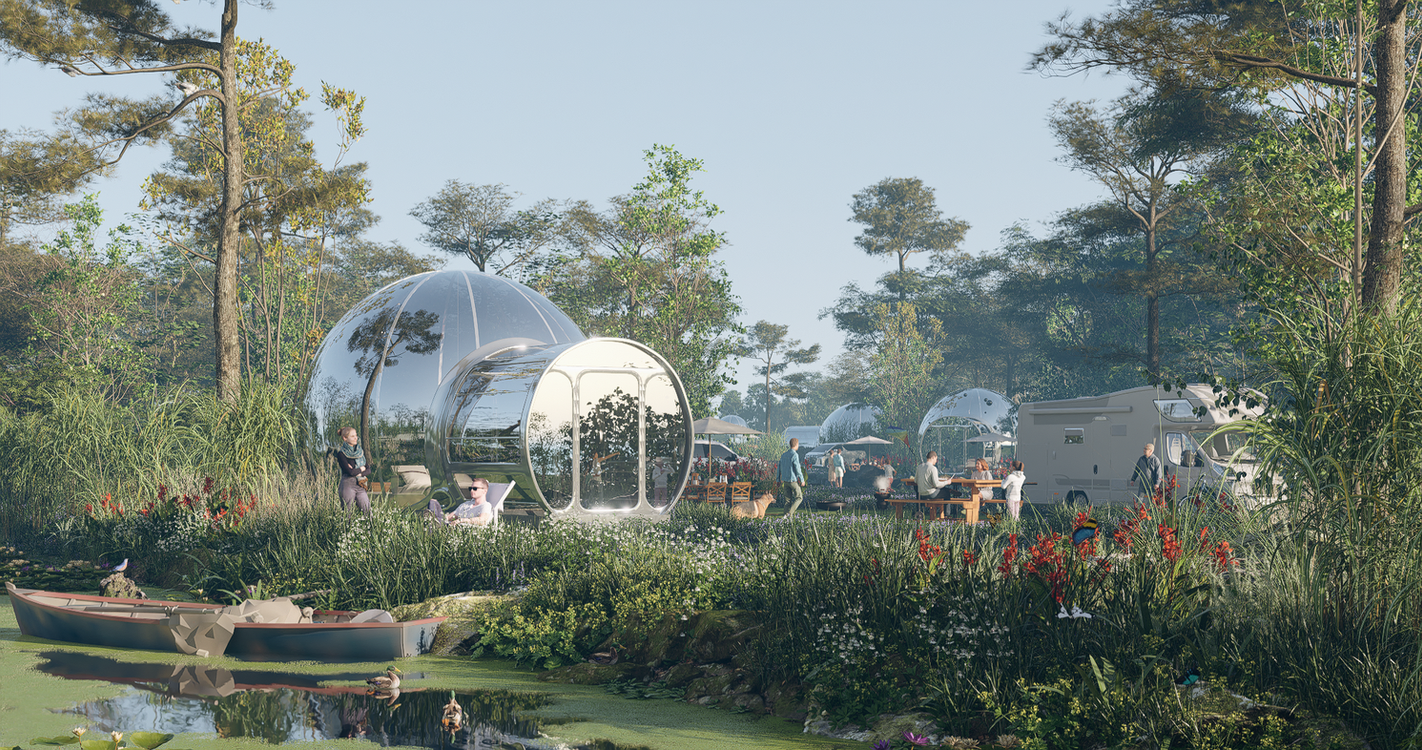
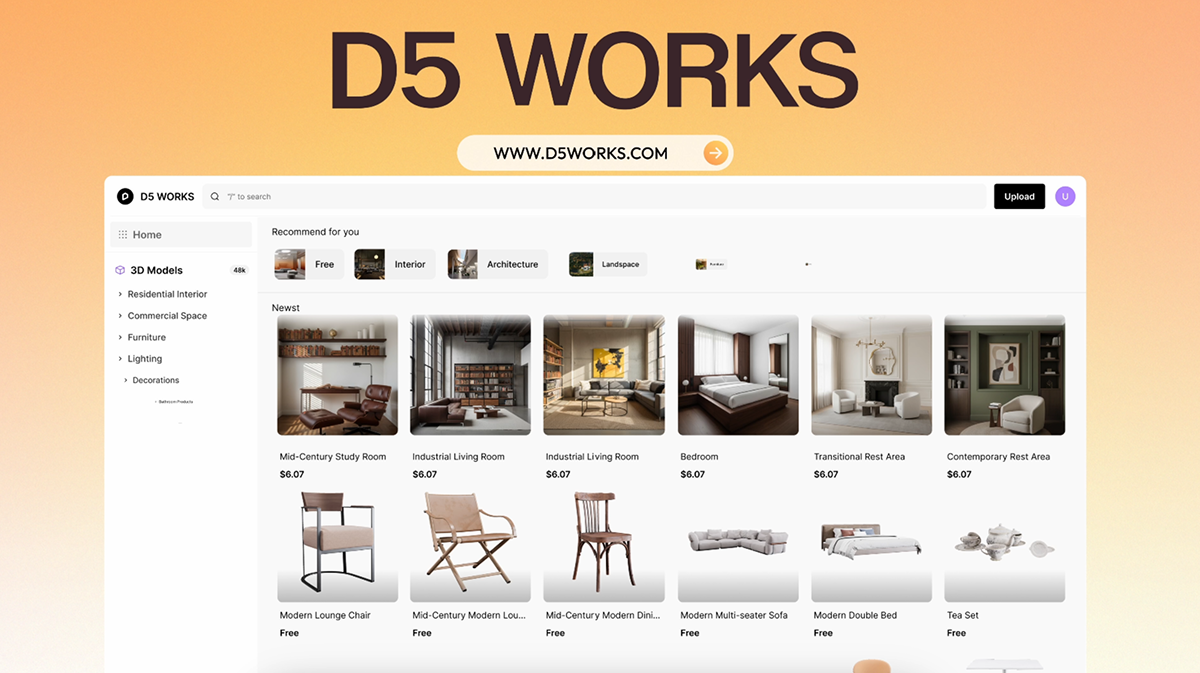
D5 レンダリング には、家具、植生、人、乗り物などを網羅する 14,000 以上の静的モデルとアニメーションモデルを含む組み込みアセットライブラリが含まれています。AEC 固有のコンテンツについては、 D5 ワークス コミュニティが寄稿したモデルに直接アクセスできます D5 ランチャー。
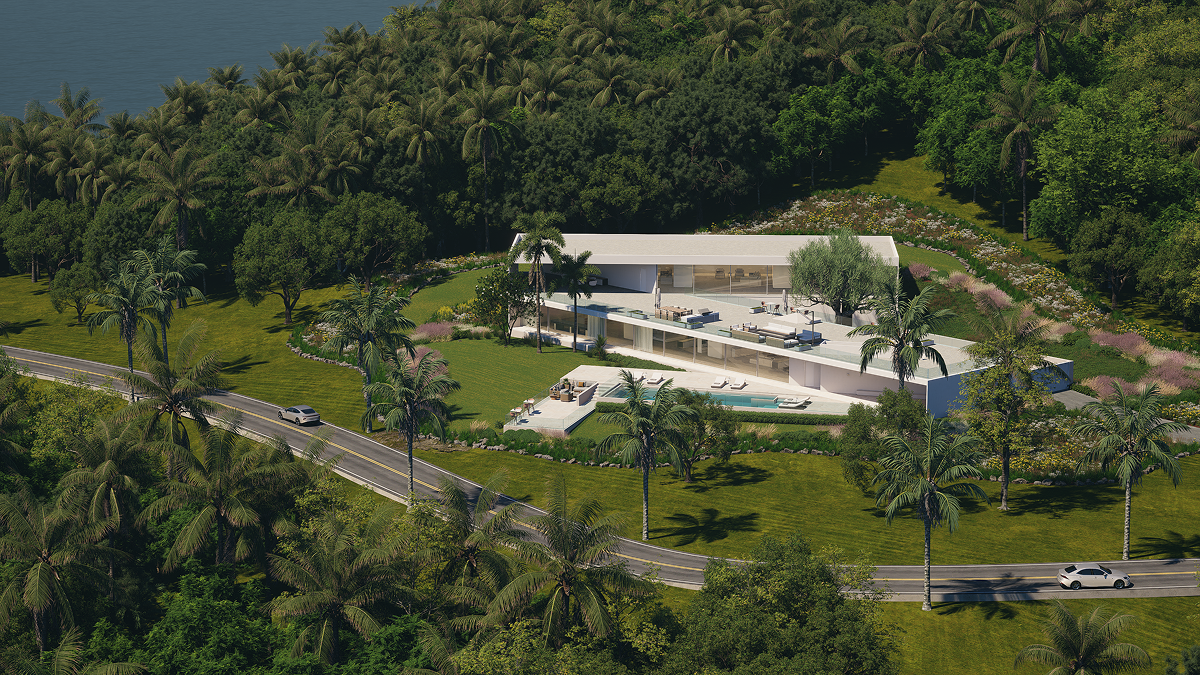
屋外シーンでは、次の 2 つのツールでほとんどの重い作業を処理できます。
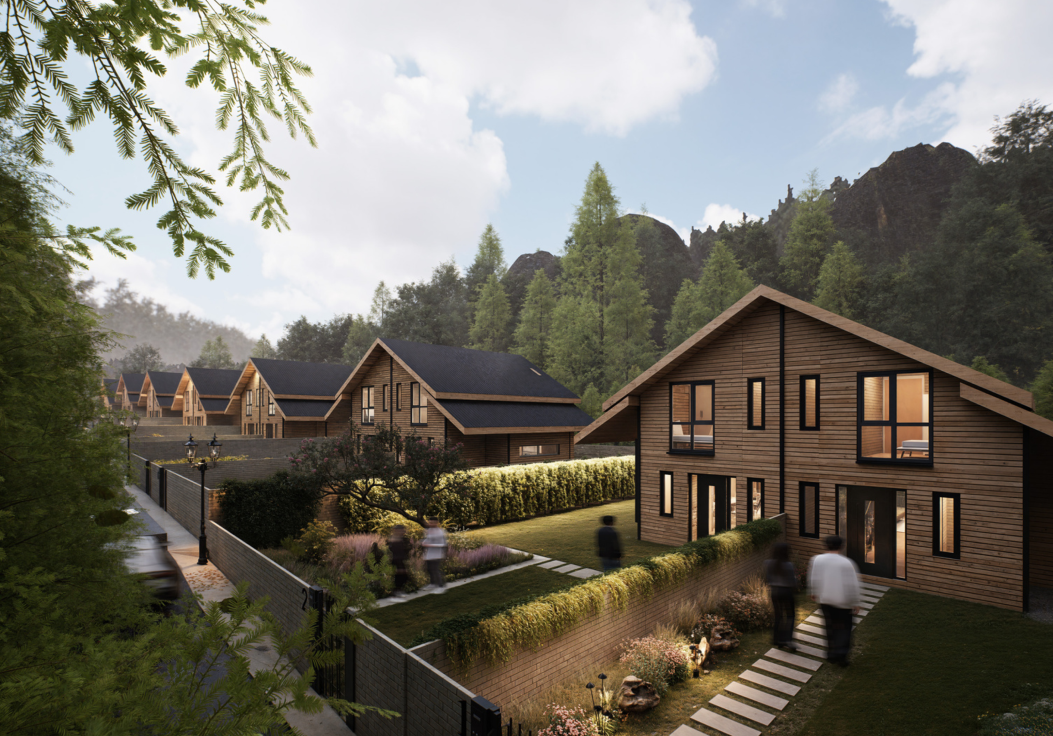
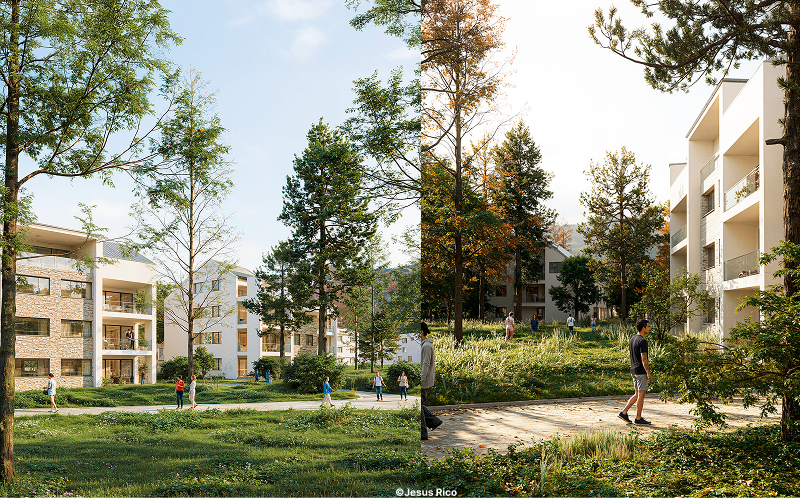
- D5 スキャッター — 芝生またはグランドカバーのプリセットを選択し、数秒で地形全体に散らばらせます。サイトの状況や特定の気候帯に合わせて、植物種の組み合わせを調整できます。
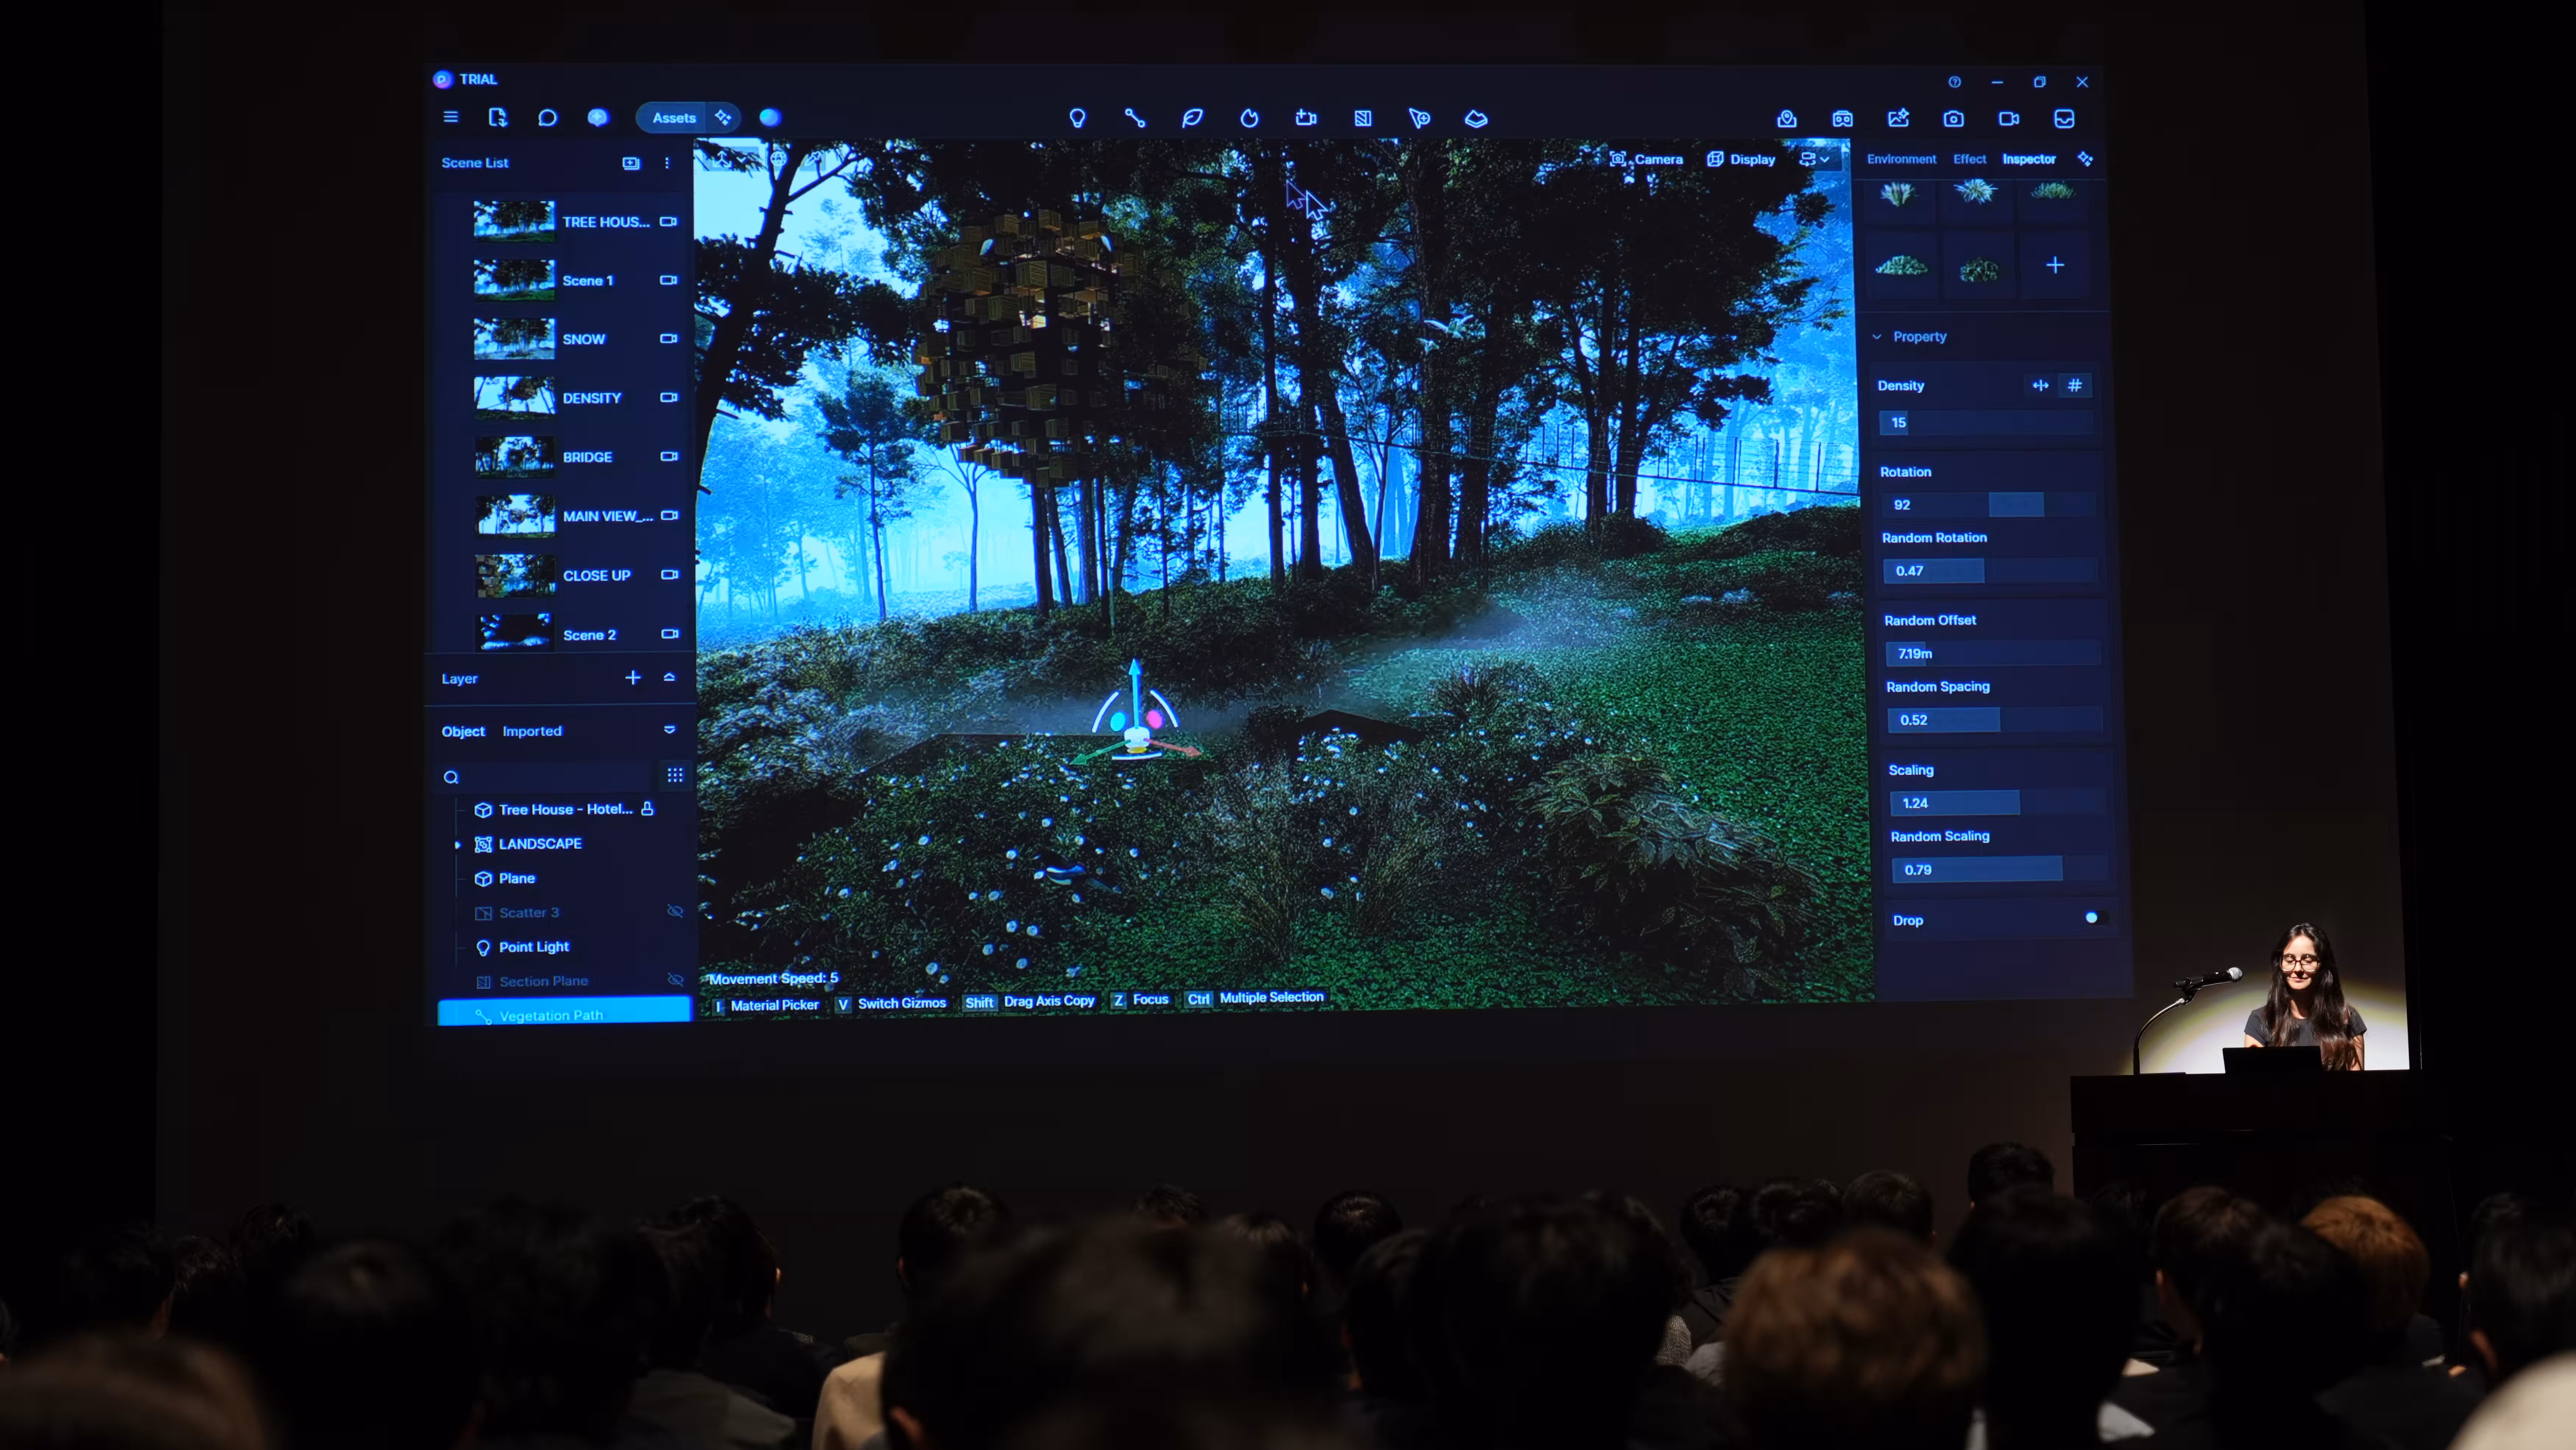
- ブラシとパスツール —建物の周りの木や低木をフリーハンドでペイントしたり、経路をトレースして植物、人、乗り物をルートに沿って自動的に配置したりできます。密度とランダマイゼーションのコントロールにより、結果が均一になりすぎないようにできます。
.gif)
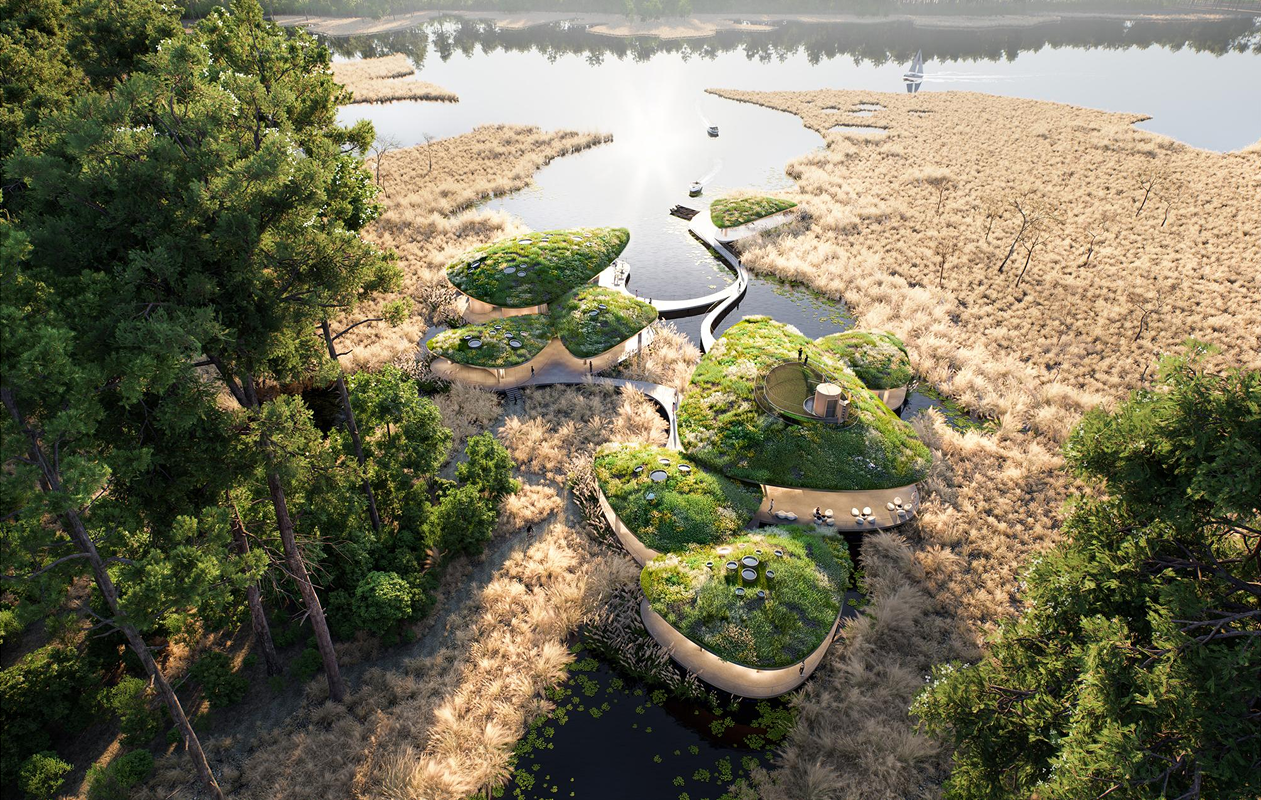
ランドスケープを多用するプロジェクトの場合、AI エージェントは スマートプランティング ツールはこれをさらに進めます。サイトの場所と植栽スタイルを説明すると、種を選択し、間隔を調整し、地形を考慮して、生態学的に配慮した植物レイアウトが自動的に生成されます。植栽の決定にかなりの時間を費やすような屋外のシーンならどれでも試してみる価値があります。
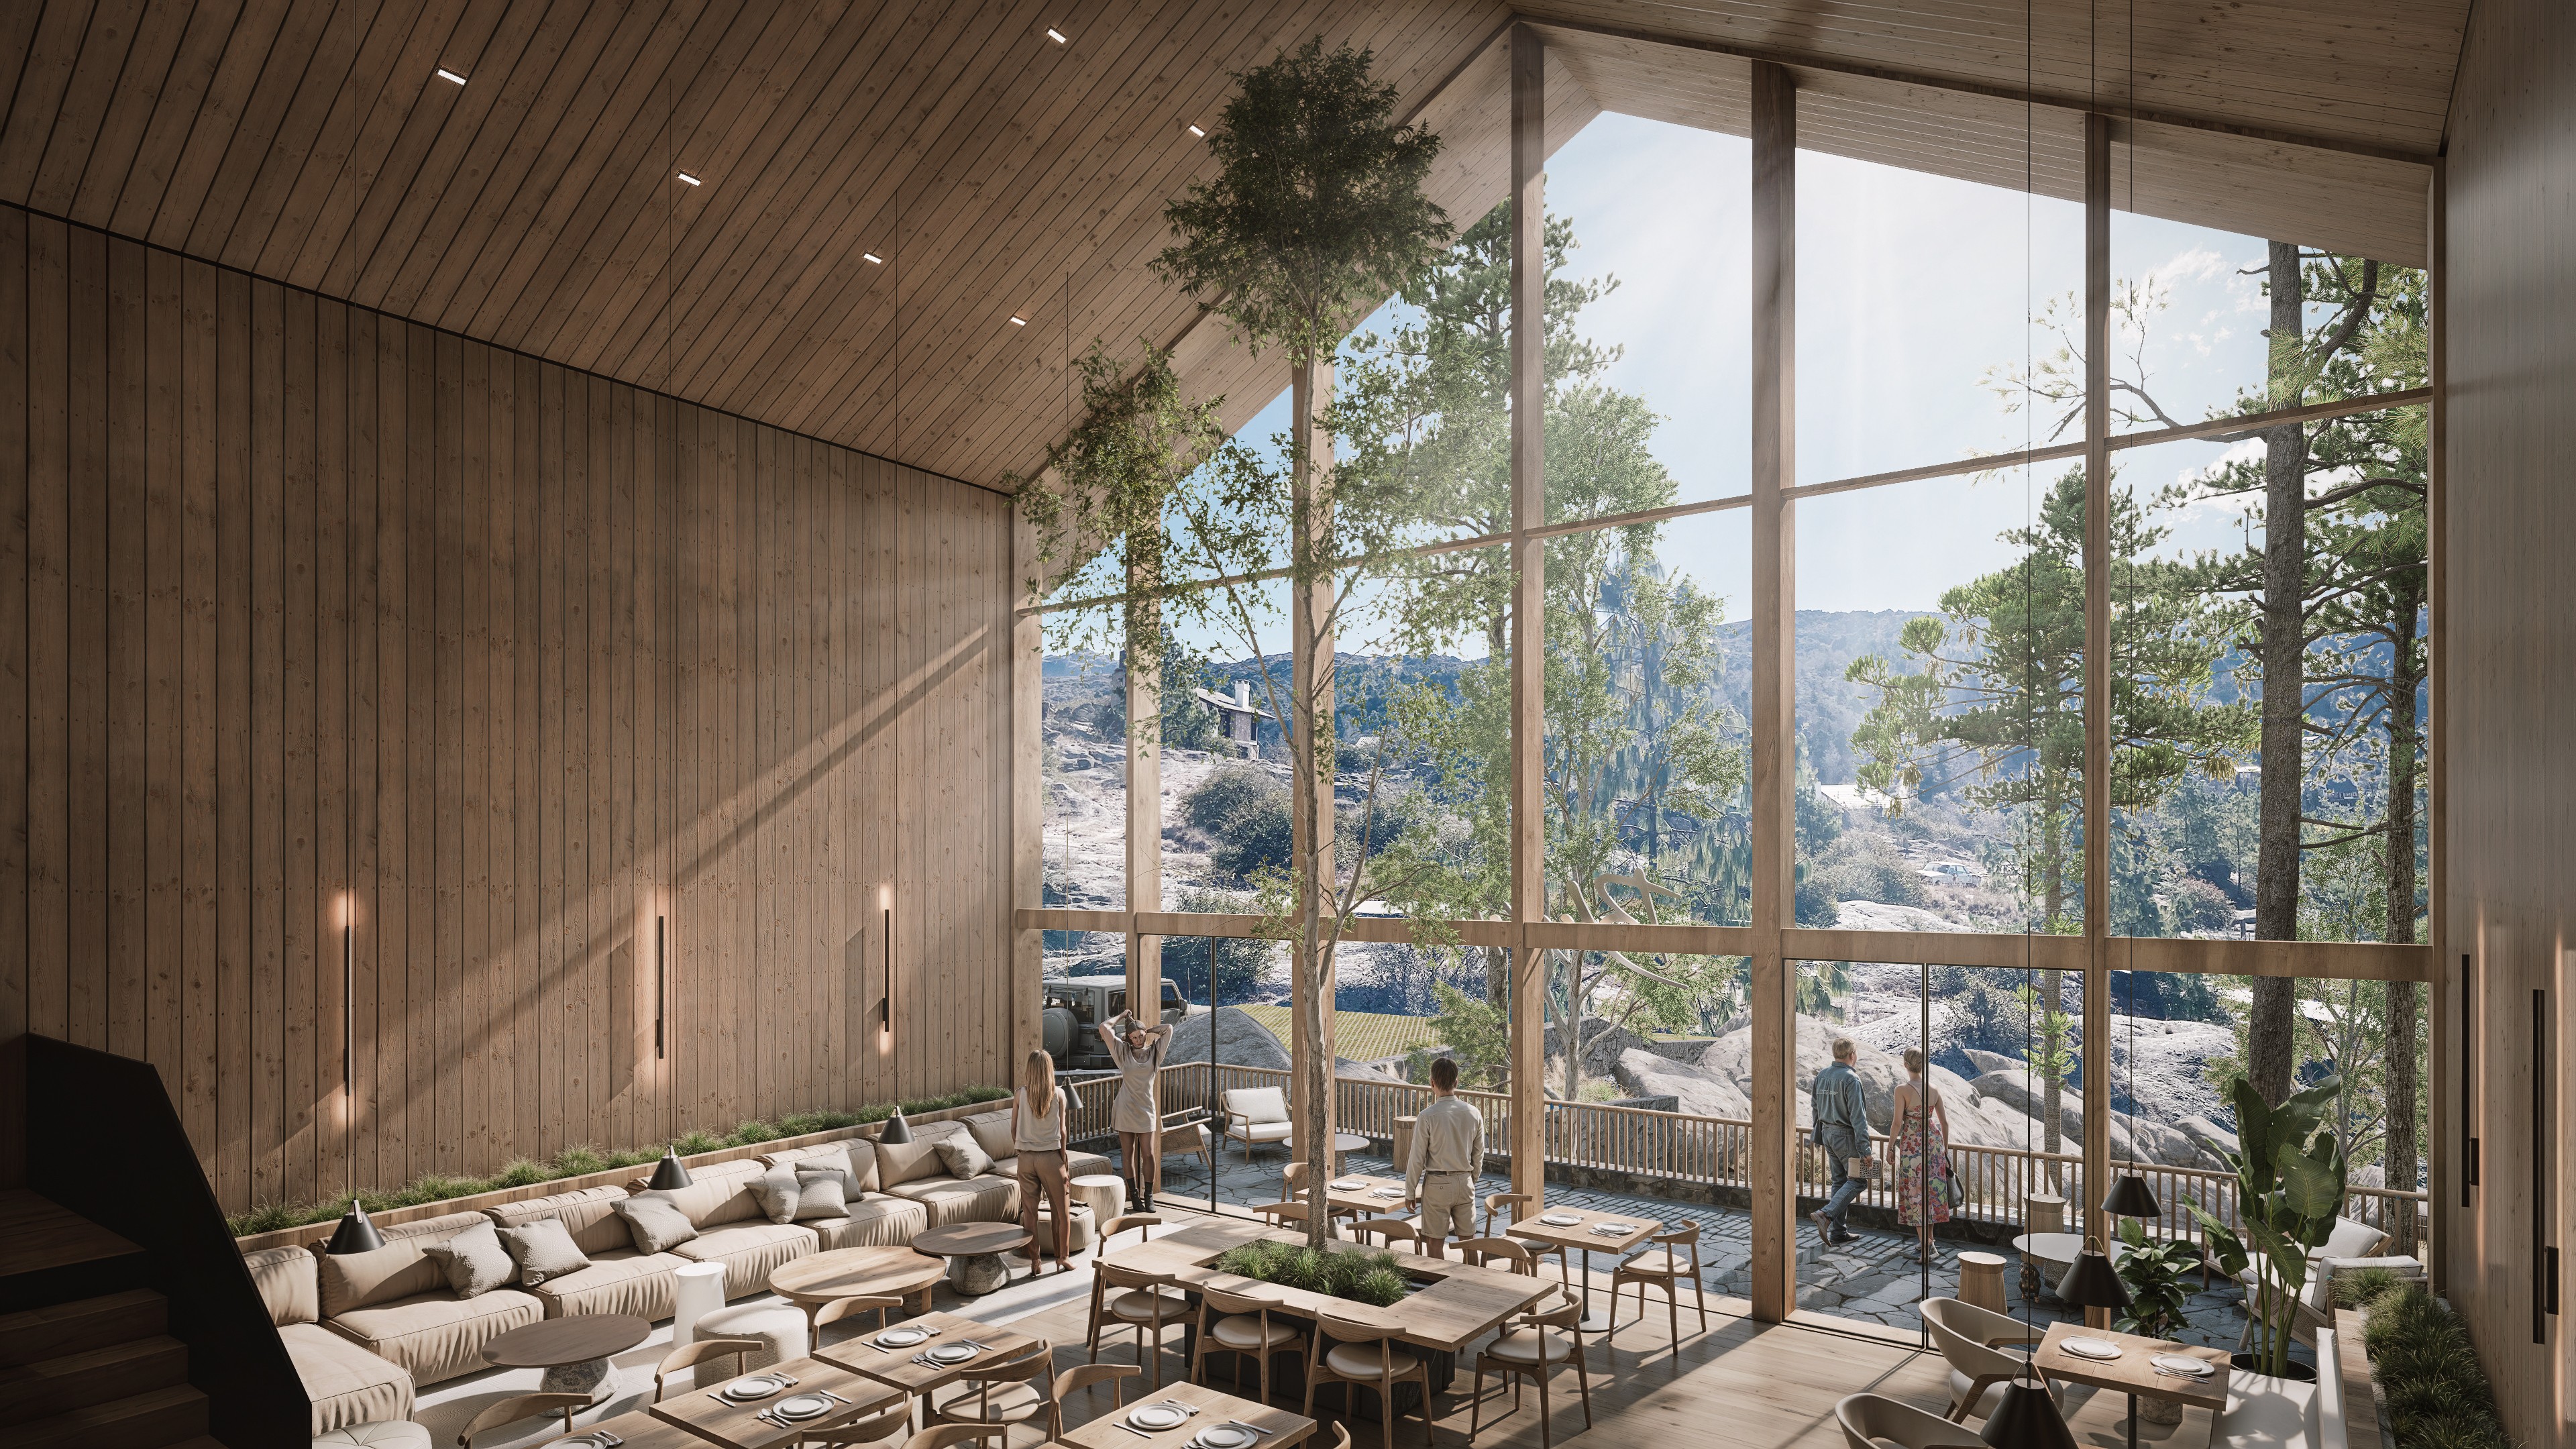
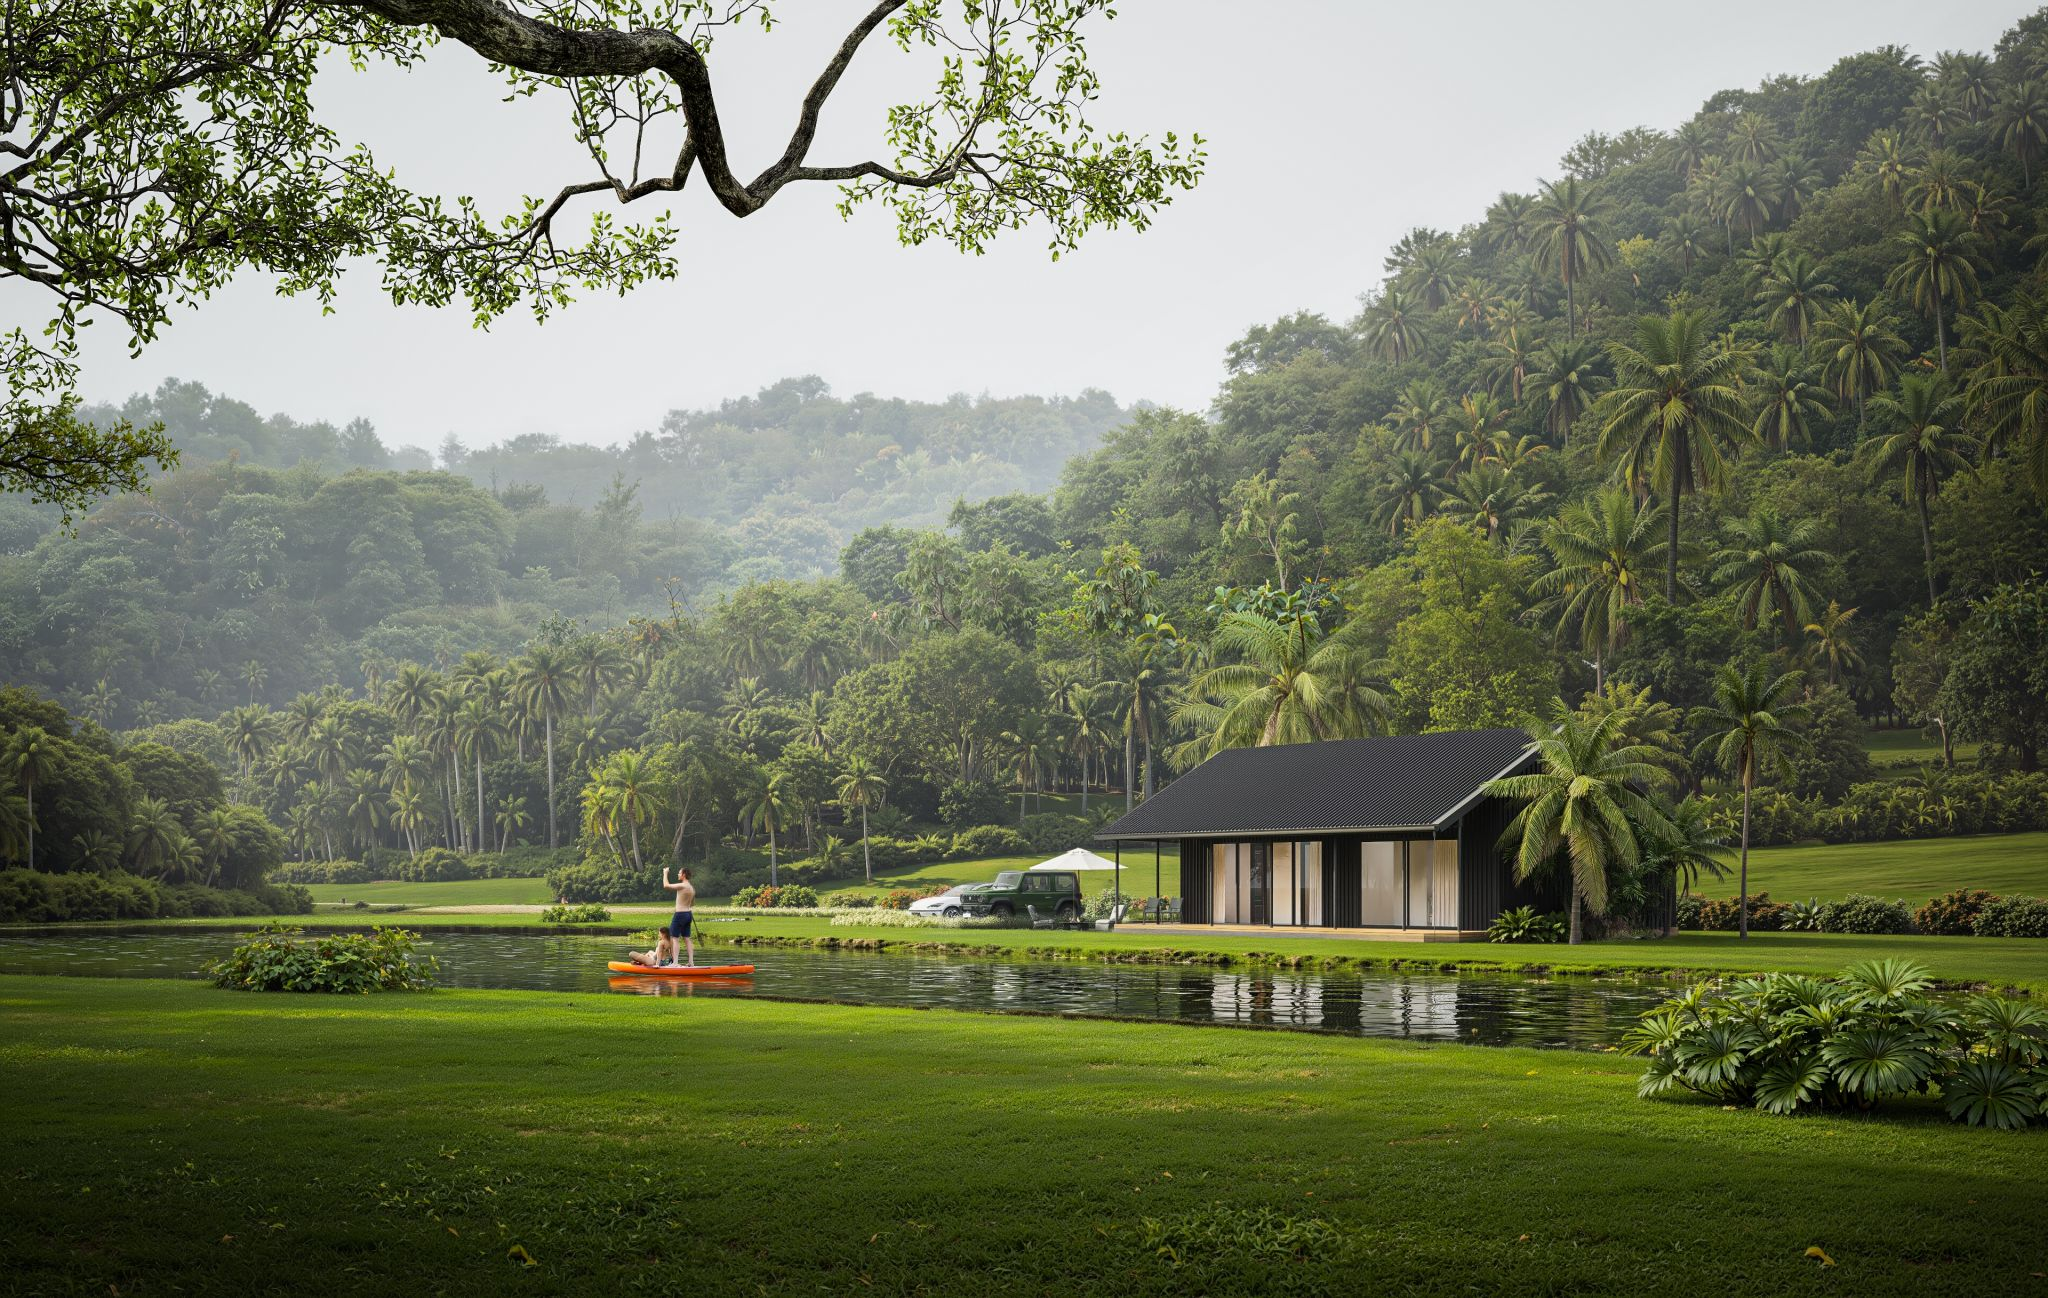
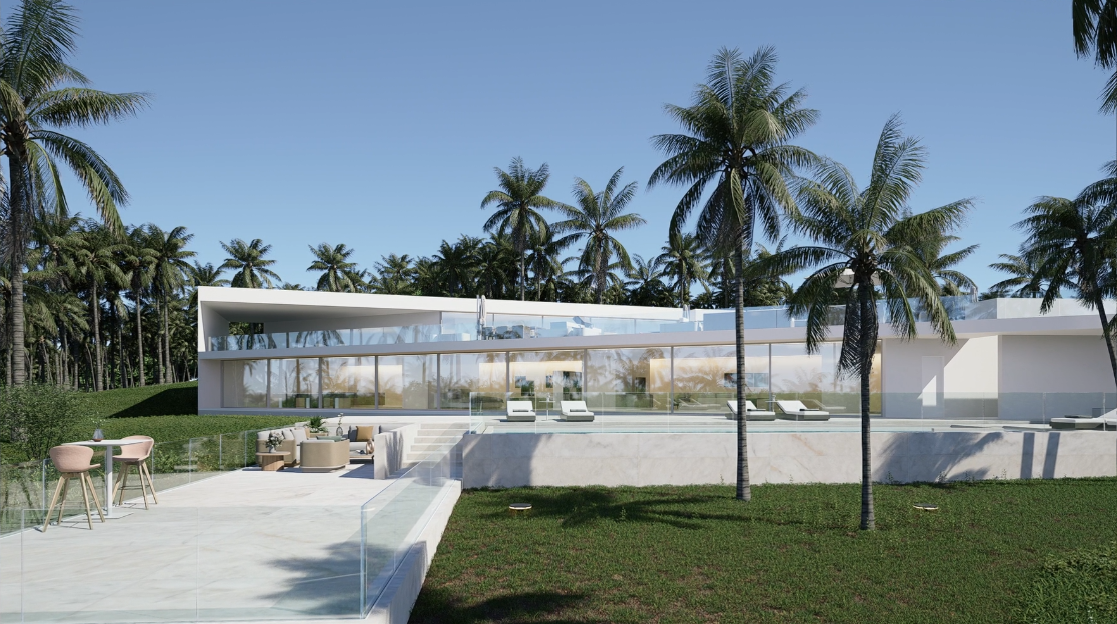
4。D5 レンダーでのライティングと環境のセットアップ
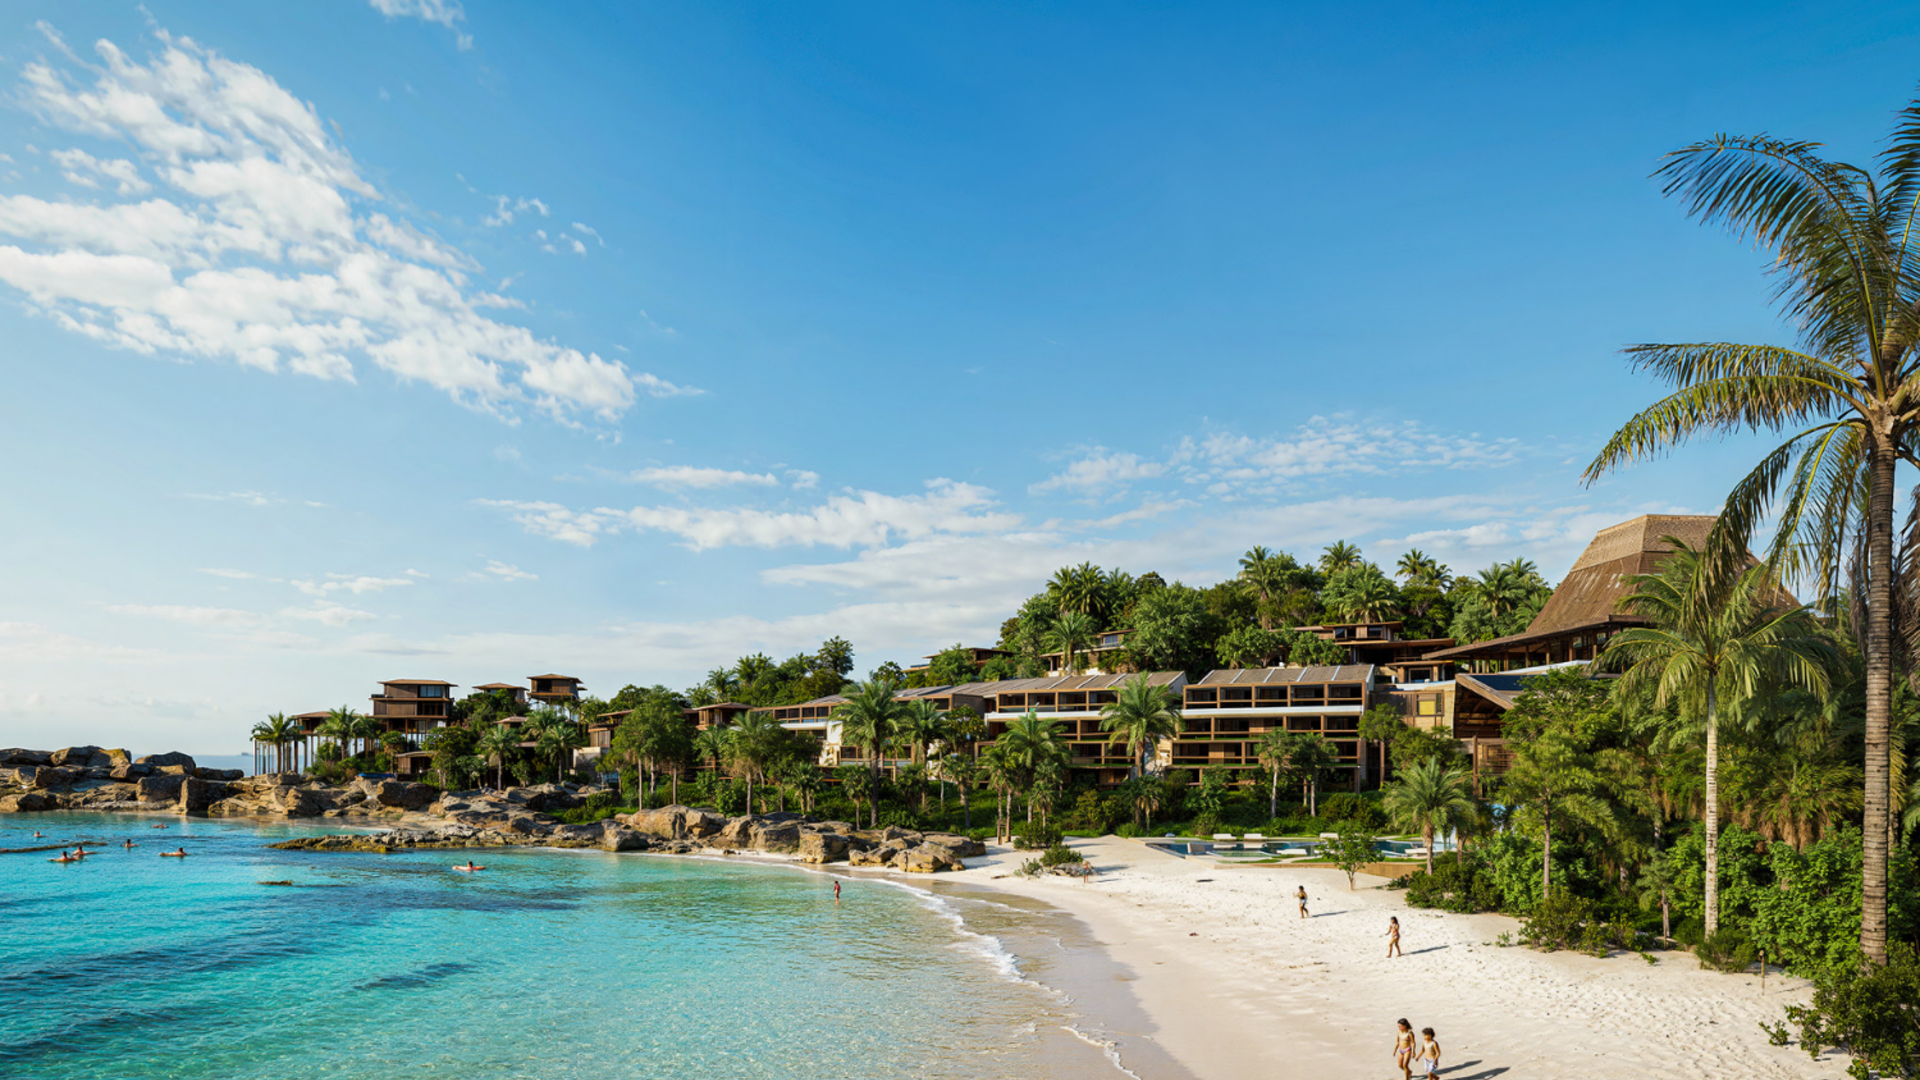
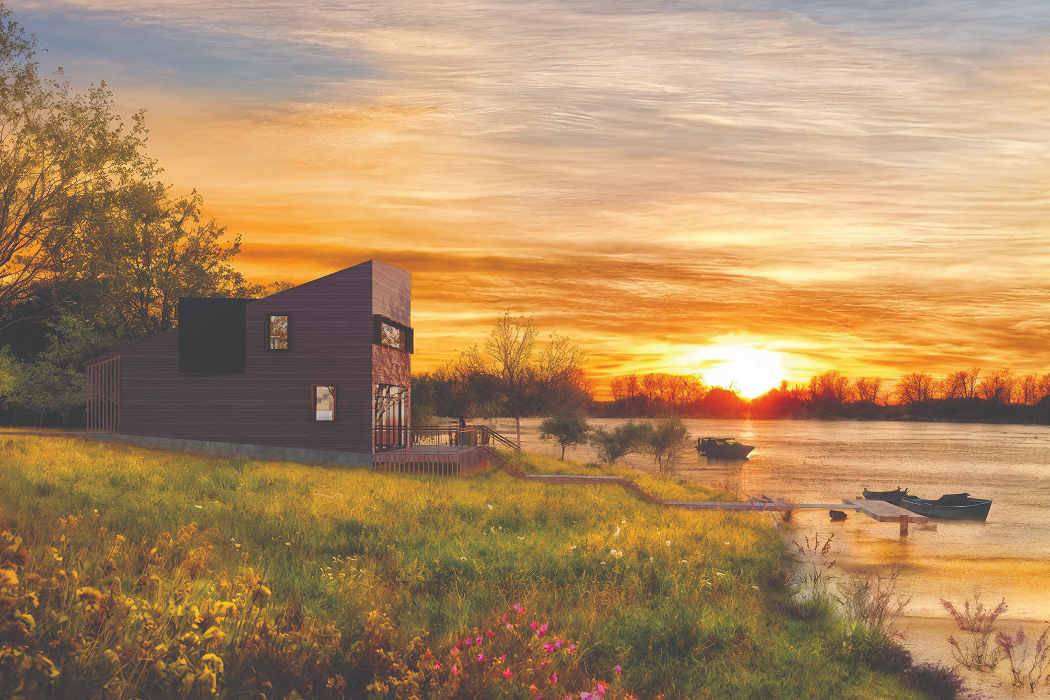
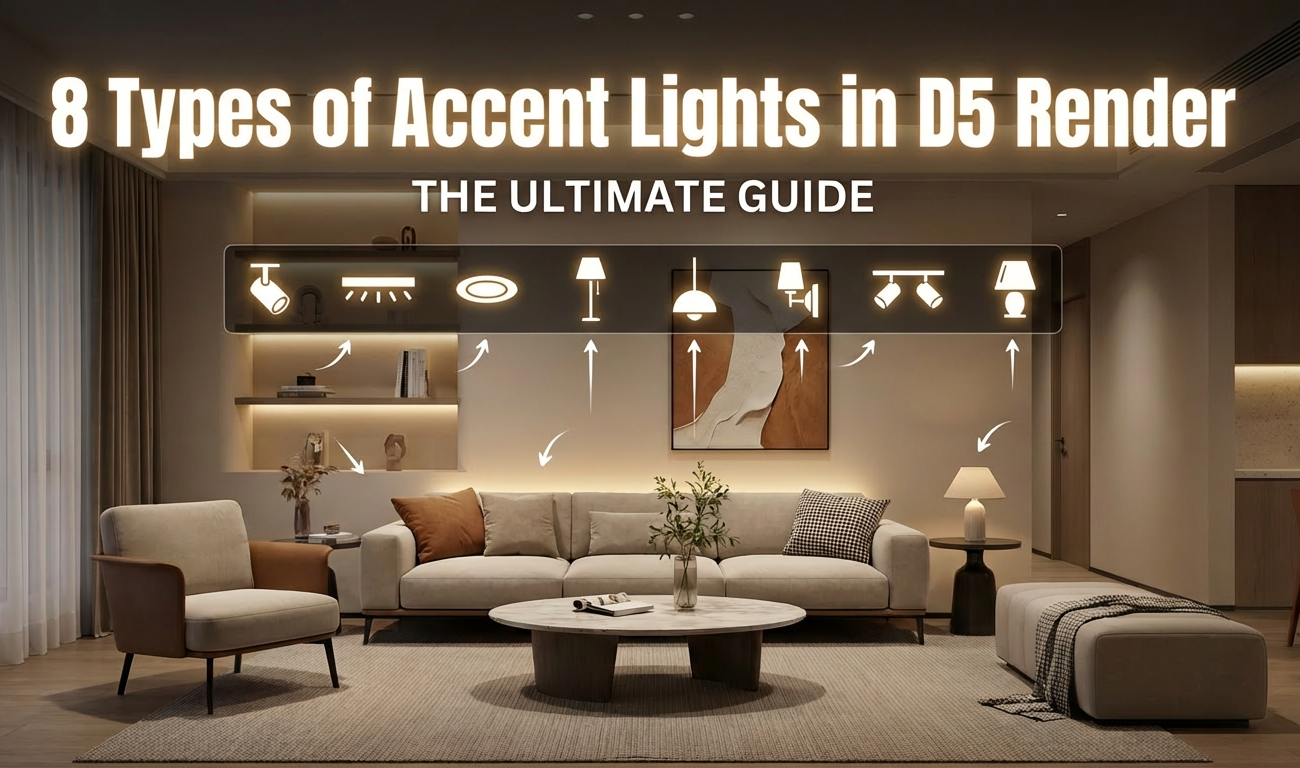
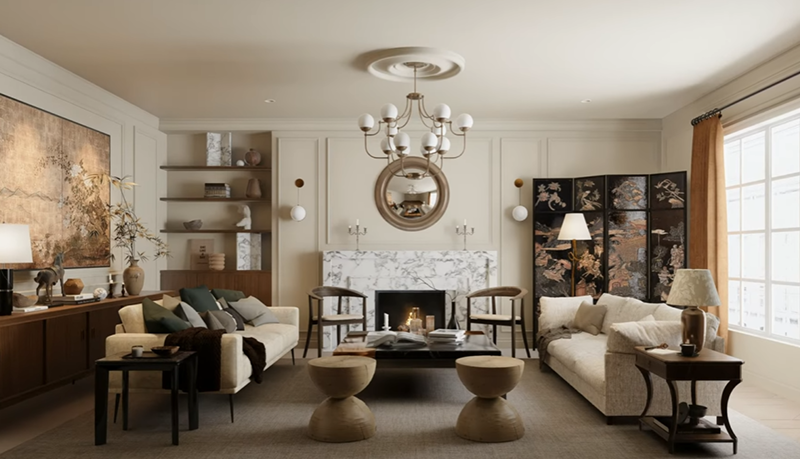
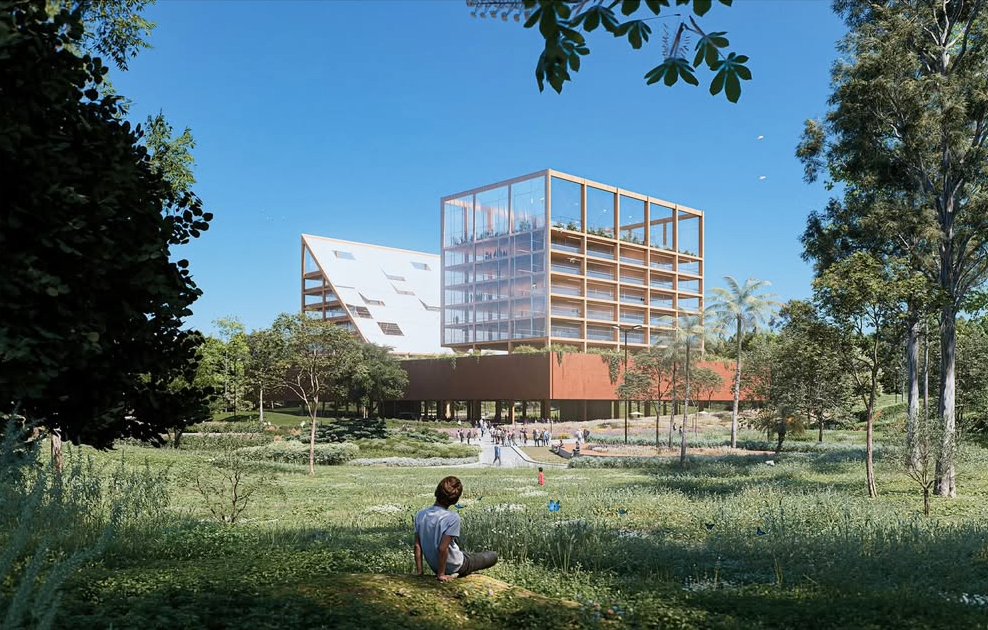
D5 レンダリング すべての必需品を網羅しています 人工照明タイプ —ポイント、スポット、ストリップ、長方形、円盤—内部照明と外部照明を正確に制御できます。長方形の照明は、広いスペースを広く均一に照らす場合に適しています。スポットライトは、特定の建築の細部を強調する場合に適しています。環境全体では、主に次の 2 つのオプションがほとんどのシナリオに対応します。
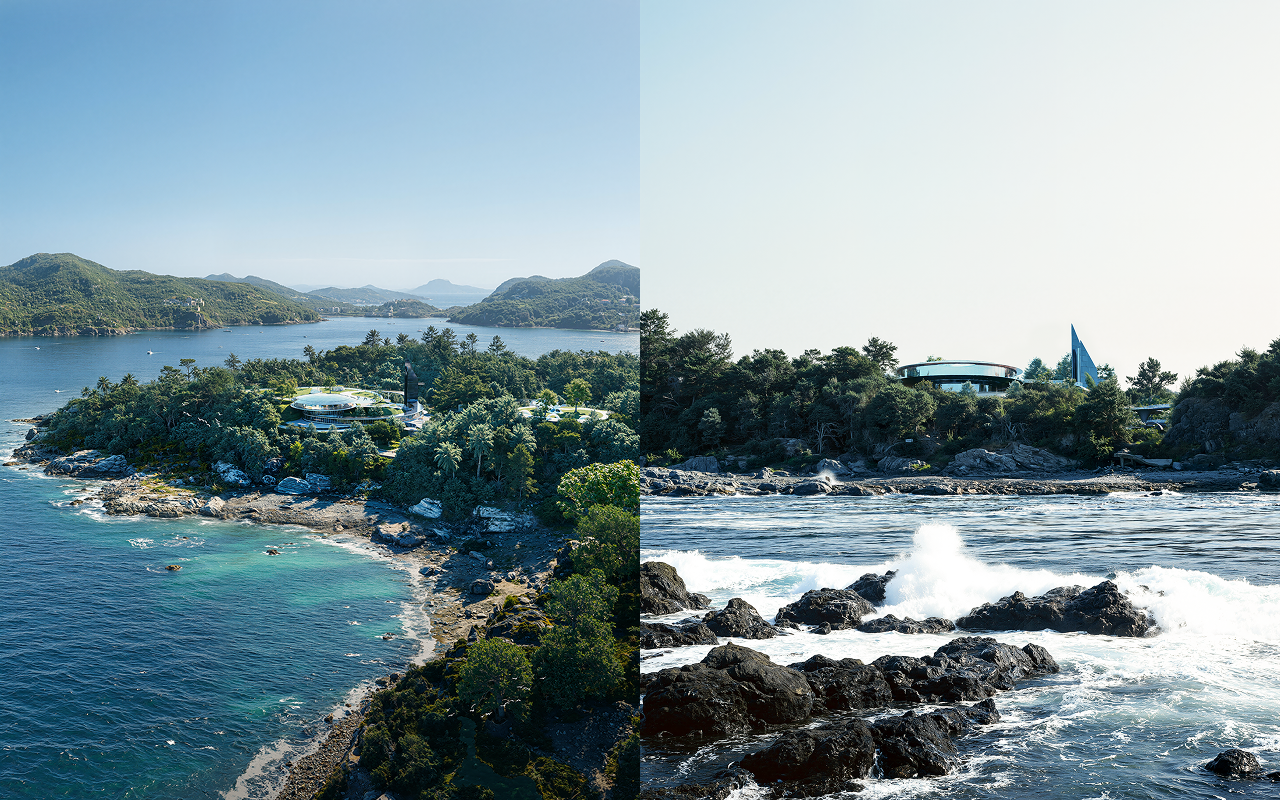
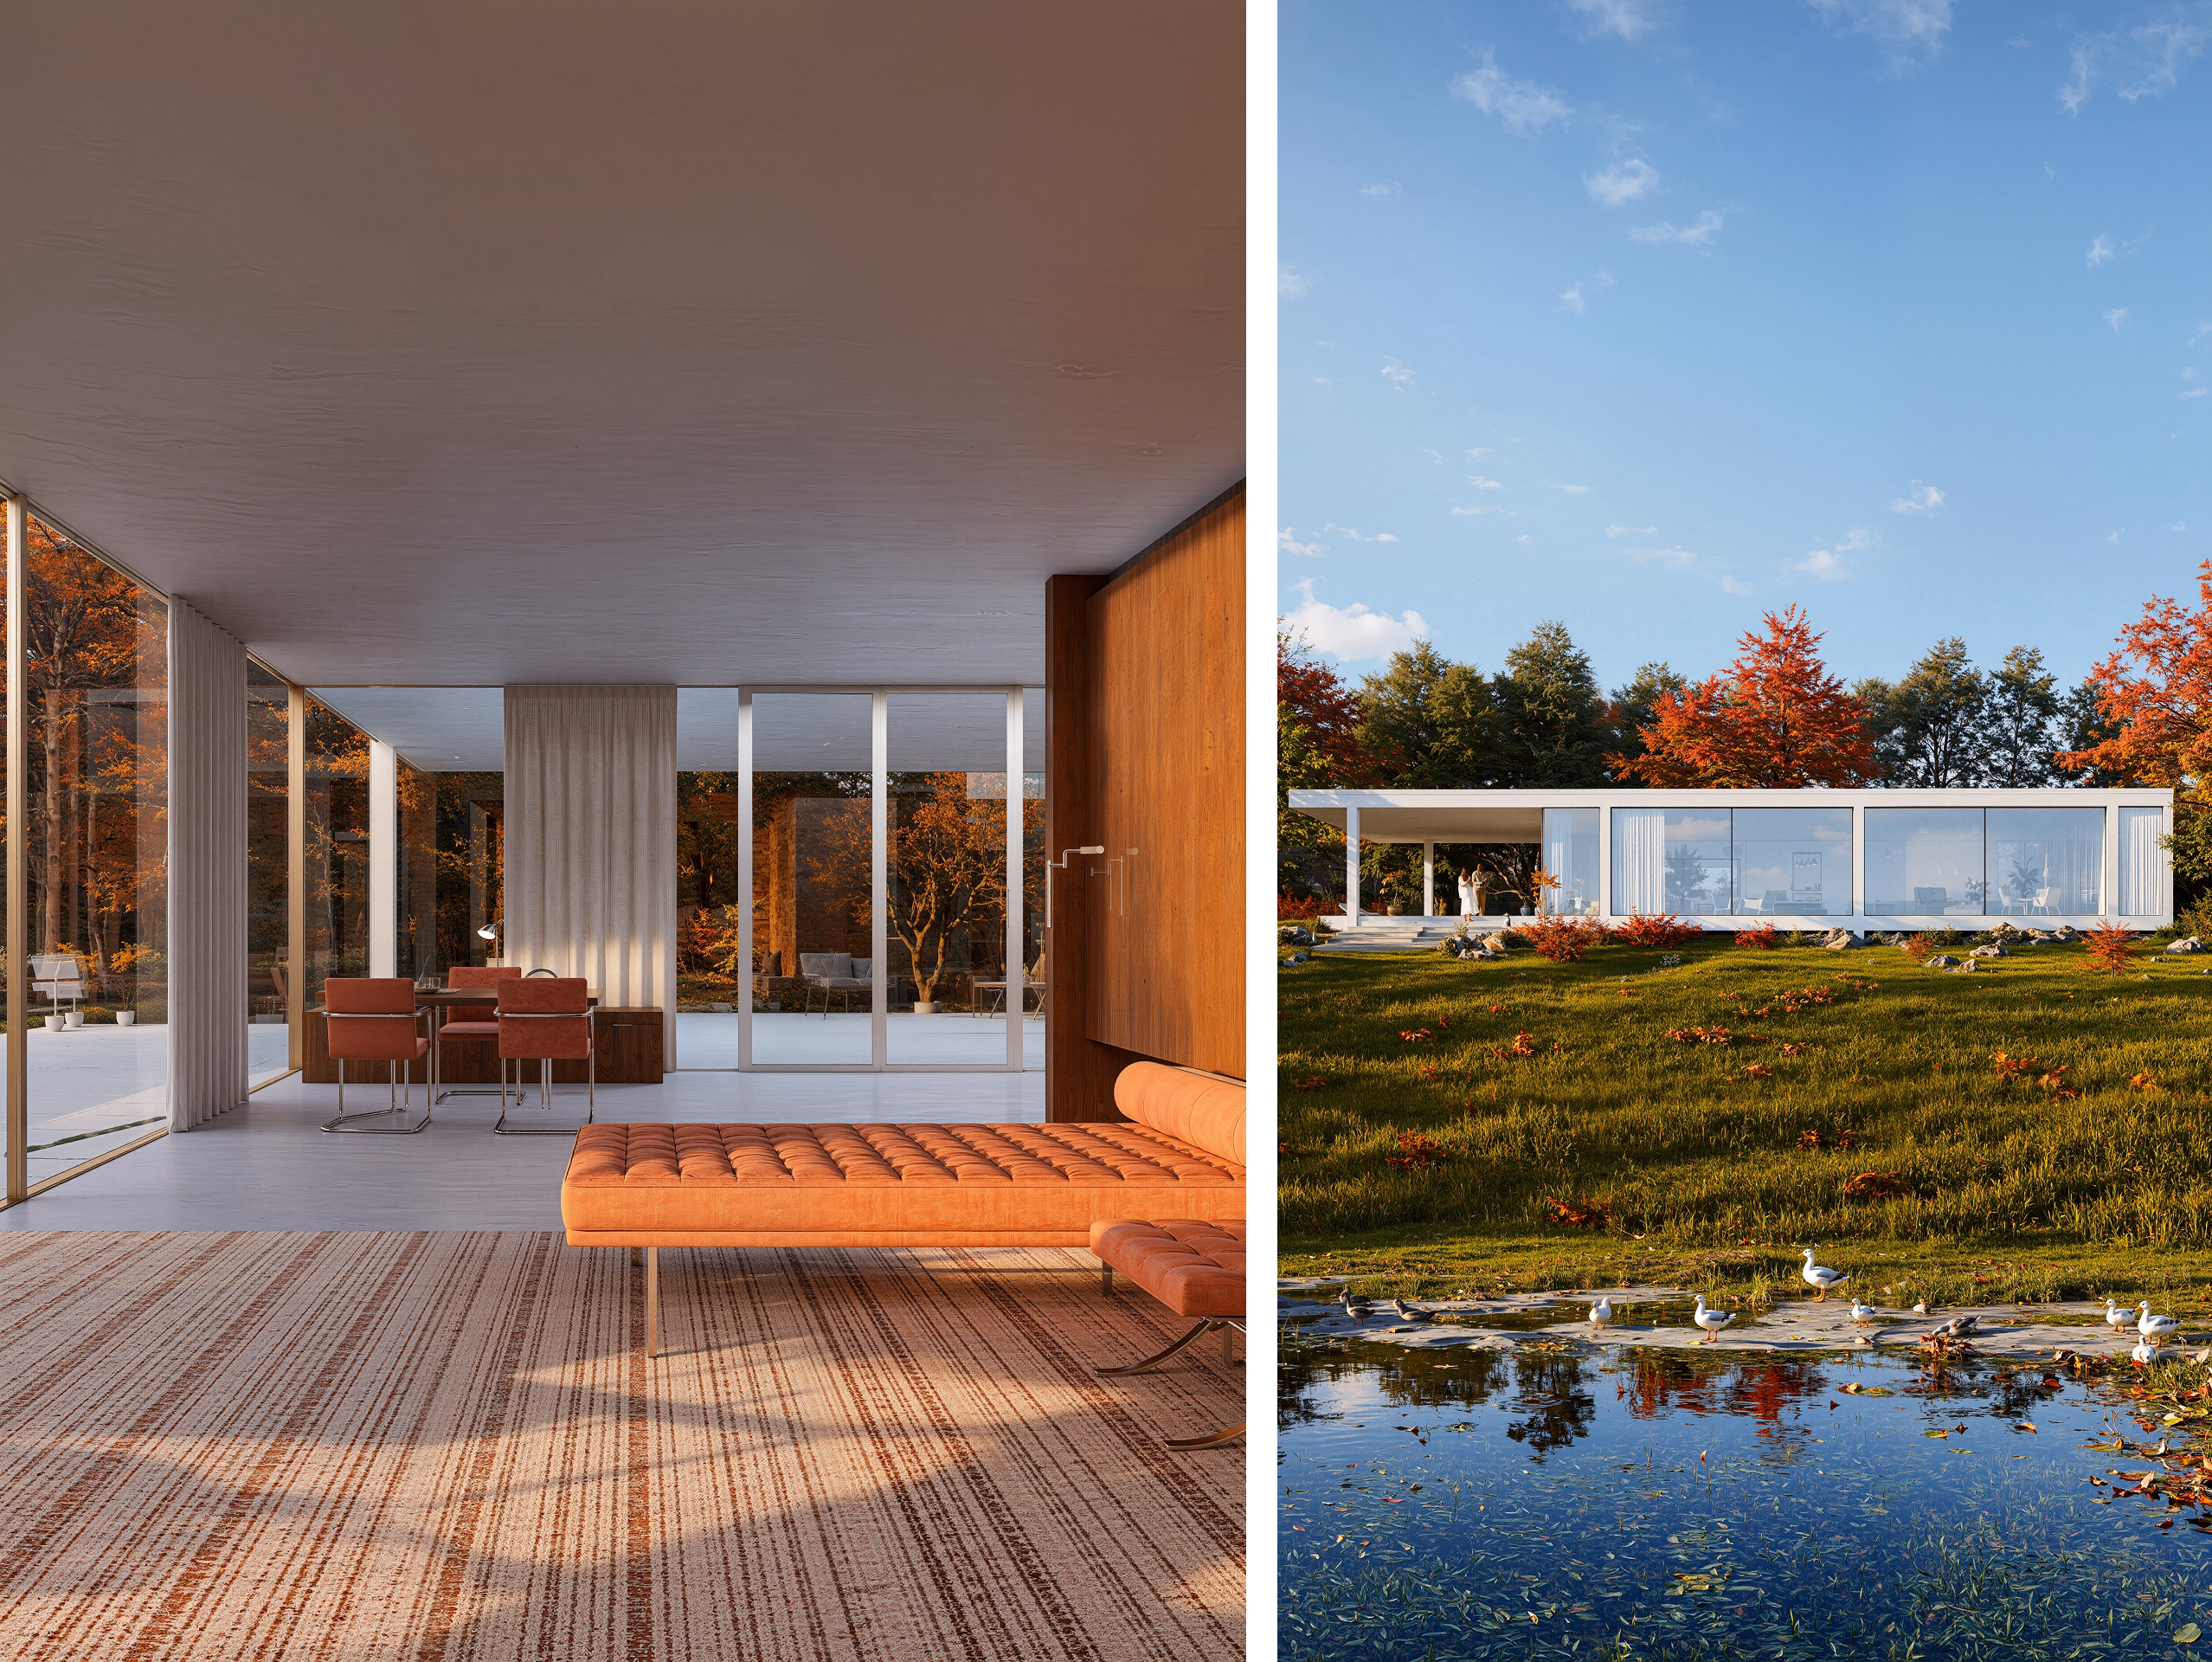
- ジオスカイ&ナイトモード —プロジェクトの場所、日付、時刻を入力して、正確な太陽の位置と自然光の状態をシミュレートします。追加することもできます。 ボリューメトリックフォグ 大気深度の場合、または曇りや雨の状態では降水効果を有効にします。
- カスタム HDRI — どれでもロード HDRI D5のプリセットライブラリまたは独自のコレクションから、シーンのトーンをすばやく設定できます。
参考画像(照明や雰囲気を合わせたい写真など)から作業している場合 D5 レンダリングのAIアトモスフィアマッチ機能が役立ちます。画像をアップロードすると、D5 が対応する HDRI を生成し、その見た目に近いように環境設定を調整します。結果をテンプレートとして Studio Cloud に保存し、プロジェクト間で再利用できます。
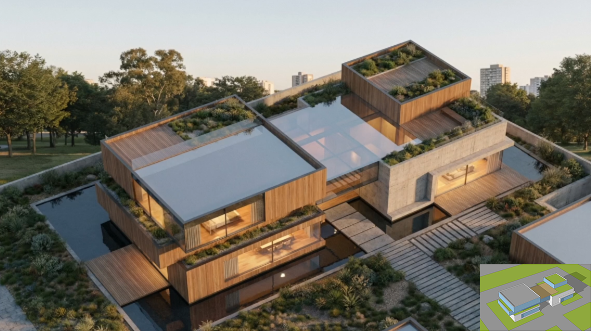
大まかな方向性はあるが、参考画像がない場合には、AI エージェントが D5 レンダー 3.0 新しいものが含まれています シーンマッチツール。求める雰囲気を説明すると、AIが環境設定を自動的に構成します。各パラメーターを手動で調整しなくても、さまざまな照明シナリオをすばやくテストできます。
👉 Ditch マニュアルセットアップ:Archviz 用の D5 レンダリング AI シーン生成
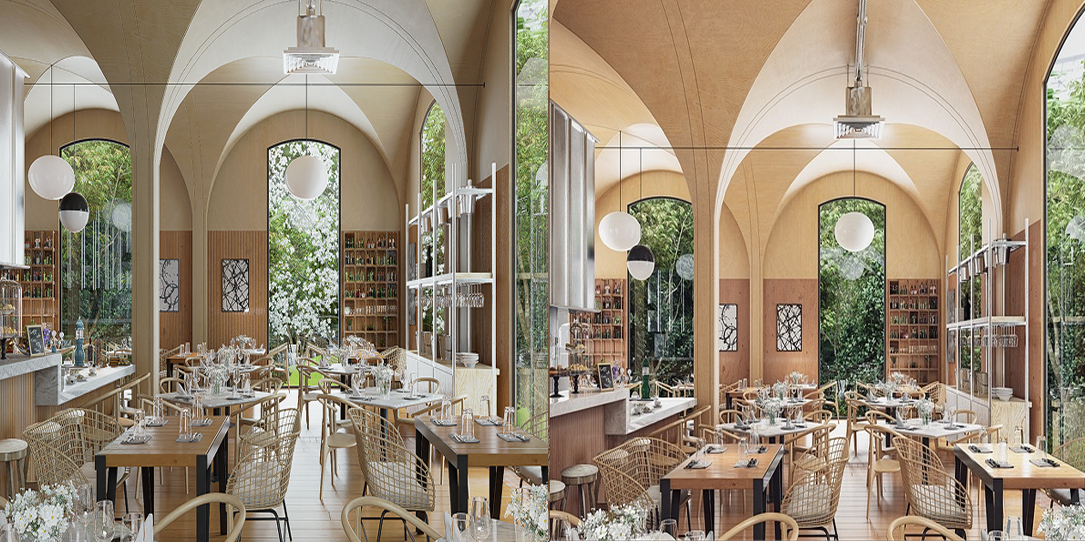
5。AI ポストプロセッシング D5 レンダリングで
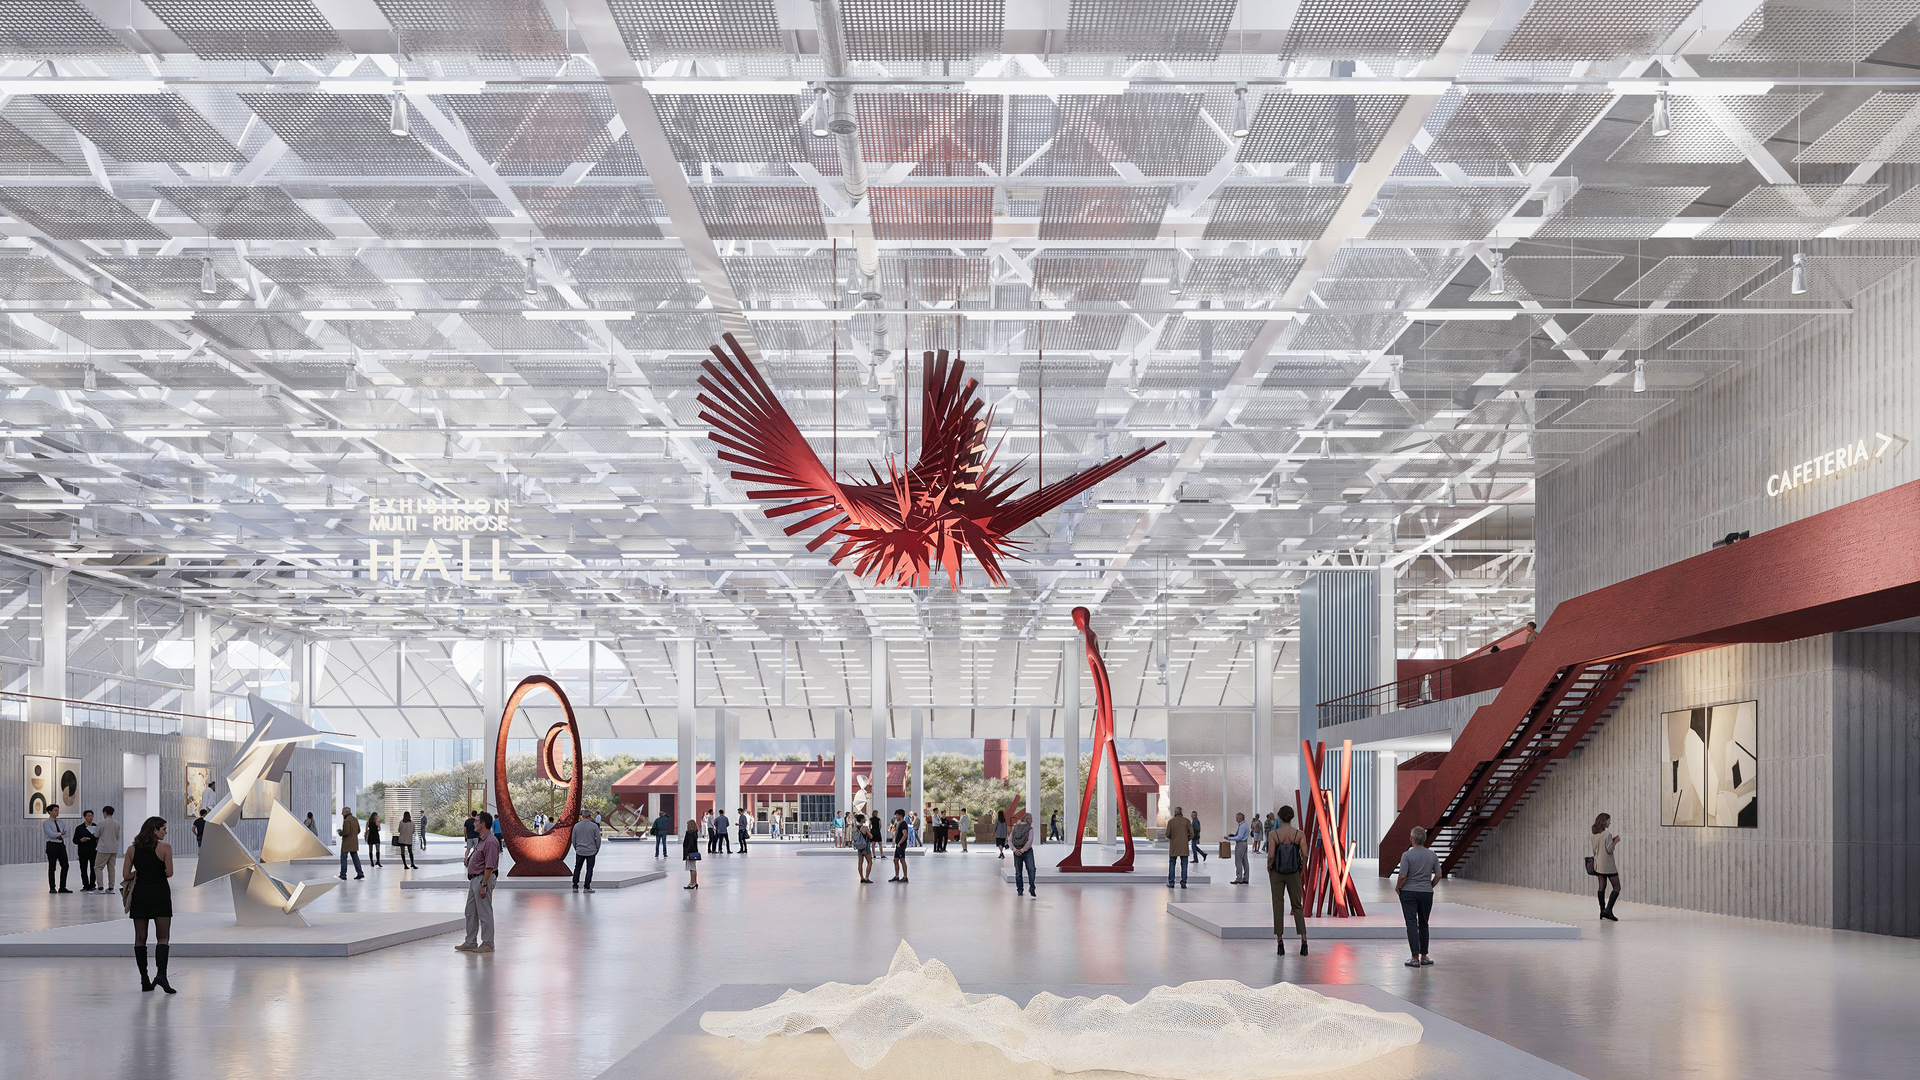
D5 レンダリング にはポストプロセッシングツールセットが組み込まれているため、ほとんどの調整はソフトウェアを離れることなく処理できます。露出、シャドウ、コントラストはすべてネイティブで編集できます。有効にすることもできます。 さおう そして アウトラインモード ダイアグラム的な分析ビューを生成できます。フォトリアリスティックな出力と一緒にプレゼンテーションを行うのに便利です。
%201.png)
%201.png)
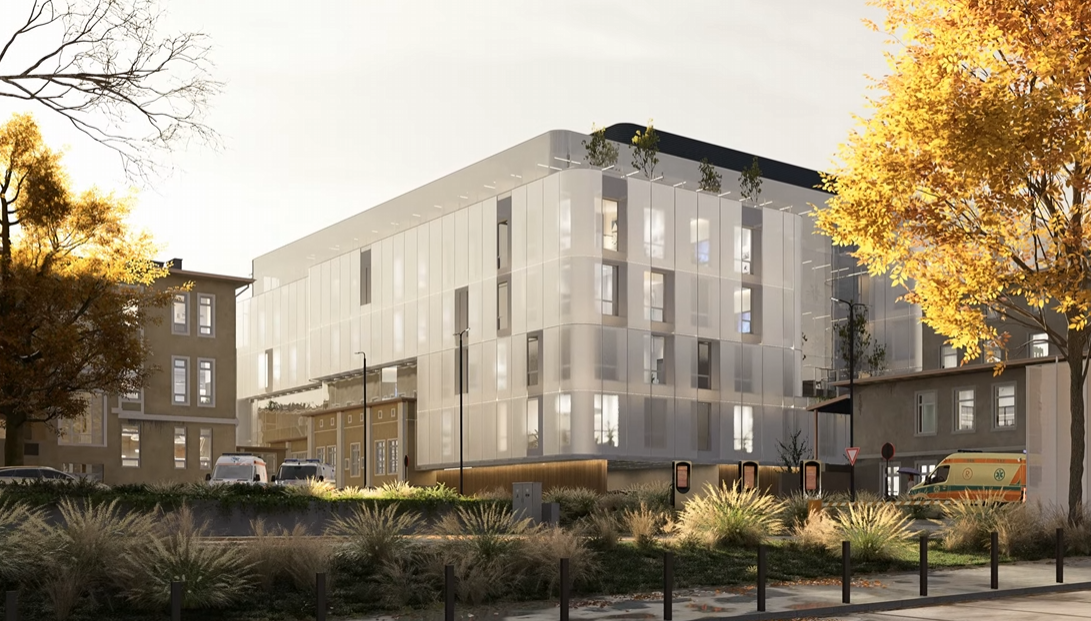
Stylized diagrammatic analysis in D5 Render via integrated AO and Outline modes
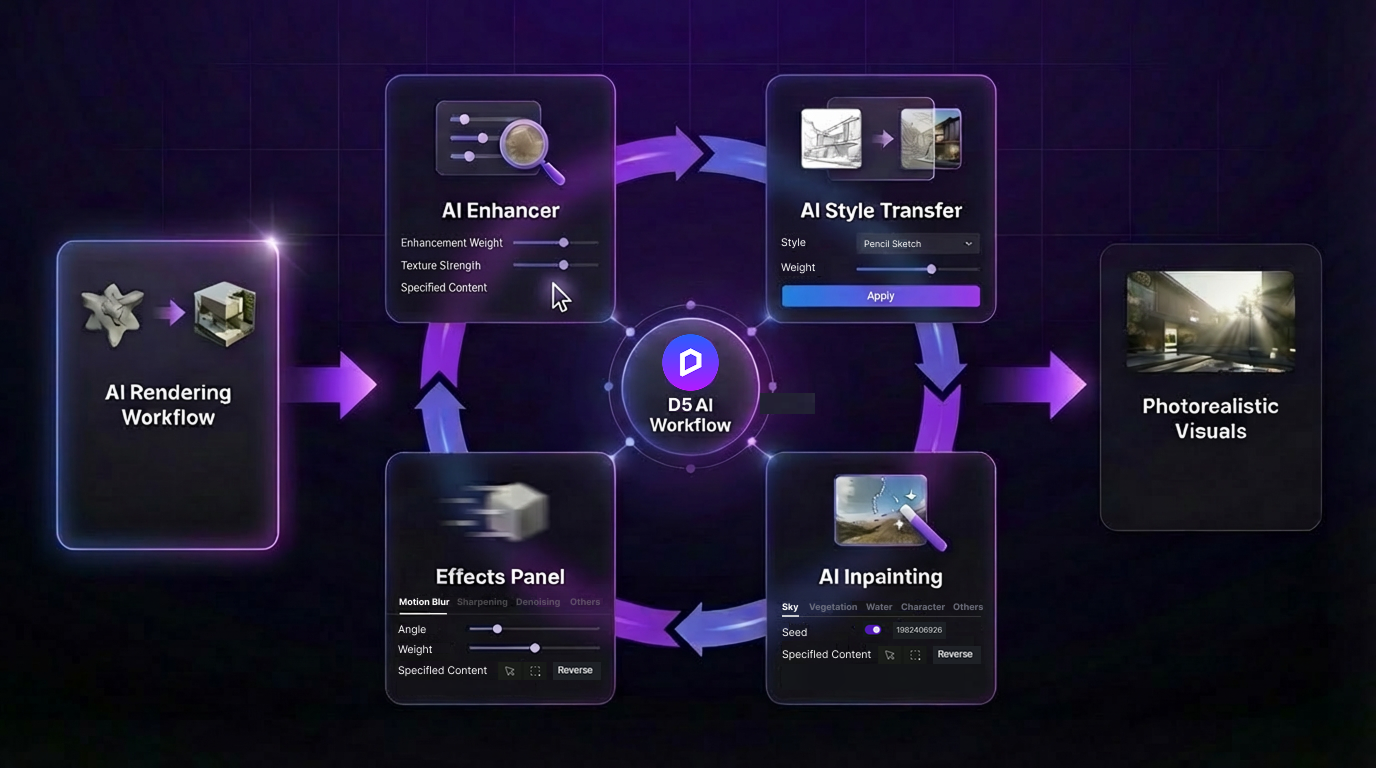
エクスポートの準備ができたら、イメージレンダリングモードに切り替えて解像度を設定し、出力設定で AI Post Channel を有効にします。これにより、のロックが解除されます。 AI ポストプロセッシング レンダリング完了後のツール:
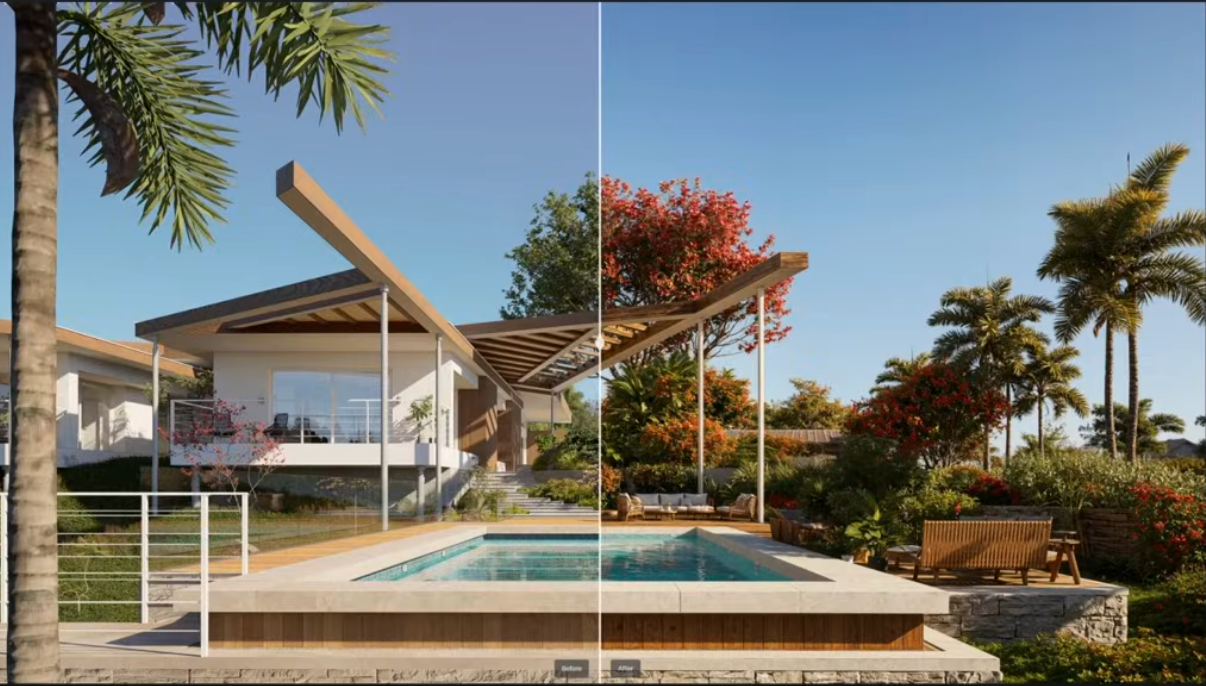
- AI エンハンサー — グローバルライティングと微細な表面ディテールを自動的に調整します。手動でカラーグレーディングを行わずに全体的な画質を向上させるための信頼できる第一歩です。
- AI スタイル転送 — 完成したレンダリングに異なるビジュアルスタイルを適用します。ゼロから再レンダリングしなくても、フォトリアリスティックとイラストレーション、昼間と夜間など、別の見た目を提示するのに便利です。

D5 Render AI Style Transfer: Instant aesthetic iterations across a diverse spectrum of visual styles
- ペインティングにおけるAI — 画像の他の部分に影響を与えずに、空を置き換えたり、素材を調整したり、ゾーンをクリーンアップしたりして、特定の領域を選択的に編集できます。
- エフェクトパネル — 静止画のレンダリングに動きや映画のような質を加えるモーションブラーやその他の調整が含まれています。
👉 終わりのない3Dポストプロセッシングにうんざりしていませんか?D5 Renderはワンクリックでそれを実行します
6。D5 Renderのアニメーションとバーチャルツアー
静止画以上のものをお求めのお客様には、 D5 レンダリング 両方をサポート シネマティック・アニメーション そしてインタラクティブ バーチャルツアー —個別のツールや複雑なセットアップは必要ありません。
- [アニメーション]: カメラアニメーションを作成するには、新しいビデオクリップを追加し、開始キーフレームを設定し、次のカメラ位置に移動し、2 つ目のキーフレームを追加します。D5 は補間を自動的に処理します。プリセットのカメラパステンプレートを使用したり、ビルドしたりすることもできます。 フェーズアニメーション 建設手順を段階を追って進めていく

- バーチャルツアーとXR: インタラクティブなプレゼンテーションの場合、 D5 レンダリング サポートする 空間ツアー そして XR ツアー。主要なカメラ位置を設定し、視聴者を空間に誘導するホットスポットを追加して、D5 Showreel に直接公開できます。そこから、クライアントとリンクを共有して、クライアントに自分のデバイスでデザインを見てもらうことができます。クライアント側でプラグインやアプリをダウンロードする必要はありません。
ワークフローを合理化する準備はできていますか?
高品質の建築レンダリングを行うからといって、徹夜する必要はありません。と D5 レンダーの AI ドリブンツール、リアルタイム照明、スマートアセットにより、洗練されたシーンをわずか15分で完成させることができます。面倒な作業も処理してくれるので、重要なこと、つまり実際のデザインに戻ることができます。
次のプロジェクトでどれだけの時間を節約できるか知りたいですか?に向かいましょう D5 ウェブサイト に D5 レンダーをダウンロード 今すぐ無料で、より速く、よりスマートな視覚化プロセスを体験してください。
その他のアーキテクチャレンダリングのヒントとリソース >>
ビクター・B・オーティズ・アーキテクチャ:D5レンダリングによる高度なグリーン建築設計
よくある質問:D5 Render によるアーキテクチャレンダリング


.png)


.jpg)


.png)

1%20(2).png)


%20(1).png)
.png)
.png)